Updated July 4, 2023
Introduction to jQuery appendTo()
jQuery appendTo() is an embedded function used at the end of the selected document to insert HTML code. The append() approach adds information to each matched element within. The content accompanies the process as either an expression of the selector or a markup formed on the fly, which has been placed into the container. In other words, the appendTo() method includes the selector as a target where the content will be appended. This method works like the append() method, but the syntax is unique. It may seem inconsequential, but when you use chaining, it makes things easier.
This approach is the reverse of the .prependTo() method that adds HTML elements at the beginning of the chosen element. This approach can be used to dynamically add the content of your choice, which could be performed by clicking a button or any other listener to an event. It will be used because, in many instances, when we open the tab, we do not want to burden users with a lot of information, or it’s for functional reasons, either.
Syntax:
$(content).appendTo(selector)Parameters:
The syntax includes two parameters:
- content: It is a required parameter specifying which content to be inserted into the HTML page.
- selector: It is also a required parameter and states which elements to add to the content. This shows which content elements we can append.
Examples to Implement jQuery appendTo()
Following are the different examples of implementing jQuery appendTo().
Example #1
Code:
<!DOCTYPE html>
<html>
<head>
<meta charset="utf-8">
<title>appendTo Example</title>
<script src="https://ajax.googleapis.com/ajax/libs/jquery/1.11.3/jquery.min.js"></script>
<script>
$(document).ready(function(){
$("button").click(function(){
$("<span><b>EDUCBA...</b></span>").appendTo("p");
});
});
</script>
</head>
<body>
<button>Click on the button to add the content at the end of p element...</button>
<p>This is first line:</p>
<p>This is second line:</p>
</body>
</html>
Output:
After clicking on the button, the output will be as given below
As shown in the image, when you click the button, the content will be added at the end of the element.
Example #2
Code:
<!doctype html>
<html lang="en">
<head>
<meta charset="utf-8">
<title>appendTo demo</title>
<style>
#apppend_demo {
color: red;
}
</style>
<script src="https://code.jquery.com/jquery-3.4.1.js"></script>
</head>
<body>
<span>This text is an appended content...</span>
<div id="apppend_demo">Welcome to EDUCBA!!!... </div>
<script>
$( "span" ).appendTo( "#apppend_demo" );
</script>
</body>
</html>
Output:
In the above image, “Welcome to EDUCBA” is an appended content.
Example #3
Code:
<html>
<head>
<title>appendTo() Demo</title>
<script src = "https://ajax.googleapis.com/ajax/libs/jquery/3.2.1/jquery.min.js"></script>
<script>
$(document).ready(function() {
$("div").click(function () {
$(this).appendTo("#append_demo");
});
});
</script>
<style>
.mydiv{
margin:12px;
padding:10px;
border:1px dotted #ccc;
width:50px;
}
</style>
</head>
<body>
<p>Click on the square to see the output:</p>
<p id = "append_demo"> This is the output... </p>
<hr />
<div class = "mydiv" style = "background-color:#52526a;"></div>
<div class = "mydiv" style = "background-color:#ff7a7a;"></div>
<div class = "mydiv" style = "background-color:#1c451c;"></div>
</body>
</html>
Output:
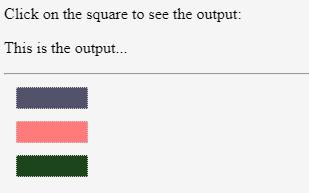
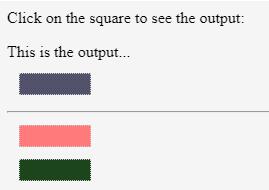
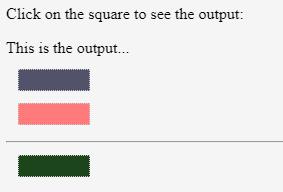
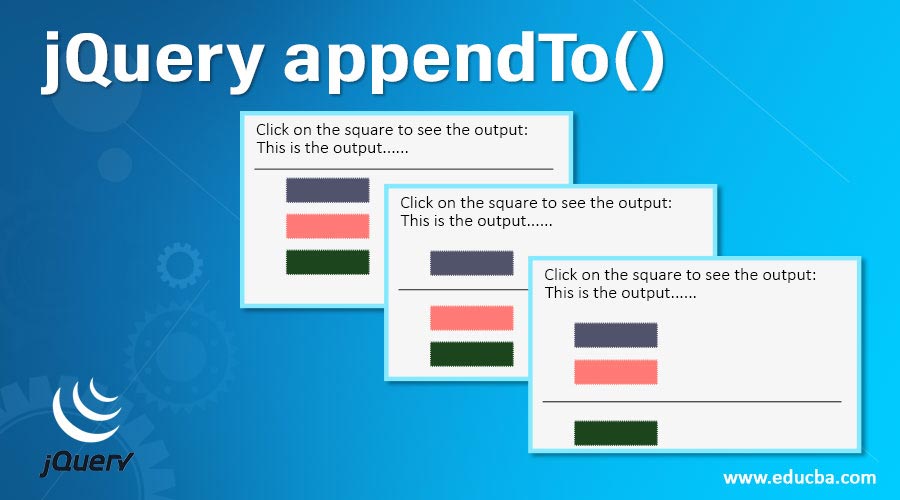
As shown in the image, each time you click on the square, the horizontal line will be appended every time.
Example #4
Code:
<html>
<head>
<meta charset="utf-8">
<title>appendTo() Demo</title>
<style>
#append_demo {
background: #E6D2C0;
display: block;
border: 1px dotted red;
padding: 12px;
width: 200px;
}
</style>
<script src="https://code.jquery.com/jquery-1.10.2.js">
</script>
</head>
<body>
<span>Hello World!!!</span>
<div id="append_demo">EDUCBA--> </div>
<script>
$("span").appendTo("#append_demo");
</script>
</body>
</html>
Output:
Example #5
Code:
<html>
<head>
<meta charset="utf-8">
<title>appendTo() Demo</title>
<style>
body{
display: block;
width: 300px;
height: 150px;
border: 1px dotted red;
padding: 12px;
}
</style>
<script src="https://code.jquery.com/jquery-1.10.2.js">
</script>
</head>
<body>
<h2>Welcome to EDUCBA...</h2>
<div class="container">
<div class="append_demo">
Hi...
</div>
</div>
<script>
$( "<p>This is an appended text...!!!</p>").appendTo( ".append_demo" );
</script>
</body>
</html>
Output:
Example #6
Code:
<html>
<head>
<meta charset="utf-8">
<title>appendTo() Demo</title>
<script src="https://code.jquery.com/jquery-1.10.2.js">
</script>
</head>
<body>
<h2>Welcome to EDUCBA...</h2>
<button>Insert Text</button>
<br>
<div id="append_demo">This is a simple content!!!</div>
<br>
<span class="myclass" style="font-style: italic;"> This is my first text...</span>
<br>
<span class="myclass1" style="font-style: italic;"> This is my second text...</span>
<script>
$(document).ready(function(){
$("button").mouseover(function(){
$(this).text("Mouseover");
$(".myclass").appendTo("#append_demo");
$(".myclass, .myclass1").appendTo("#append_demo");
});
});
</script>
</body>
</html>
Output:
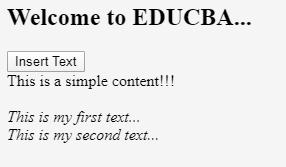
The above code specifies that we can use the method to perform various kinds of selectors, and also, we can use different event handlers. In this code, we have used the .mouseover() method. There is a button on the HTML page; elements are attached to a div tag, and two spans are configured with respective classes.
Conclusion
To summarize, it is relevant to say that we can execute the same task compared to the methods .append () and .appendTo() methods. The main difference is mainly in the syntax of the content and target location. The container containing the content is the selector element preceding the form with.append() method. By comparison, with.appendTo() method, the content accompanies the process, either as an expression of the selector or as a layout generated on the fly, embedded in the desired container.
Recommended Articles
This is a guide to jQuery appendTo(). Here we discuss the basic concept and parameters of jQuery appendTo() along with different examples and code implementation. You may also look at the following articles to learn more –


