Updated March 23, 2023
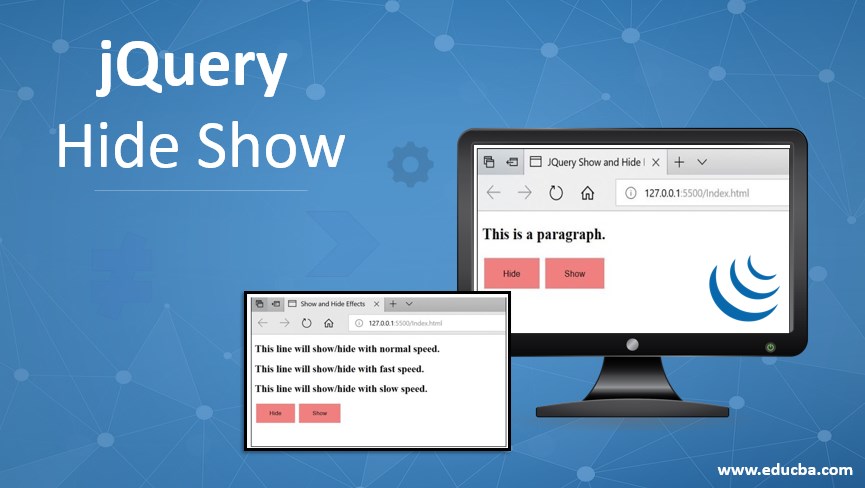
Introduction of jQuery Hide Show
jQuery is a compact, lightweight and cross-platform Javascript library which gives you the ability to make your web applications more attractive and interactive. The basic aim behind creating jQuery was “write less, do more”. There are a lot of things to explore with jQuery. What makes jQuery so special is that it is very easy to use and it gives you a rich web experience with its various effects.
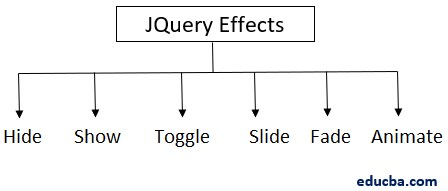
Here, we are going to discuss two interesting jQuery effects, Hide and Show effects.
What is jQuery Hide Show?
With jquery, you can show and hide HTML elements with the hide() and show() methods.
- hide() method hides the selected HTML element by simply setting the inline style display: none for the selected elements.
- show() method displays the selected element by restoring the display properties to their initial style before the inline style display: none was applied to them.
Syntax:
$(selector).show();
$(selector).show(speed,callback);
$(selector).hide();
$(selector).hide(speed,callback);- speed: An optional parameter that specifies the speed of showing and hiding using the values: “slow”, “fast” or “milliseconds”.
- callback: Again, an optional parameter, which specifies the function to be executed after the hide() or show() method is completed.
Examples to Implement jQuery hide() and show()
Let’s take a look at an example to understand the hide() and show() methods better.
Code:
<!DOCTYPE html>
<html lang="en">
<head>
<meta charset="UTF-8" />
<meta name="viewport" content="width=device-width, initial-scale=1.0" />
<meta http-equiv="X-UA-Compatible" content="ie=edge" />
<meta charset="utf-8" />
<title>JQuery Show and Hide Effects</title>
<script src="https://code.jquery.com/jquery-1.12.4.min.js"></script>
<style>  .button {   background-color: #F08080;   border: none;   padding: 15px 32px;   text-align: center;   text-decoration: none;   display: inline-block;   font-size: 14px;   margin: 2px 3px;   cursor: pointer;
}
</style>
</style>
<script>
$(document).ready(function() {
// Showing hidden paragraphs
$("#show").click(function() {
$("h2").show();
});
// Hiding displayed paragraphs
$("#hide").click(function() {
$("h2").hide();
});
});
</script>
</head>
<body>
<h2>This is a paragraph.</h2>
<button class ="button" id="hide">Hide</button>
<button class="button"  id="show">Show</button>
</body>
</html>
Output:
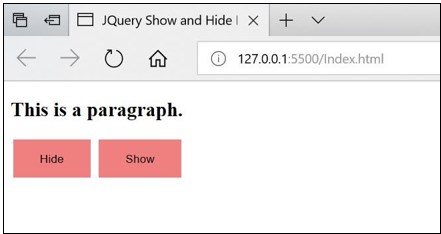
After running the above code, the browser shows the following screen.
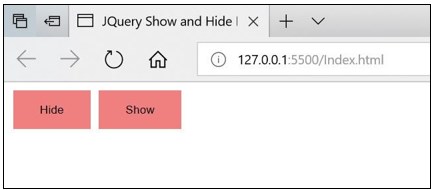
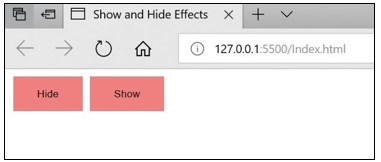
- On clicking the Hide button “This is a paragraph” content gets hidden.
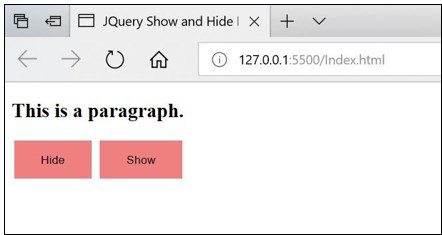
- When the Show button is clicked, the hidden again gets displayed.
- jQuery hide() and show() method hides the selected html element. In the above example, the selected h2 element is hidden.
- Ids, “hide” and “show” are assigned to the two buttons hide and show and then click function is called on those ids.
The below screen shows when the page is originally loaded and there is no click event fired.
The below screen appears when the Hide button is clicked.
On clicking the Show button, the content which was hidden appears on the screen.
To make your web page a bit more attractive, you can specify the speed parameter which will enable the animation to hide and show considering the specified duration of the delay.
Example #1 – using speed parameter
Since the speed parameter is optional, it’s completely up to you to use this parameter if you want some more enriching animation experience in your web application.
The speed parameter can take the following values:
- slow
- fast
- milliseconds
Note:
- For milliseconds, higher values indicate slower animation effects.
- For “fast” speed, duration refers to 200 milliseconds.
- For “slow” speed, duration refers to 600 milliseconds.
Let’s understand this through a simple example.
Code:
<!DOCTYPE html>
<html lang="en">
<head>
<meta charset="UTF-8" />
<meta name="viewport" content="width=device-width, initial-scale=1.0" />
<meta http-equiv="X-UA-Compatible" content="ie=edge" />
<meta charset="utf-8" />
<title>Show and Hide Effects</title>
<script src="https://code.jquery.com/jquery-1.12.4.min.js"></script>
<style>      .button {       background-color: #F08080;       border: none;       padding: 15px 32px;       text-align: center;       text-decoration: none;       display: inline-block;       font-size: 14px;       margin: 2px 3px;       cursor: pointer;
}
</style>
</style>
<script>
// Hiding the displayed paragraphs with different speeds
$(document).ready(function() {
$("#hide").click(function() {
$("h2.normal").hide();
$("h2.fast").hide("fast");
$("h2.slow").hide("slow");
});
// Showing the hidden paragraphs with different speeds
$("#show").click(function() {
$("h2.normal").show();
$("h2.fast").show("fast");
$("h2.slow").show("slow");       });
});
</script>
</head>
<body>
<h2 class="normal">This line will show/hide with normal speed.</h2>
<h2 class="fast">This line will show/hide with fast speed.</h2>
<h2 class="slow">This line will show/hide with slow speed.</h2>
<button class="button" id="hide">Hide </button>
<button class="button" id="show">Show </button>
</body>
</html>
Output:
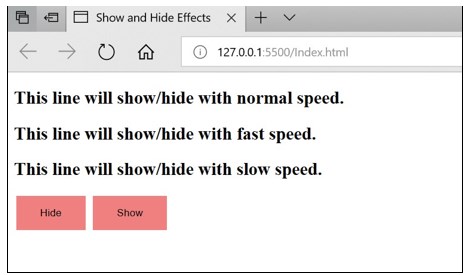
On running the above code, the output displayed on a browser is following:
- When you click the “Hide” button, the lines will start disappearing as per the specified speed values.
- When you click the “Show” button, the lines will start getting displayed as per the specified values.
Example #2 – using callback function
- A callback function is executed only after the hide() and show() has completely executed.
- Since JavaScript lines are executed line-wise but due to the time taking jQuery effects, it might happen that the next line of code gets executed even before the completion of code. This may lead to errors.
- callback functions are helpful in preventing such errors.
- It is passed as an argument to the effect method.
- It is the last argument passed to the effect method.
Let’s consider the below example:
Code:
<!DOCTYPE html>
<html lang="en">
<head>
<meta charset="UTF-8" />
<meta name="viewport" content="width=device-width, initial-scale=1.0" />
<meta http-equiv="X-UA-Compatible" content="ie=edge" />
<meta charset="utf-8" />
<title>JQuery Show and Hide Effects</title>
<script src="https://code.jquery.com/jquery-1.12.4.min.js"></script>
<style> .button { background-color: #f08080; border: none; padding: 15px 32px; text-align: center; text-decoration: none; display: inline-block;
font-size: 14px; margin: 2px 3px; cursor: pointer;
}
</style>
<script>
$(document).ready(function() {
//Displaying alert message after the hide effect is completed.
$("button").click(function() { $("h2").hide("slow", function() {
alert("The hide effect has completed");
});
});
});
</script>
</head>
<body>
<h2>This is the content</h2>
<button class="button">Click me</button>
</body>
</html>
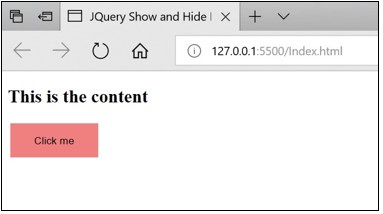
Output:
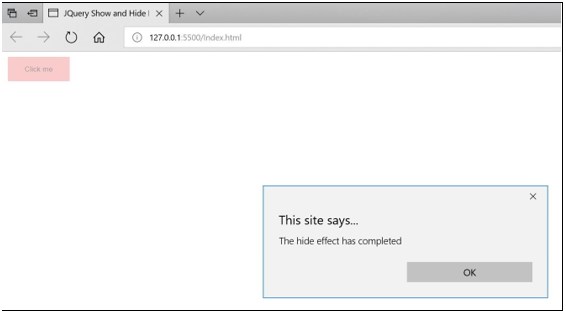
In the above example, the callback parameter is a function that will get executed only after the hide() method is completed.
- Once the “Click me” button is clicked, the content gets hidden.
- Only after the “hide” effect is completed, the callback function which is basically an alert function gets executed.
Conclusion
- In this article, we discussed how to use jQuery hide() and show() methods to hide and show the page element after a click event is fired from your web page.
- JQuery effects can provide various amazing animations in a very simple and easy way.
- It has the ability to enrich one’s web experience through its rich features.
- Many more such effects are available with jQuery to make your web application even more attractive and appealing.
Recommended Articles
This is a guide to jQuery Hide Show. Here we discuss how to use jQuery hide() and show() methods along with different examples and code implementation. You may also look at the following articles to learn more –
