Introduction to jQuery UI effect()
jQuery UI effect() method is used to apply an animation effect to any DOM element. jQuery UI offers this method to provide a large set of various animations to create visual effects making the UI look more appealing and interesting to the users.jQuery UI effect() method basically applies a named effect to any element where the name of the effect to be used is passed to the effect() method. A number of effects also support the show and hide mode which can be implemented using show(), hide(), and toggle() methods.
Syntax:
$(selector).effect(effectType[, options ] [, duration ] [, complete ]);where,
- effectType: This is a string parameter that specifies the type of effect to be used for the selected element.
- options: This is an object which specifies certain properties, settings, and easing specific to the effect, each effect has its own set of options.
- duration: This is a parameter of type Number or String which specifies the time duration in milliseconds for which animation effect will occur.
- complete: Here, refers to a callback method which is to be called once the animation completes for a particular element.
How jQuery UI effect() Method Works?
jQuery UI effect() method works by applying a named animation effect to a selected element. This method manages a variety of animation effects to be applied to the selected elements to make web pages attractive and interactive.
Elements can be hidden, made visibly, shaken, made to bounce and many more such effects can be applied using this method.
Examples to Implement jQuery UI effect()
Let us look at some of the examples to understand the working of the jQuery UI effect() method.
Example #1
Let us consider a simple example to understand the functionality of the effect() method with the “bounce” effect type.
Code:
<!DOCTYPE html>
<head>
<title>jQuery UI Effect Example</title>
<link
href="https://code.jquery.com/ui/1.10.4/themes/ui-lightness/jquery-ui.css"
rel="stylesheet"
/>
<script src="https://code.jquery.com/jquery-1.12.4.js"></script>
<script src="https://code.jquery.com/ui/1.12.1/jquery-ui.js"></script>
<script>
$(document).ready(function () {
$("#box-div").click(function () {
$("#box-div ").effect(
"bounce",
{
times: 5,
distance: 100,
},
2000,
function () {
$(this).css("background", "yellow");
}
);
});
});
</script>
<style>
#box-div {
width: 350px;
height: 150px;
padding-top: 20px;
padding-left: 5px;
font-size: 24px;
text-align: center;
color: maroon;
background-color: cadetblue;
}
</style>
</head>
<body>
<center>
<b style="font-size: 20px;">jQuery UI Bounce Effect</b>
<br /><br />
<div id="box-div">
Click here to<br /><br /><b>see the Bounce effect</b>
</div>
</center>
</body>
</html>
Output:
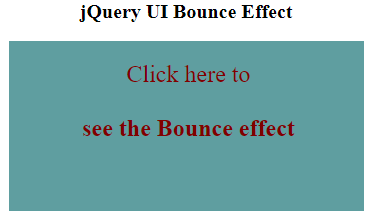
- Below screen displays when the above code is executed.
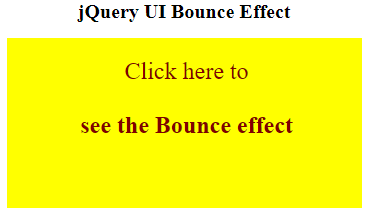
- Now, when you click on the box, you will see the bounce effect where the box will appear bouncing in the vertical or horizontal direction, and once the animation completes, the color of the box changes indicating the completion of effect.
Example #2
The following example illustrates the use of effect() method with the “shake” effect type.
Code:
<!DOCTYPE html>
<head>
<title>jQuery UI Effect Example</title>
<link
href="https://code.jquery.com/ui/1.10.4/themes/ui-lightness/jquery-ui.css"
rel="stylesheet"
/>
<script src="https://code.jquery.com/jquery-1.12.4.js"></script>
<script src="https://code.jquery.com/ui/1.12.1/jquery-ui.js"></script>
<script>
$(document).ready(function () {
$("#box-div").click(function () {
$("#box-div ").effect(
"shake",
{
times: 5,
distance: 100,
},
2000,
function () {
$(this).css("background", "yellow");
}
);
});
});
</script>
<style>
#box-div {
width: 350px;
height: 150px;
padding-top: 20px;
padding-left: 5px;
font-size: 24px;
text-align: center;
color: maroon;
background-color: cadetblue;
}
</style>
</head>
<body>
<center>
<b style="font-size: 20px;">jQuery UI Shake Effect</b>
<br /><br />
<div id="box-div">
Click here to<br /><br /><b>see the Shake effect</b>
</div>
</center>
</body>
</html>Output:
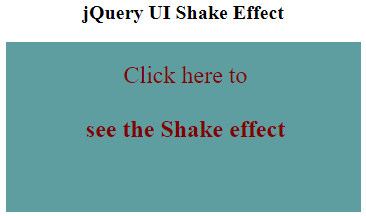
- Below screen displays when the above code is executed.
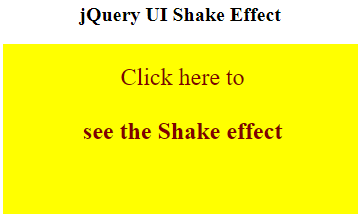
- When the box gets clicked, it starts shaking back and forth, horizontally or vertically.
- The color of the box changes once the animation effect gets completed as shown in the below image.
Example #3
The following example illustrates the use of effect() method with the “explode” effect type.
Code:
<!DOCTYPE html>
<head>
<title>jQuery UI Effect Example</title>
<link
href="https://code.jquery.com/ui/1.10.4/themes/ui-lightness/jquery-ui.css"
rel="stylesheet"
/>
<script src="https://code.jquery.com/jquery-1.12.4.js"></script>
<script src="https://code.jquery.com/ui/1.12.1/jquery-ui.js"></script>
<script>
$(document).ready(function () {
$("#box-div").click(function () {
$("#box-div ").effect({
effect: "explode",
easing: "easeInExpo",
pieces: 9,
duration: 1500
});
});
});
</script>
<style>
#box-div {
width: 350px;
height: 150px;
padding-top: 20px;
padding-left: 5px;
text-align: center;
color: maroon;
background-color: cadetblue;
}
</style>
</head>
<body>
<center>
<b style="font-size: 20px;">jQuery UI Explode Effect</b>
<br /><br />
<div id="box-div">
Click here to<br /><br /><b>see the Explode effect</b>
</div>
</center>
</body>
</html>
Output:
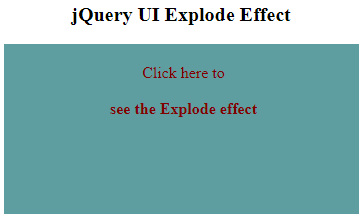
- Below screen displays when the above code gets executed.
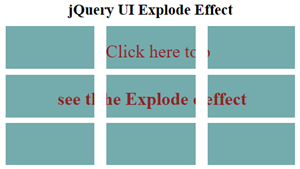
- Once the box gets clicked, the explode animation effect starts.
- The element box can be seen splitting into multiple pieces (in this example, 9) and moving in radial directions as if exploding from the page, as shown below.
Example #4
The following example illustrates the use of effect() method with the “fold” effect type.
Code:
<!DOCTYPE html>
<head>
<title>jQuery UI Effect Example</title>
<link
href="https://code.jquery.com/ui/1.10.4/themes/ui-lightness/jquery-ui.css"
rel="stylesheet"
/>
<script src="https://code.jquery.com/jquery-1.12.4.js"></script>
<script src="https://code.jquery.com/ui/1.12.1/jquery-ui.js"></script>
<script>
$(document).ready(function () {
$("#box-div").click(function () {
$("#box-div ").effect({
effect: "fold",
easing: "easeInExpo",
duration: 3000
});
});
});
</script>
<style>
#box-div {
width: 350px;
height: 150px;
padding-top: 20px;
padding-left: 5px;
font-size: 24px;
text-align: center;
color: maroon;
background-color: cadetblue;
}
</style>
</head>
<body>
<center>
<b style="font-size: 20px;">jQuery UI Fold Effect</b>
<br /><br />
<div id="box-div">
Click here to<br /><br /><b>see the Fold effect</b>
</div>
</center>
</body>
</html>
Output
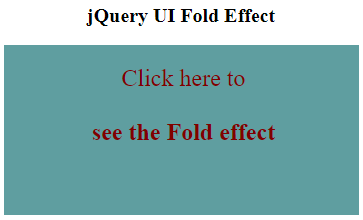
- Below screen displays when the above code gets executed.
- Once the box is clicked, the fold animation effect starts where the opposite borders in or out are adjusted and the same is repeated for other sets of borders.
Example #5
The following example illustrates the use of effect() method with the “highlight” effect type.
Code:
<!DOCTYPE html>
<head>
<title>jQuery UI Effect Example</title>
<link
href="https://code.jquery.com/ui/1.10.4/themes/ui-lightness/jquery-ui.css"
rel="stylesheet"
/>
<script src="https://code.jquery.com/jquery-1.12.4.js"></script>
<script src="https://code.jquery.com/ui/1.12.1/jquery-ui.js"></script>
<script>
$(document).ready(function () {
$("#box-div").click(function () {
$("#box-div ").effect({
effect: "highlight",
duration: 3000
});
});
});
</script>
<style>
#box-div {
width: 350px;
height: 150px;
padding-top: 20px;
padding-left: 5px;
font-size: 24px;
text-align: center;
color: maroon;
background-color: cadetblue;
}
</style>
</head>
<body>
<center>
<b style="font-size: 20px;">jQuery UI Highlight Effect</b>
<br /><br />
<div id="box-div">
Click here to<br /><br /><b>see the Highlight effect</b>
</div>
</center>
</body>
</html>
Output:
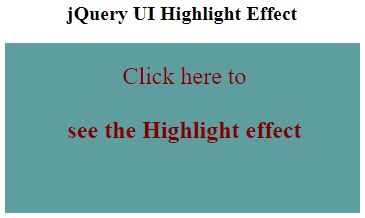
- Below screen displays when the above code gets executed.
- Once the box gets clicked, the Highlight effect starts which shows the box by momentarily changing the background color as shown below.
Conclusion
- The jQuery UI effect() method can be used to make the web pages more visually appealing and interactive by making HTML or DOM elements show, hide, fade with various other animations using jQuery effects.
- This method basically applies a named animation effect to any element.
Recommended Articles
This is a guide to jQuery UI effect(). Here we discuss a brief Overview on jQuery UI effect() and its Examples along with its Code Implementation. You can also go through our other suggested articles to learn more –
