Updated March 29, 2023

Definition of JUnit in Maven
JUnit in maven is used to get the required dependency from maven which is required in our project, there are multiple dependencies required in the project. Maven will support the three versions of JUnit i.e. JUnit 3.7, JUnit 4, and JUnit 4.7+. We can select the version which was suitable for our project, also we need to select the version as per the configuration parameters which we have used in our project.
What is JUnit in Maven?
- The version of JUnit 2.7 with the algorithm which was we have chosen which used to test the run is changed.
- From the version of JUnit 2.7 valid test cases are run for all versions of JUnit, in the older version are also running the invalid test cases which are the satisfying naming convention.
- At the time of upgrading the JUnit version before version 2.7 build is running with the flag as JUnit4. It will perform checks and notify us of any invalid test which was running. This is only used with the tool at the time of upgrading checks which is expected tests.
How to run JUnit in maven?
- It was used to test the test cases. The JUnit platform will serve as the foundation of testing frameworks on java virtual machines (JVM). The JUnit will also define as a test engine API that was used for developing a testing framework to run on the platform.
- The JUnit will provide a console launcher to launch the platform by using the command line and engine of the JUnit platform suite for the running of the custom suite while using single or more engines on the platform.
- Below are the steps to show how to run JUnit in maven are as follows. First, we are creating the maven project by using a spring initializer.
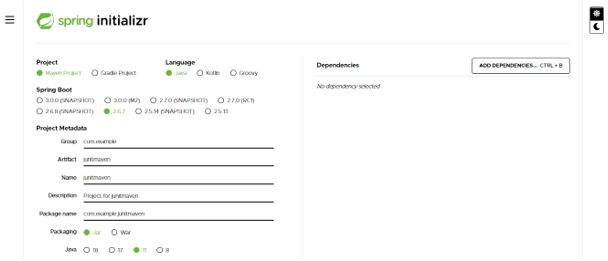
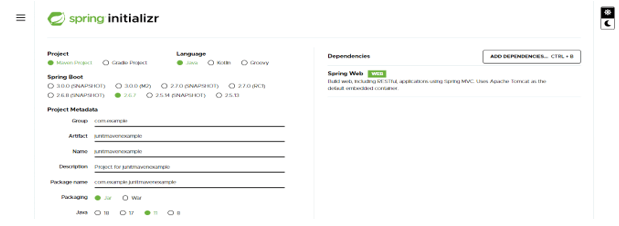
- In the first step, we are creating the project template of JUnit in spring boot maven. We are creating the project template as follows.
- We have provided project group name as com.example, artifact name as JUnitmaven, project name as JUnitmaven, and selected java version as 11. We are defining the version of spring boot as 2.6.7.
Group – com.example Artifact name – JUnitmaven
Name – JUnitmaven Spring boot – 2.6.7
Project – Maven Java – 11
Package name – com.example.JUnitmaven
Project Description – Project for JUnitmaven
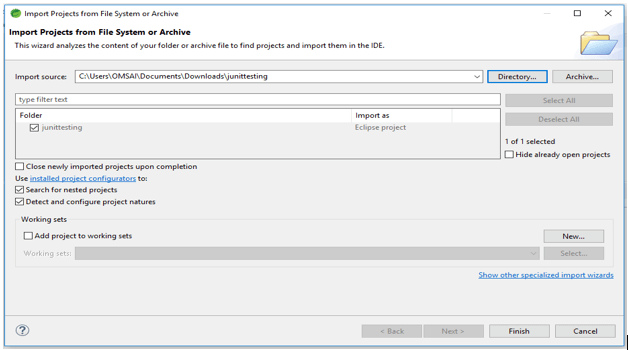
2. In this step we are extracting the downloaded project and opening the same by using the spring tool suite.
- In the below example, we can see that we have extracted the project. Then we are opening the same by using the spring tool suite.
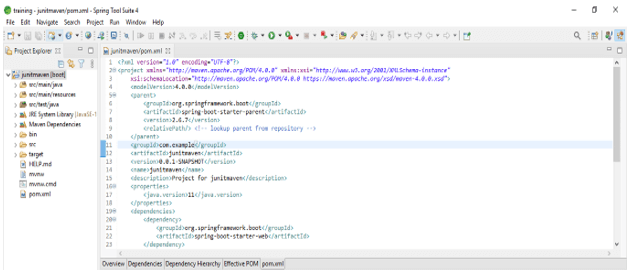
3. In this step we are checking all project structures and their files are as follows. Also, we are checking the pom.xml file is created or not. Suppose this file is not created then we need to create the same manually. In the below example this file is created, so we have no need to create it manually.
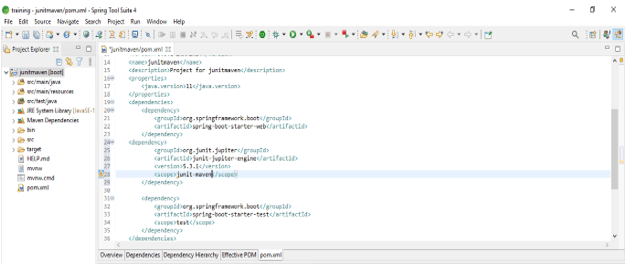
4. Add the JUnit dependency in the maven project. We are adding JUnit dependency as follows.
Code –
<dependency>
<groupId> org.JUnit.jupiter </groupId>
<artifactId> JUnit-jupiter-engine </artifactId>
<version> 5.3.1 </version>
<scope> JUnit-maven </scope>
</dependency>
5. After adding the maven dependency we are developing java classes to run the test cases by using JUnit maven as follows.
Code1 –
public class JUnitmaven {
public static int getLucky () {
return 7;
}
}
Code 2:
public class JUnitmaven1 {
public static String getHelloWorld (){
return "JUnit in maven";
}
public static int getNumber5(){
return 5;
}
}
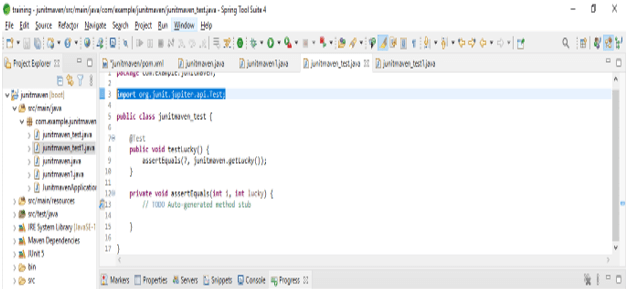
6. After developing the java classes in this step we are developing test classes as follows. In the below example, we are using @Test annotation at the time of developing the test class.
Code to develop test class of JUnitmaven –
public class JUnitmaven_test {
@Test
public void testLucky () {
assertEquals (7, JUnitmaven.getLucky ());
}
}
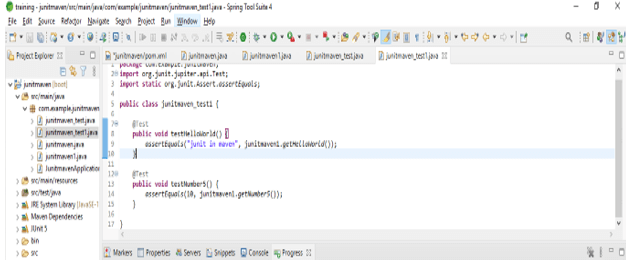
Code to develop test class of JUnitmaven1 –
public class JUnitmaven_test1 {
@Test
public void testHelloWorld () {
assertEquals ("JUnit in maven", JUnitmaven1.getHelloWorld());
}
@Test
public void testNumber5() {
assertEquals(10, JUnitmaven1.getNumber5());
}
}
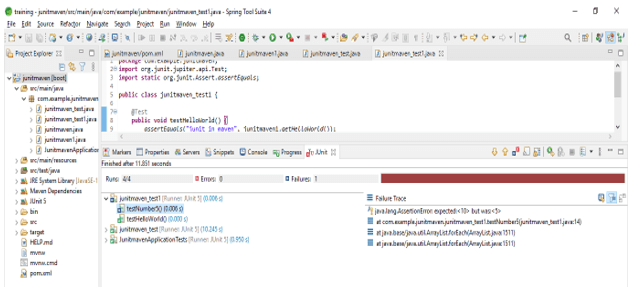
7. After developing all the test cases in this step we are running the test cases by using JUnit maven as follows.
JUnit in Maven Example
- Below example shows JUnit in maven is as follows. In the below example, we are using the maven project name as JUnitmavenexample.
- We have provided project group name as com.example, artifact name as JUnitmavenexample, project name as JUnitmavenexample, and selected java version as 11. We are defining the version of spring boot as 2.6.7.
- In the below example, we can see that we have extracted the project. Then we are opening the same by using the spring tool suite.
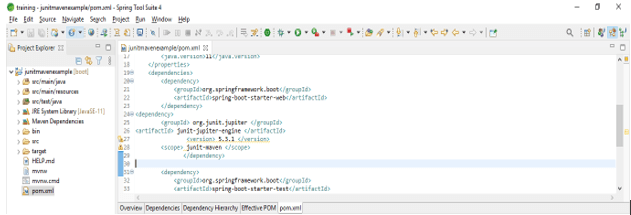
- In this step, we are checking all project structures and their files are as follows. Also, we are adding the JUnit dependencies. We can see that we have used the JUnit version as 5.3.1 also we are using the JUnit Jupiter engine.
Code –
<dependency>
<groupId> org.JUnit.jupiter </groupId>
<artifactId> JUnit-jupiter-engine </artifactId>
<version> 5.3.1 </version>
<scope> JUnit-maven </scope>
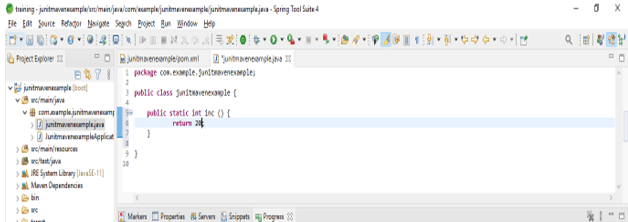
</dependency>- In the above step, we have added the JUnit dependency now we are developing a java class to run the test cases by using JUnit maven.
Code –
public class JUnitmavenexample {
public static int inc () {
return 20;
}
}- After developing the java classes now we are developing a test class by using the java class. In the below example we are using @Test annotation to create a test class.
Code –
public class JUnitmaven_testexample {
@Test
public void JUnit () {
assertEquals (20, JUnitmavenexample.JUnit1 ());
}
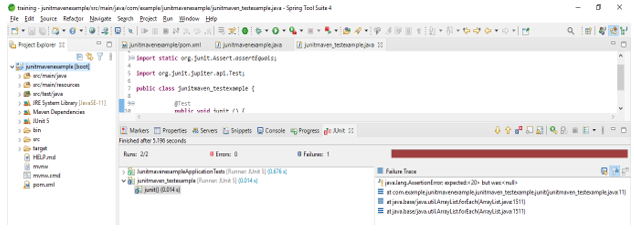
}- Now we are running the test cases by using JUnit maven as follows.
Conclusion
The version of JUnit 2.7 with the algorithm which was we have chosen which used to test the run is changed. JUnit in maven is used to get the required dependency from maven which is required in our project, there are multiple dependencies required in JUnit maven project.
Recommended Articles
This is a guide to JUnit in Maven. Here we discuss the Definition, What is JUnit in Maven, How to run JUnit in maven, and examples with code implementation. You may also have a look at the following articles to learn more –
