Updated February 17, 2023
Introduction to JUnit RunWith
JUnit runwith is used to run the test suite; we can say that JUnit runwith helps us create test cases when combining multiple classes used for testing. JUnit is an annotation used in JUnit; the annotation replaced the annotation of ExtendWith. Using it, we can test our application using different compatibility types.
What is JUnit RunWith?
- It is beneficial to run the test suite in our application. Therefore, we are using the application named @RunWith in our program.
- In JUnit runwith, if suppose the JUnit class or its parent class is annotated with @RunWith, then JUnit invokes the specified class while running the default runner.
- When using JUnit runwith, the runner class invokes the test execution for the test suite the user created.
- The JUnit platform class uses annotation of JUnit while creating a test suite in our application, so the JUnit platform class is essential.
Steps to Create JUnit RunWith
Below are steps shown to create a JUnit runwith as follows. We are creating the project name as JUnitRunwith.
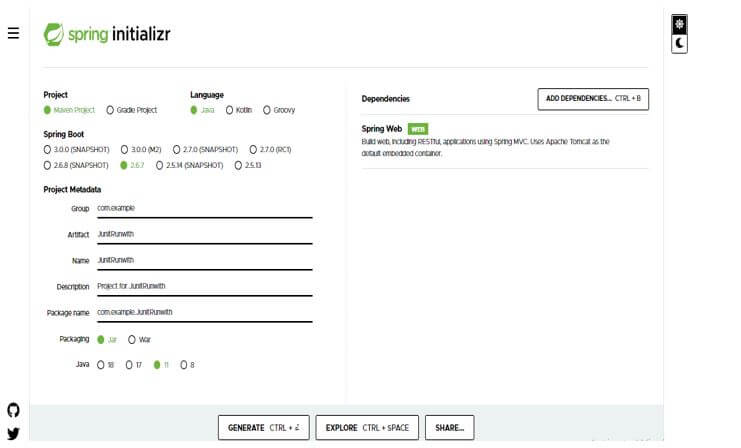
1. In this step, we are creating the project template of JUnit runwith in spring boot. We provide the project group name as com. For example, the artifact name is JUnitRunwith, the project name is JUnitRunwith, and the selected java version is 11. We are defining the version of spring boot as 2.6.7.
Group – com.example
Artifact name – JUnitRunwith
Name – JUnitRunwith
Spring boot – 2.6.7
Project – Maven
Java – 11
Package name – com.example.JUnitRunwith
Project Description – Project for JUnitRunwith
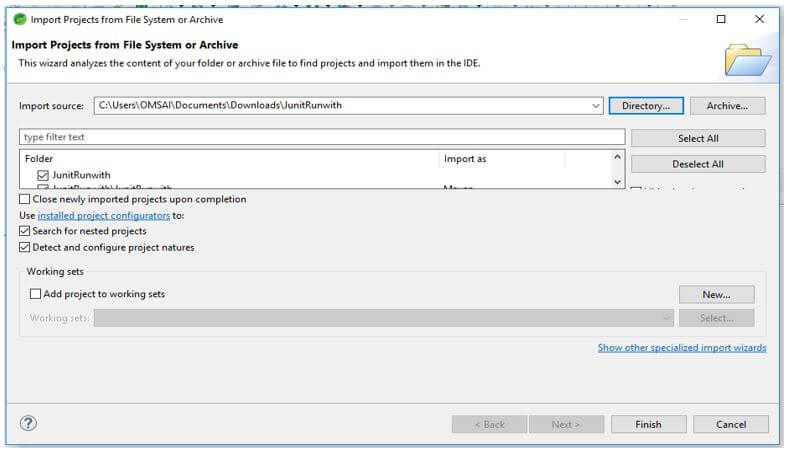
2. In this step, we extract the downloaded project and open the same using the spring tool suite.
3. We check all the project structures and files in this step. Also, we are checking whether that pom.xml file is created or not. If this file is not created, we need to create the same manually. However, this file is created in the below example, so we do not need to create it manually.
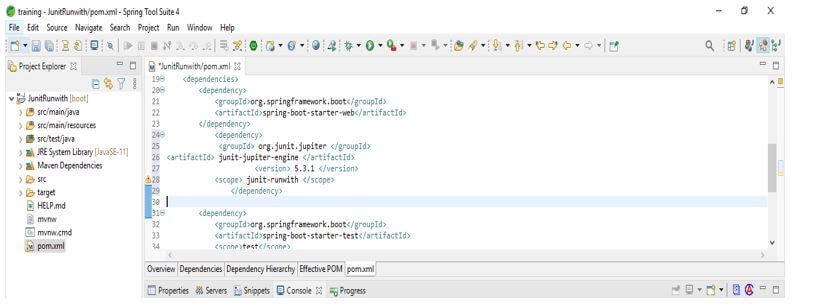
4. In this step, we add the JUnit dependency to the project. We are adding JUnit dependency as follows.
Code:
<dependency>
<groupId> org.JUnit.jupiter </groupId>
<artifactId> JUnit-jupiter-engine </artifactId>
<version> 5.3.1 </version>
<scope> JUnit-runwith </scope>
</dependency>
Output:
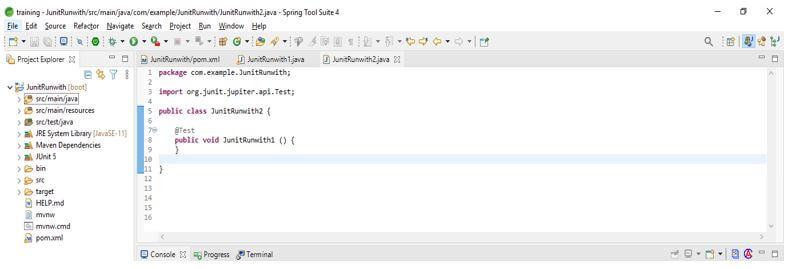
5. After adding the dependency in this step, we create a simple java class, and also, we are adding the @Test annotation as follows. We are making a class name JUnitRunwith1 as follows.
Code:
public class JUnitRunwith1
{
@Test
public void JUnitRunwith1 () {
}
}
Output:
6. After creating the first java class in this step, we are creating a simple second java class, and also, we are adding @Test annotation as follows. We are creating a class name as JUnitRunwith2 as follows.
Code:
public class JUnitRunwith1
{
@Test
public void JUnitRunwith2 () {
}
}
Output:
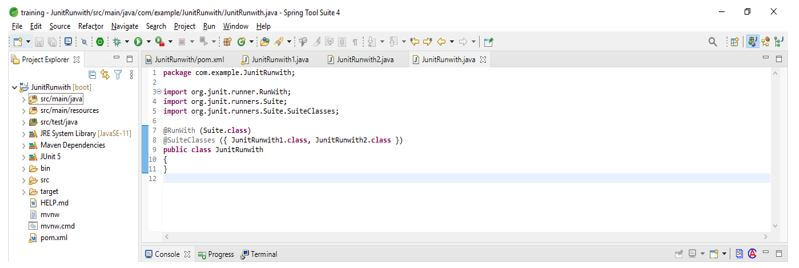
7. After creating the first and second simple java classes in this step, we create a test suite that annotates the class using @RunWith. Also, we are using @SuiteClasses annotation.
Code:
@RunWith (Suite.class)
@SuiteClasses ({ JUnitRunwith1.class, JUnitRunwith2.class })
public class JUnitRunwith
{
}
Output:
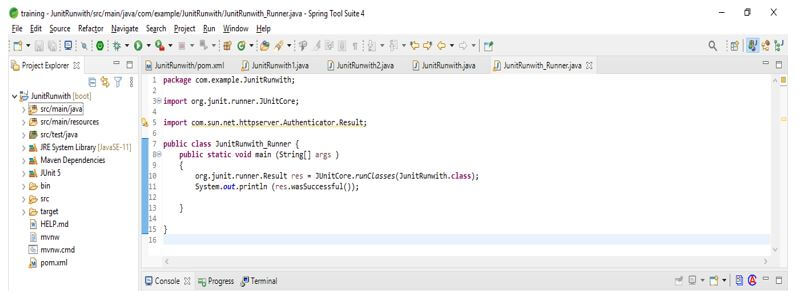
8. After creating the test suite in this step, we create the runner class for running the test suite.
Code:
public class JUnitRunwith_Runner {
{
Result res = JUnitCore.runClasses (JUnitRunwith.class);
System.out.println (res.wasSuccessful ());
}
}
Output:
9. After creating the runner class, we run the project using the JUnit test.
JUnit RunWith Type
- It uses the JUnit platform type class with the JUnit runwith annotation. The example below shows how we use the JUnit platform type class with JUnit runwith.
- The example below shows that we have used @RunWith annotation with the JUnit platform class.
- After using the @RunWith annotation with the JUnit platform type class, we created a class named JUnitRunwithType.
Code:
@RunWith (JUnitPlatform.class)
public class JUnitRunwithType
{
}
Output:
- As we know, the select annotation package is used to create and group multiple tests. Therefore, when creating the test suite, we need to give a string input value representing the value of the package.
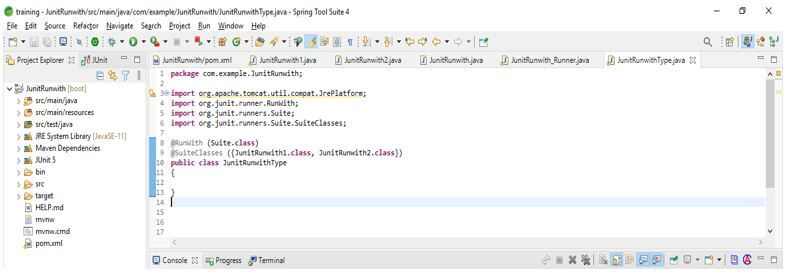
- As we know, in JUnit, we use suite class annotation to group multiple classes. So we are grouping the various classes by separating their comma. So in the below example, we can see that we have separated class types with a comma.
- The example below shows creating a test suite using the multiple classes type.
- In the below example, we can see that we have used two classes named Test1.class and Test2.class. This is because we are using Runwith annotation.
Code:
@RunWith (Suite.class)
@SuiteClasses ({JUnitRunwith1.class, JUnitRunwith2.class})
public class JUnitRunwithType
{
}
Output:
Examples of JUnit RunWith
Different examples are mentioned below:
Example #1
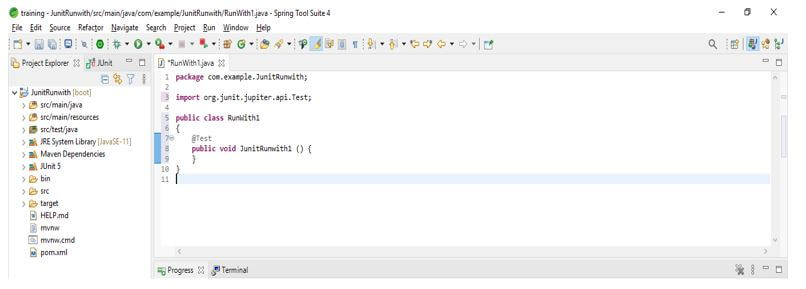
In the example below, we are creating a simple java class and adding the @Test annotation. In addition, we are creating a class name as Runwith1.
Code:
public class Runwith1
{
@Test
public void Runwith1 () {
}
}
Output:
Example #2
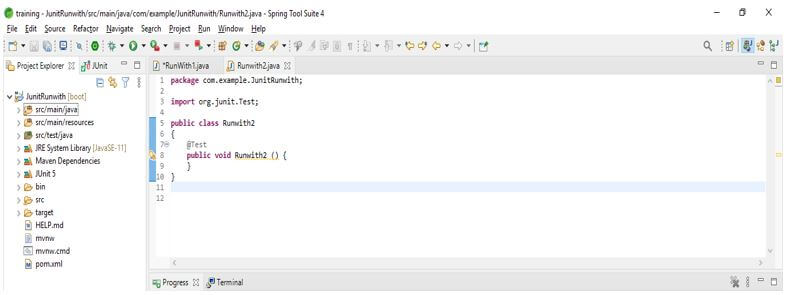
In the example below, we are creating a simple java class and adding the @Test annotation. In addition, we are creating a class name as Runwith2.
Code:
public class Runwith1
{
@Test
public void Runwith2 () {
}
}
Output:
Example #3
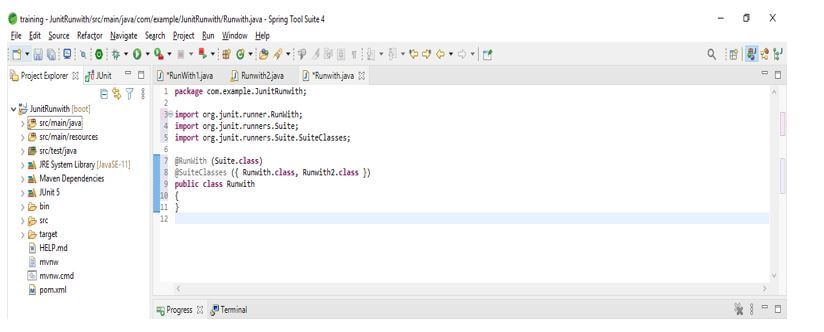
In the below example, we are creating a test suite of JUnit runwith as follows.
Code:
@RunWith (Suite.class)
@SuiteClasses ({ Runwith1.class, Runwith2.class })
public class Runwith
{
}
Output:
Example #4
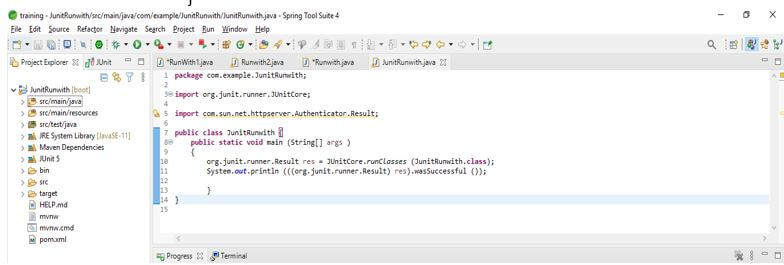
In the below example, we are creating a test suite runner and executing the test using JUnit.
Code:
public class JUnitRunwith {
{
Result res = JUnitCore.runClasses (JUnitRunwith.class);
System.out.println (res.wasSuccessful ());
}
}
Output:
Conclusion
JUnit runwith is very useful for running the test suite in our application. It is used to run the test suite; we can say that JUnit runwith helps us create test cases when combining multiple classes used for testing.
Recommended Articles
This is a guide to JUnit RunWith. Here we discuss the introduction, steps to create JUnit RunWith, type, and examples. You may also have a look at the following articles to learn more –

