Updated February 15, 2023
Introduction to Kali Linux Persistent USB
Kali Linux Persistent USB is a Live USB that allows users to save data and the changes back to USB storage instead of leaving information in system RAM(Random Access Memory). Separate persistent storage space is used with a compressed Live Linux Operating System.
Here, we shall look into the creation of Persistent USB and Kali Linux Persistent USB in the windows operating system and also add a new partition of Kali Linux Persistent USB. This article will provide a complete overview of the setting up of Kali Linux Persistent USB and the content is useful for people who want to learn penetration testing and security.
Key Takeaways
- With Kali Linux Persistent USB, users can save data and carry the saved system anywhere.
- With Kali Linux, Penetration testing and ethical hacking become easier for users.
- While testing a Linux distro or by using Live USB as a rescue disk, using the data persistency feature is helpful.
- Making Kali bootable with USB has several advantages.
- Persistent USB makes no changes to the host hard drive or the installed Operating System. Users can simply take out the USB drive and restart the system.
- As said, it is Portable and also Customizable, user can make a custom Kali Linux ISO file and drop it on a USB drive with the same steps.
What is Kali Linux Persistent USB?
As each of us knows, Kali Linux is the popular operating system for penetration testing and hacking. It has the feature of installing Kali Linux on a flash drive, and Kali Linux can run on any system with the help of a pen drive.
But here comes the major problem, when the user restarts the Operating System, the saved data, user’s changes, or configurations in Kali Linux is removed. Hence, it came out as a solution, which helps to run Kali Linux on any system without losing the saved data, its configurations, the installed programs, and the other changes if any.
Kali Linux Persistent USB is one of the fascinating ways of testing out any of the Linux distros without any modification or changes to computer, with data persistency mode in the Live session, and data remains still even when the live session is powered off. Kali Linux Persistent USB is portable and is easy to test distros and new tools, it also saves users’ work on the USB in an encrypted manner.
How to Make Kali Linux Persistent USB?
Persistent USB is a copy of the installation DVD and hence means that the file in original ISO remains as it is. If any updates or future installations are, they are saved in a space that is designated for storing changes.
For e.g., in Updating the browser in a standard installation, the older one is replaced, but in the case of Persistent storage, the older one still stays. The new version is stored on a persistent USB, taking up extra space, with creation of a few issues like kernel updates. And if a user installs Ubuntu to another system from Persistent storage, the older version of Browser will also be installed.
Booting persistent USB gives users access to install Ubuntu on a desktop, however, users may unintentionally initiate the install process and delete hard drives contents in most cases. Persistent USB is less secure and there is no login process for Persistent USB. It means, by default user has the admin rights and there is no need for a sudo password. This will make way for malicious users to boot into the persistent USB of other users and access the stored data, and documents, uninstall or reconfigure the applications, etc, hence USB is a threat to user’s data.
Pre-requisites for Persistent USB
Before starting, the user needs to keep a check on, GParted, Blank USB 2.0 or above, with at least 8GB, UNetbootin, and Kali Linux ISO image file.
Step 1: Preparing USB Drive
Before installing Kali Linux on USB, the user needs to create two partitions in USB, one for Kali Linux installation and one for persistent data storage. Tool used to perform this partition is GParted, a free tool for all major Linux distributions. If a tool is not available, it can be easily installed.
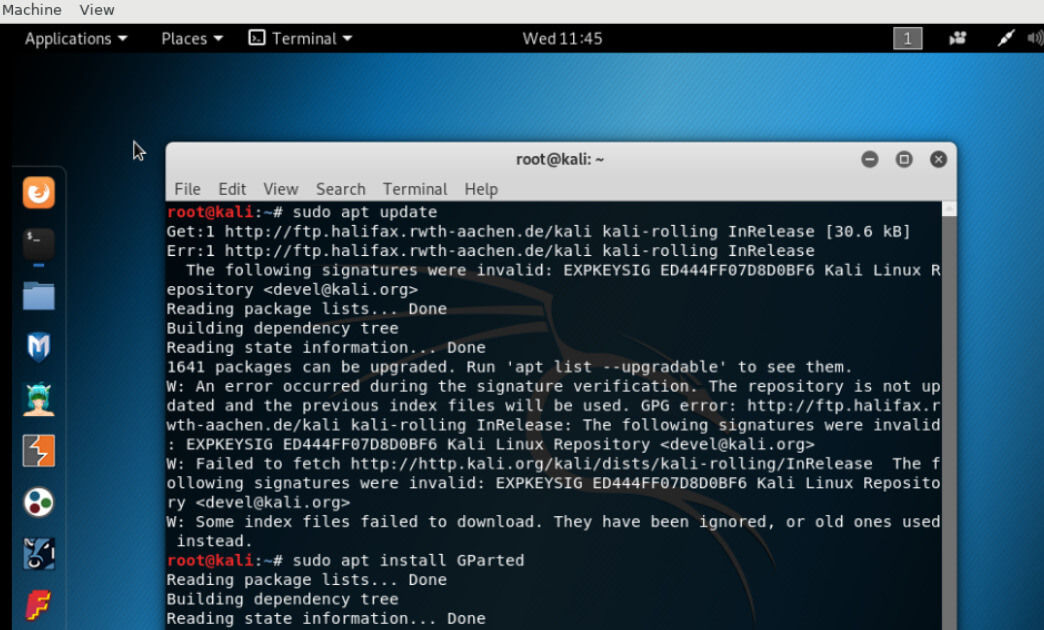
Command to install GParted tool:
sudo apt updatesudo apt install GPartedOutput:
Step 1.1: Creating New Partition for Kali Linux.
The user should make sure the USB is inserted into the system and run GParted in Ubuntu. Select the USB from the drop-down list of GParted labeled as dev/sdc or dev/sdb. Users can set the size of the partition, select the file system, provide a label name and click on Add.
Step 1.2: Create a Persistent Partition.
In the next step, user should create one more partition as a persistent partition, used to store settings and files for reboots. In GParted “Create New Partition”, select the file system and the remaining available space can be used for Persistent partition with label name and click on Add, it moves to the main GParted screen.
Check the Tick option and the change will be applied depending on the speed and size of the USB.
Step 2: Write Kali Linux ISO to USB
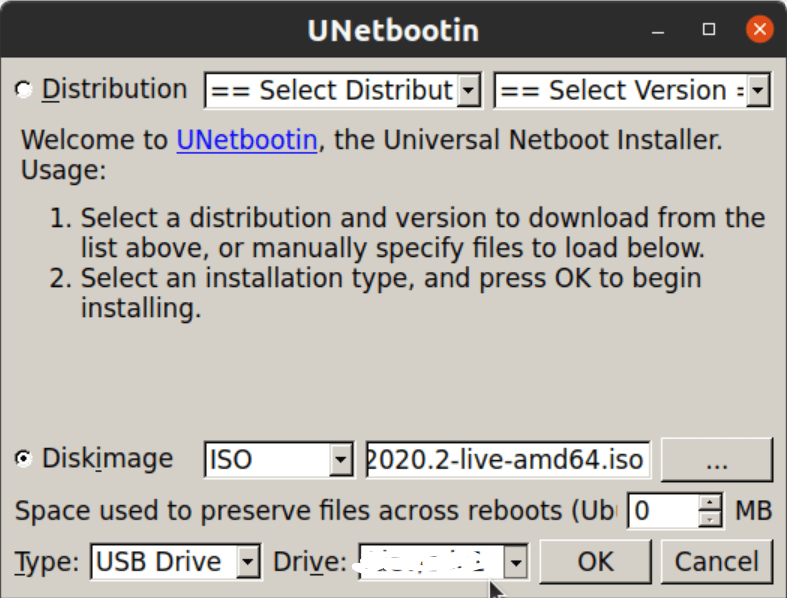
A tool called UNetbootin is used to write Kali Linux ISO files to USB, this tool is a cross-platform free tool that allows the creation of bootable USB drives for Ubuntu and Linux distributions.
Once launched, select Diskimage and browse for the Kali Linux ISO file.
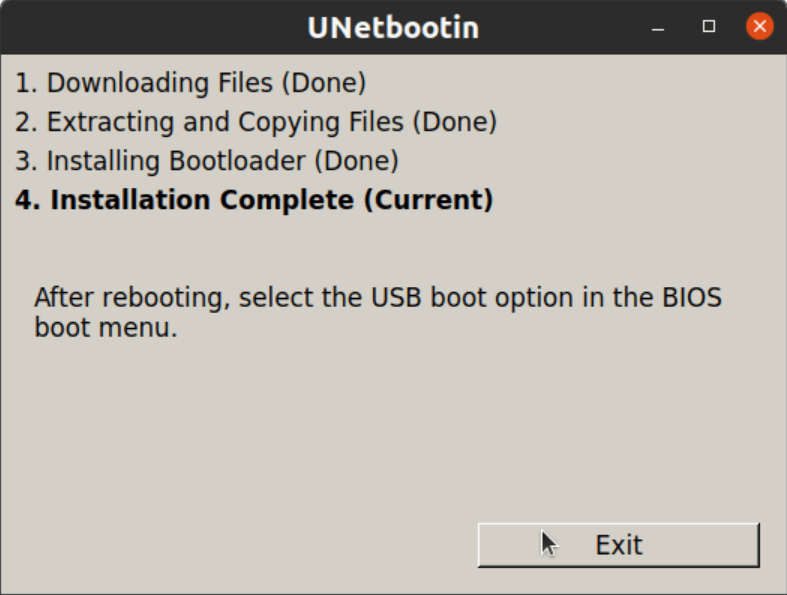
Make the configurations accordingly and click OK to start writing the Diskimage file to USB. Once done, exit and quit UNetbootin.
Step 3: Boot Kali Linux USB
Check https://www.kali.org/docs/usb/usb-persistence/ for booting Kali Linux USB. Once it is booted, run the below command.
Command:
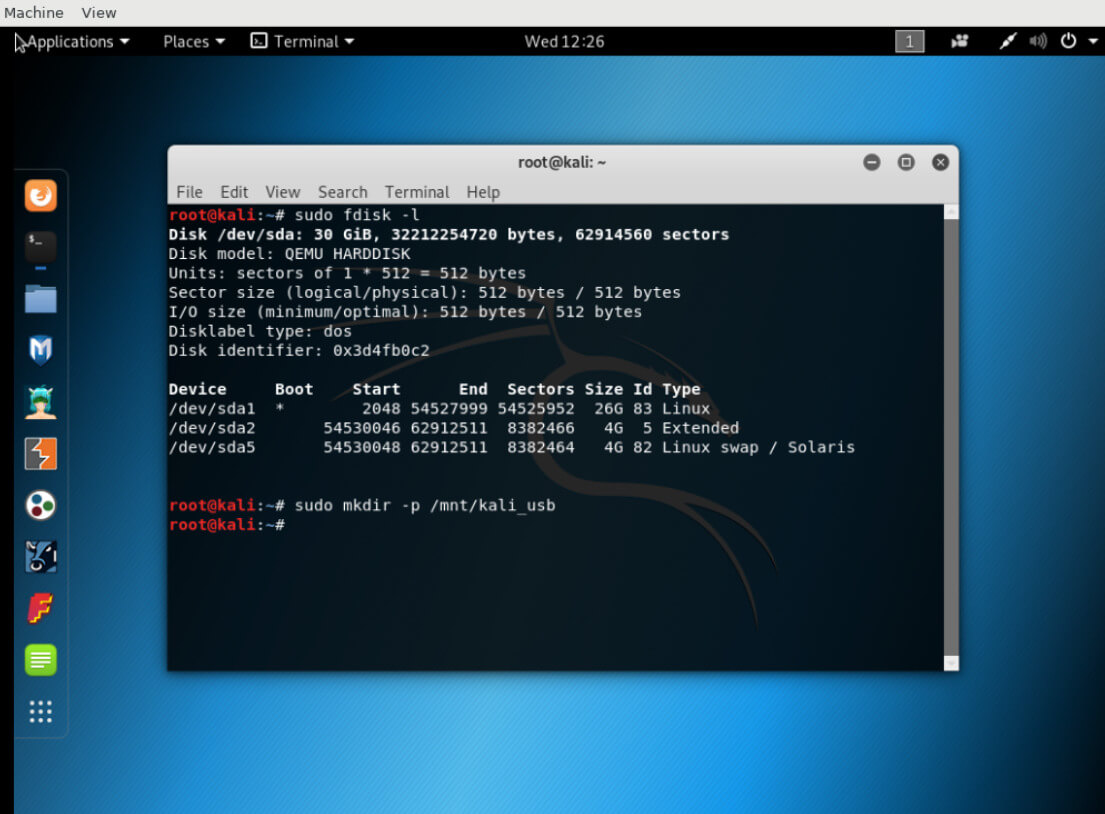
sudo fdisk -lOutput:
It displays partition information of the system.
Step 3.1: Create a Directory with a command.
Command:
sudo mkdir -p /mnt/<directory_name>Step 3.2: Mount Persistent USB Partition to the above-created Directory with the below command.
sudo mount /dev/sdc2 /mnt/<directory_name>Step 3.3: By using Nano Text Editor, create a new file with .conf extension.
sudo nano /mnt/<directory_name>/<file_name>.confThis command will open an empty file, type /union on the first line, save and exit.
Step 3.4: Unmount USB Persistent Partition.
sudo umount dev/sdc2This is how Kali Linux Persistent USB is created.
Kali Linux Persistent USB in Windows OS
Here we shall see how Persistent USB is created from Windows with partition and Encryption so that files can be retained and settings for reboots.
Step 1:
Download Kali Linux and write Kali Linux ISO to USB. Before writing to USB, all partitions in USB should be deleted else Linux might not boot properly, it can be done using Windows Disk Manager.
Step 2:
Kali Linux ISO file has to be written to USB with the help of tools like Universal USB installer, UNetbootin, or Rufus. In the above concept, we have explained it using UNetbootin, here we shall use Rufus tool.
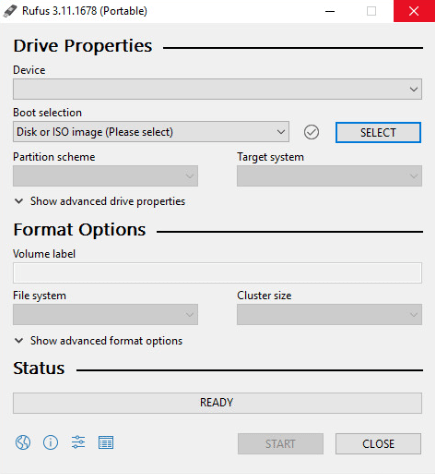
Download the Rufus tool from https://rufus.ie/en/ and run it on the machine. We need to select the USB device to which the ISO file has to be written, and then select the ISO file, then select the size of Persistent USB and just Start it.
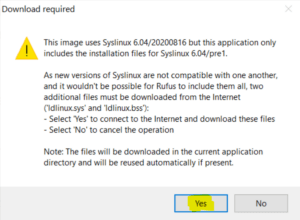
If any warning about Syslinux, select Yes.
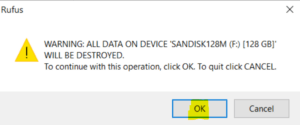
If there is any warning from Rufus, select OK.
This takes 10-30 minutes to write Kali Linux ISO file to USB based on hardware and size of the USB.
Step 3:
Booting Kali Linux USB.
On some machines, restarting machines is enough, with a USB being plugged in, it will automatically boot Kali Linux automatically.
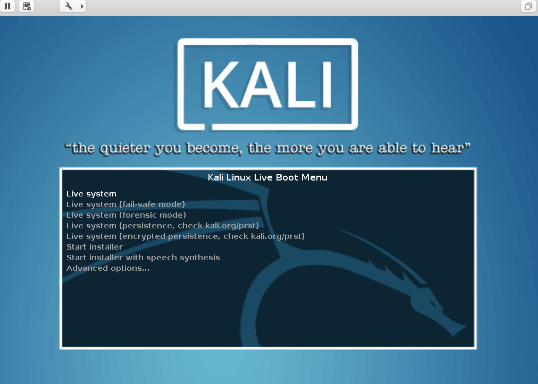
If this process does not work, and the PC boots back to Windows, hold the SHIFT key while clicking Restart from the Start menu in Windows and select boot from the USB. On system rebooting, the user will be presented with the Kali Linux boot menu.
Select Kali Linux USB Persistence and click on Enter. Menu might look different based on the Kali version.
To check if it’s working fine, create an empty test folder on the Desktop and restart it. Check USB Persistence and see if the folder is still present, it means persistent is working as expected.
Conclusion
With this, we shall conclude the topic “Kali Linux Persistent USB”. We have seen what Kali Linux Persistent USB means and how to make Persistent USB along with adding a new partition for Persistent. Also, we have listed out the pre-requisites required to create Kali Linux Persistent USB. Also looked into Kali Linux Persistent USB in Windows Operating System.
Recommended Articles
This is a guide to Kali Linux Persistent USB. Here we discuss the introduction, how to make kali linux persistent USB and kali linux persistent USB in windows OS. You may also have a look at the following articles to learn more –

