Updated February 15, 2023
Introduction to Kali Linux Virtual Box
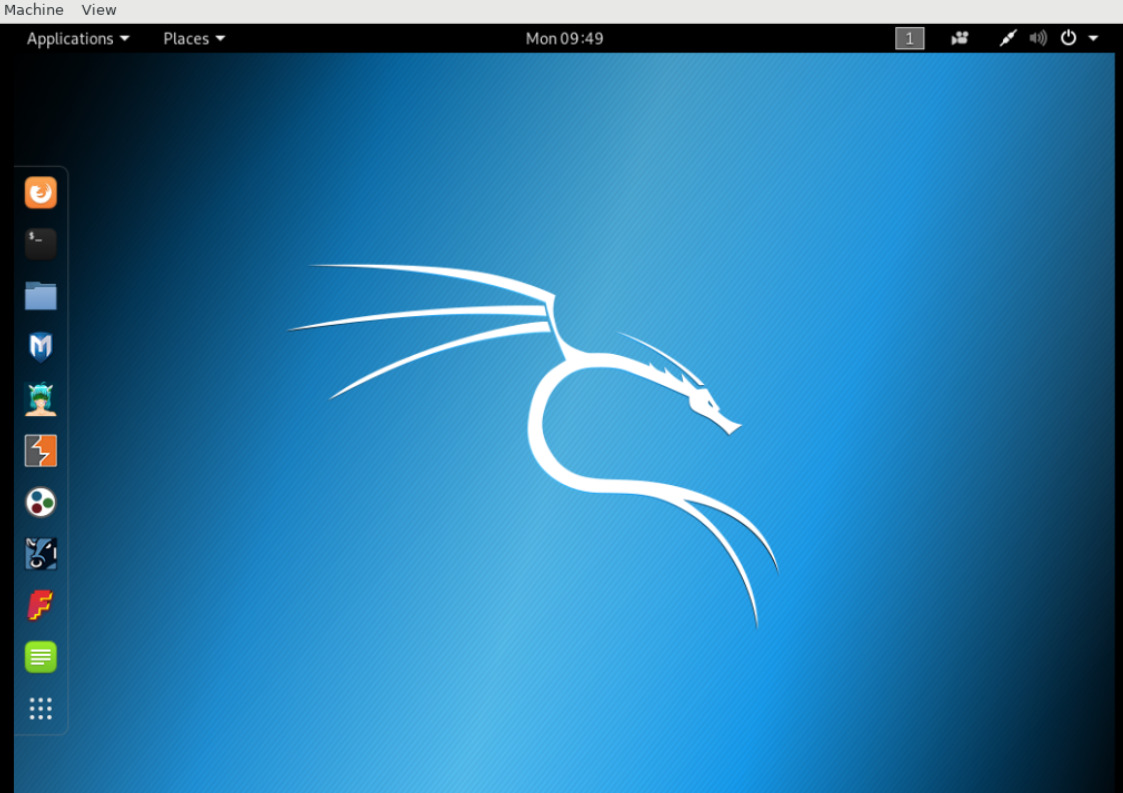
Kali Linux Virtual Box is a free open-source program that helps in virtualizing Kali Linux inside Virtual Box, allowing for the creation of a Kali Virtual Machine. It is one of the best ways to use Kali as it helps to separate from the host completely and also allows to interact with other Virtual Machines and allows users to revert snapshots. Kali Linux, as we know is a Debian-derived distribution made for Penetration Testing, even with 600 preinstalled penetration testing programs, Kali Linux Virtual Box has earned a reputation as the best operating system for security testing.
Hence as a security testing platform, it is the best way to install Kali as Virtual Machine on Virtual Box. In this article, we shall look into the creation of Virtual Box on Kali Linux and how to use Virtual Box and Virtual Box files along with VBox Guest Additions.

What is Kali Linux Virtual Box?
Kali Linux Virtual Box allows to use of Virtual Machines inside Kali Linux, however, if the user wants to install Kali Linux as Virtual Machine, needs to look into virtualizing inside Virtual Box.
Kali Linux has a rolling model that ensures up-to-date tools on users’ systems along with an active community providing ongoing support. In the case of Dual Booting Windows with Kali Linux, increases the speed and efficiency of the Operating System but it is not possible to switch operating systems instantly. Hence, to make this happen, it can be installed on Virtual Box. Once done, we can switch between the operating system by changing the active Window from Virtual Box to another window and vice versa.
With it, users can use Kali Linux as a regular application in Windows or Linux systems, similar to running VLC or games in systems. Any operation done on Kali Linux will not impact the host system, i.e., the original operating system. The actual Operating system will not be touched and the data in the host will be safe.
How to Create Virtual Box in Kali Linux?
We shall use a custom Kali image for Virtual Box, also download the ISO file and create a Virtual Machine, but there is an alternative.
Step 1: At first place, download Virtual Box and install from Oracle’s Virtual Box from the below url: https://www.virtualbox.org/wiki/Downloads
Step 2: Once the installer is downloaded, double-click to install Virtual Box, the same as installing Virtual Box on Ubuntu.
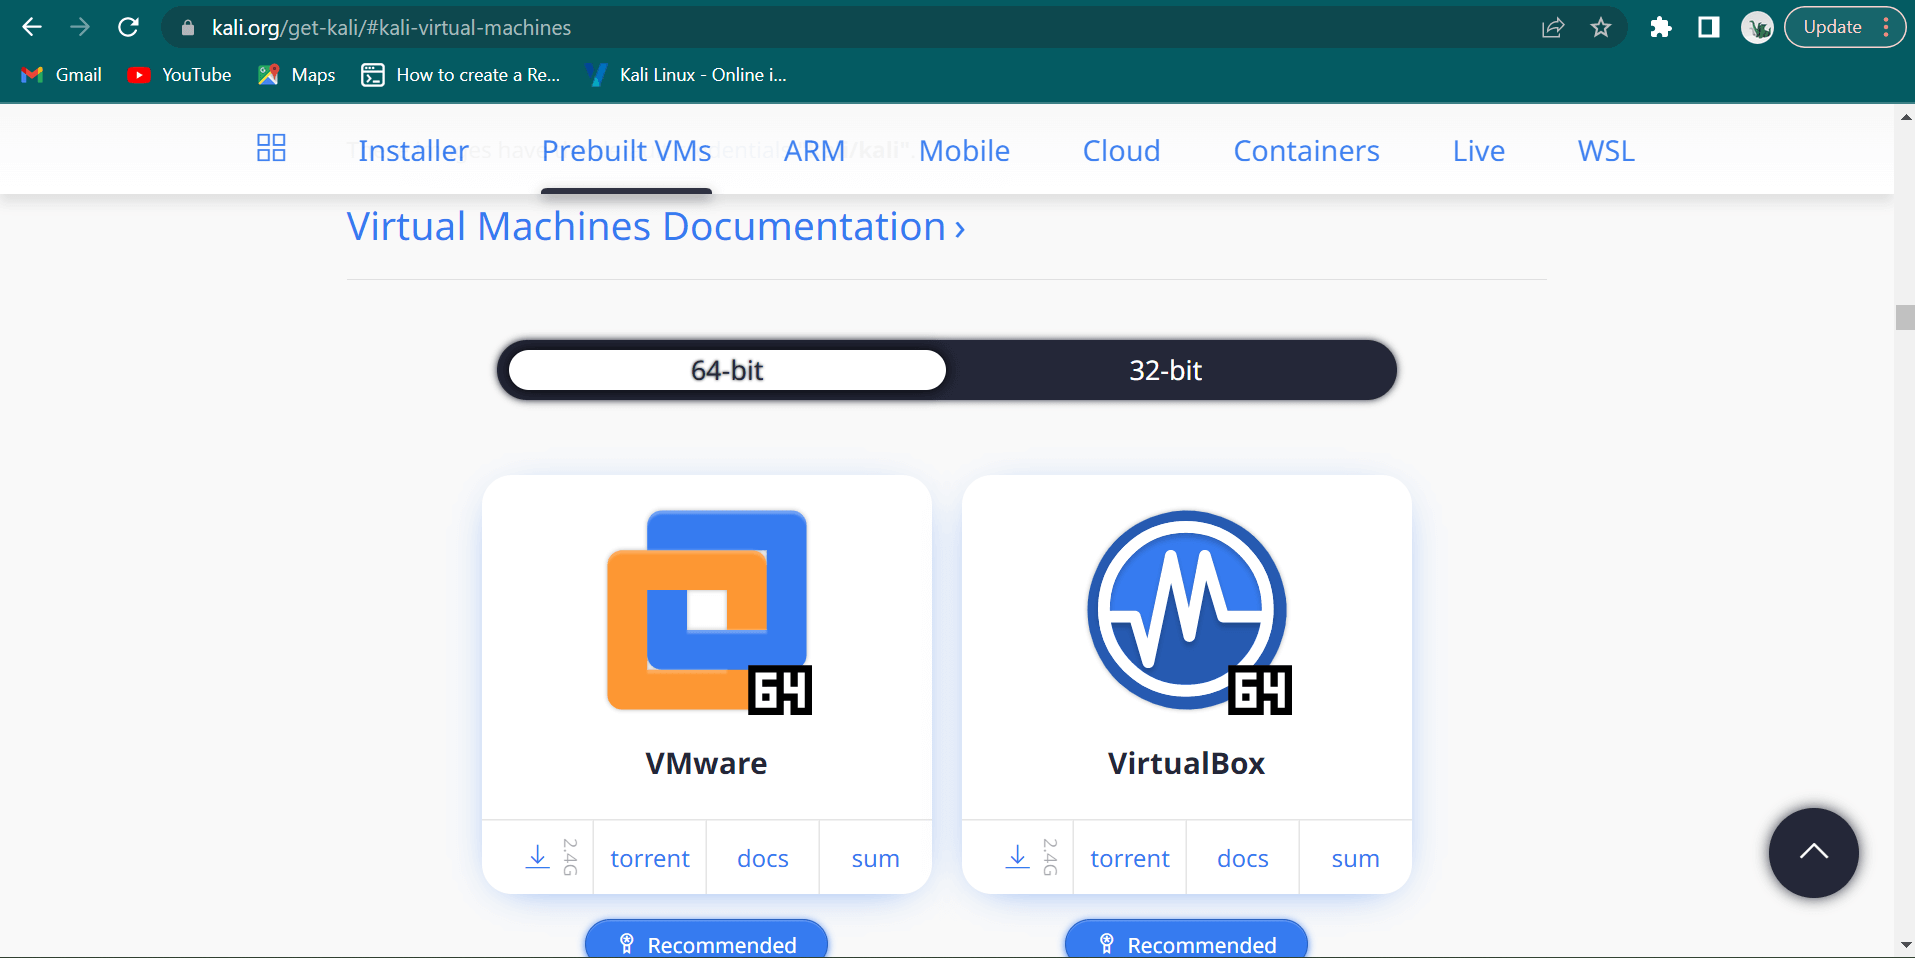
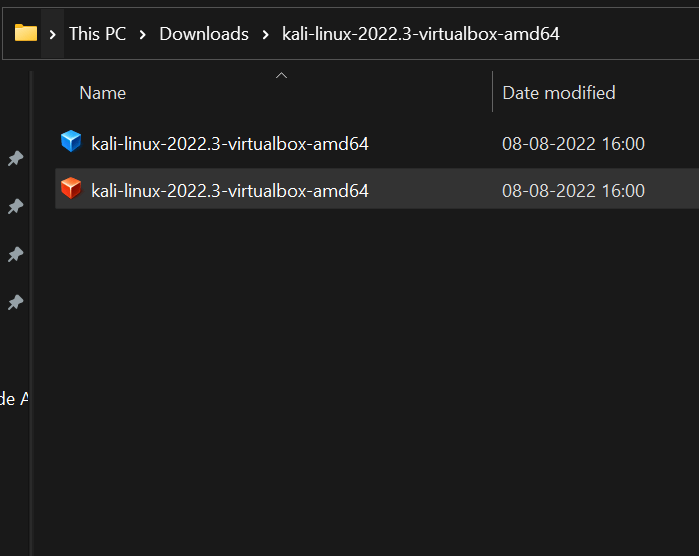
Step 3: After installing Virtual Box, move to https://www.kali.org/get-kali/ to download the Virtual Machine image for Virtual Box.
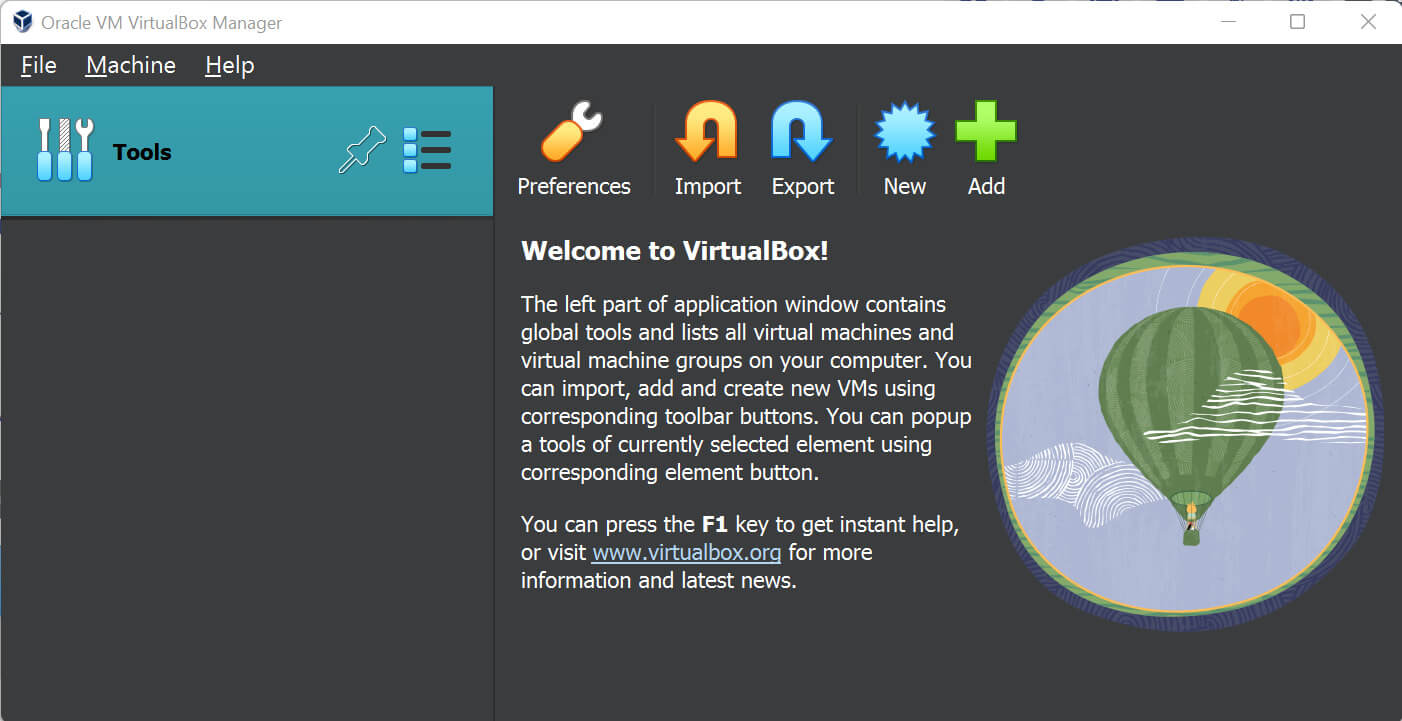
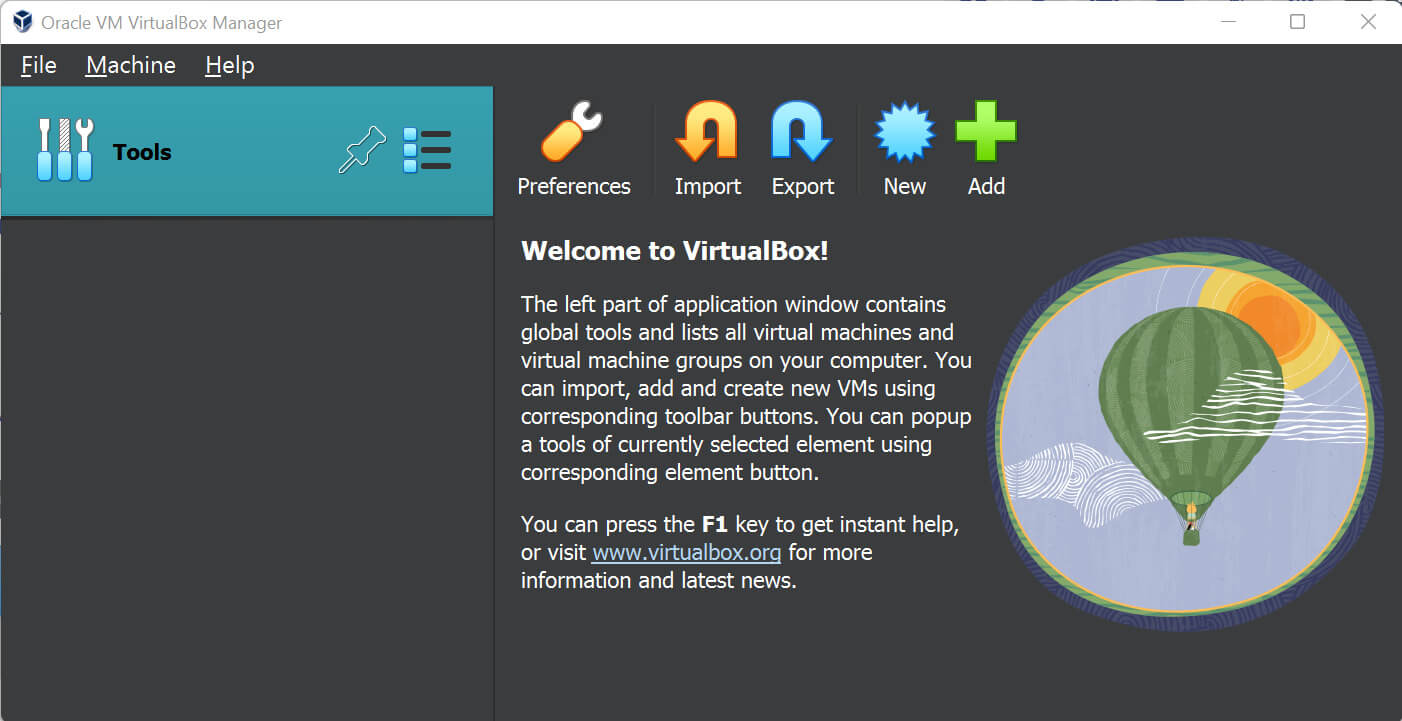
Step 4: Then, import the Virtual Box image in Kali Linux, as below, Launch Virtual Box, we can see the import option, click it.
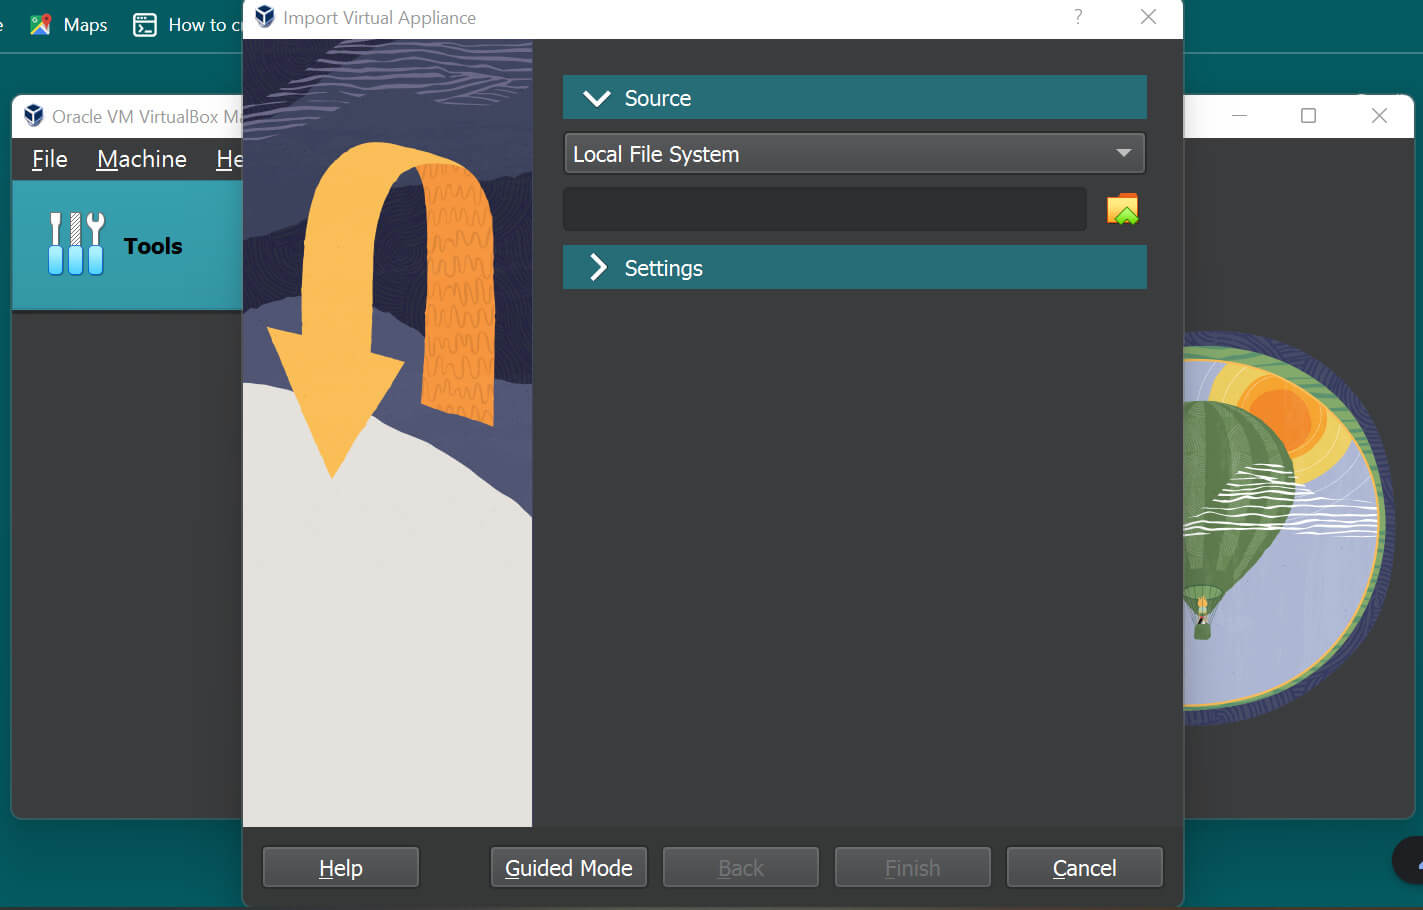
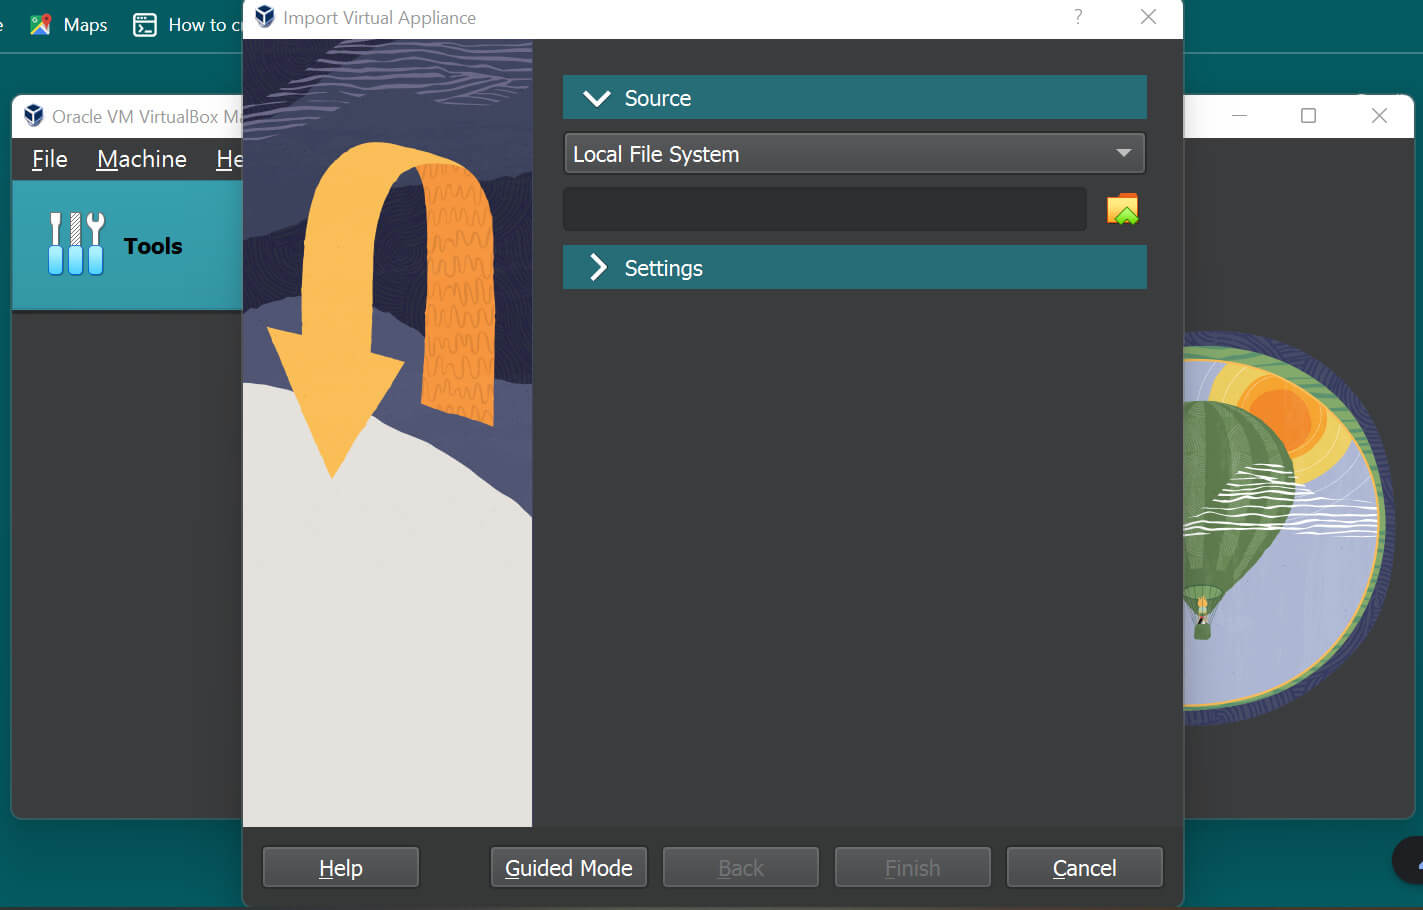
Step 5: Search for the file that is just downloaded, and select it so that the path gets highlighted below the Local File System below.
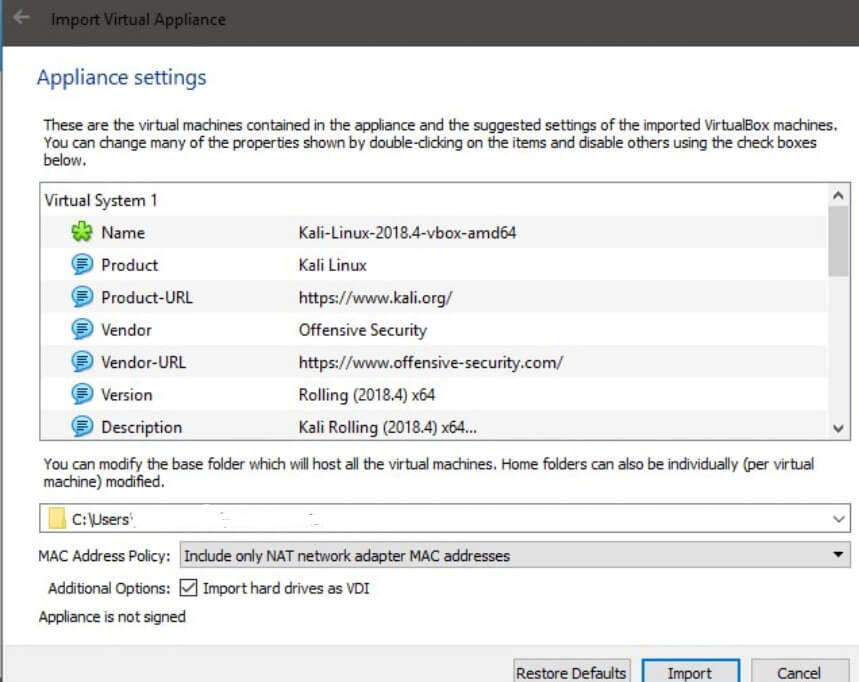
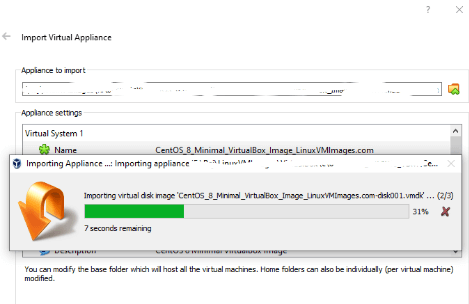
Step 6: Then click on Next, provide the Appliance settings accordingly and click on Import.
*Import Hard drives as VDI means Virtually mounting hard drives by allocating storage space.
Once Import is done, click on Start to launch the Virtual Box.
Step 7: Users might get an error in the first place for USB 2.0, it can be resolved by disabling it or just by following the on-screen instructions for installation of an additional package to help fix it. That’s it! Now your Kali Linux is running in Virtual Box.
The default username and password are root and toor respectively. Since 2020 January, Kali Linux is now not using a root account. From then, the username and password are both kali.
How to Use Virtual Box File?
Here is how Virtual Box uses the ova file method:
Pre-requisites:
- Kali Linux 2019.1: Download from https://images.offensive-security.com/virtual-images/kali-linux-2019.1-vbox-amd64.ova.torrent
- Virtual Box: Download from https://www.virtualbox.org/wiki/Downloads
- Central Processing Unit supporting Virtualization with atleast 8 GB free disk space.
- 7-zip .exe file and VBox Extension pack.
Step 1: Download and install Virtual Box in the system, then download the Kali Linux .ova file and extract using 7-zip.
Step 2: File extracted would be .ova file extension which is preinstalled Kali Linux machine.
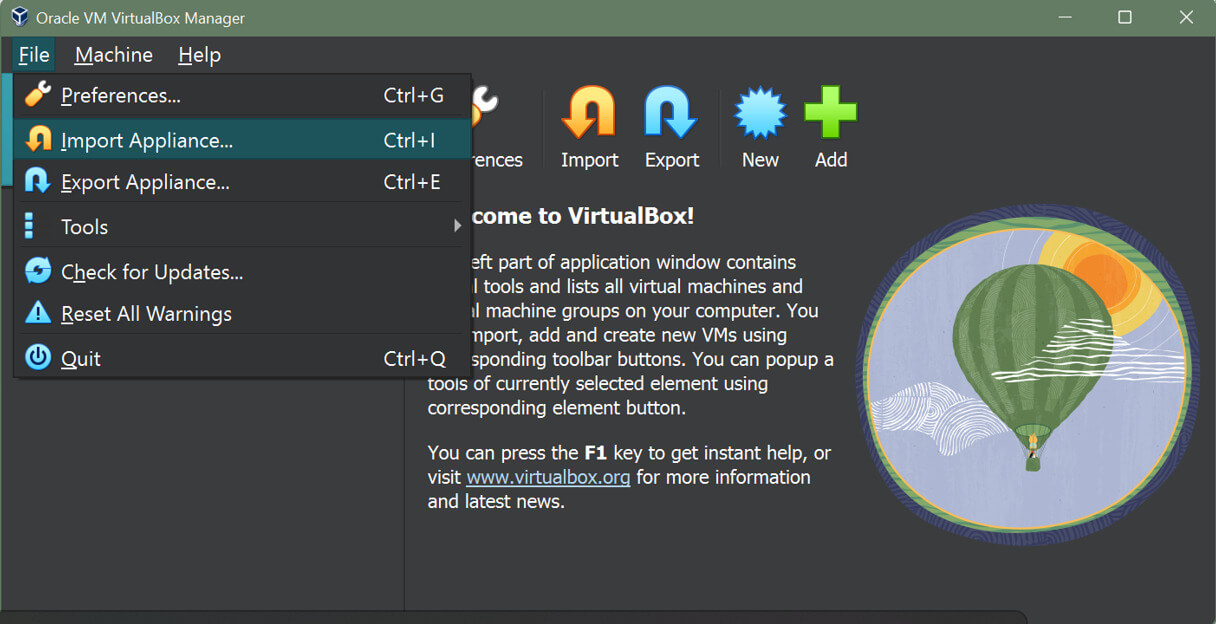
Step 3: Click on File – Import Appliance.
Step 4: Select the Virtual Box folder.
Step 4: Appliance Settings window can be configured in the next step for the RAM size, name of VM, etc, and then give Import.
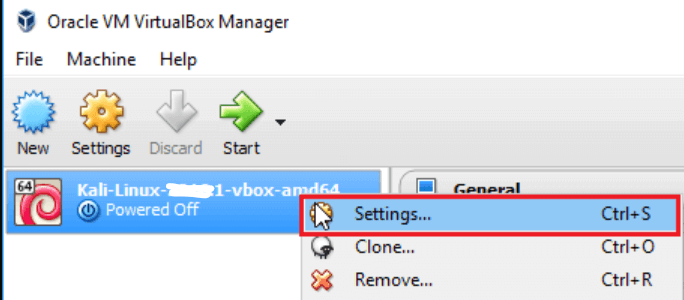
Step 5: Once imported, right-click and check for Settings.
RAM size can be adjusted by moving the slider accordingly, a minimum of 2GB of RAM is required. Complete the network settings and Start the Kali Linux VM. Login to Kali Linux with root and toor as username and password. If the version installed is the latest, use kali as both username and password.
There is a concept of Shared Folders that allows files to be copied to and from images. Select devices from the VBox menu, then move to Shared Folders, then to Shared Folders Settings. Click on plus sign and select a required desktop folder, set Auto mount and make it permanent, then OK. It needs to be auto-mounted and hence system needs to reboot.
Dragging and dropping of files in Virtual Box, if the user needs to transfer a few files quickly, the user can simply drag-drop files in. On the running guest machine, click on Devices Drag / Drop Select Bidirectional, which means the user will be able to drag files from host to guest and from guest to host.
VBox Guest Additions
First, install the Kali Linux as VBox Virtual Machine, and in order to use Shared Folders and Clipboards, along with correcting the behavior of the mouse, Guest Additions need to be installed.
Start VM and attach the Guest Additions image, select the devices from the Virtual Box menu and select “Install Guest Additions”. And hence this will show the Guest Additions CD on the Desktop. If autorun is required, do not autorun but cancel it.
Mounting Guest Box Additions, Guest Additions CD installed on Desktop should be double clicked and the window needs to be closed.
Open Terminal and try to locate the Guest Additions cdrom.
Command:
ls /media/cdrom0
cp /media/cdrom0/VBoxLinuxAdditions.run  /tmp
Output:
To install Guest Additions.
Command:
sudo ./VBoxLinuxAdditions.runEnter this command and the password, with the return key. If there is any prompt to install a newer version, select Yes.
Click on the Battery icon, click on the user name and restart to complete the installation.
Who Needs to Install Kali Linux on Virtual Box?
It is a choice that users can make based on requirements that the user has from the installed operating system. Below are a few of the pros and cons when a user installs on Virtual Box:
Pros:
- It helps to manage resources as required.
- It is perfect for testing Operating Systems.
- It can help create snapshots and roll back the changes with a single click.
- Multiple operating systems can be run without affecting the main.
- Operating systems installed with Virtual Box are portable.
- Can play with the Operating system without worrying about losing data which is important.
Cons:
- There is limited support for Graphical Processing Unit Acceleration.
- Based on the ease of rolling back the changes, users might not learn to troubleshoot.
- It has a slower performance comparatively.
- Here, the USB WiFi adapters work better when the Operating system is installed natively.
- There is an extra layer of abstraction between physical hardware, OS, and guest OS.
Conclusion
With this, we conclude the topic. We have seen what is Kali Linux Virtual Box and why Virtual Box should be used. We have also seen how to create Kali Linux in Virtual Box and the VBox Guest Additions. Have listed out the pros and cons of using Kali Linux Virtual Box. The entire process of Virtual Box is straight forward and Kali Linux does most of the work for the user.
Recommended Articles
This is a guide to Kali Linux Virtual Box. Here we discuss the introduction, how to create a virtual box in kali linux, use, and VBox guest additions. You may also have a look at the following articles to learn more –
