Updated March 16, 2023
Introduction to Keras ResNet50
Keras resnet50 is nothing but a residual neural network that is a classic neural network that was used as the backbone of multiple computer tasks. The keras resnet50 model is allowing us to train deep neural networks by using 150 layers. The keras resnet first introduced the concept name as skip connection. The kernel was intended for image file handling and transfer learning by using the pre-trained keras resnet50 model.
Key Takeaways
- At the time of using resnet50, we need to use the keras which was an open-source library which was written in python for neural networks.
- It is a pretrained model, it was trained by using imagenet. This model will weigh on the pretrained model.
What is Keras ResNet50?
At the time of using the keras resnet, we need to import the keras tensorflow module in our code. We also need to import the numpy library into our program code. While increasing the depth of the network will not work by stacking the same together.
Deep network is very hard to train because of the problem of vanishing. As per the result, the network will go deeper and the gradient will propagate to the layers. Repeated multiplication will be making the gradient very small. As a result, the network is going deeper and its performance is saturated and also it will degrade rapidly.
Use of Keras ResNet50
To use keras ResNet50 we need to follow the below steps. We need to import the tensorflow keras model.
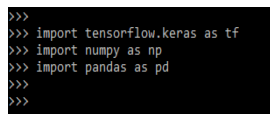
1. In the first step we are importing the keras and tensorflow model by using the import keyword.
Code:
import tensorflow.keras as tf
import numpy as np
import pandas as pd
Output:
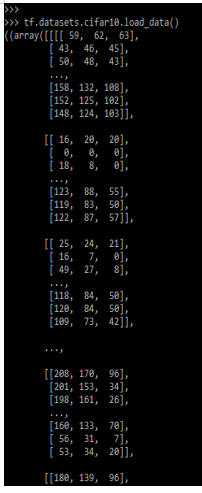
2. After importing the module, now in this step we are loading the image in a PIL format.
Code:
tf.datasets.cifar10.load_data()Output:
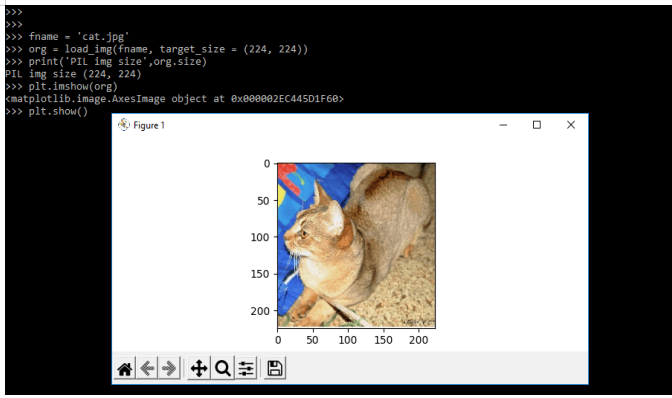
3. After loading the dataset now in this step, we are selecting an input. We are selecting input as jpg file.
Code:
fname = 'cat.jpg'
org = load_img(fname, target_size = (224, 224))
print('PIL img size', org.size)
plt.imshow(org)
plt.show()
Output:
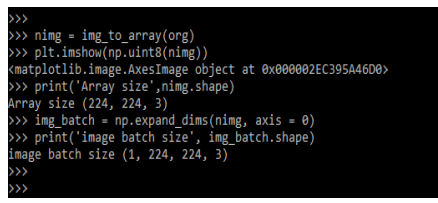
4. After taking input of the image now in this step we are converting the image into a numpy array.
Code:
nimg = img_to_array(org)
plt.imshow(np.uint8(nimg))
print('Array size', nimg.shape)
img_batch = np.expand_dims(nimg, axis = 0)
print('image batch size', img_batch.shape)
Output:
5. After converting the image from numpy to array, now in this step we are predicting the model also using the resnet50 model.
Code:
pimg = resnet50.preprocess_input(img_batch.copy())
resnet50_mod = resnet50.ResNet50(weights = 'imagenet')
pred = resnet50_mod.predict(pimg)
lab = decode_predictions(pred)
print(lab)
Output:
Keras Applications ResNet50
Keras application uses the deep learning models which are available by using pre-trained weights. This model is used for feature extraction, prediction, and fine-tuning. Weights are downloaded automatically while instantiating a model. In the below example, we are creating the keras application of resnet50. In the below step, we are importing the modules of the keras resnet50 application.
Code:
from tensorflow.keras.applications.resnet50 import ResNet50
from tensorflow.keras.applications import resnet50
import PIL
from tensorflow.keras.applications.imagenet_utils import decode_predictions
import matplotlib.pyplot as plt
import numpy as np
from tensorflow.keras.preprocessing.image import load_img
from tensorflow.keras.preprocessing.image import img_to_array
Output:
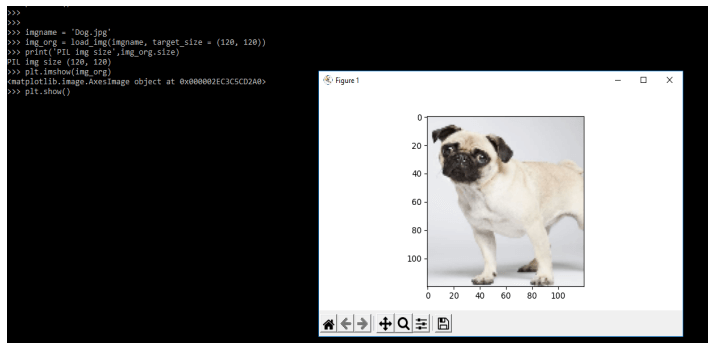
After importing the module now in this step we are taking the input from the user in jpg format as follows. In the below example, we are loading the jpg image.
Code:
imgname = 'Dog.jpg'
img_org = load_img(imgname, target_size = (120, 120))
print('PIL img size', img_org.size)
plt.imshow(img_org)
plt.show()
Output:
After taking the input in jpg format now in the below step we are converting the model into the numpy array and also predicting the model.
Code:
res_img = img_to_array(img_org)
plt.imshow(np.uint8(res_img))
print('Array size', res_img.shape)
res_bat = np.expand_dims(res_img, axis = 0)
print('Batch size', res_bat.shape)
res_pimg = resnet50.preprocess_input(res_bat.copy())
resnet50_mod = resnet50.ResNet50 (weights = 'imagenet')
res_pred = resnet50_mod.predict(res_pimg)
res_lab = decode_predictions(res_pred)
print(res_lab)
Output:
Keras ResNet50 Module
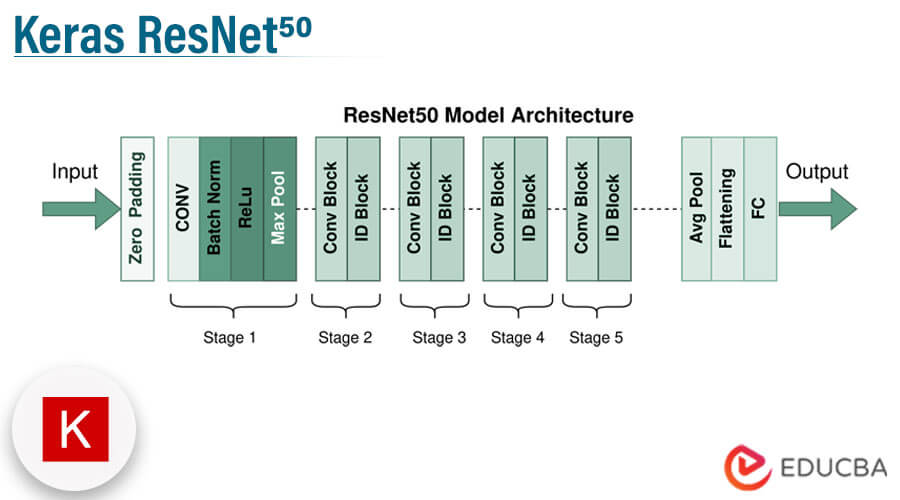
The keras ResNet50 module will instantiate the architecture of ResNet5. This module contains the below function as follows:
- ResNet50 – This will be instantiating the architecture of resnet50.
- decode_predictions – This function is used to decode the predictions from a model of imagenet.
- preprocess_input – This function in keras resnt50 will preprocess the encoding of the NumPy array from the batch of images.
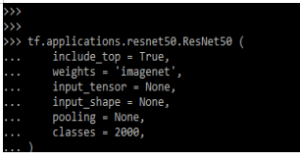
The below example shows how we are using resnet50 in our application. We are using different types of arguments by using the resnet50 module as follows.
Code:
tf.applications.resnet50.ResNet50 (
include_top = True,
weights = 'imagenet',
input_tensor = None,
input_shape = None,
pooling = None,
classes = 2000,
)
Output:
In the above example, we can see that we have used different types of arguments with the keras resnet50 module as follows.
- include_top – This argument is used whether we are including a fully connected layer or not.
- weights – This is defined as the path of weights which, we are loading.
- input_tensor – This is an optional keras tensor that was used as image input for the keras model.
- input_shape – This parameter is specifying if we have included is false or if the shape is the default.
- pooling – This parameter is defined in 3 parameters like avg, max, and none.
- classes – This parameter is only used while we have defined the include_top parameter as true.
Keras ResNet50 Notebook
For using the notebook of keras resnet50 we need to first clone the model for reference purposes. We are cloning the module by using the git clone command as follows.
Code:
git clone -b 0.15.4 http…gitOutput:
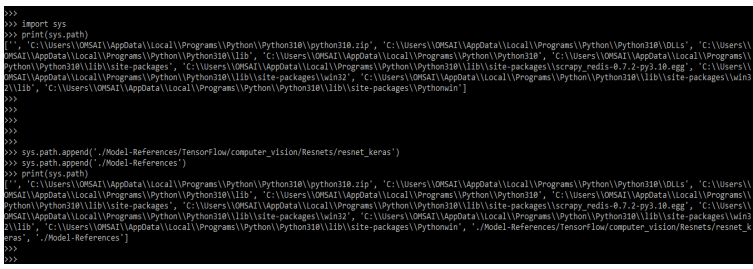
After cloning the module now in this step we are checking the model reference repository location as follows.
Code:
import sys
print(sys.path)
sys.path.append(path)
sys.path.append(path)
print(sys.path)
Output:
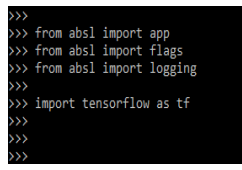
After checking the location of the path now in this step we are importing the module by using the import keyword as follows.
Code:
from absl import flags
from absl import app
from absl import logging
import tensorflow as tf
Output:
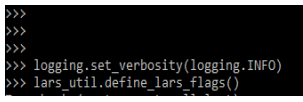
After importing the module now in this step we are defining the arguments of keras API as follows.
Code:
logging.set_verbosity(logging.INFO)
lars_util.define_lars_flags()
Output:
After defining the arguments of keras API we are creating the function parsing the arguments as follows.
Code:
def parse_args_yaml_config(cfile):
ycon = HabanaModelYamlConfig('resnet_keras',  cfile)
Output:
After creating the function and parsing the arguments now in this step we are initializing and preloading the libraries as follows.
Code:
synapse_logger_init()
common.initialize_preloading()
Output:
Examples of Keras ResNet50
Given below are the examples mentioned:
Example #1
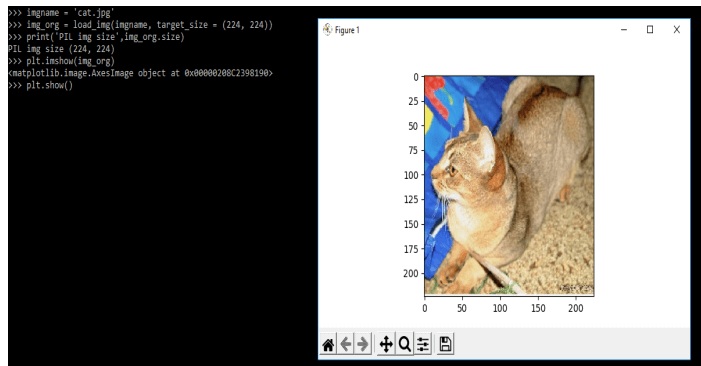
In the below example, we are loading the image in jpg format.
Code:
imgname = 'cat.jpg'
img_org = load_img(imgname, target_size = (224, 224))
print('PIL img size', img_org.size)
plt.imshow(img_org)
plt.show()
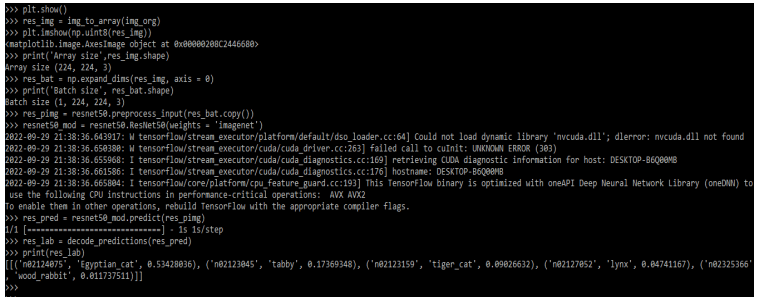
res_img = img_to_array(img_org)
plt.imshow(np.uint8(res_img))
print('Array size', res_img.shape)
res_bat = np.expand_dims(res_img, axis = 0)
print('Batch size', res_bat.shape)
res_pimg = resnet50.preprocess_input(res_bat.copy())
resnet50_mod = resnet50.ResNet50(weights = 'imagenet')
res_pred = resnet50_mod.predict(res_pimg)
res_lab = decode_predictions(res_pred)
print(res_lab)
Output:
Example #2
In the below example, we are using parameters.
Code:
res_img = img_to_array(img_org)
plt.imshow(np.uint8(res_img))
print('Array size',res_img.shape)
res_bat = np.expand_dims(res_img, axis = 0)
print('Batch size', res_bat.shape)
res_pimg = resnet50.preprocess_input(res_bat.copy())
resnet50_mod = resnet50.ResNet50(include_top = True, weights = 'imagenet',classes = 1000)
res_pred = resnet50_mod.predict(res_pimg)
res_lab = decode_predictions(res_pred)
print(res_lab)
Output:
FAQ
Given below are the FAQs mentioned:
Q1. What is the use of keras resnet50?
Answer: It is a model which was used to pre-trained the model. This model was trained by using imagenet.
Q2. Which libraries do we need to use at the time of working on keras resnet50?
Answer: We need to import the tensorflow, numpy, and pyplot modules while working on it.
Q3. Which arguments we are using with keras resnet50?
Answer: We are using weights, include_top, input_tensor, input_shape, pooling, and class parameters while using resnet50.
Conclusion
Deep network is very hard to train because of the problem of vanishing. As per result, the network will go deeper, and the gradient will propagate to the layers. It is nothing but a residual neural network that is a classic neural network that was used as the backbone of multiple computer tasks.
Recommended Articles
This is a guide to Keras ResNet50. Here we discuss the introduction, using keras ResNet50, module, examples, and FAQ. You may also have a look at the following articles to learn more –
