Introduction to Keylight in After Effects
After Effect is video editing software that video editing professionals widely use for their highly professional work. We have different types of features available in After Effect software, which helps create unique graphic designs. Keylight is one of its good features, which we can define as a method by which you can remove green background from any video footage and replace it with any background by setting parameters of Keylight. Here in this article, we will understand key light and analyze its different parameters to better understand this feature of After Effect software.
How to Use Keylight in After Effects?
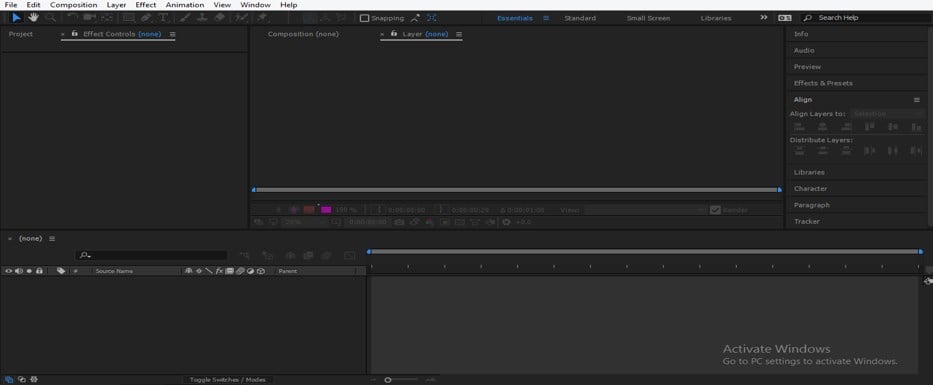
Before starting our discussion, let us have a look at the user interface of this software so that we can easily understand the technical terms of this software throughout this article. At the top of the working screen, we have two ribbons first is the Menu bar, and the second is the Toolbar which is used for management and designing of different type of things in this software; we have Project Panel at the left side of the working screen, and next to Project Panel we have Effect Control panel, at the center of the screen we have Composition window which shows you the current composition of any project work, at the right side of the working screen we have some parameters such as Effects & Presets tab, Preview tab, Align tab, etc., at the bottom end we have two sections that are Layer section which shows a number of layer of any composition and Timeline section which have all handling points for animating any project in After Effect.
Step 1: First of all, let us take green background footage or a clip of any footage from the internet for our learning. You can download it from hollywoodcamerawork.com, or you can take your own footage for our learning.
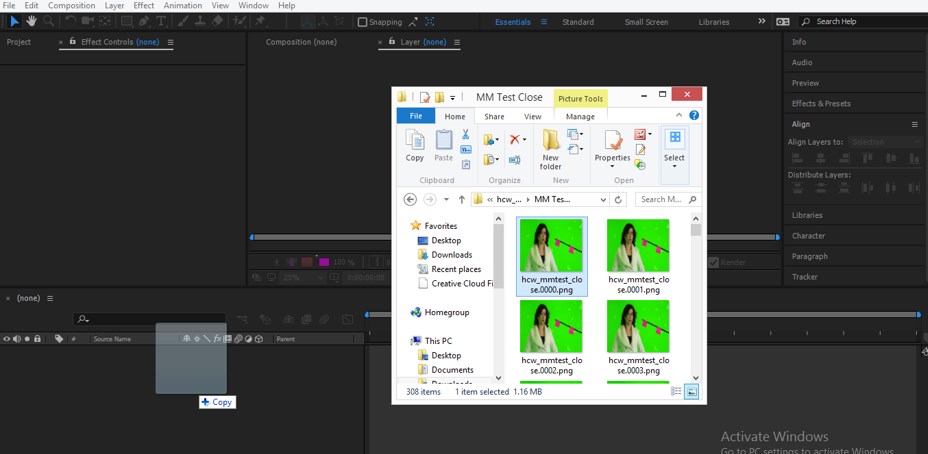
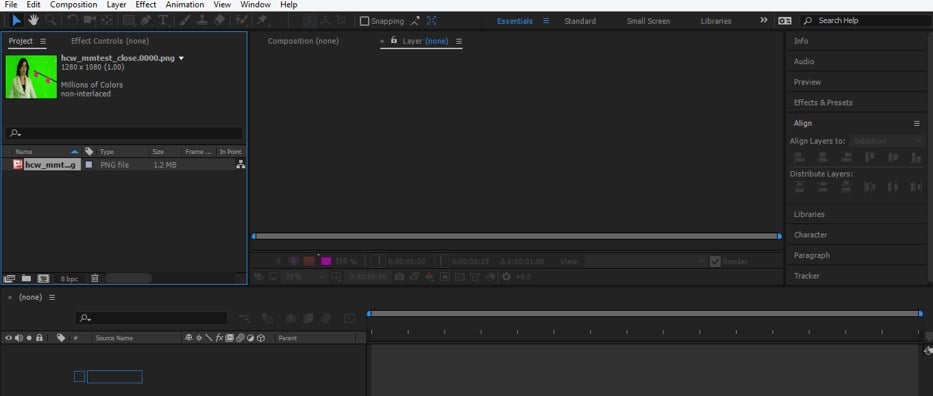
Step 2: Now, place this footage in After Effect software. For placing this footage, go to that folder where you have saved it and pick it from there with the help of the mouse button, then drop it in the Project panel of After Effect software.
Step 3: Now drag this footage in the Layer Section from the Project Panel of this software and drop it there.
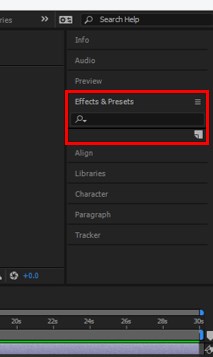
Step 4: Now go to the Effects & Presets tab of this software which is on the right side of the working screen.
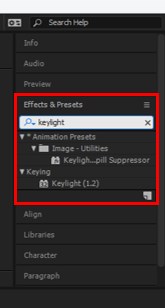
Step 5: Now search for ‘Keylight’ in the search box of the Effects & Presets tab.
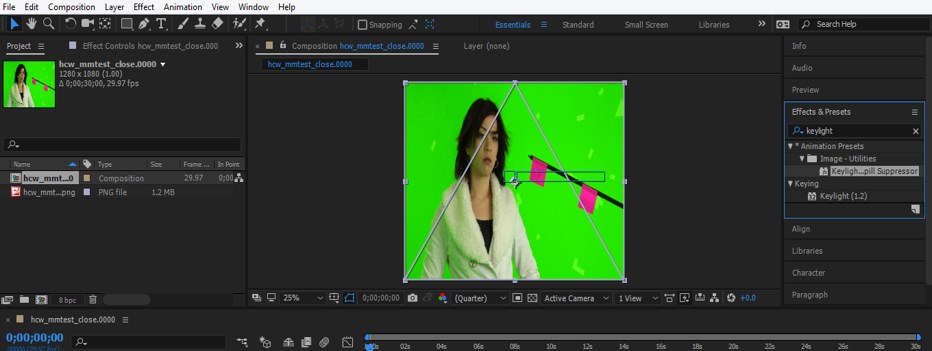
Step 6: Now pick the ‘Keylight spill suppressor’ option from the list of Effects & Presets and drop it on the footage in the composition area.
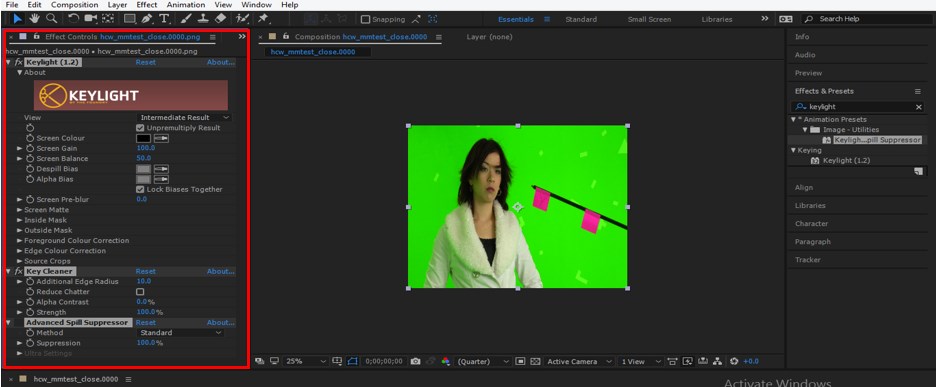
Step 7: Once you drop this on the footage, a Keylight parameters box will be open in the Effect control section, which is at the left side of the working screen and next to the Project panel.
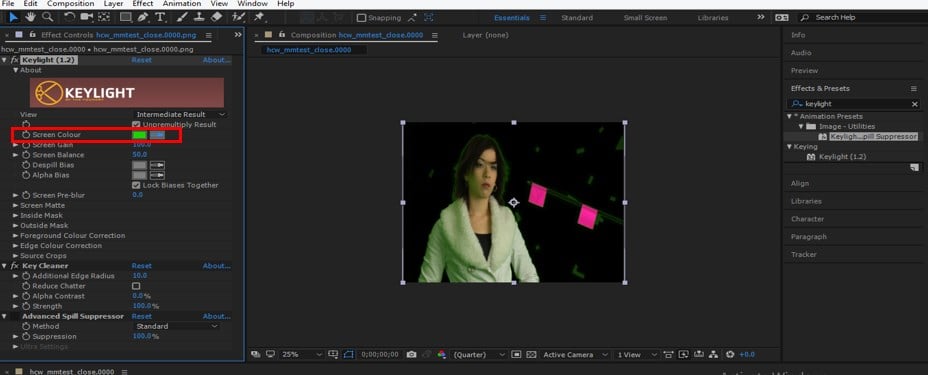
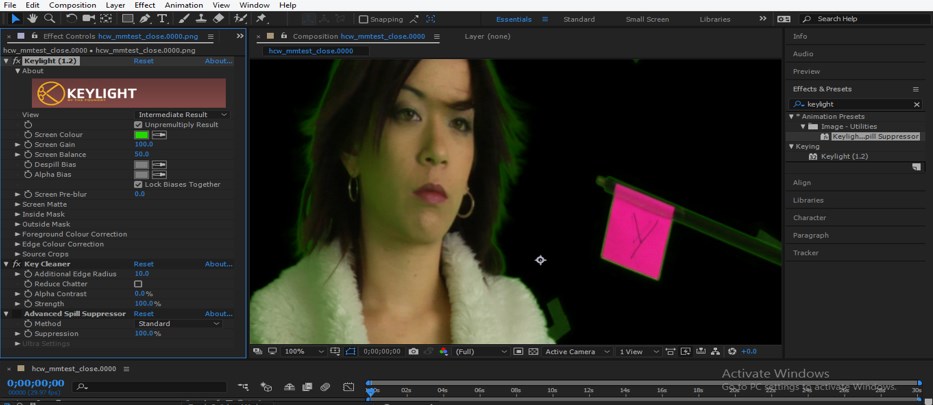
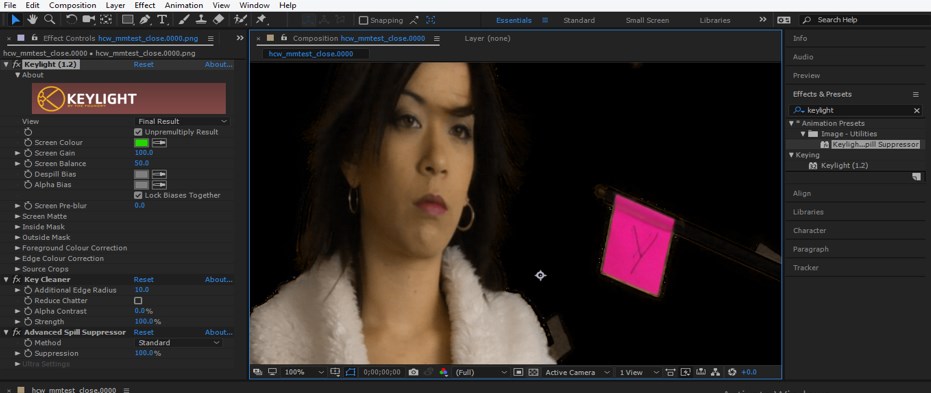
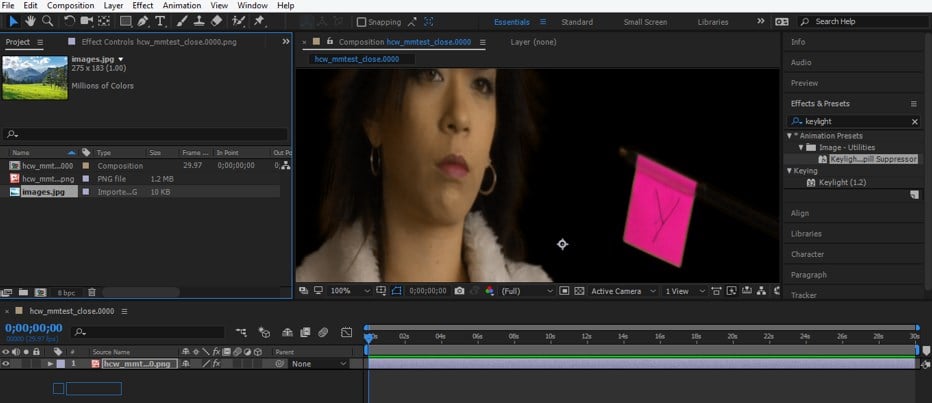
Step 8: Now, set the green color in a color box of the Screen Color option of keylight parameters. Now click on the Screen color picker and then click on the green color of footage for replacing it with a black color background.
Step 9: When you zoom out this footage, you can see that there is some green color remains on the edges of the character and another object of our footage.
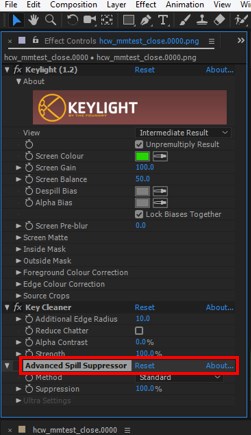
Step 10:For removing this from the edges of our character and object of footage, go to the ‘Advanced Spill Suppressor option of parameters of Keylight.
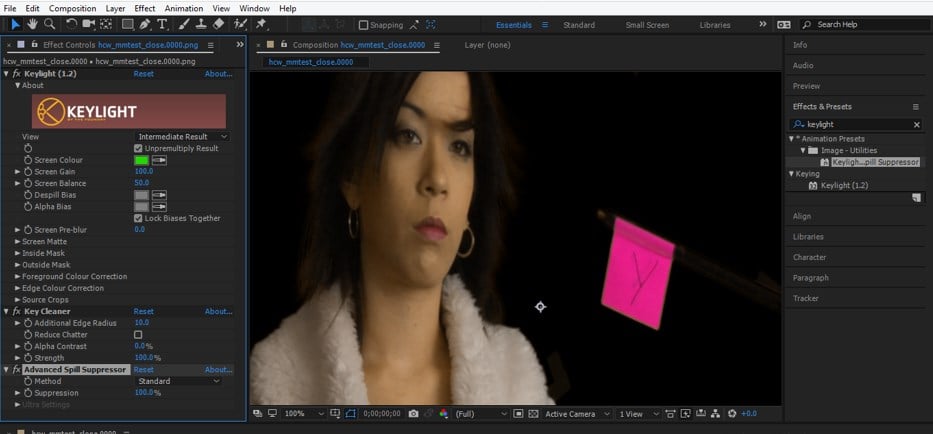
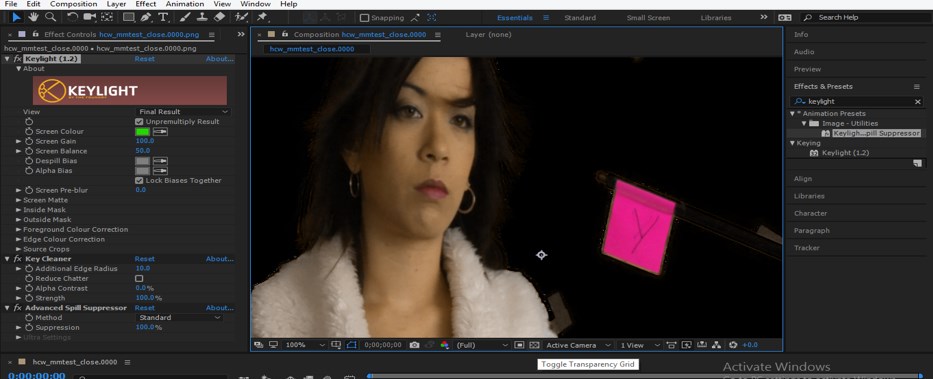
Step 11: And enable this option by click on the ‘fx’ button of this option. Once you enable it, you will notice the greenish color at the edges of the character, and the object will be removed.
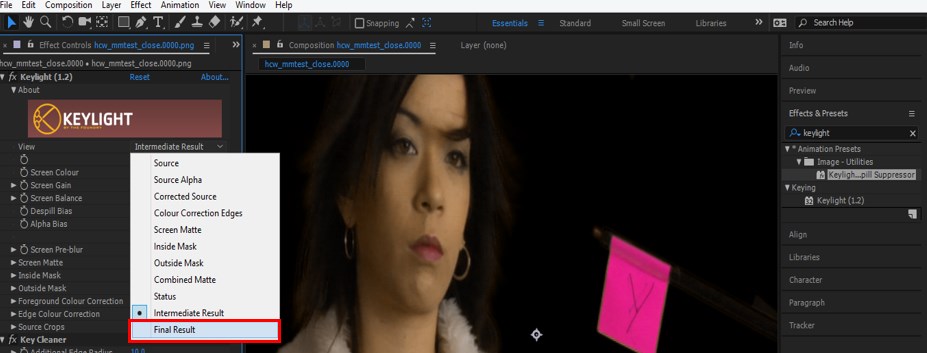
Step 12: One thing you should keep in mind that you should never select the ‘Final Result’ option in the View parameter of Keylight.
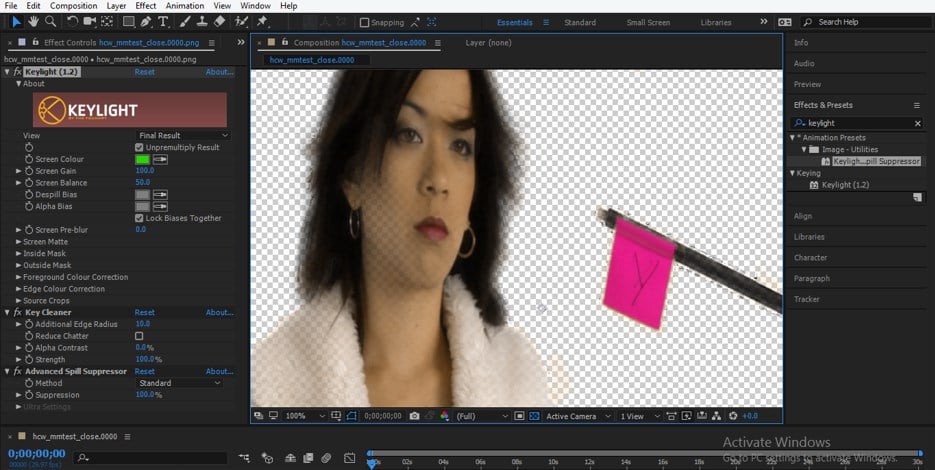
Step 13: Because when you select this option, blur edges will come on the objects of footage.
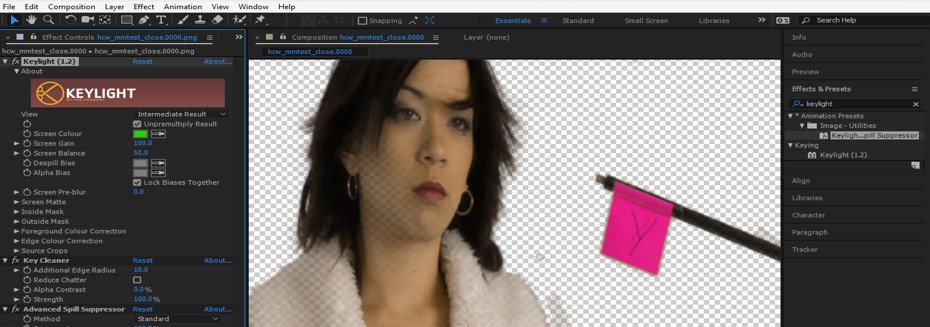
Step 14: You can see this effect clearly in the transparent background. For Transparent Background, enable the ‘Toggle Transparency Grid’ option, which is at the bottom of the composition window.
Step 15: You can see the blur portion near the edges of the character and object of the footage.
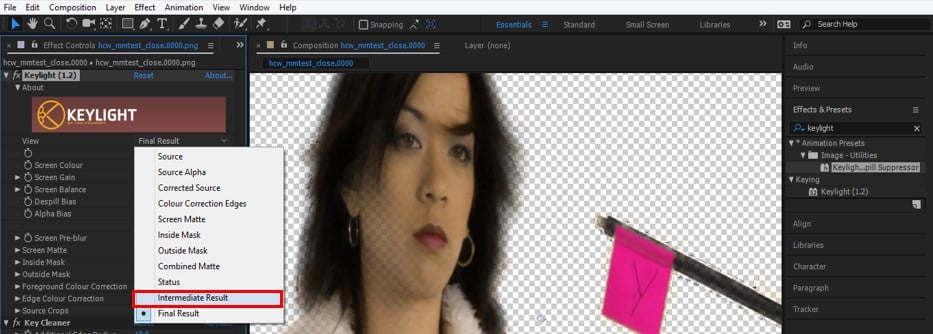
Step 16: So take the ‘Intermediate Result’ option in the View option of the parameter of Keylight.
Step 17: Once you select the Intermediate Result option, the edge near the character and object of footage becomes fine.
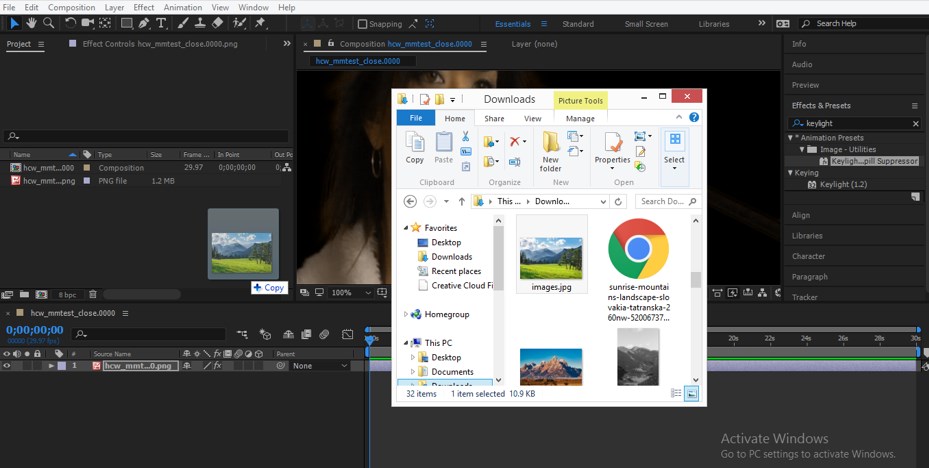
Step 18: Now, let us change the background of the footage. Changing the background takes your desired background from the folder where you have saved it. Pick that background from that folder and drop it in the Project Panel of this software with the help of the mouse button.
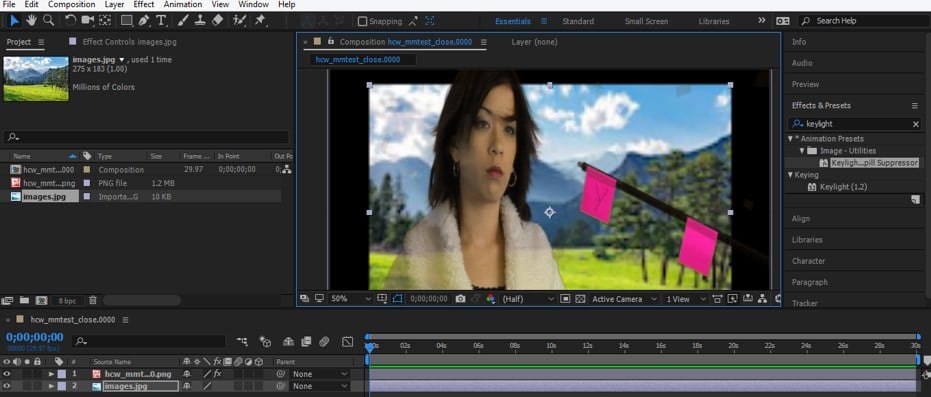
Step 19: Now drag this background image from the project panel to the Layer section of this software.
Step 20: Adjust the size of the background according to your footage or where you want to place it.
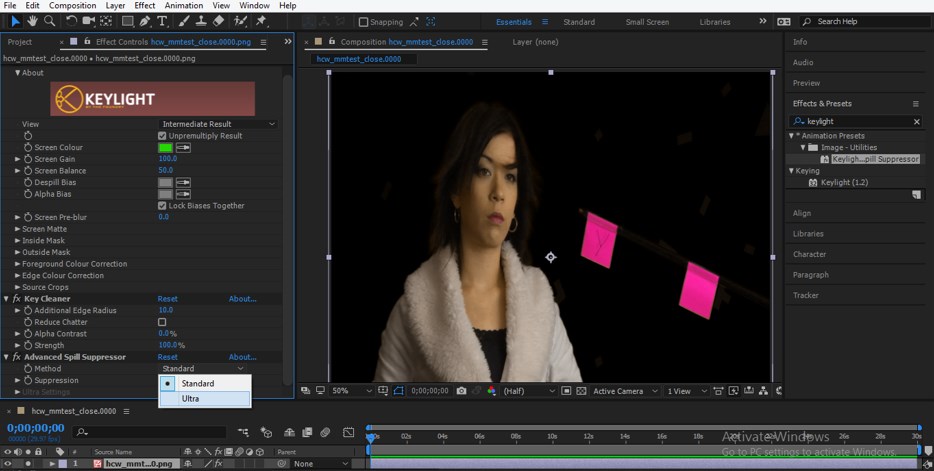
Step 21: Now, when you change the Method of ‘Advance Spill Suppressor from Standard option to Ultra option.
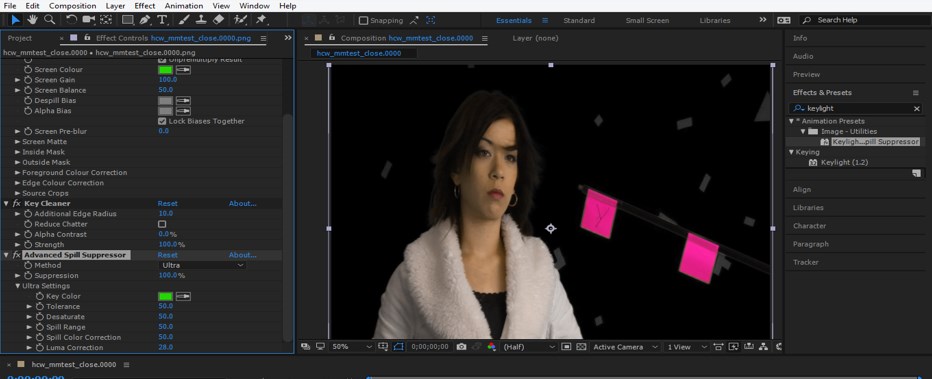
Step 22: A whitish color will be visible at the edges of the character and object of the footage.
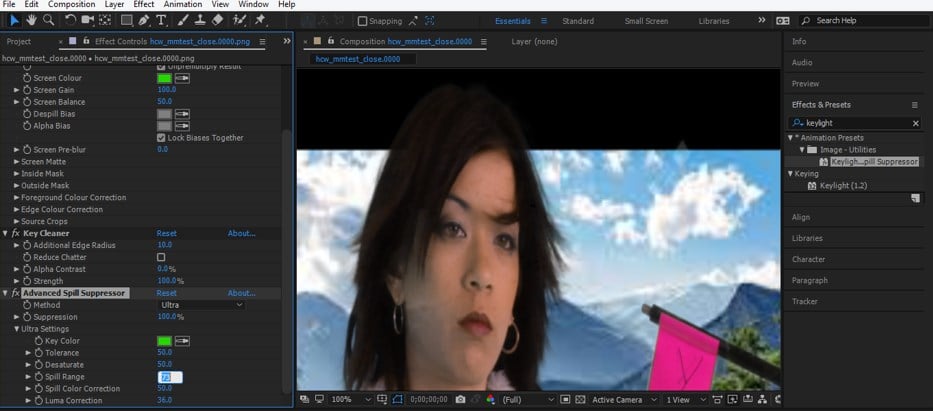
Step 23: Once you select the Ultra method, the properties of the Ultra Method will be open. Go to the Spill Range option of this method and increase the value of Spill Range. Once you increase the value of the Spill Range, the whitish color will be removed from the footage.
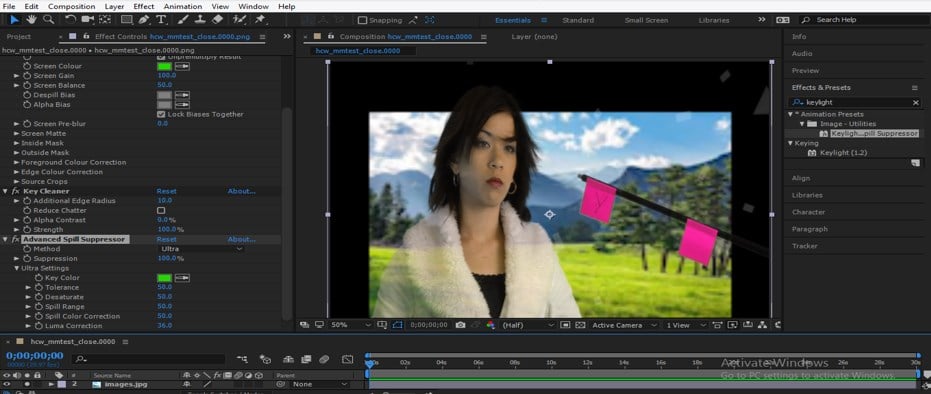
Step 24: Now enable the background layer by clicking on the layer section’s Eye button.
Step 25: If there is a greenish color on the skin of the character, then go to the ‘Luma Correction’ option of Ultra Method of Advance Spill Suppression and increase its value. Once you increase the value of the Luma Correction, the skin tone of character will be equal at every place.
In this way, you can use the Keylight feature of After Effect software for removing green background from any video footage or image and handle its parameters for getting the best result from it.
Conclusion
Now, after going through this article, you can easily understand ‘what is Keylight’ and ‘how you can use it in After Effect software’? You can add plus point in your graphics designing skill by practicing on this feature of After Effect software and can give a highly professional result in your work.
Recommended Articles
This is a guide to Keylight in After Effects. Here we discuss the Introduction, how to use Keylight in After Effects in a step by step manner. You can also go through our other related articles to learn more –

