Introduction to Krita Animation
Kirta Animation can understand as providing motion to the artwork of Krita software by managing parameters of Timeline panel. Here we can animate characters designed in this software, or brush art, or any other digital painting work. It animates objects frame by frame and we can add, remove, and duplicate keyframes according to our requirement. There are onion skin features in the timeline of this software through which we can see previous and next frame design with the current frame and this is a very good feature of it. With an onion screen, animating becomes very easy in this software. So let us discuss the steps of creating animation in Krita.
How to do Animation in Krita?
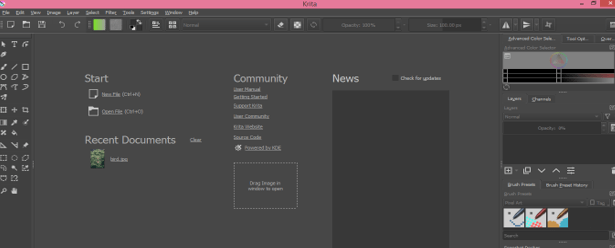
This is the welcome screen of Krita software and I am going to take a document for animating my artwork. For taking a new document click on the New File option of the Start label of this screen.
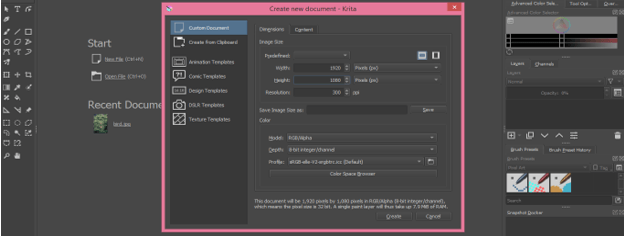
Now ‘Create a New Document’ box will be open. Here you can set the size of your document and other related parameters. I will take the size of my document as 1920 x 1080 pixels and click on Create button of this dialog box.
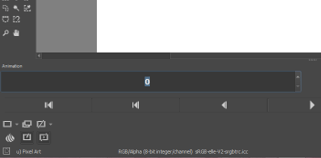
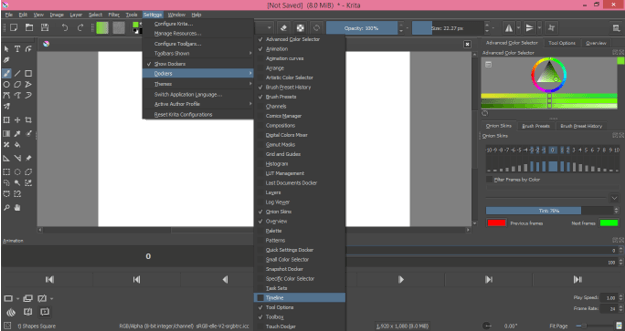
Now for having the Animation panel go to the Settings menu of menu bar then go do Dockers option of the drop-down list then enable Animation panel by clicking on the check box of it.
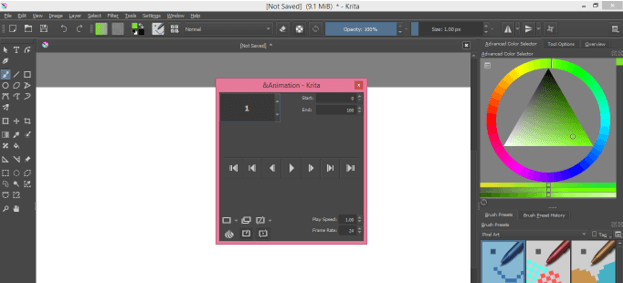
Here we have an animation panel at the button of the working screen.
Here in this box you can give a value of frame rate or see frame rate.
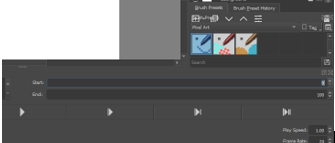
The Start and End box will show you starting and ending frames of your animation.
Once you are done your animation you can click on this Play button to play your animation or by making again click on it you can stop played animation.
This button will take you to the previous frame or press the left arrow key of the keyboard.
Opposite to previous frame you can also go to the next frame by click on this button or press the right-arrow key of the keyboard.
There is more another button which you can learn one by one. You can also add a blank keyframe in the timeline during creating animation that means the blank keyframe will have no animation.
For duplicating any frame or group of frames you can click on this button after selecting your desired frame or just select that frame and drag it to your desired frame in the timeline by holding the Alt key of the keyboard.
This is the Onion Skin icon and it will help you for seeing all frames of animation at the same time and works as a guide for you to create the next frame.
Once you click on this Onion skin icon, a dialog box of onion skin will one on the right side of the working screen. Here you can see there is the number that shows how many animation frames are there from 0 frames. By decreasing the blue line of the blue box of this dialog box, you can decrease the opacity of each frame.
You can move this panel anywhere on the working screen and place it at your desired place.
Now I will show you a simple animation with the help of a brush tool so take the brush tool from the tool panel or press the B button of the keyboard.
Before start, our animation let us have a Timeline panel and for the Timeline panel again go to the Dockers option of the Settings menu and enable Timline option.
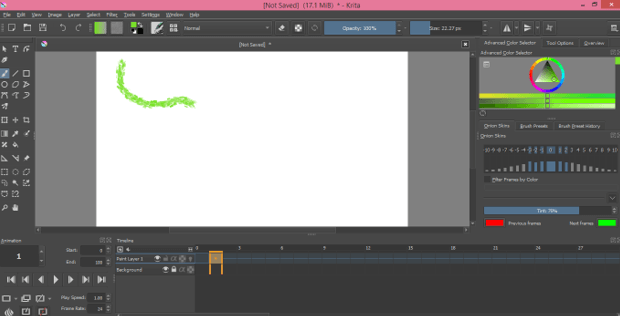
Here we have a timeline panel on the right side of the animation panel and we can set the length of the Timeline panel by dragging its box with the mouse.
Enable Auto frame mode so that frame will automatically add when we start our animation.
You can animate your work after designing it but you have to copy each part and paste it into each frame according to which you want to animate that artwork.
I will first add a blank frame by clicking on this button.
Now press the right arrow key of the keyboard to go to the next frame.
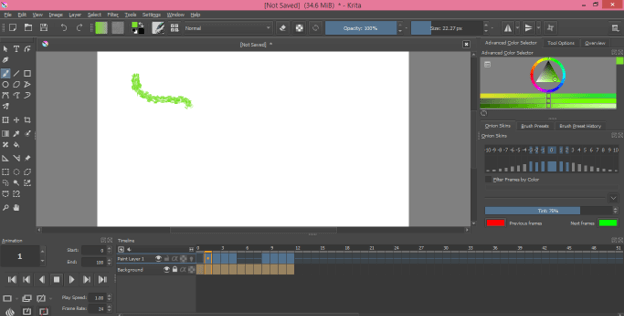
Now I draw a curved shape with the help of a brush tool like this for this frame.
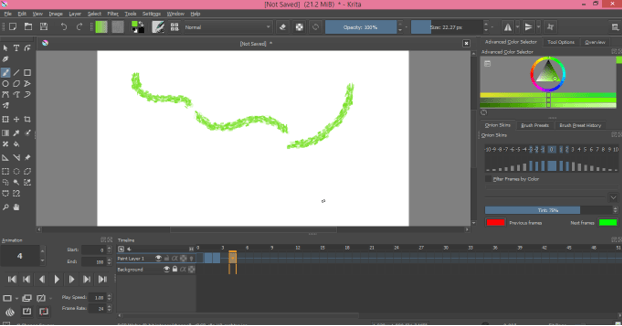
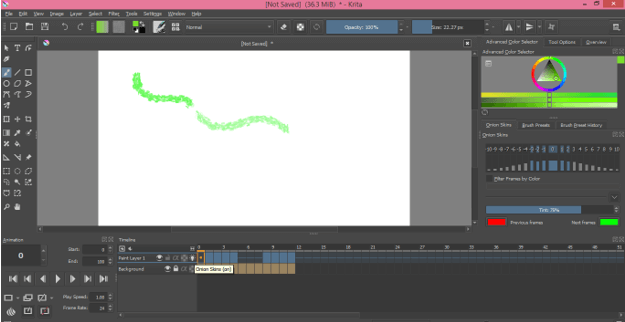
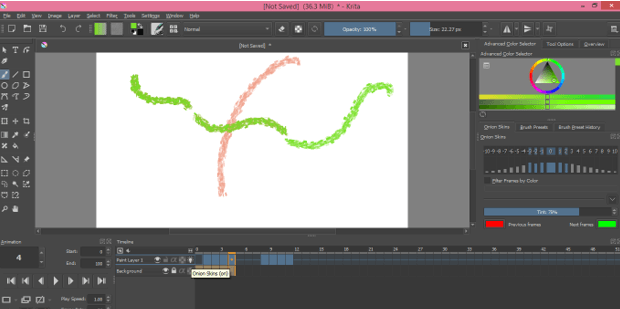
Again move to the next frame and draw your next step. I will draw these two lines one by one by moving to the next frame accordingly.
Now if you want to select the whole frame then just click on starting frame which you want to select and hold the Shift key of the keyboard and make click on the last frame of your selection. You can also make a random selection of frames and for that just hold the Ctrl key of the keyboard and make click on frames one by one for those you want to select.
We can make a duplicate of the selected frame by dragging them at our desired frame of timeline. We just have to hold the Alt button of the keyboard during dragging selected frames.
Place play head at the starting frame by moving it with the help of a mouse click and you can see an animation of your artwork by playing it.
If I enable the Onion skin option then you can see it shows my next drawn frame also.
With each leading frame, you will be able to see the next frame due to the Onion skin feature it.
By pressing the Visible (On/Off) button of the timeline we can hide or unhide animation of this layer.
You can also add audio to your animation. Just click on the dropdown arrow key of the audio icon and click on the Open audio option. Then choose your desire audio file for this purpose.
Here we have some other options in the audio button such as we can mute our imported audio, remove it, increase or decrease the volume of the audio track.
I told you the basics of animation in Krita and by understanding them you can create animation in this software very efficiently.
Conclusion
It was great to tell you about how you can do animation in Krita software? I think you have learned lots of things about animation in Krita and can start the animation of your artwork by handling the parameters of the animation panel as well as the Timeline panel.
Recommended Articles
This is a guide to Krita Animation. Here we discuss an Introduction, how you can do animation in Krita software? respectively. You may also have a look at the following articles to learn more –
