Introduction to Krita brushes
Krita Brushes are a key feature of this software because it is digital painting software, and these brushes involve in digital painting a lot. Krita offers many different types of brushes with adjustable parameters, which means you can change the parameters of specific types of brushes to get your desired result in your work. There is a number of presets of brushes in this software with pre-defined parameters, but you can make changes in them as per your choice. Not only use these preset, but you can also create your own brush with your desired settings and save it for further use.
How to use Brushes in Krita?
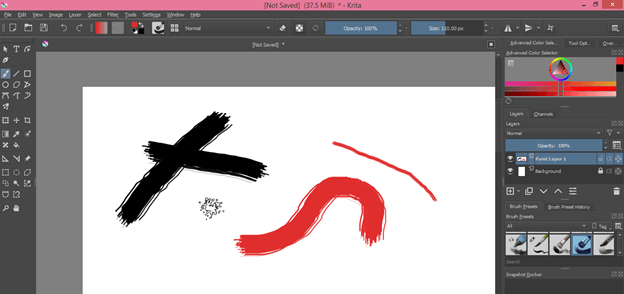
Let me first tell you where in this software you can find Brushes. Brushes are actually tools, so you will find them in the tools panel of this software, which is on the left side of the working window. You will have brushes with this tool icon, and for making it active, you can click on this icon or simply press the B button on the keyboard.

At the second bar of the top of the working screen, you will find the editing tab of Brushes. From this tab, you can make different types of arrangements in the parameters of your desired brush.
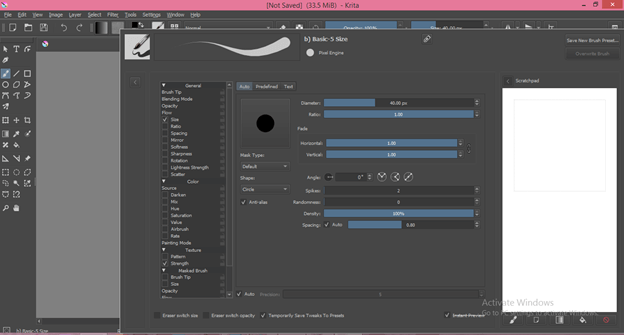
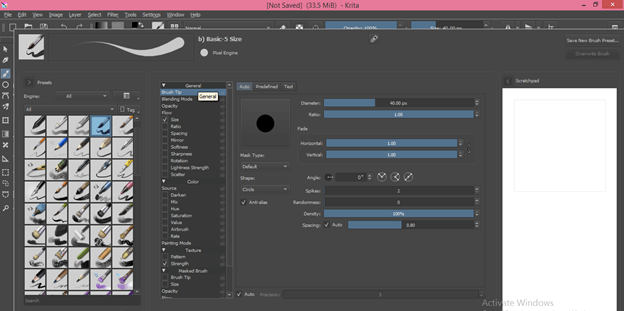
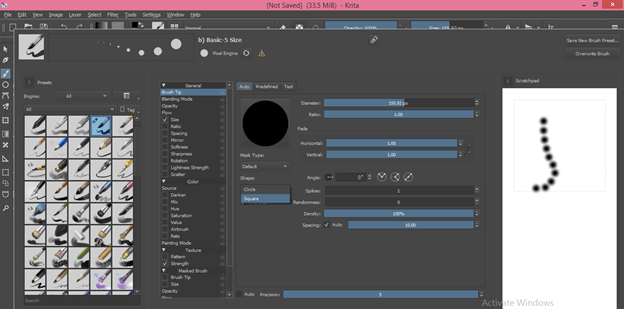
Once you click on this tab, you will see lots of parameters in the brush’s edit dialogue box. Now let us analyze these parameters for understanding about brushes of this software.
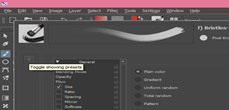
Now click on the ‘Toggle Showing Preset’ option of this dialog box.
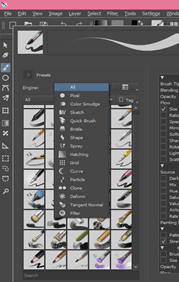
Here in the Engine tab, you will have the number of brush types that you can choose according to your work requirement. I will select the All option so that I can see the preset of all types of brushes offers by Krita.
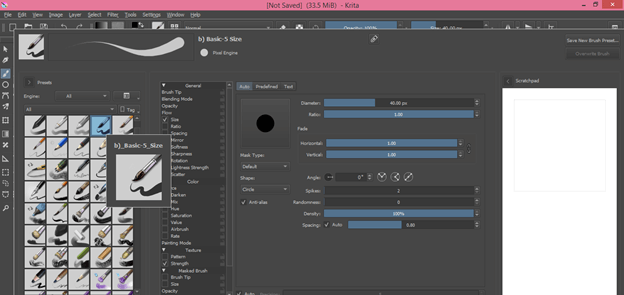
Now I will choose anyone of the brush from this list to explain to you how we can play with the parameters of any brush.
In the General tab, there is a lot of parameters for brush, and these parameters will change according to the type of brush.
Brush Tip:
The very first parameter of the brush is the Brush tip, and this is the very basic thing of any type of brush. By manipulating the value of the different option of the brush tip, we can make changes in the characteristic of the tip of the brush.
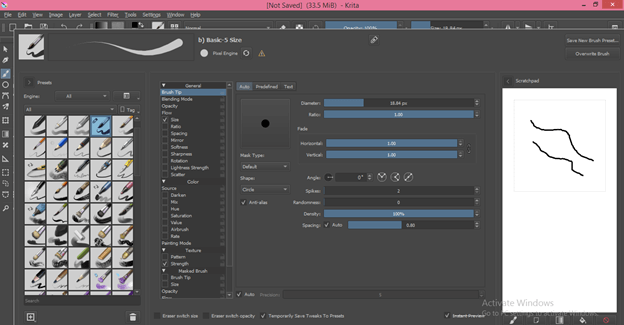
Diameter of Brush Tip:
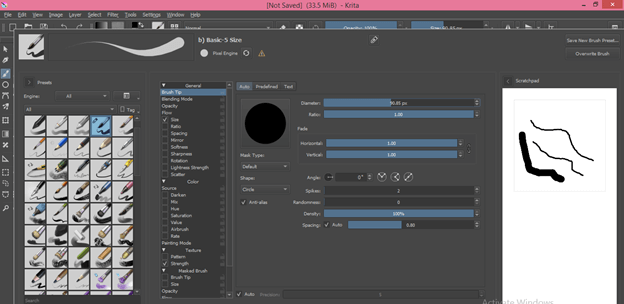
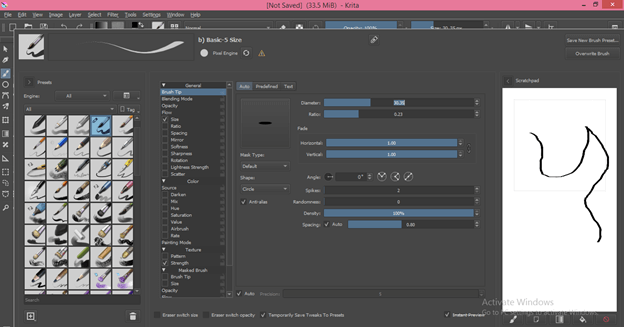
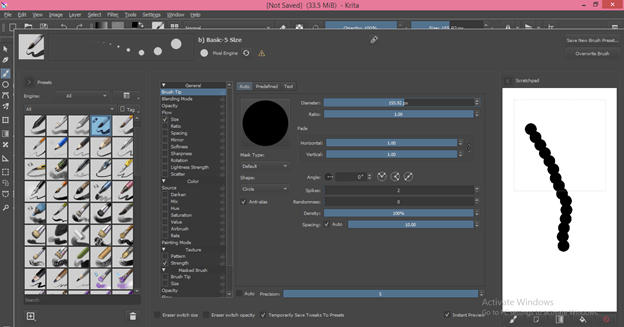
By changing the value of the Diameter option of this parameter, we can change the thickness of the brush stroke if the value of diameter is less than, the stork will be thin and in opposition to it, if the diameter is more then, the stork will be thick. You can see the preview of the changed parameter by drawing anything in this white area of this dialog box.
The ratio of Brush Tip:
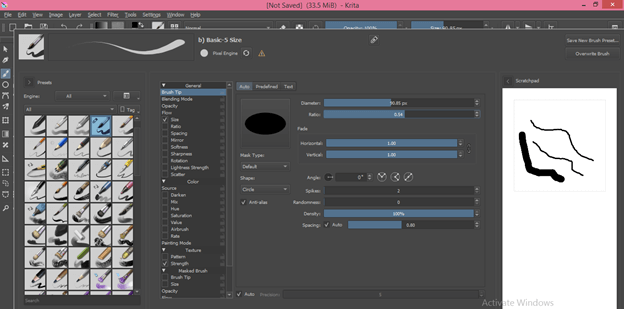
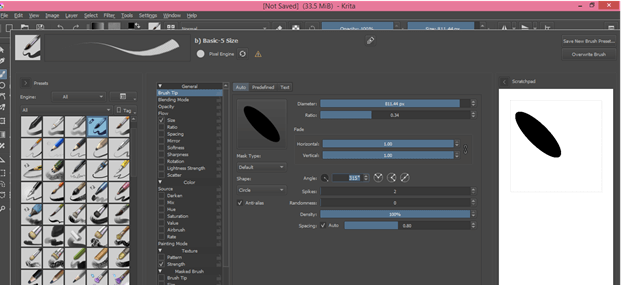
The next option is Ratio, and you can understand it as the height and width of the brush tip. If I change the value of it, then you can see (in the preview tab, which is above to Mask type option) brush tip become elliptical.
Now when you draw anything with it, this will give you the effect of calligraphy, and you can design many things with it.
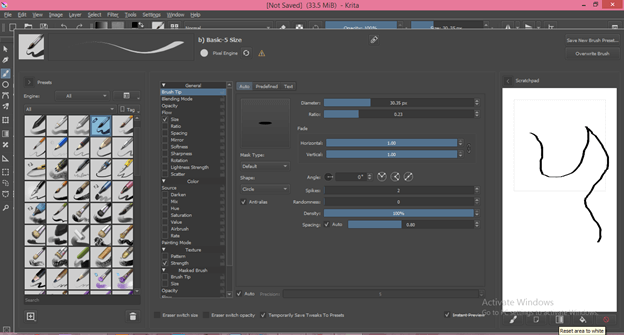
If you want to erase the brush strokes in the preview tab, then just click on the ‘Reset Area to White’ button, which is below this white area section of this dialog box.
Horizontal/Vertical values:
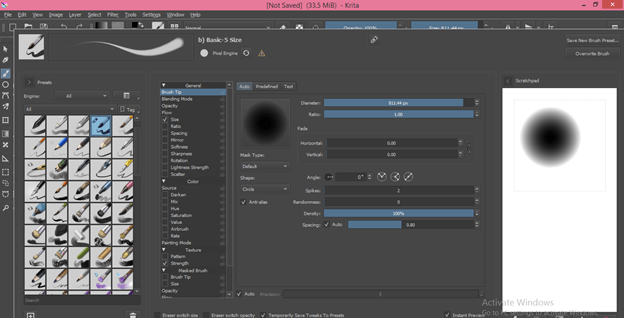
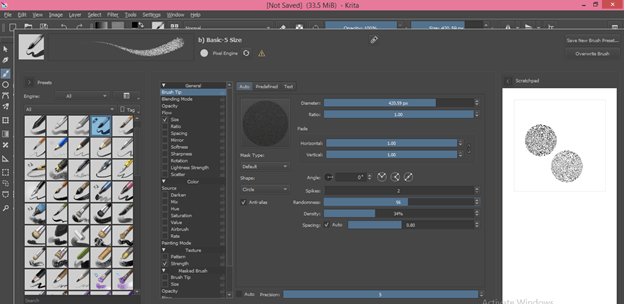
Next is the horizontal/Vertical Value option, and by giving minimum values to them, you can make brush tip blur. If I make these values zero by moving the slider, then the brush tip will become blurring like this.
The angle of Brush Tip:
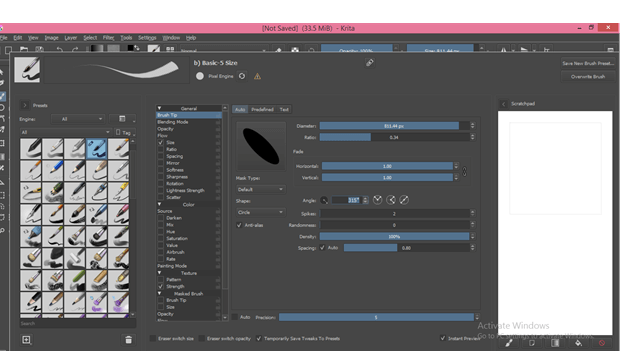
You can change the inclination of the brush tip if there is some value of the ratio. For changing angle, we just have to enter a value of angel inbox of Angle option.
And it will incline at your desired angle.
Spikes:
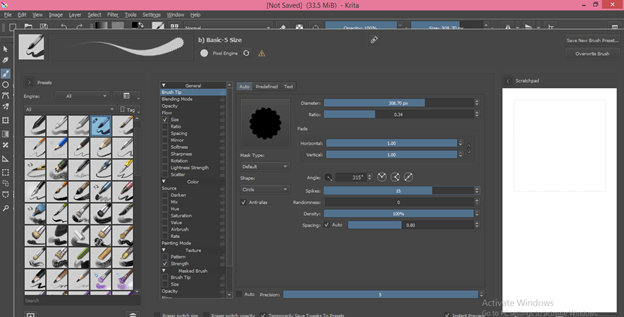
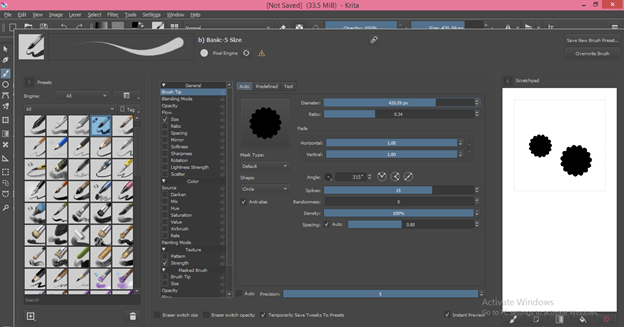
If you increase this option’s value, it will add a curve to the brush tip like this.
And when you draw something with it, that shape will come in a brush stroke.
The density of Brush Tip:
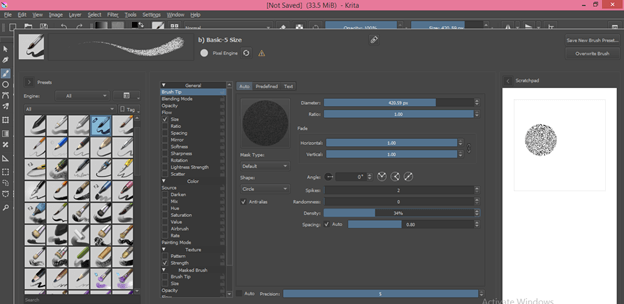
Density helps us in changing pixels value inside brush tip. If I lower the value of density, then the pixel will be at some different from each other in a specific manner. It will be like you make a stroke with the sponge.
Randomness:
It also works the same as Density. You can change its value for seeing its effect.
Spacing:
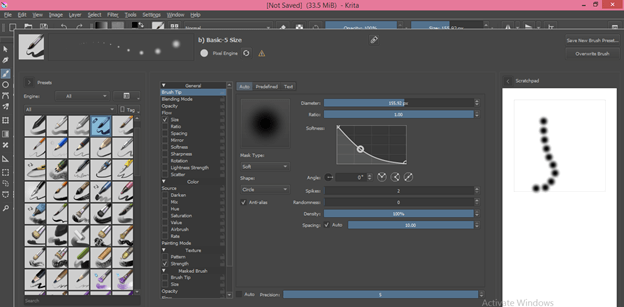
In spacing, we can change the space between two shapes of the brush tip in a stroke. If I change the value of spacing up to 10, then there will be a gap of 10 pixels between the two shapes of the brush tip in any stroke.
The softness of Brush Tip:
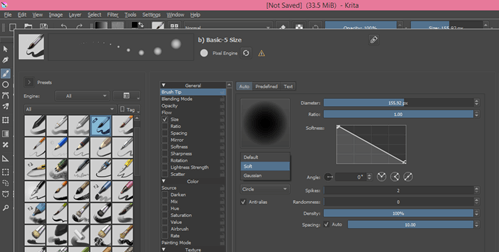
If you change the Default to the Soft option, then you can make changes in the values of the softness of the brush tip.
In the Soft tab, you will have almost the same options as we have in the Default tabs. There in the Soft tab, you can change the curve of the Softness option for changing its value.
The shape of Tip:
You can also change the shape of the tip from this option. There are two shapes in the brush tip: a circle shape and the other is a Square shape.
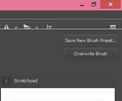
Same as these parameters, you will have many other parameters that you can set according to you. If you want to save your brush with your set parameters, you can click on the ‘Save New Brush Preset’ button, which is at the top right corner of the working screen.
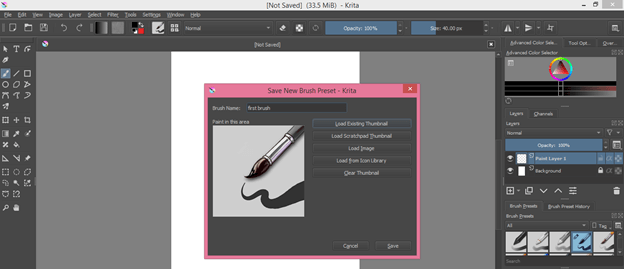
Once you click on it, you will have a dialog box for defining the name of your brush and other things. After making the setting, click on the ‘Save’ button.
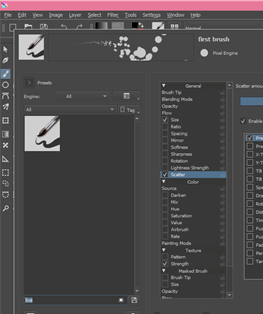
Now you can search your brush in presets section of the Edit brush dialog box.
Now you can use your brush on your document now.
Conclusion
I told you all about Brushes of Krita software to have good knowledge about them and can have the skill to handle all parameters of brushes to get the desired result in your work. You can use either a preset brush for digital painting purpose or make your own one.
Recommended Articles
This is a guide to Krita brushes. Here we discuss the Brushes of Krita software which can give you a good knowledge about them and can have the skill to handle all parameters of brushes. You may also have a look at the following articles to learn more –

