Introduction to Krita Eraser
Krita Eraser works as an Eraser tool in this software for erasing pixel of any image as per our requirement. Like most other raster graphics editor, Krita doesn’t offer any tool with the name Eraser tool, but it offers you many techniques to erase pixels from your image. There are many ways through which you can do this or many features that you can use as an eraser, and I will tell you about all those methods in this article. You just have to manage parameters for different tools and features of this software for getting your desired result. So let us discuss this method in a very interesting manner.
How to use Eraser in Krita?
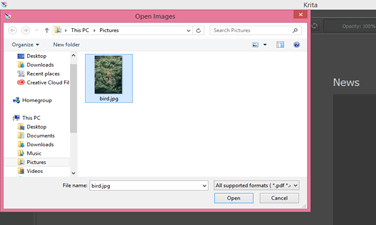
The very first thing which I will do before starting our learning is to have an image in this software on which we will learn Eraser and for opening any image Just click on Open File option which is the second option of Start label on this window screen of Krita, or you can simply press Ctrl + O as its shortcut key.
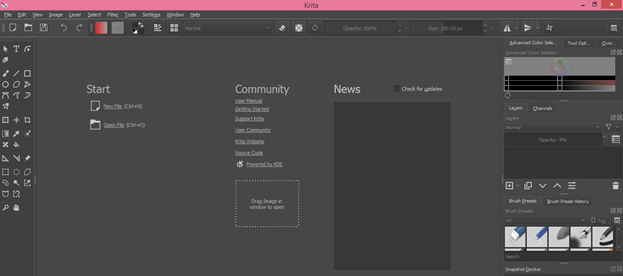
Now a dialog box for choosing your image will be open, select your desired image from its saved location and then click on the Open button of this dialog box. You can take any image for this purpose.
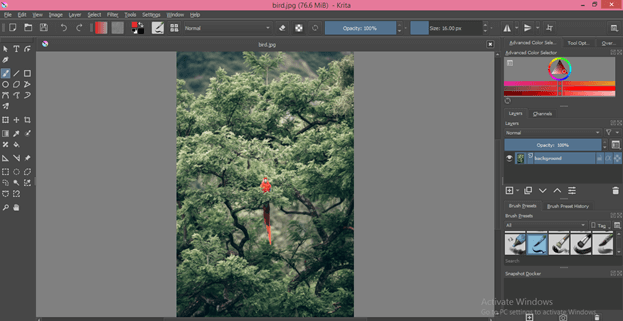
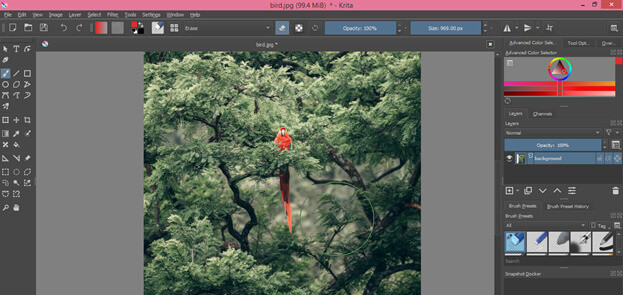
This is our image on which we are going to use Erasing methods.
There are many ways to do this and I will tell you about it one by one.
Use Freehand Brush tool as Eraser?
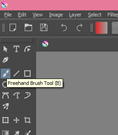
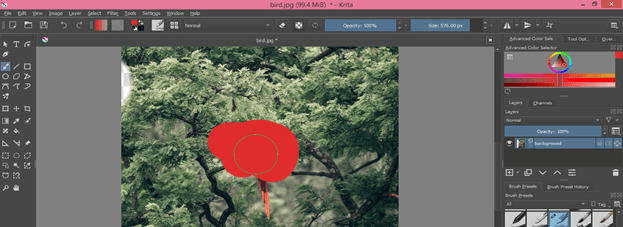
For this method, take the Freehand brush tool from the tool panel or press the B button of the keyboard as its shortcut key.
Now click on the Edit Brush Settings tab, which is at the second bar of the top of the working screen of this software.
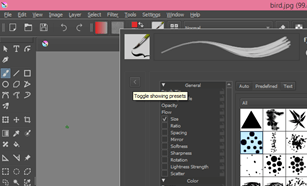
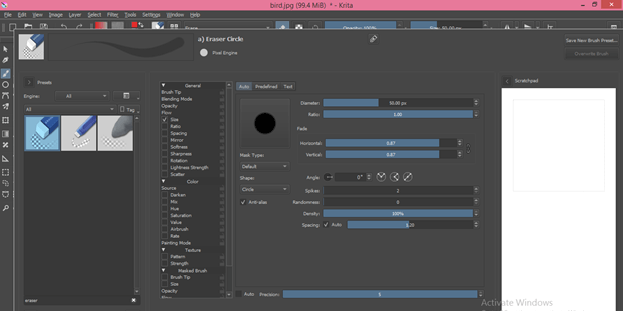
Once you click on this icon, an Edit dialog box will be open. Now click on the Toggle Showing Presets option of this dialog box.
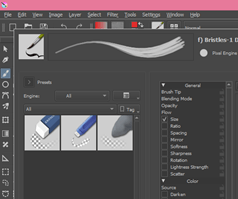
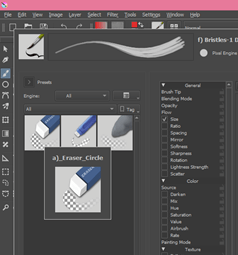
Here in the Search box (at the button of the Preset panel) of this dialog box, type Eraser, and you will have brush preset as Eraser in Preset section of this dialog box.
Now choose any one of the erasers from the brush preset.
Once you choose it, you will have all the same parameters as we have in any brush because it is actually a type of brush, and you can set parameters of it also as per your choice.
You can increase or decrease the size of the brush tip by pressing [ or ] button of the keyboard. You can also change the size by the Size option of the properties bar, which is the second bar from the top of the working screen.
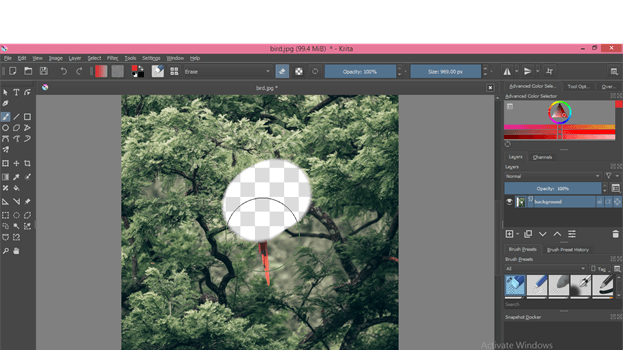
Now when you move the brush tip on your desired area of the image by holding the move click, then it will start erasing pixels of the image like this. When you erase pixels of the top layer, then the background layer becomes visible on the erased area. Here we have only this layer, so you will see transparent background when I erase the pixels of this image.
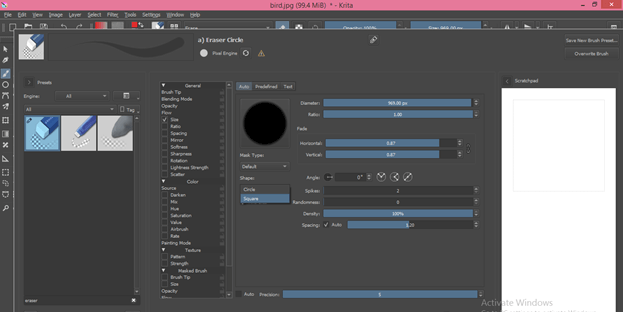
If you want to change the eraser shape into a square shape, then again open the Edit Brush settings dialog box and select the Square option from the Shapes tab of this dialog box.
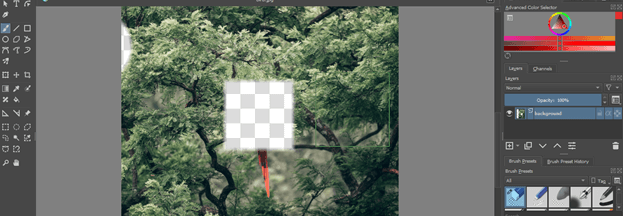
Now it will erase pixels in a square shape like this.
Use any brush preset as Eraser.
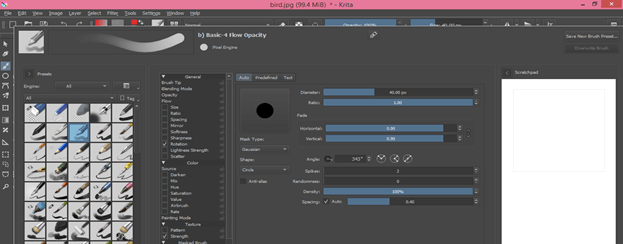
You can use any brush preset as Eraser in this method, and for that, select any brush from Edit Brush Setting dialog box.
Now when you paint with your selected brush on your image, it will paint like a normal brush.
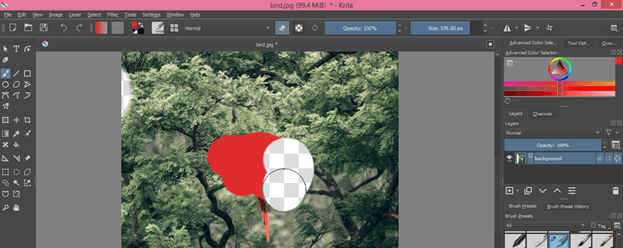
Now enable ‘Set Eraser Mode’ by clicking on this icon. You will find this option in the properties bar.
Again paint with this brush, and this time it will erase the pixel in place of painting that pixel because Erase mode is On.
Use Any Shape Tool as Eraser
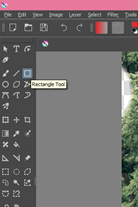
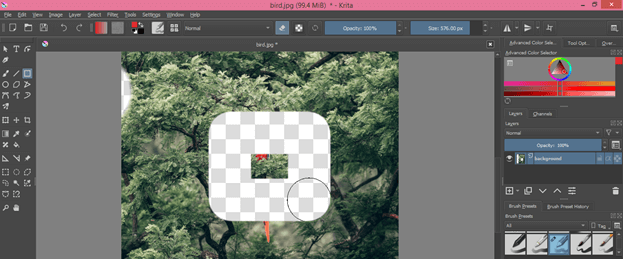
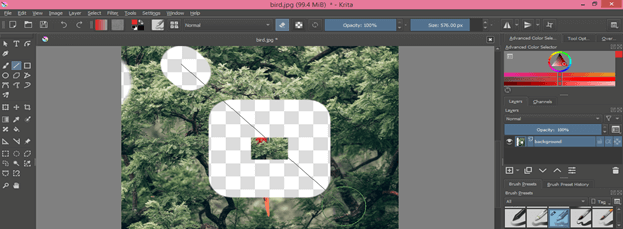
You can use any shape tool as an eraser; it just enables Eraser mode and then takes any shape tool from the tool panel. I will take the Rectangle tool from the tool panel by click on its icon.
And draw a rectangle like this. When I draw a shape with its set parameters, that shape will eraser pixel, which will fit inside the area of that shape.
You can do the same with the line tool also. Just take the Line tool from the tool panel and draw a line like this. The area covered by line will be erased.
Use Selection Tools as Eraser
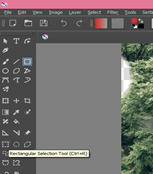
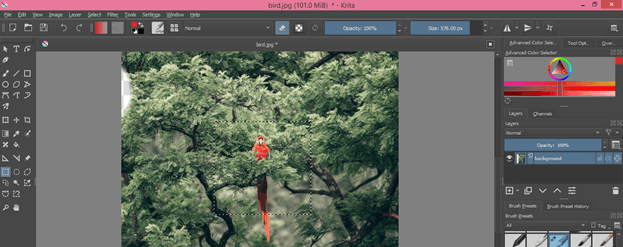
A selection tool can also work for erasing pixels from any area of the image. Let me show you it by example. Take the Rectangle Selection tool from the tool panel or press Ctrl + R as the shortcut key.
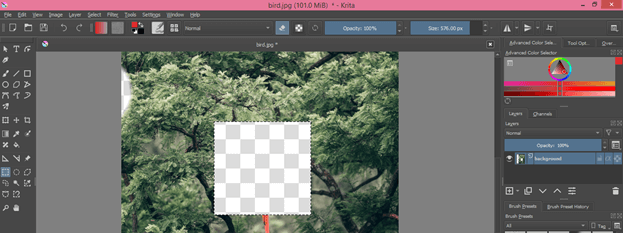
Now make a selection around your desired area of an image and press the Delete button on the keyboard.
And the pixels inside your selection will be erased like this. You can make any type of selection by using different selection methods of this software. There is no need to enable Eraser Mode.
Use Gradient tool like Eraser.
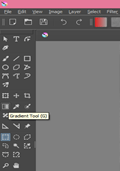
You must use the Gradient tool before in this software, but you can use it as an eraser this time. Just make sure Eraser mode is On and take the Gradient tool from the tool panel.
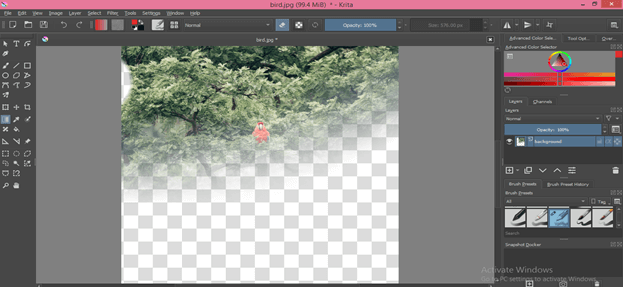
Now drag the mouse pointer in the direction in which you want to add a gradient, and it will erase pixels from starting point of the gradient, as I showed you in this example.
These are some ways through which you can erase pixels from any image. You just have to enable Erase mode during using these methods. You should remember that if you are erasing pixels with the help of an Eraser brush, then there is no need to enable Eraser mode.
Conclusion
It was easy for you to understand how to eraser pixel in Krita by using various ways, and now you can easily handle parameters of different tools and techniques that you can use for erasing purpose. All the ways we discussed above can be used to erase pixels in different ways, and you can have knowledge about it by practicing on them.
Recommended Articles
This is a guide to the Krita eraser. Here we discuss how to use eraser pixel in Krita by using various ways, and now you can easily handle parameters of different tools and techniques. You may also have a look at the following articles to learn more –
