Updated June 9, 2023
Introduction to Krita Vector
The vector in Krita refers to vector art in this software with the help of Vector tools provides by it. We can create vector shapes by using the different vector shape tools, create custom shapes by doing some arrangement in parameters of these vector shapes, create a character, etc. We cannot work on raster layer for creating vector art because there is different layer offers by Krita for this purpose. Understanding vectors in Krita is not a very difficult thing; you have to just learn about some of the vector tools and their features.
How to create Vector in Krita?
You can start working on vectors in Krita in just a few simple steps. Today in this article, I will tell you all about vector graphics in Krita and tools related to them. So let us get started.
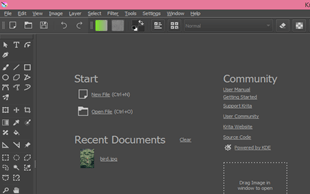
First, take a new document and for that, click on the New File option of the Start label of the welcome screen of Krita or press Ctrl + N as a shortcut key of it.
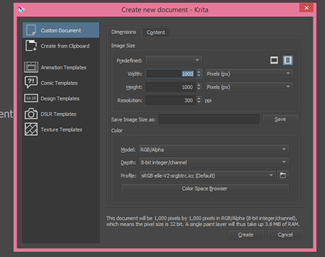
I will take a document of size 1000 x 1000 pixels by entering this value in Create new document dialog box then click on Create button of it. You can take any document size for learning about vector graphics in Krita.
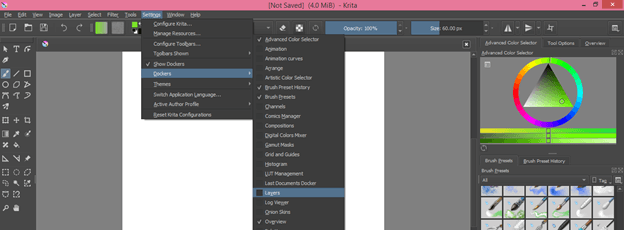
If there is no Layers panel on your working screen, you can enable it from the Dockers option of the menu’s Settings menu. Just go to these options and enable the Layers panel by clicking on its check box.
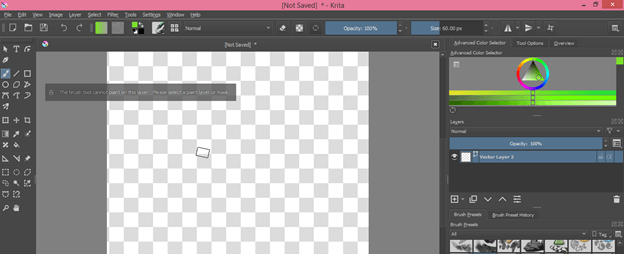
I will take the Selection tool from the tool panel, and you can see Krita doesn’t allow me to work on this document with the vector tool. The reason is that this is a raster layer.
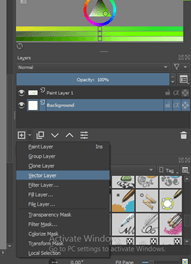
For working with vector tool, we need a vector layer. So go to the Layers panel and click on the drop-down arrow of the New layer icon, which is at the bottom of the layer panel. Here we have a number of types of layer. Choose Vector layer from here.
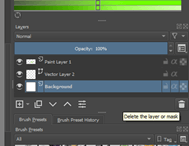
Now I will delete other raster layers from the layer panel. For deleting an unwanted layer, select that layer and click on the Delete layer button of the layers panel.
One important thing about the vector layer is that you cannot use any brush preset on it.
We have a number of Vector tools here in the tool panel of Krita software, such as the Selection tool, Vector shapes tool, Bezier tool, and so on.
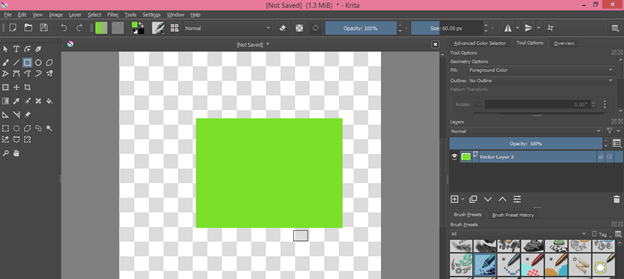
Now I will take the Rectangle tool first as a vector shape tool to describe about vector graphics.
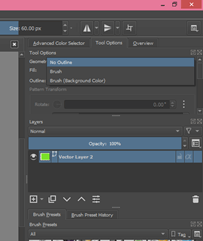
Here in the tools option, I will choose ‘No outline’ in the Outline option of shape, so there is no outline in shape.
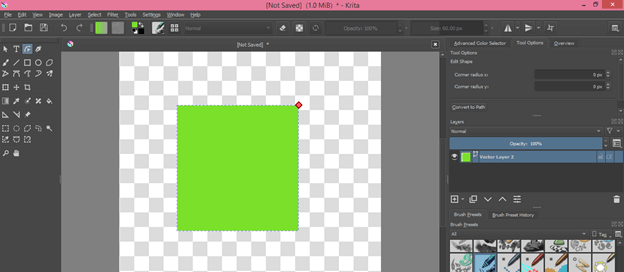
And choose Foreground color for the fill color of this shape and draw a rectangle like this. This is not a raster shape; it is a vector shape.
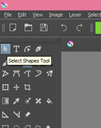
If you want to move and want to do other transformation in the vector shape, you can do it using the Selection shapes tool.
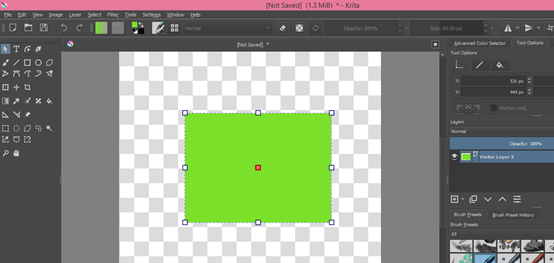
Take this tool from the tool panel and make click on this shape. Once you click on it, you will have anchor points around it.
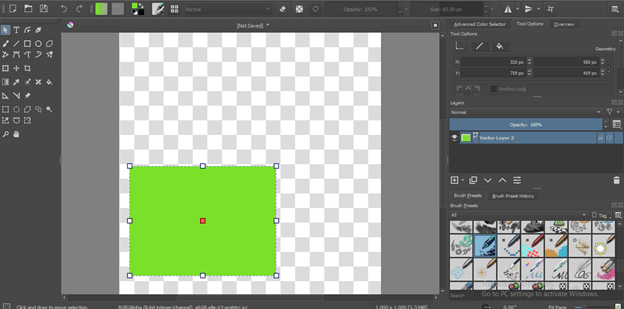
Now hold click on this shape and move it to your desired place.
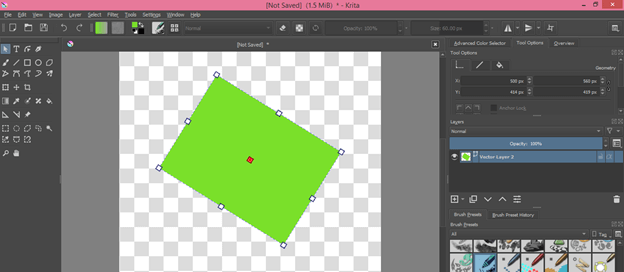
When you move the cursor at the corner anchor point, then there will be a rotating handle, and by holding the click of the mouse there, you can rotate this shape. If you hold the shift key, then it will rotate your shape at 450 in each rotation.
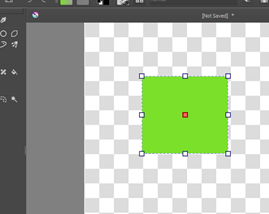
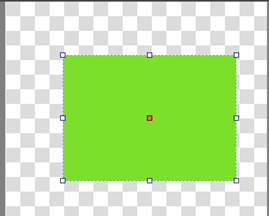
You can also resize this shape by anchor points. If you want to resize in a definite proportion, then hold the keyboard’s shift key during resizing it.
If you make double click on this shape during using the selection tool, it will convert into the Edit shape tool.
You can have this Edit shape tool from the tool panel also, and it is also a vector tool for vector graphics.
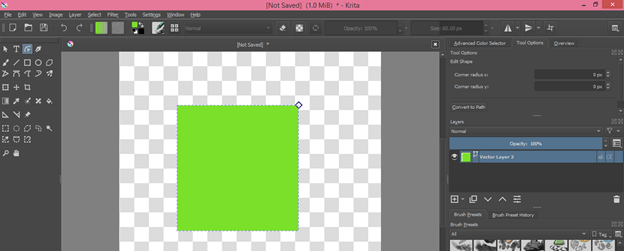
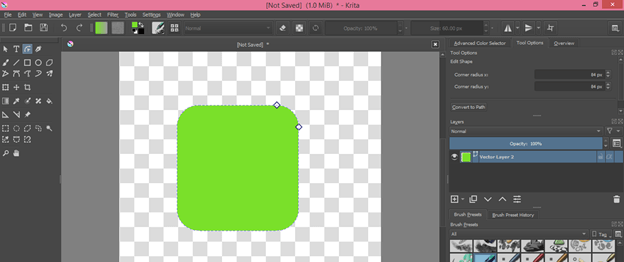
Make a click on this red anchor point which is at the corner of this shape.
And drag it for having curved corners in this square shape.
You i can identify the layer as a vector layer by the vector sign on it in the layers panel.
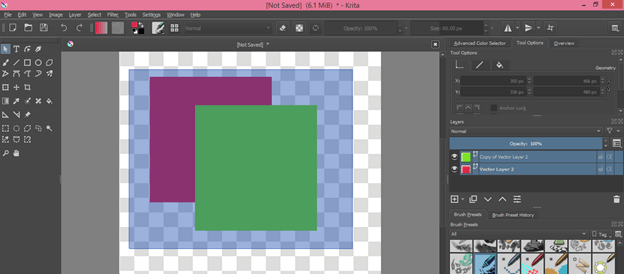
Now let us have two shapes on the same layer with different colours and select them by dragging the mouse pointer on them.
And they select like this.
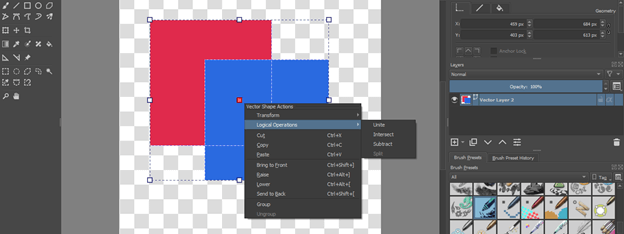
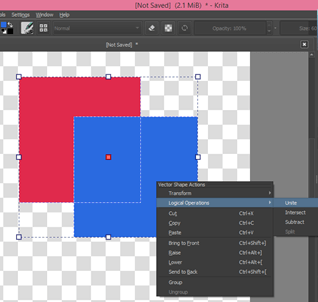
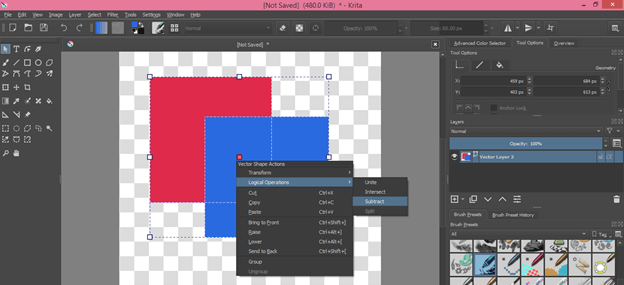
Now make right-click anywhere on the working screen and go to the Logical Operations option.
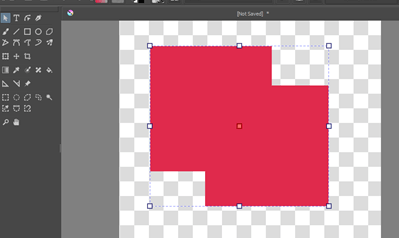
If I go with Unite option of it.
Then it will make one shape with selected shapes.
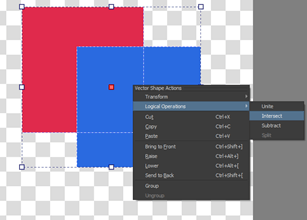
If I choose Intersect option from this list.
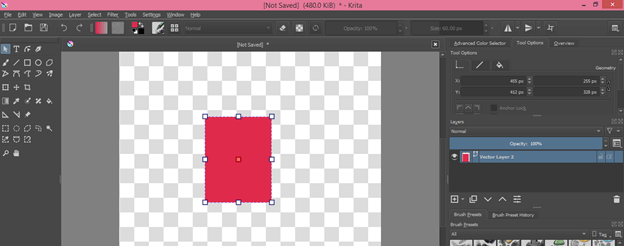
Then we will have only the intersection part of both shapes.
And if go with Subtract option.
Then front shape will subtract from the backward shape like this.
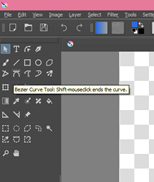
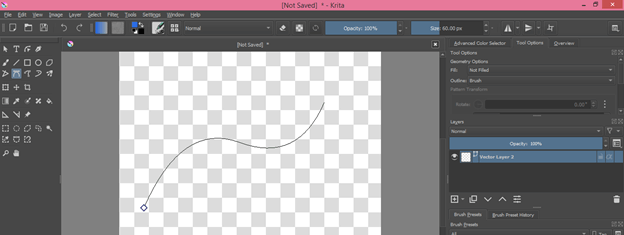
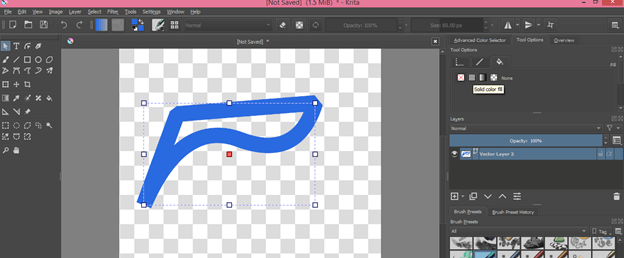
You can also create a curved vector shape and, for that, take the Bezier Curve tool from the tool panel.
And create a curve like this with the help of this tool.
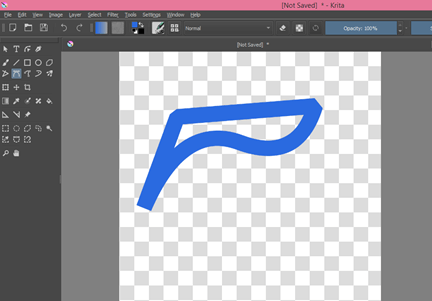
You can create a closed shape with it by the closing path of the curve.
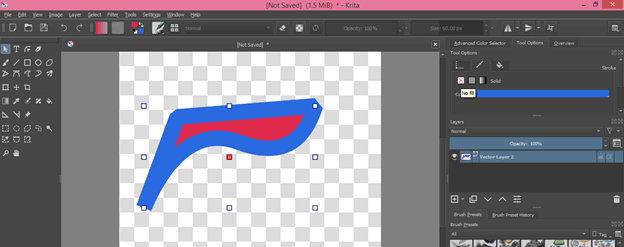
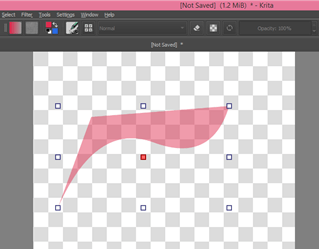
This is an outline of this shape. I will enable the fill from tool option on the working screen’s right side.
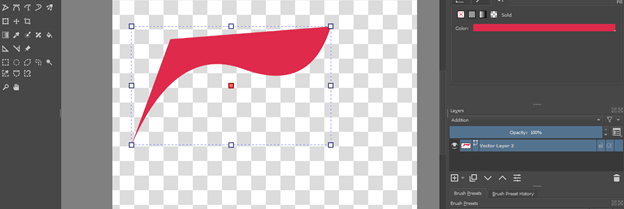
And off its outline.
Now I will have this type of shape. You can create any type of vector shape by using these tools.
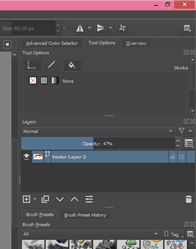
You can also decrease the opacity of any vector shape by decreasing the value of the Opacity option.
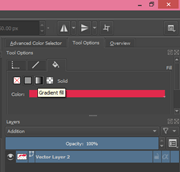
If you want to add a gradient to any shape, then you can click on the Gradient Fill option of Tool options.
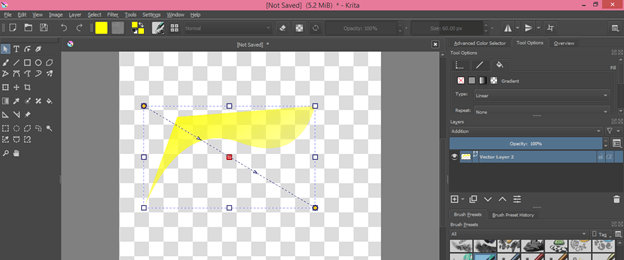
Now you will have this type of gradient handle on this shape.
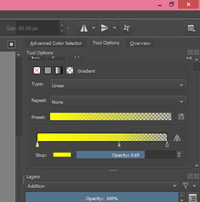
From this gradient panel, you can adjust gradient colors and their arrangement.
I told you about a different aspect of vector graphics in this software so that you can create vector shapes easily for vector graphics in Krita software.
Conclusion
Now you can create vector art in Krita software by using different features of vector tools that are offered by Krita software. I can say there are some limitations in Krita for vector graphics, but it is a pretty cool software for creating vector art. You can analyze how it is efficient in vector graphics on your own basis.
Recommended Articles
This is a guide to Krita Vector. Here we discuss How to create Vector in Krita and some of the vector tools and their features. You may also have a look at the following articles to learn more –
