Updated April 5, 2023
Introduction to Kubernetes Hostpath
A Kubernetes hostpath is one of the volumes supported by Kubernetes. It is used to mount a file or directory from the host node’s file system into our pod. It does not require most pods. However, it is instrumental in testing or development scenarios and provides a powerful escape for some applications. For example, it is used where container needs access to Docker internals by using ‘/var/lib/docker’ in ‘hostpath’ or cAdvisor running in a container uses ‘/dev/cgroups’ in ‘hostpath’.
Syntax
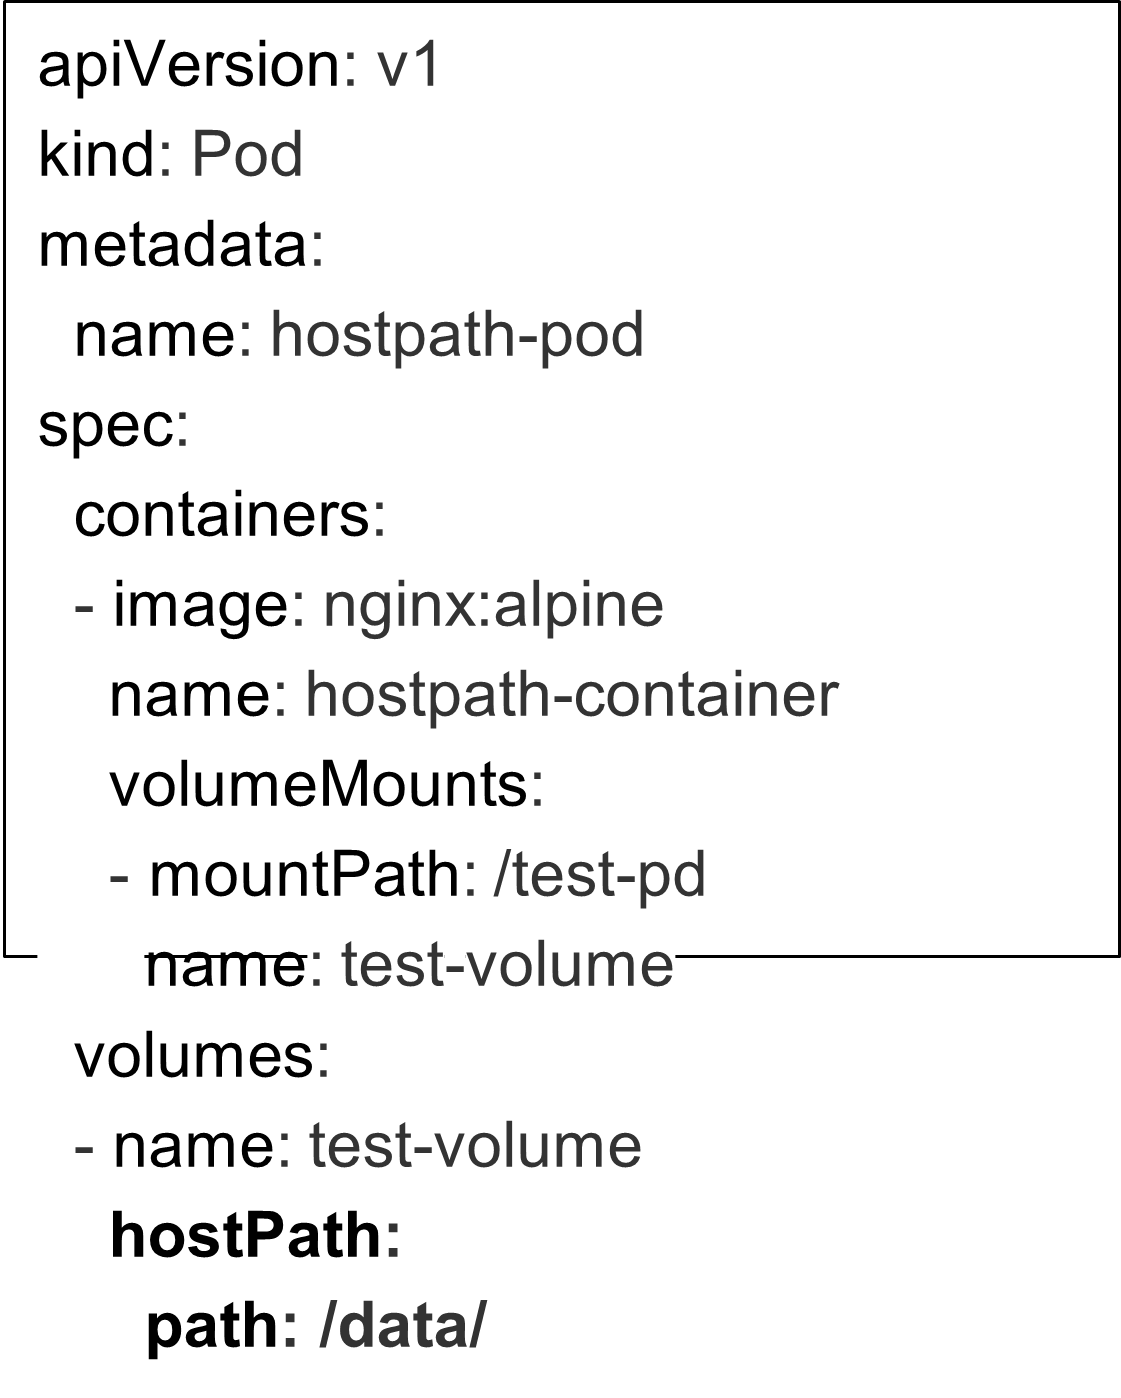
We can use ‘hostpath’ in a simple Yaml file as below while deploying pod: –
How hostpath works in Kubernetes?
As we know now that hostpath is used to create a local filesystem to behave as storage that we can use to store pod data and keep it safe if something bad happens to the pod or the pod is crashed or destroyed. We have two ways to use hostpath.
The first one is to use the hostpath directly in the pod yaml file and give the path as shown in the above snippet.
The second one is to create persistent volume and use it then create persistent volume claim and then use persistent volume claim in our pod. It gives us more flexibility. We can create multiple persistent volume claims for the same persistent volume.
Examples
Let’s understand its functionality with an example and here it is: –
Scenario: We will create persistent volume(pv), persistent volume claim(pvc) and then will use them in a pod. We will create an index.html file and mount it using hostpath and then will mount the same pvc to a different pod and will try to find the same file on the second pod and will check the data.
Step #1
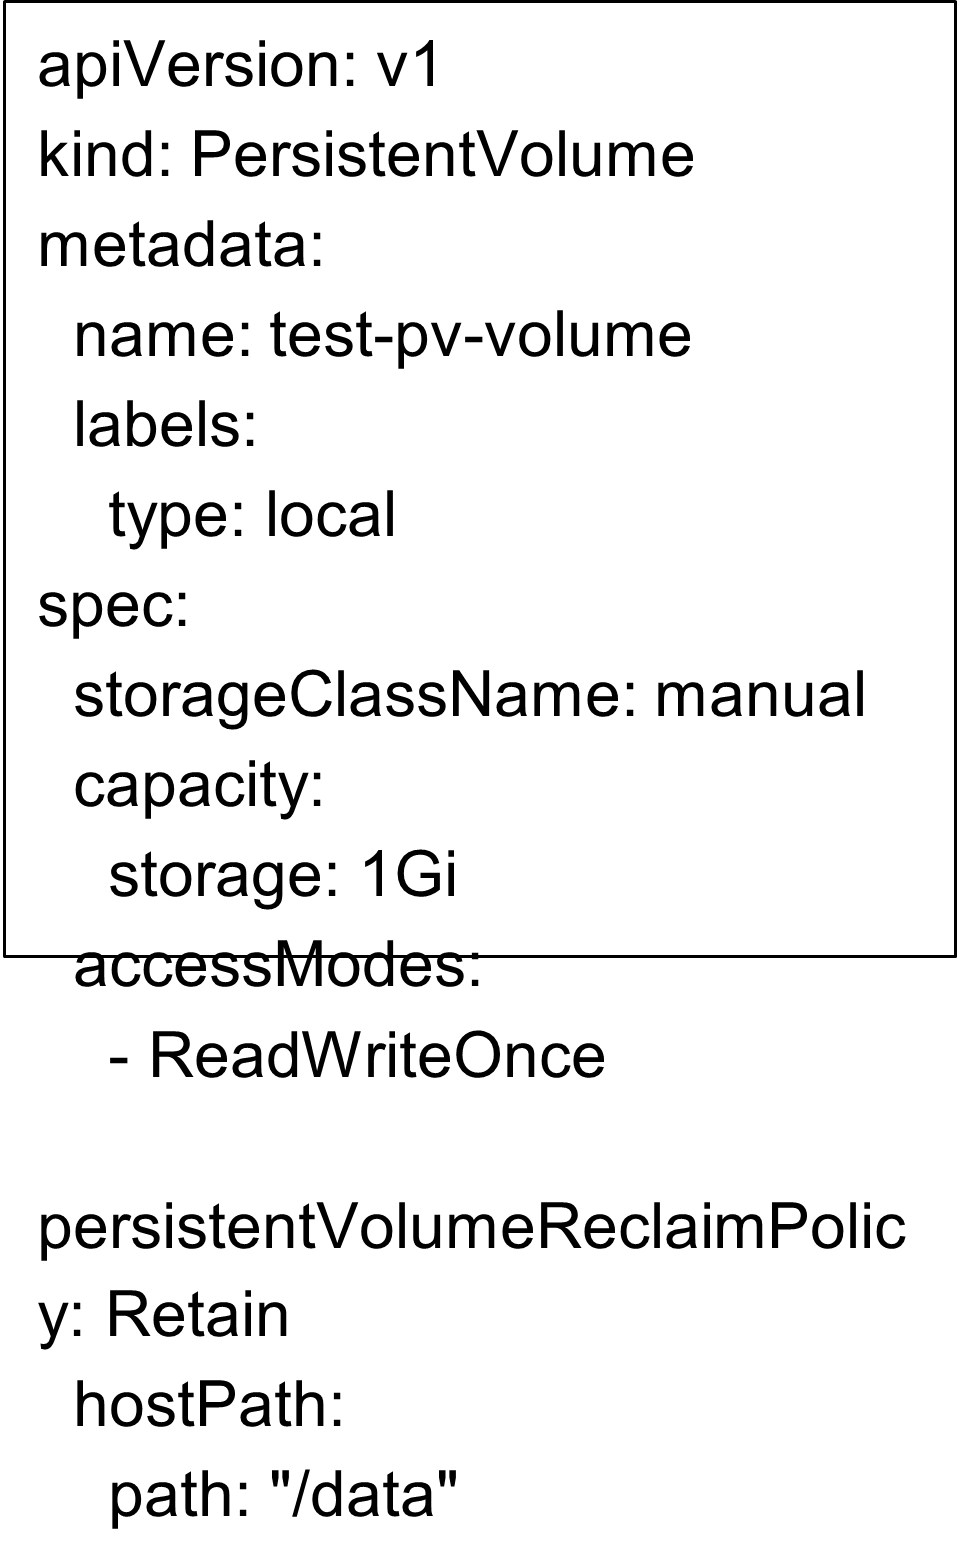
Let’s create a persistent volume using (pv-test.yml) yaml file as shown below: –
$vi pv-test.yml

$kubectl apply -f pv-test.yml

pv-test.yml
Explanation: In the above snapshot, we can see that a persistent volume named ‘test-pv-volume’ is created successfully.
Step #2
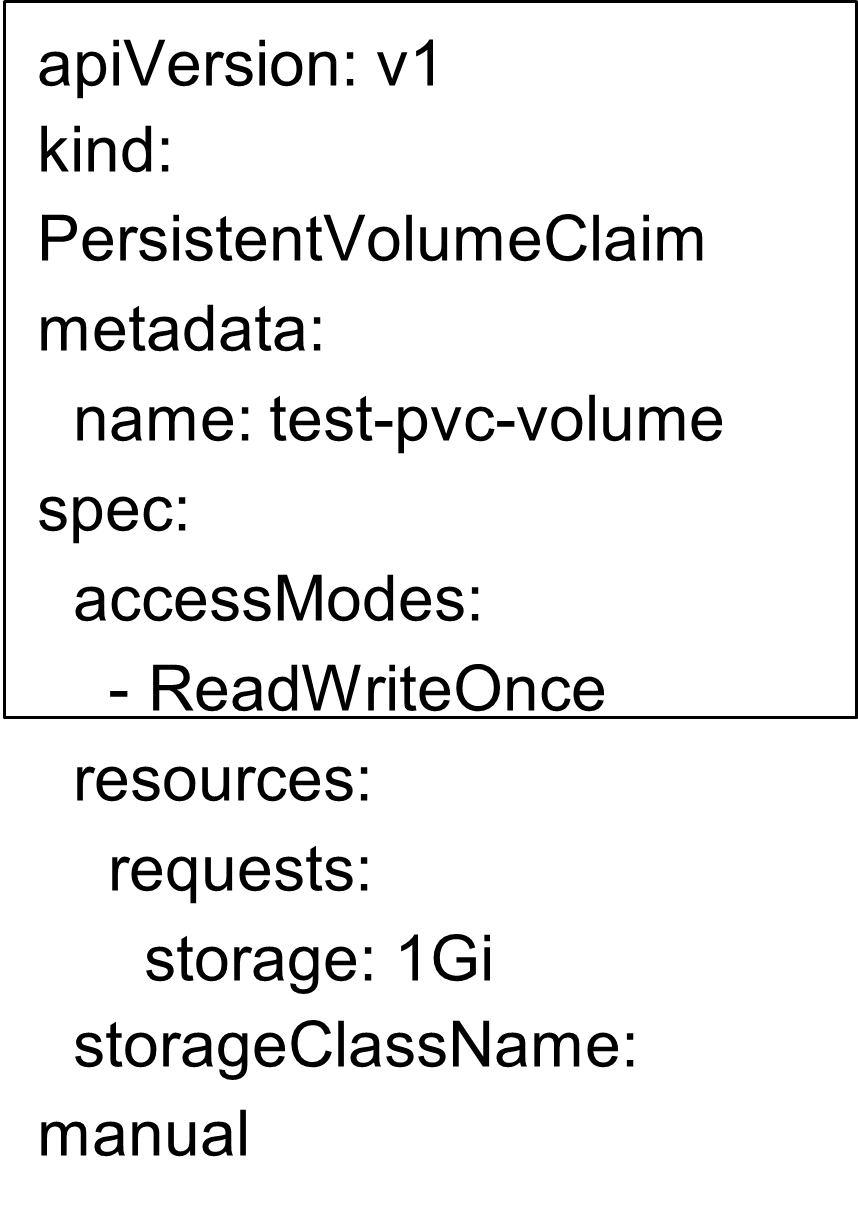
Now, we have to create a persistent volume claim to claim storage from the above persistent volume. Below is the yaml file for the same.
$vi pvc-test.yml

$kubectl apply -f pvc-test.yml

pvc-test.yml
Explanation: In the above snapshot, we can see that the persistent volume named ‘test-pvc-volume’ got created successfully.
Step #3
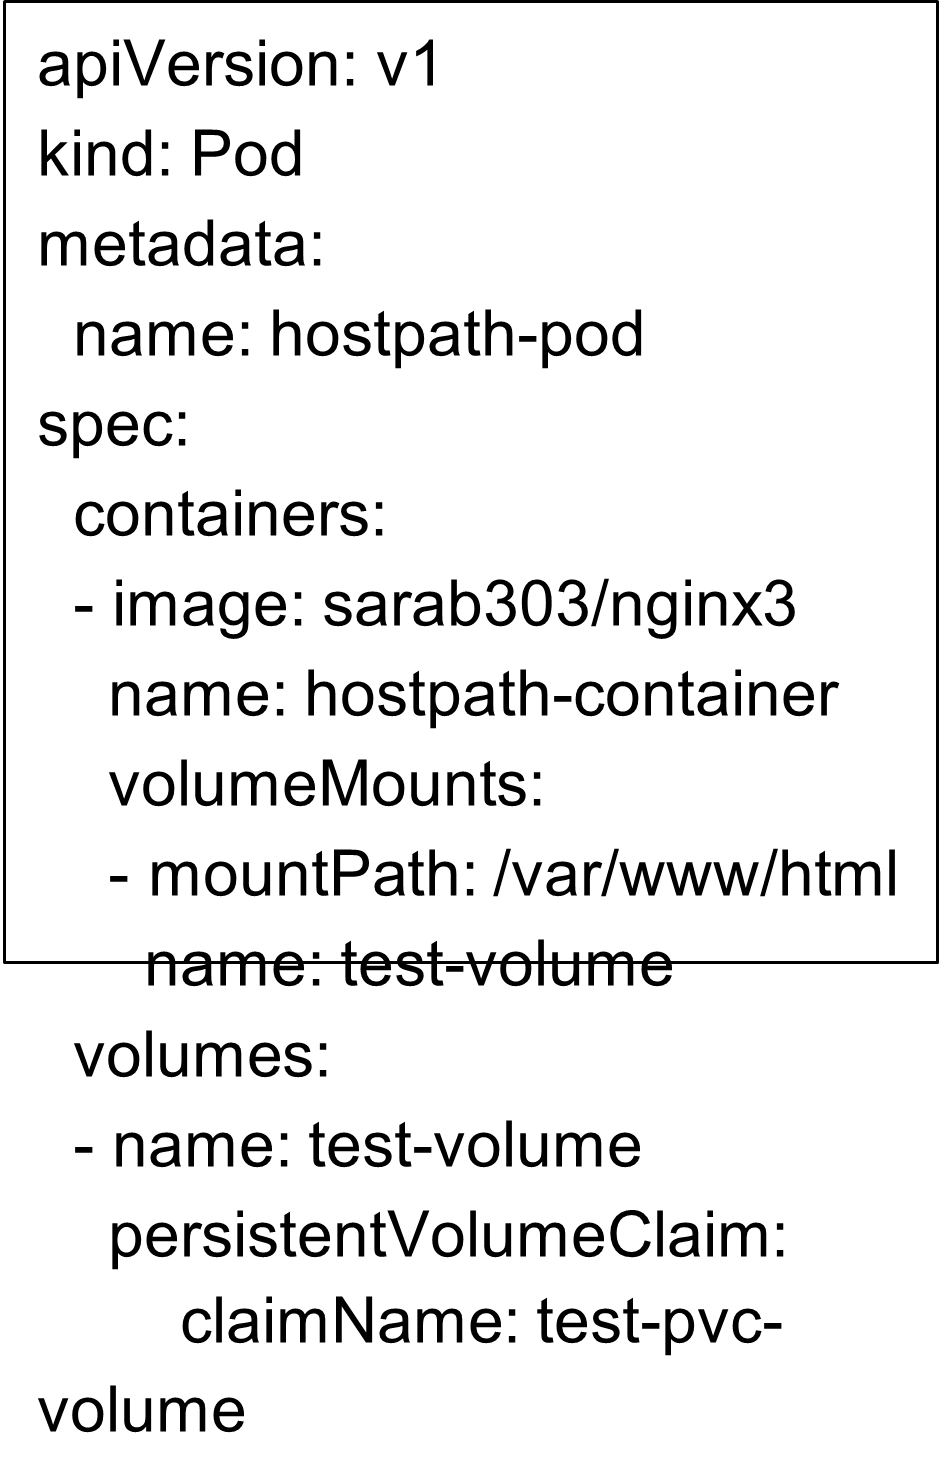
Finally, create a pod using the pod.yaml file and connect to the pod as shown below: –
$vi pod.yml

$kubectl apply -f pod.yml

$kubectl exec --stdin --tty hostpath-pod -- /bin/bash

pod.yml
Explanation: In the above snapshot, we can see that the pod named ‘hostpath-pod’ is created and connected to it successfully.
Note: Please check the status of the pod if getting any error using the below command as the pod must be in running state: –
$kubectl get pod <pod_name>

$kubectl get pod hostpath-pod
Step #4
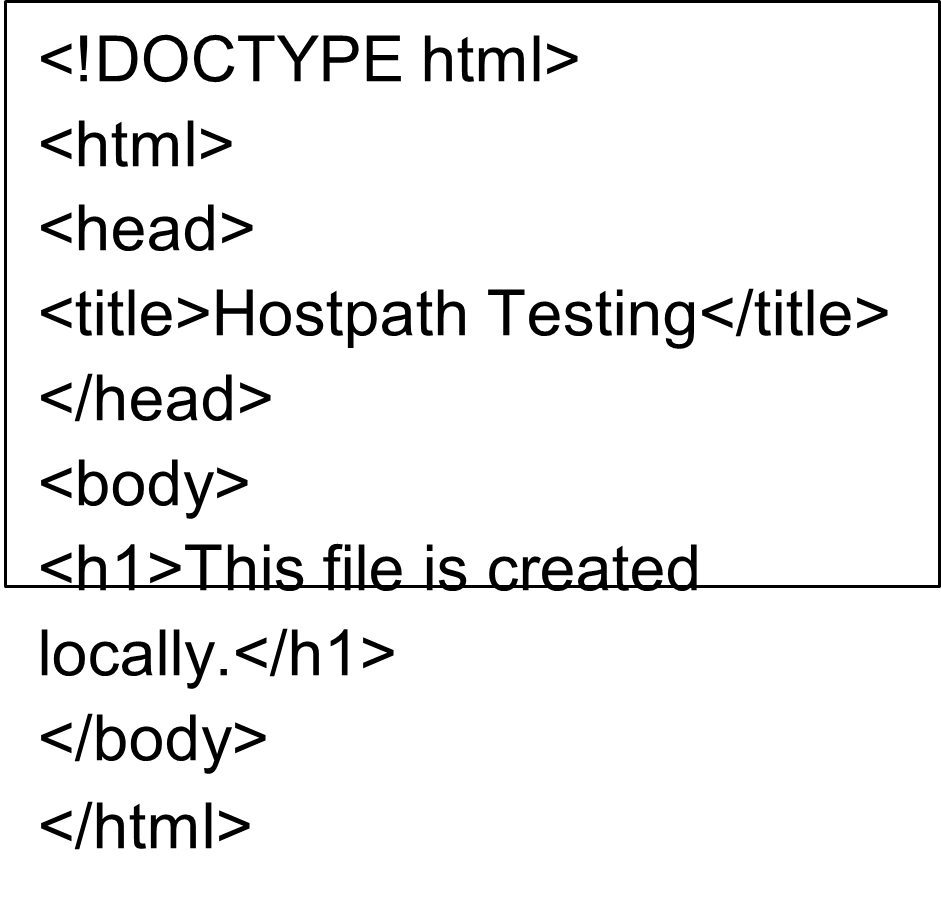
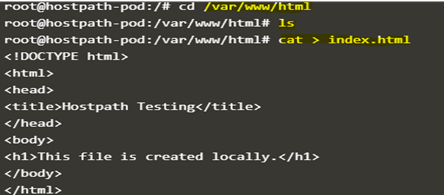
Now, change the directory to ‘/var/www/html’ and create an index.html file over here.
#cd /var/www/html

#cat > index.html
Explanation: In the above snapshot, changed the directory and created an index.html file, and populated some data to it. Press ‘ctrl+d’ to save the file.
Step #5
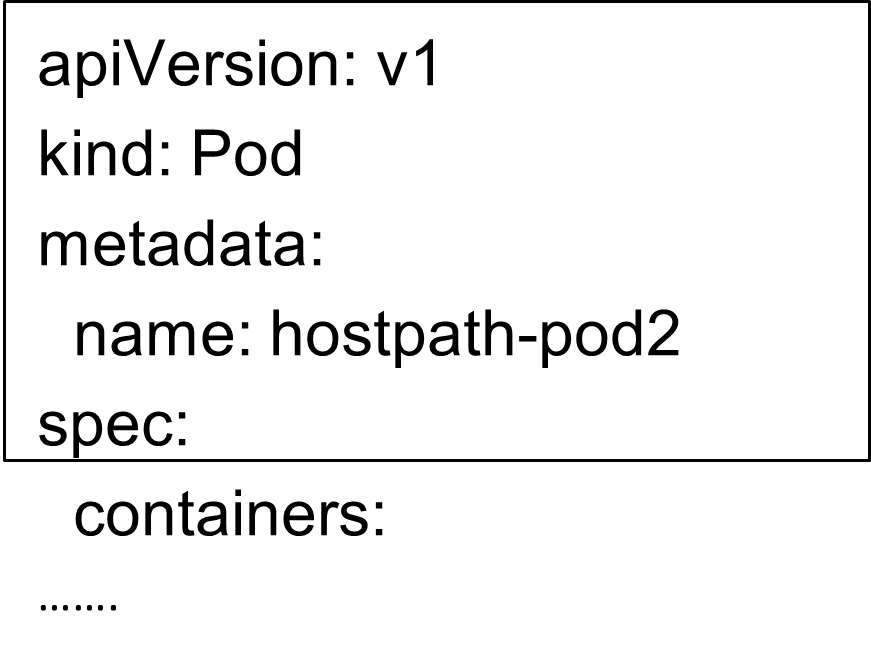
Let’s create a new pod and use the same pvc to it as well, we have to change the name of the pod in the pod.yml file and save it with a new name ‘pod2.yml’. Here is the yaml file and commands for the same: –
$cp pod.yml pod2.yml

$vi pod2.yml

$kubectl apply -f pod2.yml

pod2.yml
In the above snapshot, we can see that the second pod named ‘hostpath-pod2’ is deployed successfully.
Step #6
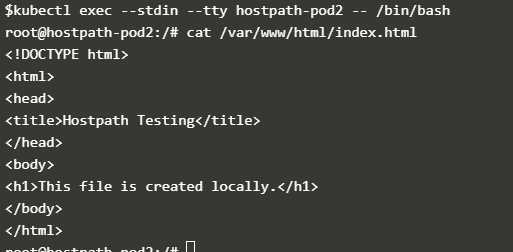
Now, connect to the second pod and check if the file index.html present at the location where we mount it, that is ‘/var/www/html’ and the data is correct or not as shown below: –
$kubectl exec --stdin --tty hostpath-pod2 -- /bin/bash

#cat /var/www/html/index.html
In the above snapshot, we can see that the ‘index.html’ present at the location, we can change the location here, which means we can mount the volume where we want. Here, the same path is used in both pods.
Step #7
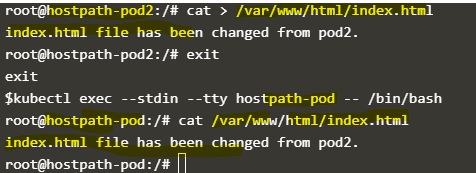
Let’s change the content of the index.html file in the ‘hostpath-pod2’ pod and verify if it changed on pod1 or not using the below commands: –
#cat > /var/www/html/index.html

index.html file has been changed from pod2. (press ctrl+d to save the file)

$kubectl exec --stdin --tty hostpath-pod -- /bin/bash

#cat /var/www/html/index.html
In the above snapshot, we can see that the changes are getting replicated to each other.
Advantages
- We can use the node-local file system as persistent volume storage.
- It is very useful for testing or development purposes.
- It can be referenced by Persistent Volume Claim or we can directly use it in the pod yaml file.
Conclusion
Kubernetes hostpath volume offers an easy way to use the local file system for testing or development purposes, however, it is not recommended for production use as we can lose the data if the pod is scheduled to a different node.
Recommended Articles
This is a guide to Kubernetes hostpath. Here we discuss How hostpath works in Kubernetes and Examples along with the steps and explanation. You may also have a look at the following articles to learn more –

