Introduction
Laravel, a highly regarded PHP framework, boasts an intuitive design and an expansive feature library. Leveraging the MVC (Model-View-Controller) architecture empowers developers to construct web applications with structure and efficiency. Developed by Taylor Otwell, Laravel simplifies the process of building web applications, offering developers a clean and intuitive toolkit to work with. From routing to authentication, Laravel streamlines common tasks, allowing developers to focus on building unique and innovative application features. Laravel 10 is the latest iteration of this framework, packed with new features, improvements, and optimizations to streamline your development workflow and enhance application performance. So why wait? Dive into Laravel today and discover the joy of building web applications the Laravel way.
Table of Contents
Why Laravel is the preferred choice for many Developers
- Modern PHP Development: Laravel advocates for contemporary PHP development methodologies, simplifying the creation of clear, sustainable, and performant code.
- Built-in Features: Laravel streamlines web application development by incorporating many built-in features, encompassing authentication, routing, session management, caching, and more.
- Composer: Laravel simplifies integrating pre-built features with your projects by seamlessly integrating with the PHP package manager Composer.
- MVC Architecture: Laravel’s MVC structure keeps code clean and scalable by separating concerns: logic in Models, visuals in Views, and handling in Controllers.
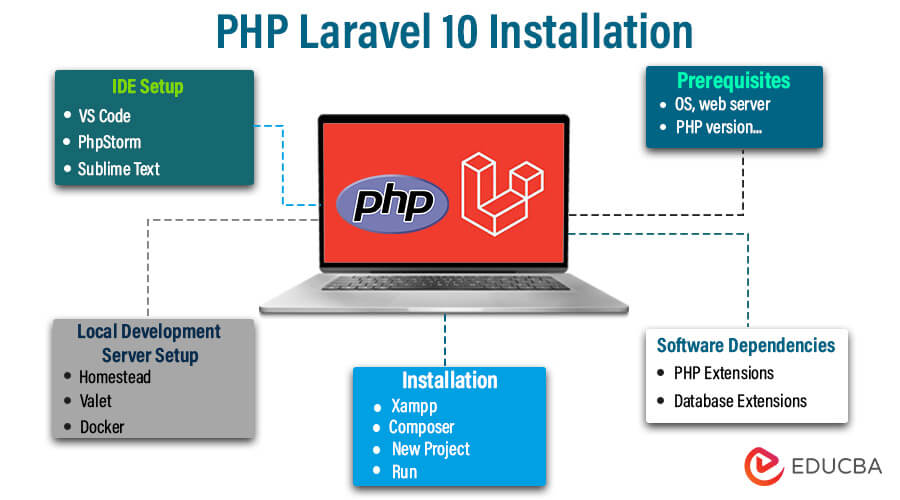
Prerequisites for Installing Laravel
System Requirements
- Operating System: Laravel is compatible with various operating systems, including Windows, macOS, and Linux distributions like Ubuntu, CentOS, and Debian.
- Web Server: You’ll need a web server to host your Laravel application. Common choices include Apache, Nginx, or LiteSpeed.
- PHP Version: Laravel requires PHP version 7.4 or higher. Ensure that PHP is installed on your system and configured correctly.
- Database: Laravel supports multiple database management systems, including MySQL, PostgreSQL, SQLite, and SQL Server. Make sure your chosen database system is installed and accessible.
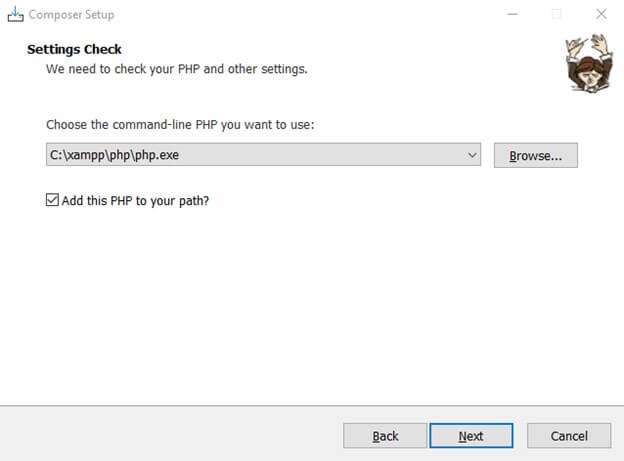
- Composer: Composer is a dependency manager for PHP that Laravel relies on for package management. Install Composer on your system to manage Laravel dependencies effectively.
Software Dependencies
- PHP Extensions: Laravel requires specific PHP extensions to function correctly. These extensions include:
- OpenSSL
- PDO
- Mbstring
- Tokenizer
- XML
- Ctype
- JSON
- BCMath
- Database Extensions: To connect to your database, make sure you have the correct PHP extension (php-mysql for MySQL and php-pgsql for PostgreSQL).
Installation of Laravel – Follow the Steps
Installing Laravel is a straightforward process that involves using Composer, a dependency manager for PHP, to create a new Laravel project. Follow these steps to install Laravel:
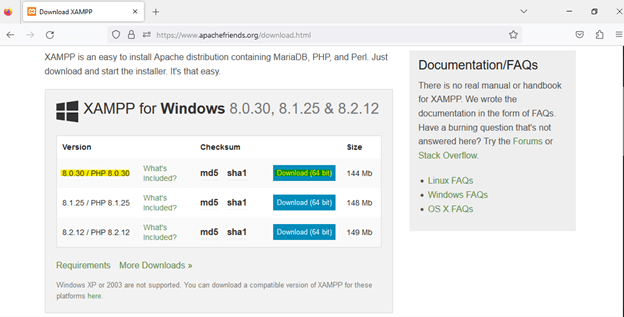
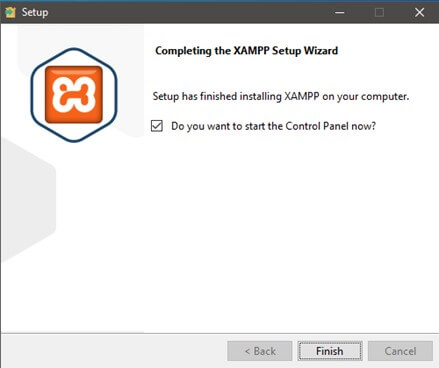
- Install Xampp: If you haven’t installed Xampp in your system, follow the link ( https://www.apachefriends.org/download.html ) and download Xampp according to your operating system.
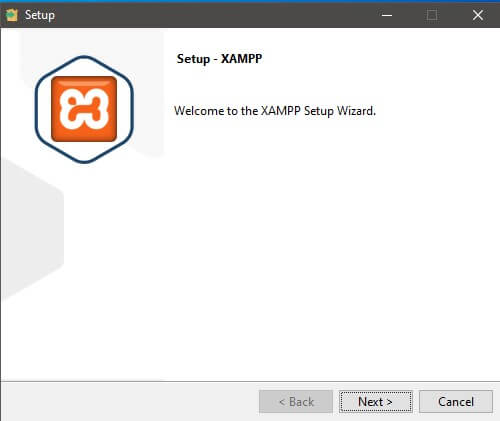
After downloading, the Xampp installation setup will pop up.
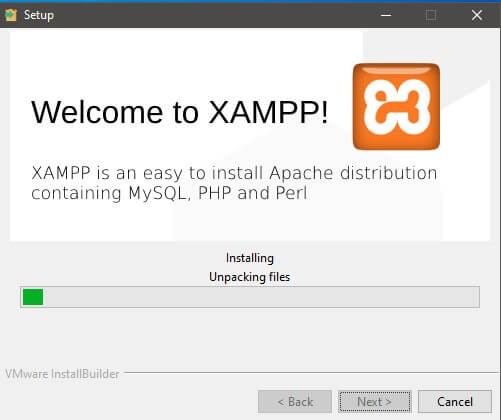
Start installing the Xampp on your device. This process may take some time.
Once you complete the setup, Click on Finish.
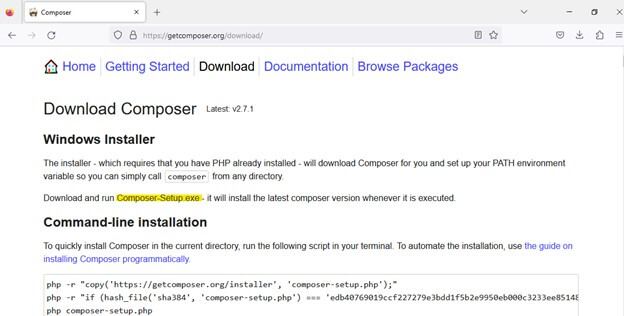
- Install Composer: If you haven’t installed Composer on your system, visit the official Composer website (https://getcomposer.org/) and follow the installation instructions for your operating system.
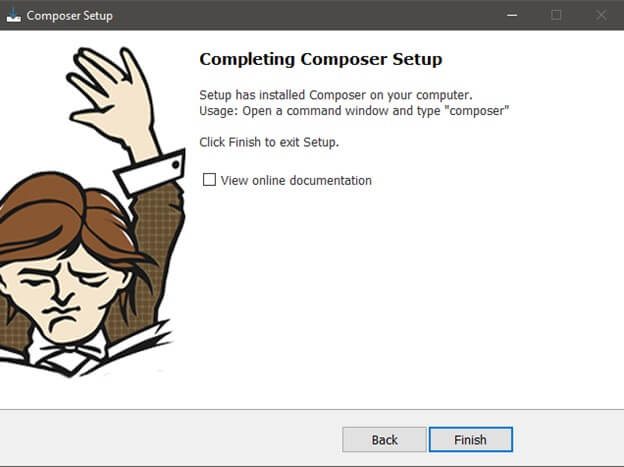
Once the installation setup is complete, Click on Finish.
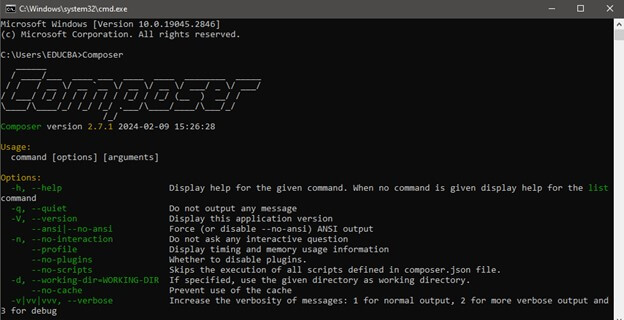
- Check composer: To check whether the composer is installed on your device correctly. Open cmd and type
- Create a new Laravel Project: To initiate a new Laravel project, first ensure the installation of Composer. Subsequently, access your command-line interface and navigate to the designated directory. Execute the following Composer command:
composer global require laravel/installer
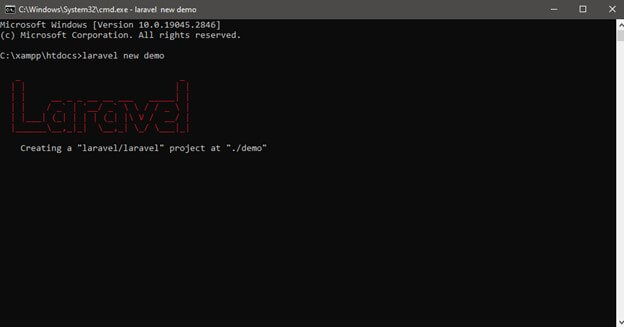
After the command, go to the htdocs folder and run cmd:
Composer will download and install all necessary dependencies for your Laravel project. Depending on your internet connection speed and system performance, this process may take some time.
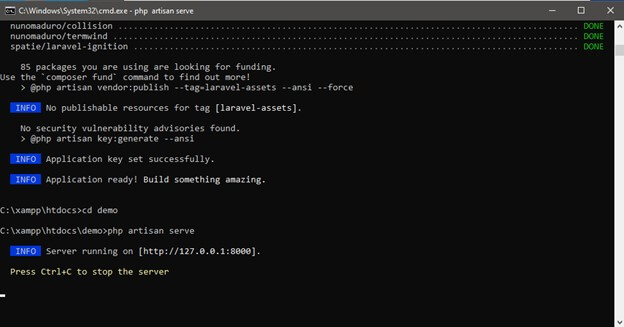
- Run development server: To start the Laravel development server, navigate to your project directory in the CLI and run the following command:
PHP artisan serve
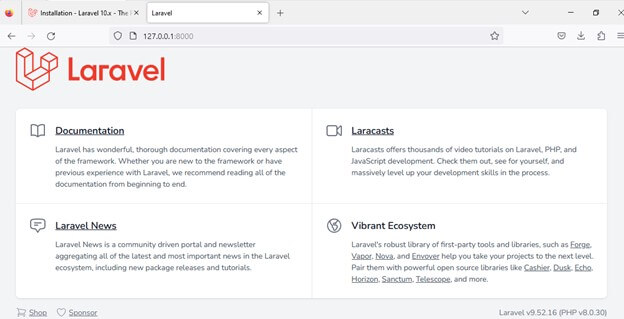
- Access your Laravel Application: Once the development server runs, open your web browser and navigate to http://localhost:8000 (or the specified address if you customize the port). You should see the Laravel welcome page indicating that your installation was successful.
Congratulations! You have successfully installed Laravel and created a new Laravel project.
Development Environment Setup
Constructing a Laravel development environment requires configuring a local web server for application hosting and utilizing an IDE to enhance the coding experience through functionalities like syntax highlighting and debugging tools.
Local Development Server Setup
- Homestead (Recommended): Laravel Homestead is an official, pre-packaged Vagrant box that provides a development environment for Laravel applications. Follow the Homestead installation instructions in the Laravel documentation ( https://laravel.com/docs/homestead ) to set up Homestead on your system.
- Valet: For macOS users seeking a streamlined development environment, Laravel Valet offers a solution utilizing the native Hypervisor Framework and Nginx. Refer to the comprehensive installation instructions in the Laravel documentation ( https://laravel.com/docs/valet ) to configure Valet on your system.
- Docker: Docker is a containerization platform that allows you to create isolated application environments. You can use Docker to set up a Laravel development environment by creating a Dockerfile and a docker-compose.yml file. Refer to the Laravel Docker documentation ( https://laravel.com/docs/docker ) for detailed instructions.
IDE Setup for Laravel Development
- Visual Studio Code (VS Code): For a productive Laravel development experience, consider VS Code, a lightweight and customizable code editor offering native PHP support. Enhance your workflow with the “PHP Intelephense” extension for advanced PHP features and the “Laravel Extension Pack” for Laravel-specific functionalities like Blade syntax highlighting and direct Artisan command execution.
- PhpStorm: For an enhanced Laravel development experience, consider deploying PhpStorm, a robust PHP IDE with advanced features like intelligent code completion, comprehensive refactoring capabilities, and seamless integration with Composer and PHPUnit. To configure PhpStorm for Laravel development, install the IDE and create a new project using your existing Laravel project directory.
- Sublime Text: For a customizable Laravel development experience, consider Sublime Text, offering a vast array of plugins and packages. Enhance your workflow with the “Laravel Blade Highlighter” package for syntax highlighting specifically tailored to Blade templates and the “Laravel Artisan” package to execute Artisan commands directly within Sublime Text conveniently.
Conclusion
Having completed the Laravel setup process, you are ready to begin your web development journey. Leverage the framework’s comprehensive features and user-friendly development environment to construct robust and scalable applications easily. Continuously engage with the extensive Laravel documentation and community resources to refine your skills and maximize the framework’s potential within your projects.
Frequently Asked Questions (FAQs)
Q1. Do I need prior experience with PHP to install and use Laravel?
Answer: Prior PHP experience enhances the Laravel development experience but is not mandatory. Laravel abstracts away many PHP complexities, offering an intuitive and expressive syntax accessible to developers of varying skill levels. However, familiarity with basic PHP concepts like variables, functions, and control structures improves your grasp of Laravel’s underlying mechanisms and streamlines development.
Q2. Is it possible to upgrade Laravel to newer versions after installation?
Answer: Leverage Laravel’s frequent release cycle to benefit from performance enhancements and security patches. Utilize Composer to upgrade your project: update the laravel/framework dependency in composer.json and run composer update. Before upgrading, meticulously review the Laravel upgrade guide and verify compatibility with your codebase and dependencies.
Q3. What should I do if I encounter errors during the Laravel installation process?
Answer: If errors arise during Laravel installation, confirm that your system adheres to the documented prerequisites, including the PHP version, mandatory extensions, and Composer installation. Seek further assistance by exploring Laravel’s official documentation and engaging with the community forums, where you’ll find valuable troubleshooting tips and solutions to frequent installation hurdles.
Recommended Articles
We hope that this EDUCBA information on “Laravel Installation” was beneficial to you. You can view EDUCBA’s recommended articles for more information.
