Updated April 11, 2023
Introduction to Laravel Redirect Back
Laravel framework is one of the most robust frameworks that has taken the virtual world by storm. The reasons are plenty. The Laravel Framework is scalable and more importantly is expressive. This helps the developer to spend little time in creating functions. It also has a vast library to choose from and hence has the requisite flexibility.
Because of these reasons, the Laravel framework is sought after by clients owning e-commerce sites. The Ecommerce business by its very nature is demanding. Newer functionalities have to be created at the quickest possible time to provide better services to consumers. Because Laravel is easy to use the platform, this nature of support is possible. It is also the same reason why the coding community is excited about it.
A prime example would be the expression Redirect Back (). Its primary task is to return the user to an earlier page, which may or may not be the source. The redirect back code is helpful in websites where one has to log in for access. If the login is successful then the user will be taken forward and if it is not, then the user will be redirected to the login page or any other page. The Redirect back () should not be confused with return (), which ideally returns the user to the previous step. Redirect is akin to a detour while Return () is the previous page, in most cases.
Examples of Laravel Redirect Back
Below is a function concerning the Store.
Code:
public function store() {
$inputs = Input::all();
unset($inputs['_token']);
$cpe_mac = $inputs['mac1'].$inputs['mac2'].$inputs['mac3'].$inputs['mac4'].$inputs['mac5'].$inputs['mac6'];
$cpe = [];
$cpe['cpe_mac'] = $cpe_mac;
$cpe['bandwidth_max_up'] = (int)$inputs['max_up'];
$cpe['bandwidth_max_down'] = (int)$inputs['max_down'];
$json = json_encode($cpe);
$url = 'http://ift.tt/1Myb8d2';
$ch = curl_init($url);
curl_setopt($ch, CURLOPT_HTTPHEADER, array('Content-Type: application/json'));
curl_setopt($ch, CURLOPT_POSTFIELDS, $json);
curl_setopt($ch, CURLOPT_POST, 1);
curl_setopt($ch, CURLOPT_RETURNTRANSFER, true);
$result = curl_exec($ch);
curl_close($ch);
$result_json =  json_decode($result, true);
$id = $inputs['account_id'];
if ( $result_json['status'] == '200') {
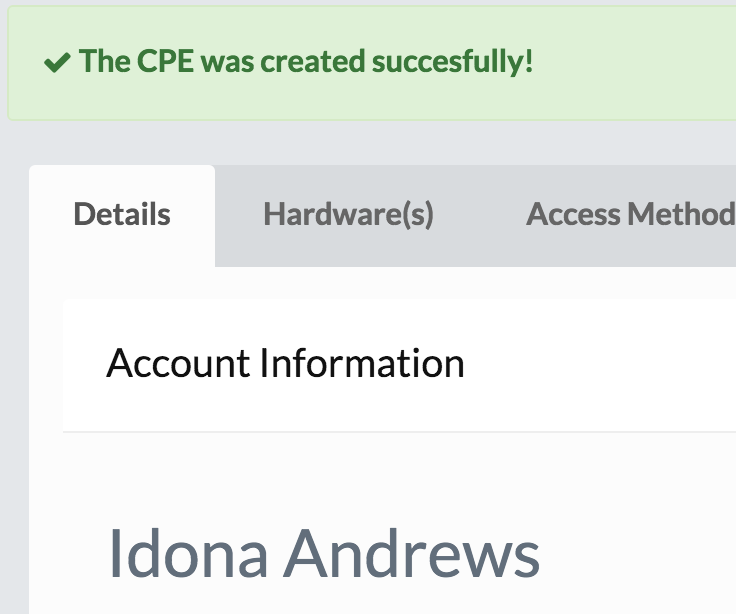
return Redirect::to('/account/'.$id.'/#hardware') ->with('success','The CPE was created succesfully!');
} else {
return Redirect::to('/account/'.$id.'/#hardware') ->with('error', $result_json['message']);
}
}
The below concerns the design:
<!-- Nav tabs -->
<ul class="nav nav-tabs">
<li class=""><a href="#details" data-toggle="tab"><strong>Details</strong></a></li>
<li class=""><a href="#hardware" data-toggle="tab"><strong>Hardware(s)</strong></a></li>
<li class=""><a href="#access-methods" data-toggle="tab"><strong>Access Methods</strong></a></li>
<li class=""><a href="#linked-networks" data-toggle="tab"><strong>Linked Networks</strong></a></li>
<li class=""><a href="#options" data-toggle="tab"><strong>Options</strong></a></li>
</ul>
<!-- Tab panes -->
<div class="tab-content mb30">
@include('account.show.details')
@include('account.show.hardwares')
@include('account.show.access-methods')
@include('account.show.linked-networks')
@include('account.show.options')
</div>
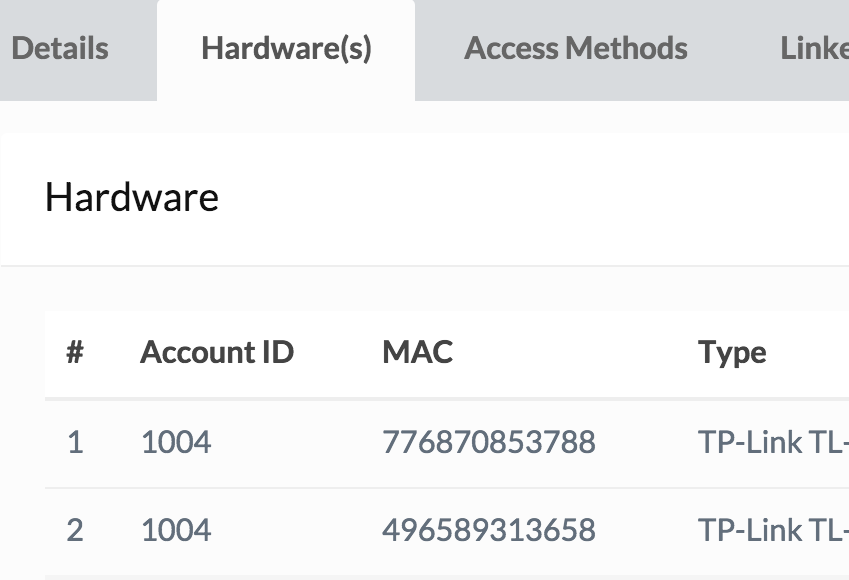
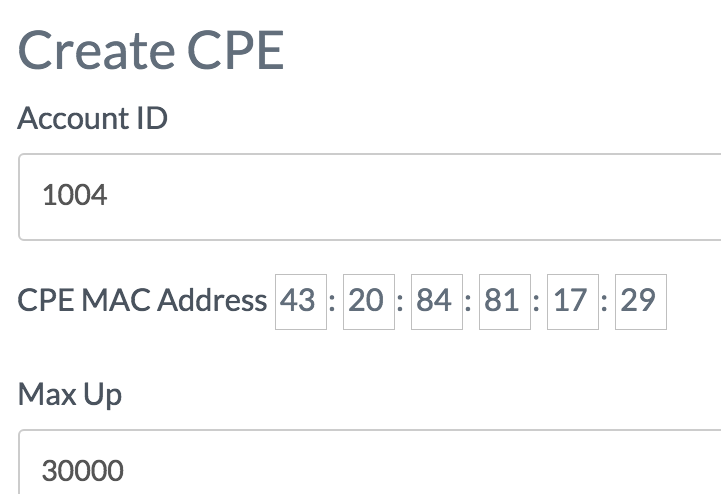
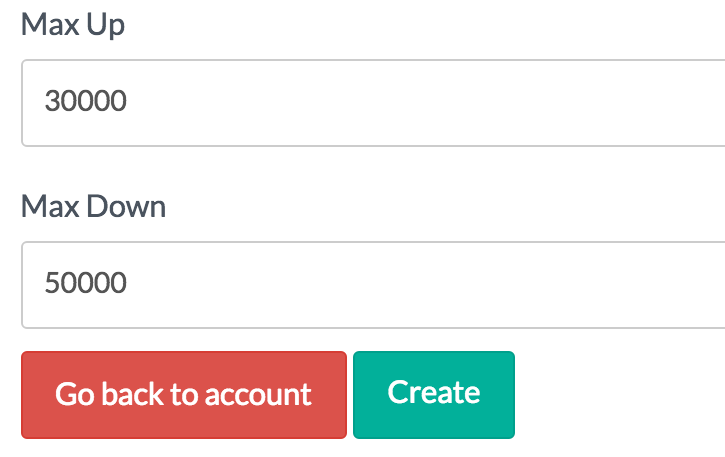
Output:
A few other quick coding examples.
- A redirecting the URL:
return redirect('user/dashboard');- To the previous page:
return redirect()->back();- This can also be written as
return redirect()->back()->withInput();- Named routed redirection:
return redirect()->route('home');- Named Routes redirection with parameters:
return redirect()->route('users', [1]);- Controller Action Redirection:
return redirect()->action('App\Http\Controllers\UserController@index');- Controler Action redirection with parameters:
return redirect()->action('App\Http\Controllers\UserController@index', ['id' => 1]);- Redirection with the message:
return redirect('home')->with('message', 'Welcome to ExpertPHP Tutorials!');One of the good things about the redirect () command line is that it can be added with any other command lines or be a part of a series of commands.
It can take the user to myriad pages after the end of an action. Apropos to the examples that we did come across. This is not just limited to e-commerce sites but is available to every other page.
One of the best examples of the redirect back() command line is the registration page or the subscription page of a website. Once a user tries to access the website, he or she will be taken to the registration or the subscription page. On this page, the user will have to fill in a form and submit. On submission, he or she will be redirected to the first page of the website or whichever page the user was in. The redirect command is primarily used to provide a sense of sequence to the website or functionality. It should also not be mistaken that a redirect page is only valid for a website and not functionality.
As the above example has illustrated, a database too can be provided with the same functionality.
The redirect back() has quite a few modifications. One of them being simply redirected (). This more or less does the same thing. It takes the user back to the page or circumstance mentioned in the parameters. The redirect back() can be encapsulated with the return() command line and be used with added parameters. The redirect back() can also be enmeshed with a message. This can be an error message or a message signaling completion of an action. Messages in command lines provide a sense of direction. The command line will then redirect the user to the previous step and ask him or her to retry the step again.
It is imperative to remember that the redirect responses are from the Illuminate\Http\RedirectResponse. This class requires the proper headers for redirection. As we have seen from the above examples, the easiest way to use the redirect command line is to use the global redirect assistant.
It would look something like this:
Route::get('dashboard', function () {
return redirect('home/dashboard');
});
The other manifestation of this command line is the return back:
Route::post('user/profile', function () {
// Validate the request...
return back()->withInput();
});
This command line is taking the help of the global back assistant.
These global assistants are known as such since they can be enmeshed with any other command line. They work in every circumstance and provide the same result. Also, one can input parameters to customize their actions. If one is using the Eloquent model while trying to route with an ID, then the developer may use the model itself. This will lead to the ID being extracted automatically. Showing of a message is also called “flashed session data”. Here a message is flashed and the redirecting happens, all at the same time. Laravel does provide the developer with enormous options to choose from to make light of the work.
Conclusion
The redirect back() command line is one of the numerous command lines that developers use to create easy functionalities. These command lines are expressive enough to provide numerous modifications as per the demand of the situation. All these sets the Laravel framework apart from the others.
Recommended Articles
We hope that this EDUCBA information on “Laravel Redirect Back” was beneficial to you. You can view EDUCBA’s recommended articles for more information.
