Introduction to Lightroom Background Color
Lightroom Background color can understand as changing the color of the background of an image in lightroom by using different techniques of this software. We know that we can change background color in Photoshop by using the masking process with the help of brushes and other tools of that software and in lightroom, it uses the most similar technique for doing this. With this technique, you not just change background color but can also change the color of your desired part of an image but with some limitations. So let us have look at how we can do this.
Lightroom Quick Tip
Before I tell you about how you can change background color in lightroom I would like to talk about some of the quick tips of this software so that you can handle this software in a very smooth way.
Create and use your own presets
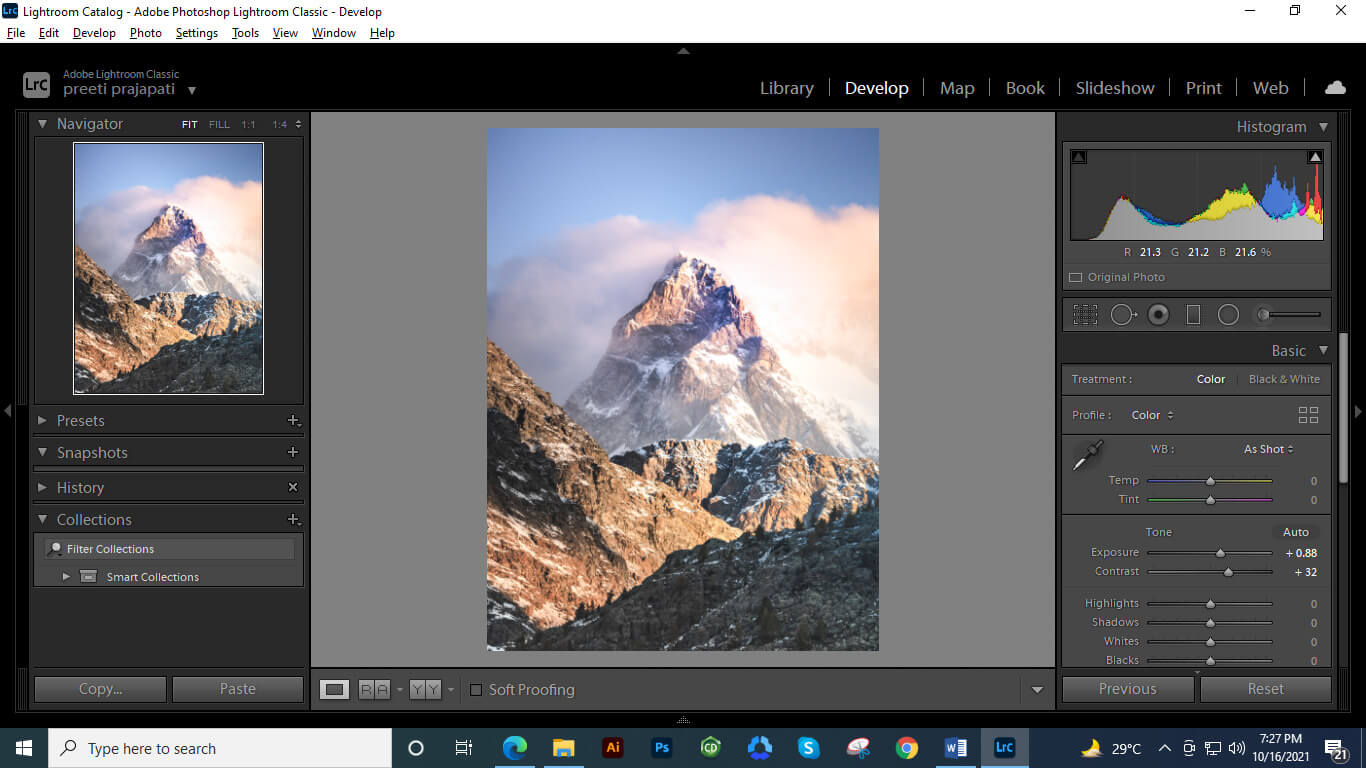
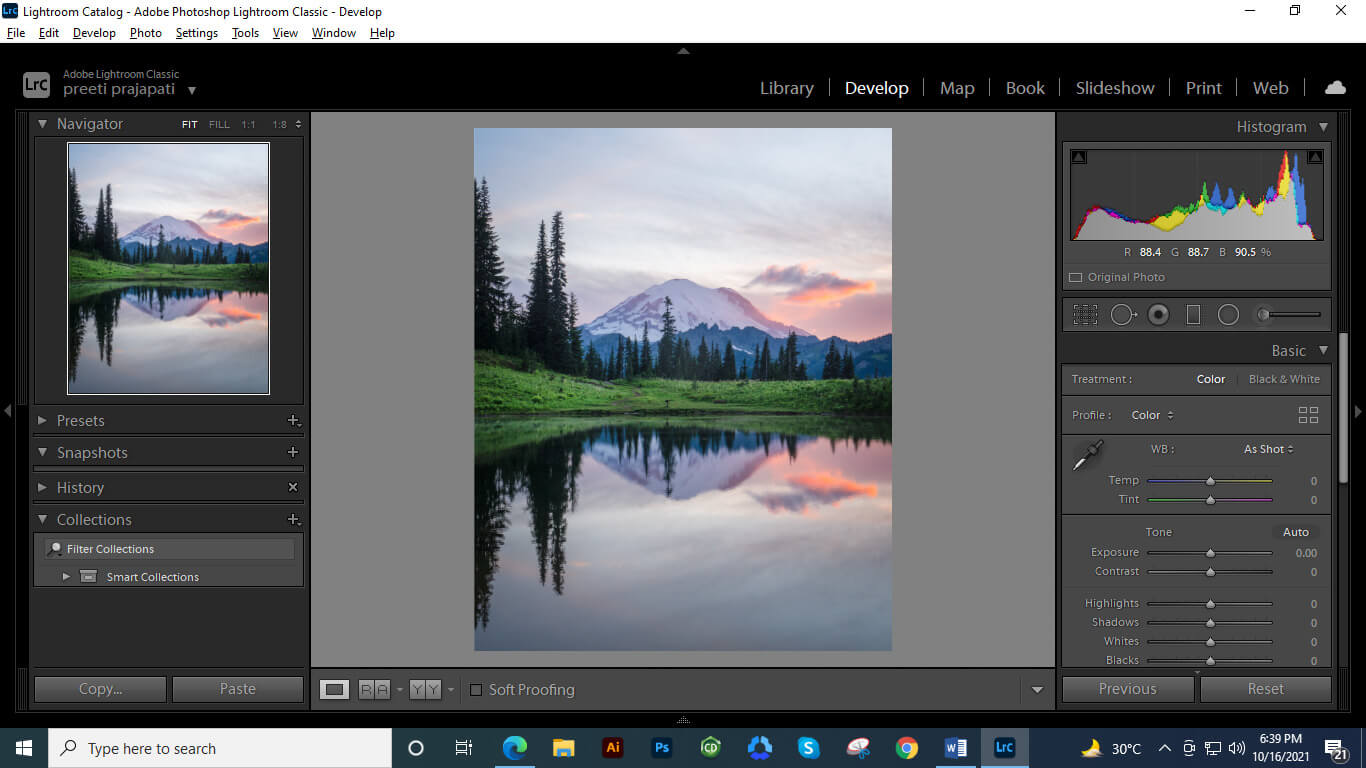
This is the image in which I want to make some changes but rather than adjusting all the parameters in a new way for getting my result I will go with my own created preset which has the most similar effect that I want in this image. For example, I want to have more exposure to the cloud that is adjacent to the front mountain.
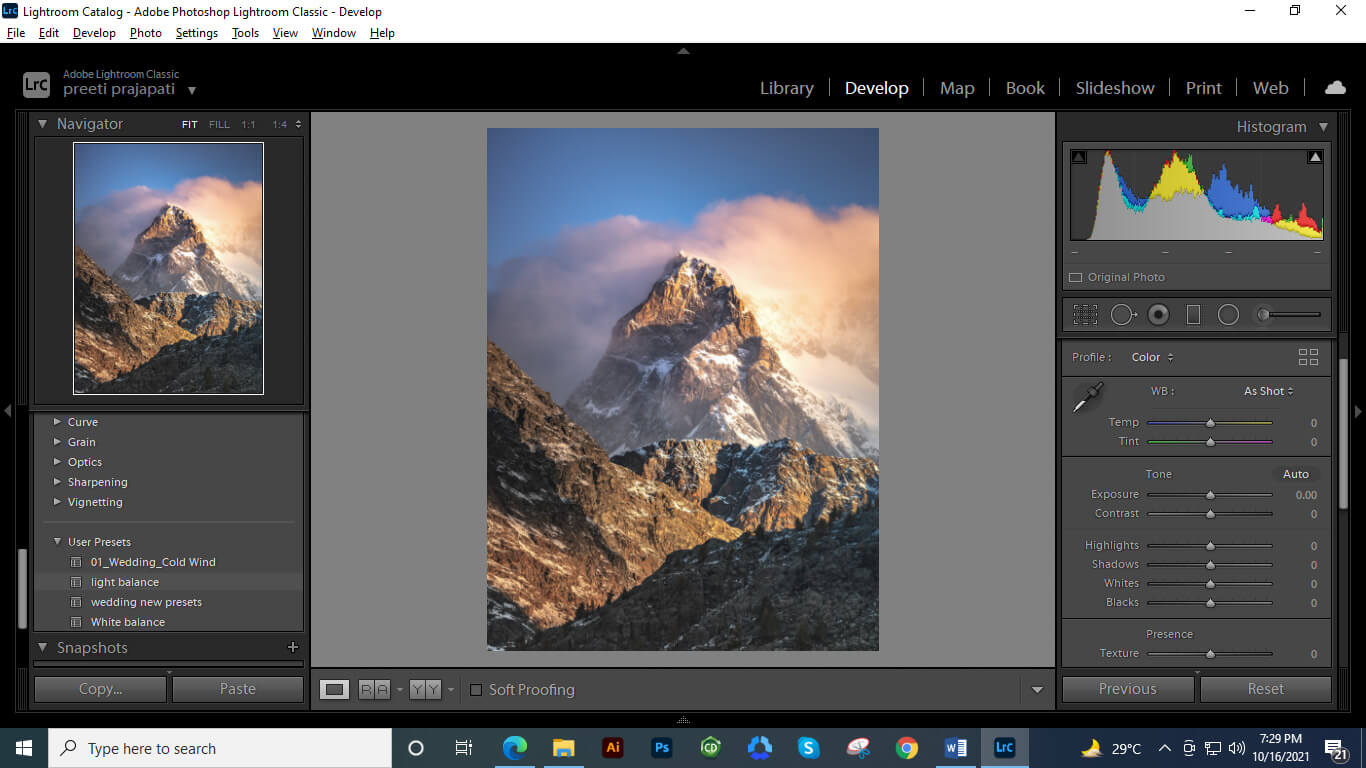
And for that, I will use one of the created presets and you can see I have changed values of all parameters that are giving me a most similar result. It saves my time.
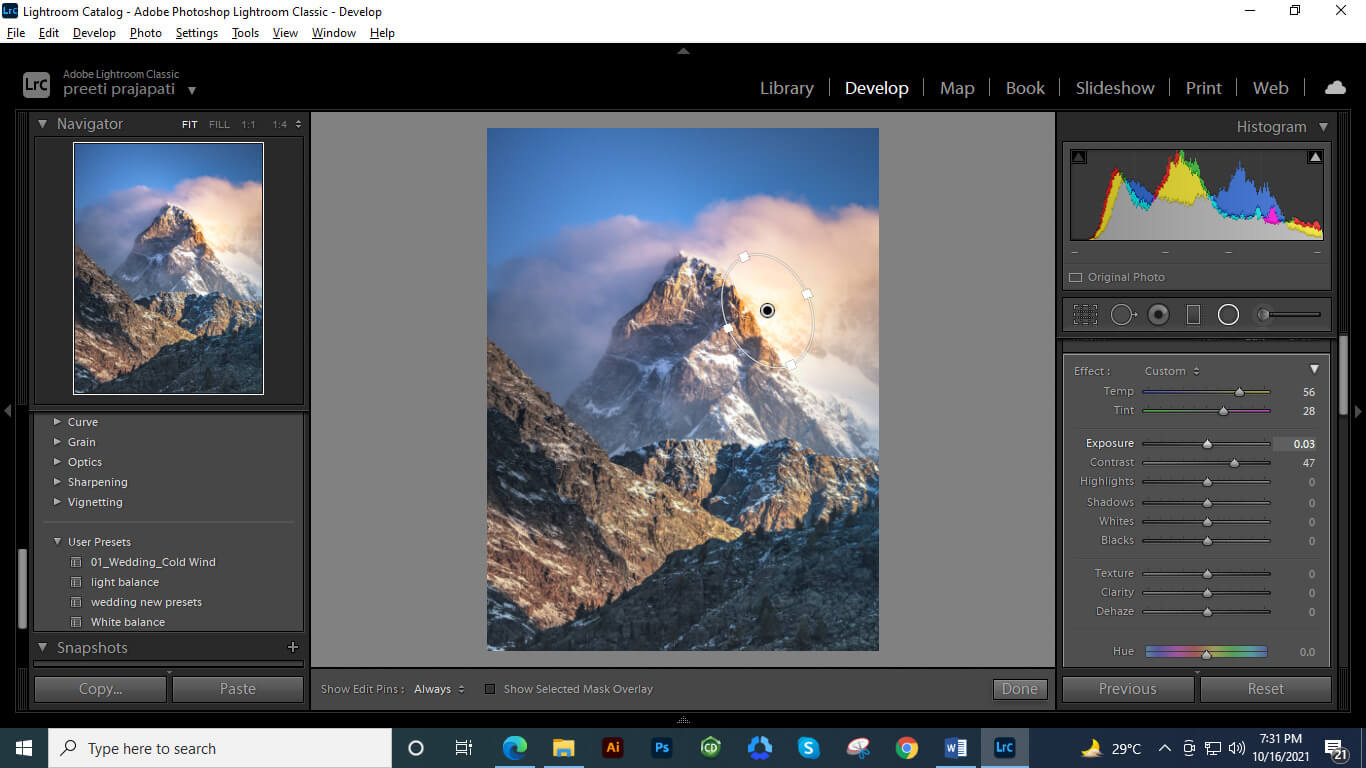
And now I can make more adjustments very quickly such as I will mask this area and then adjusting the values of different parameters.
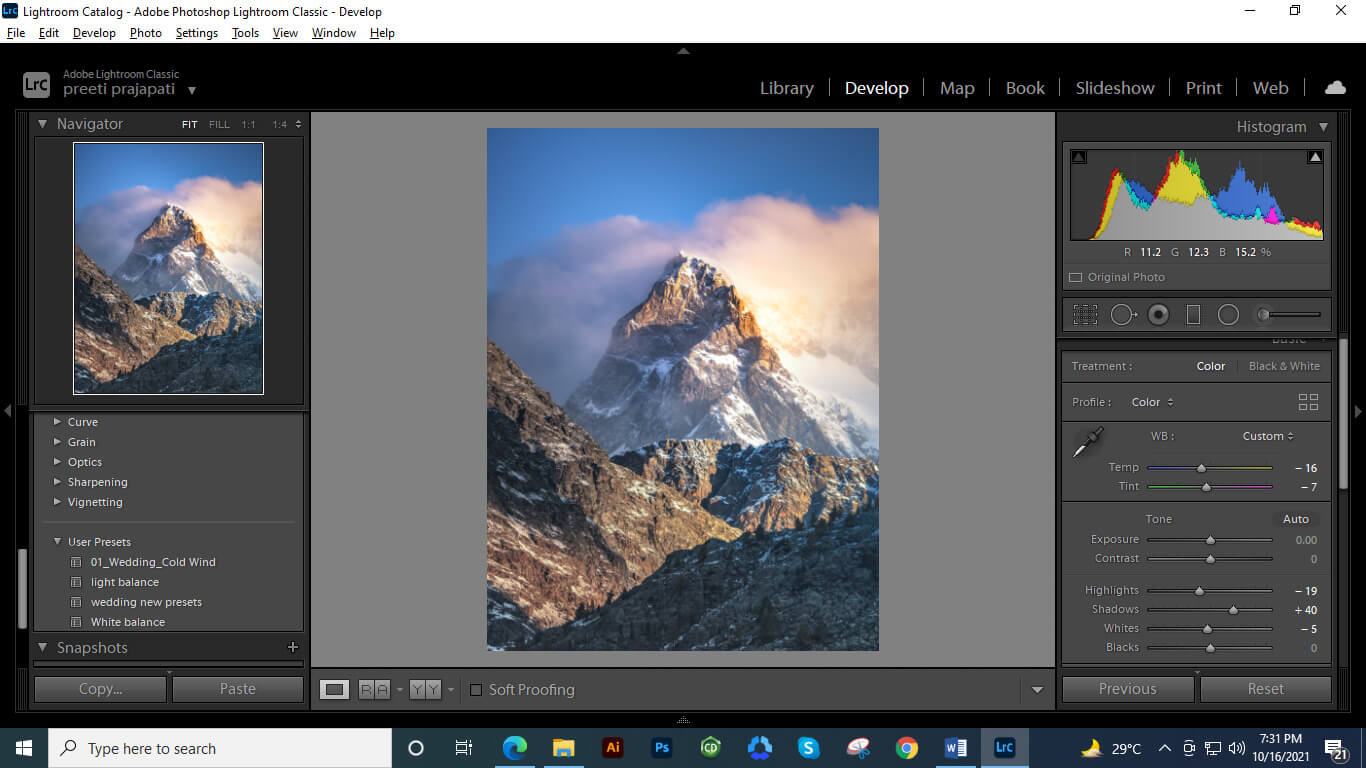
And you can see it is giving me a nice effect in just a few steps.
Use quick way to mask with Brush tool
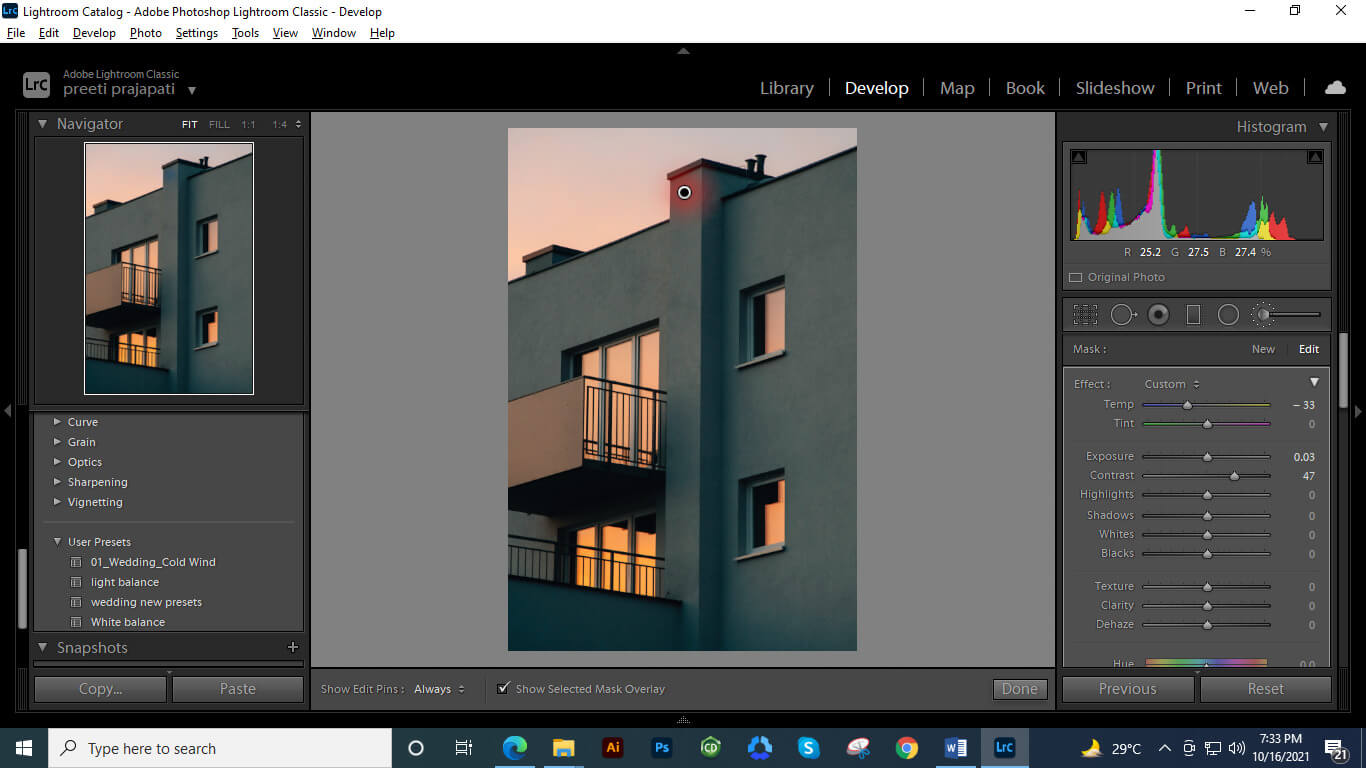
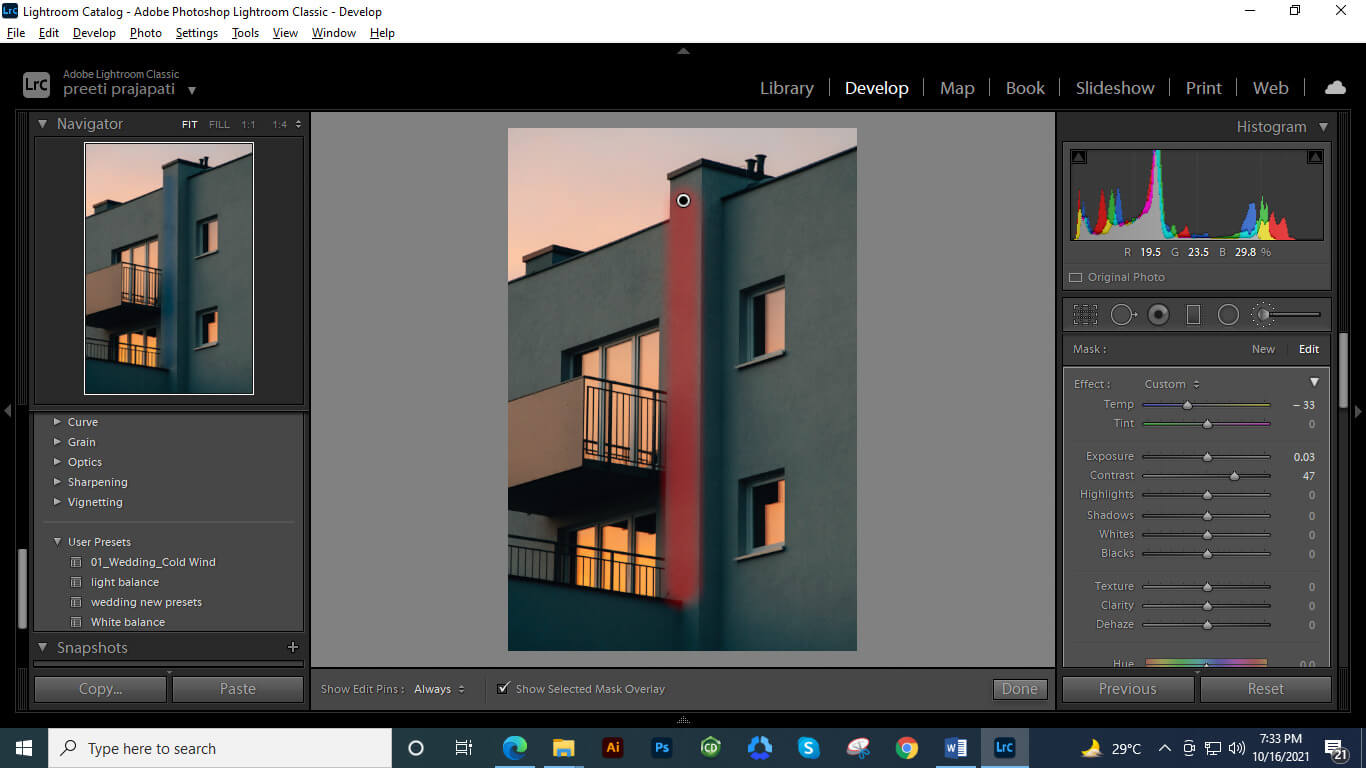
The next thing about which I want to tell you is that you can use the shift key of the keyboard during using the adjustment brush tool and mask area in just two clicks that have the straight selection. For example, I want to mask the straight area of the pillar of the wall of this building. So for that, I will adjust brush size and make a click to add starting point of the masking area.
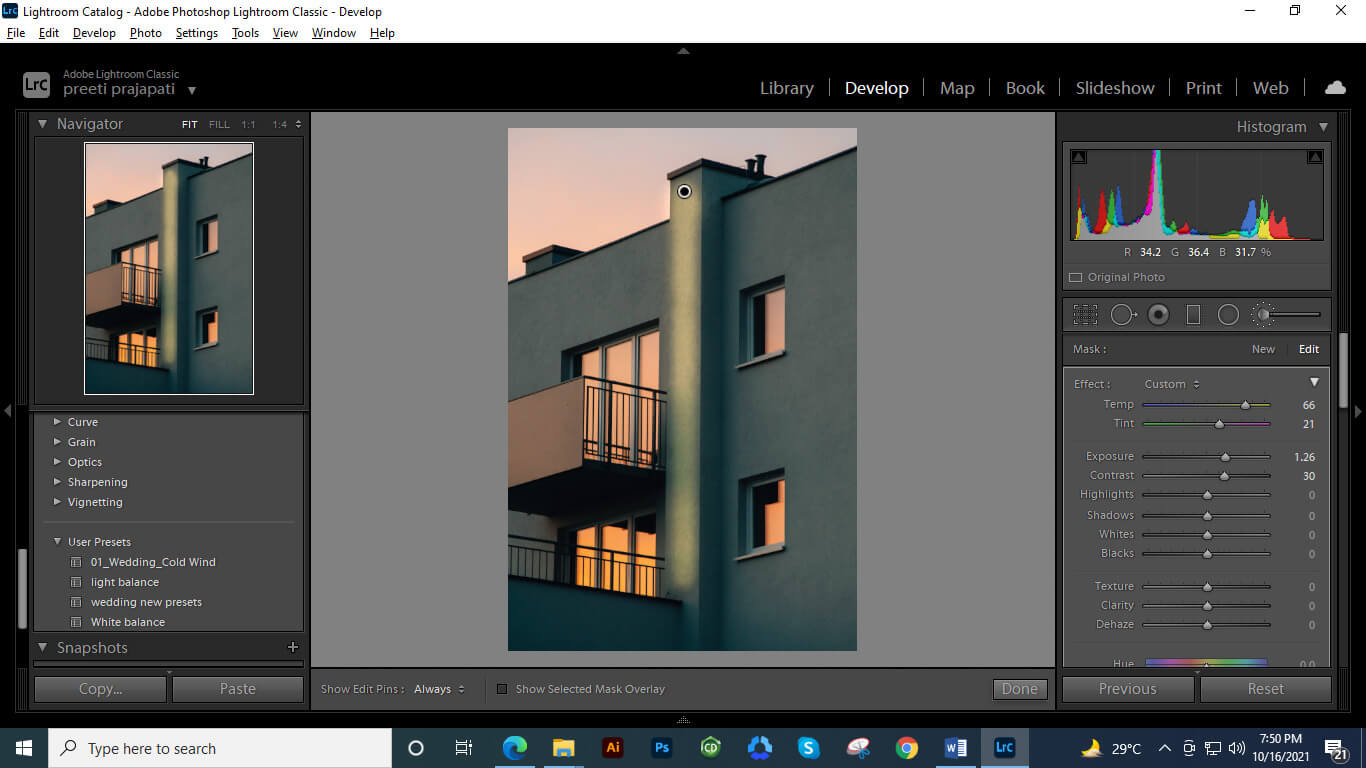
And for making the second click I will hold the shift button of the keyboard and It will mask the entire area in between these two points.
And now you can start making adjustments of parameters as per your requirement.
How to Change the Background Color?
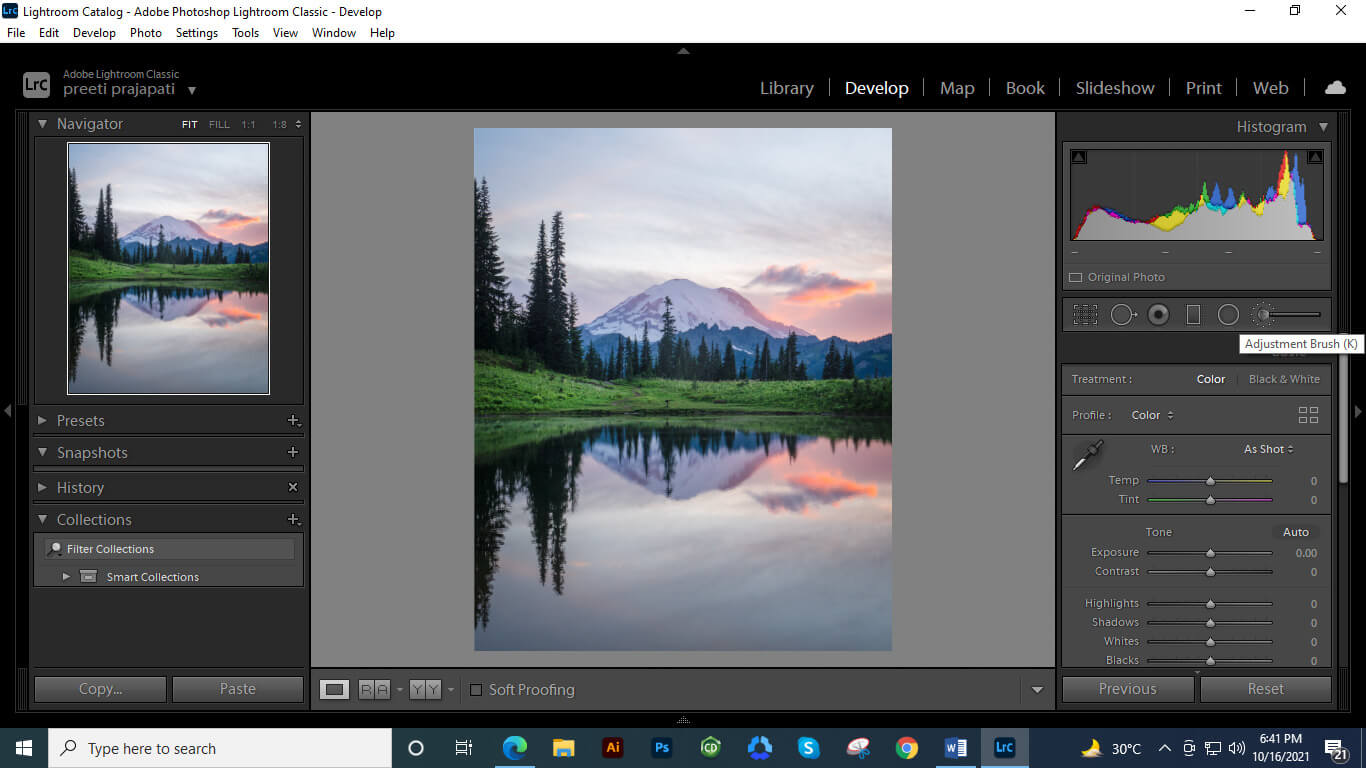
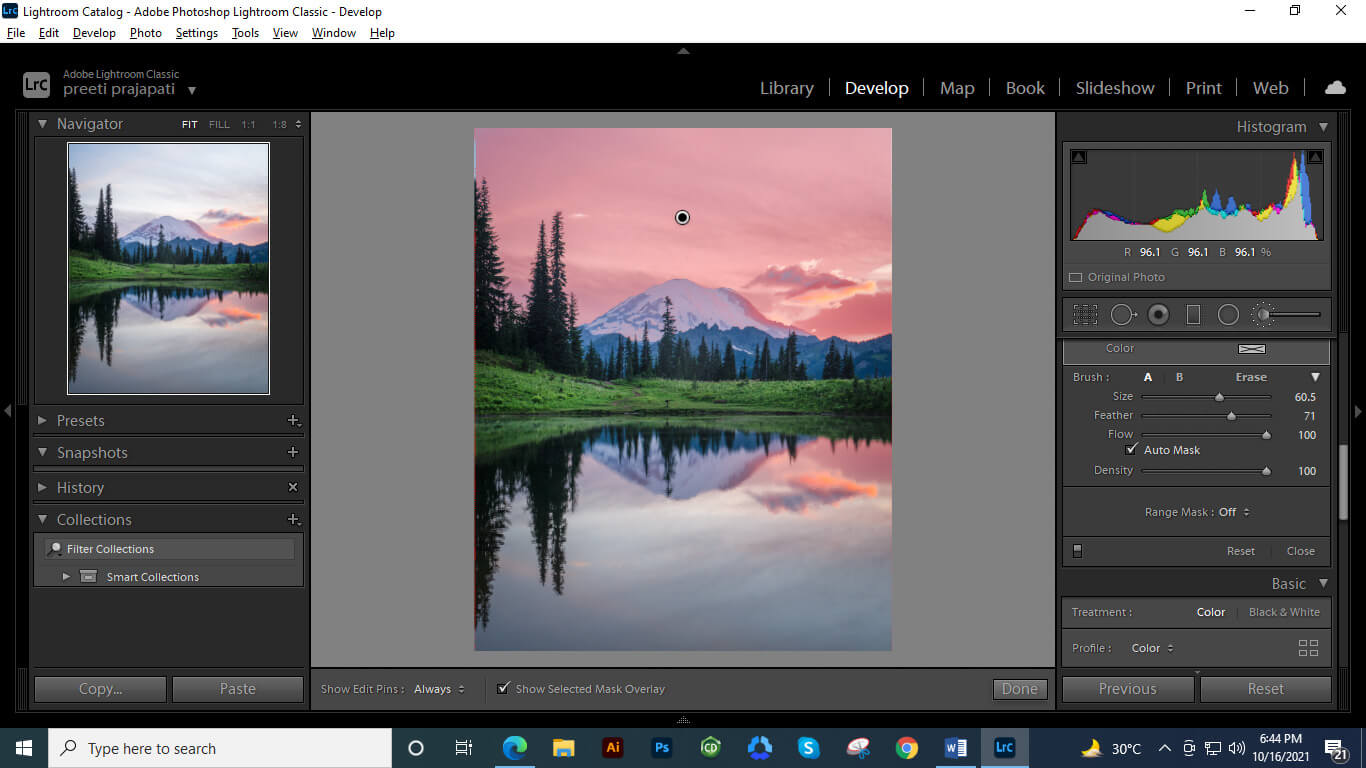
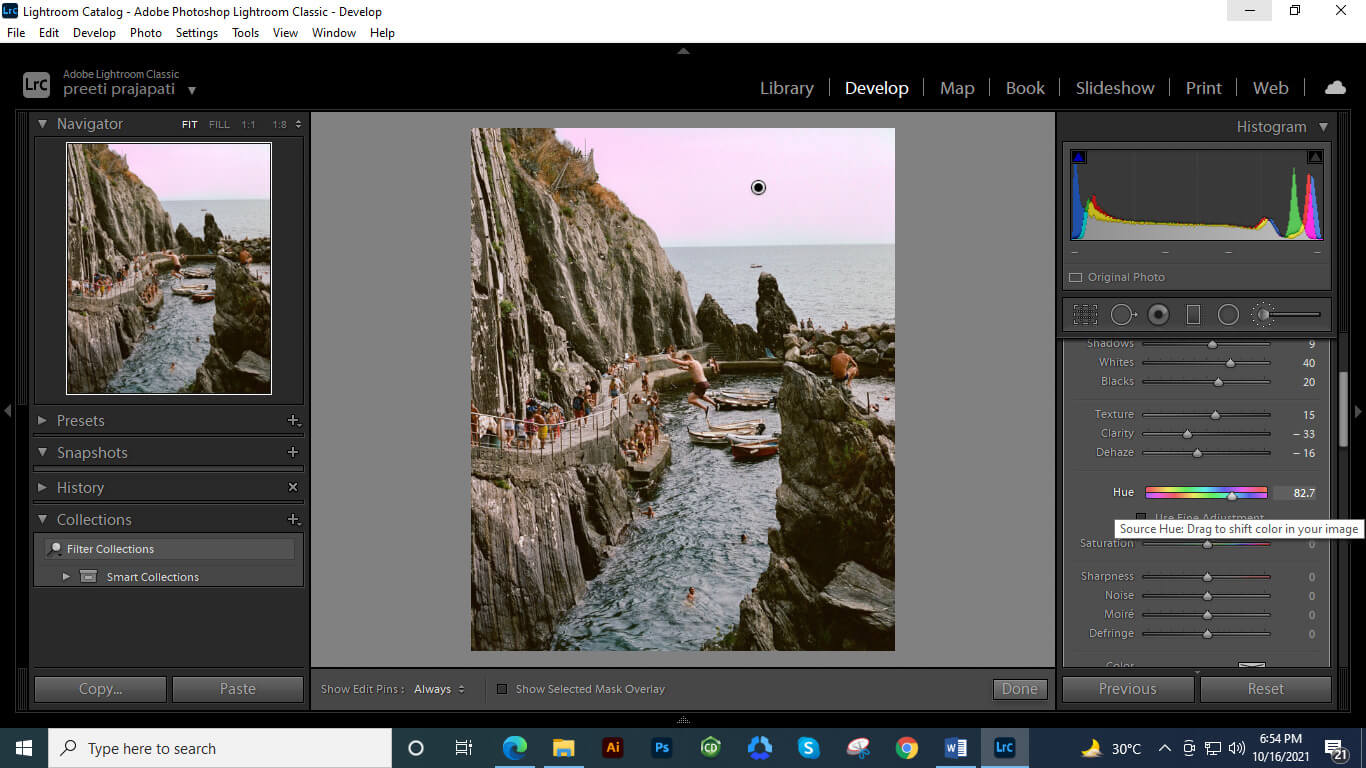
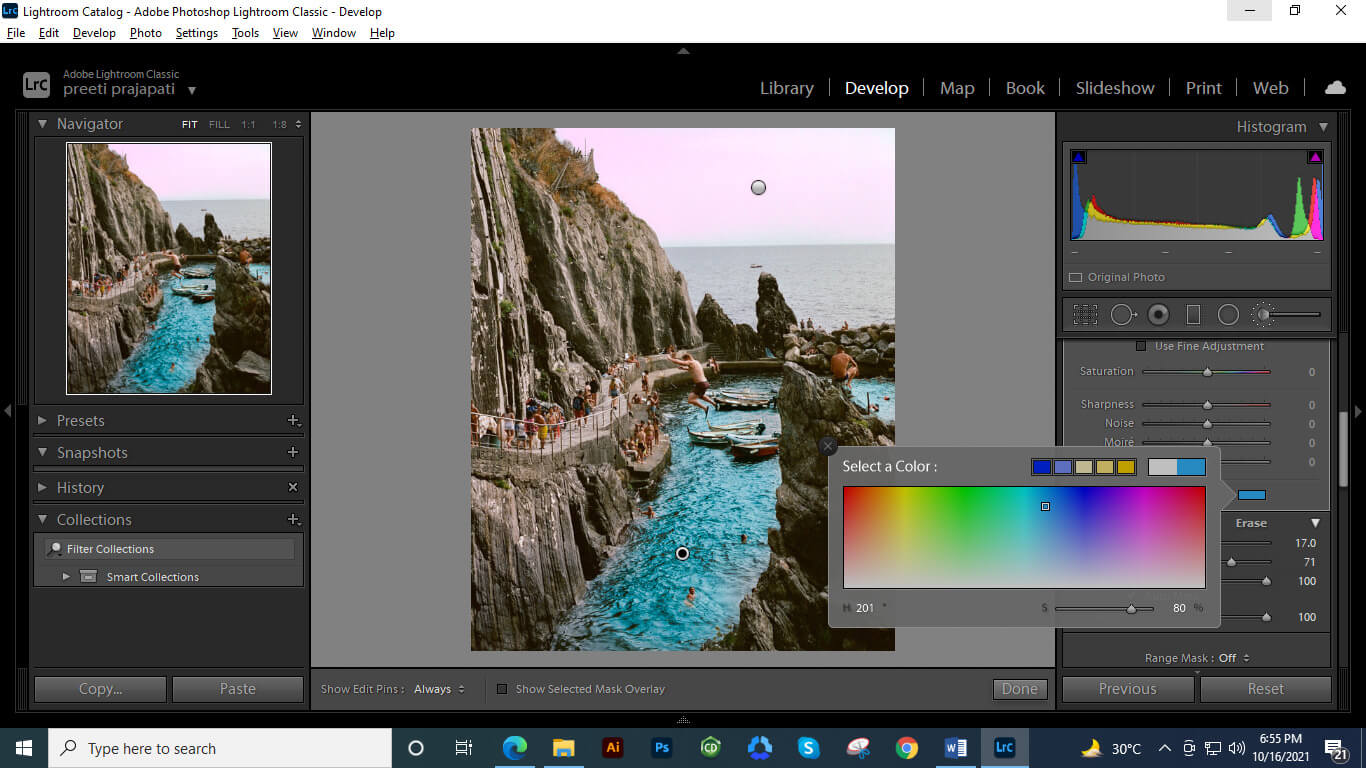
Now I will tell you how you can change the background color of your desired image for having different variations with it. For this purpose, I will take this beautiful image.
And Adjustment Brush tool will play a major role in doing this task. So in the Develop mode, you will find this tool in the parameter adjustment section or you can press the K button of the keyboard as its shortcut key.
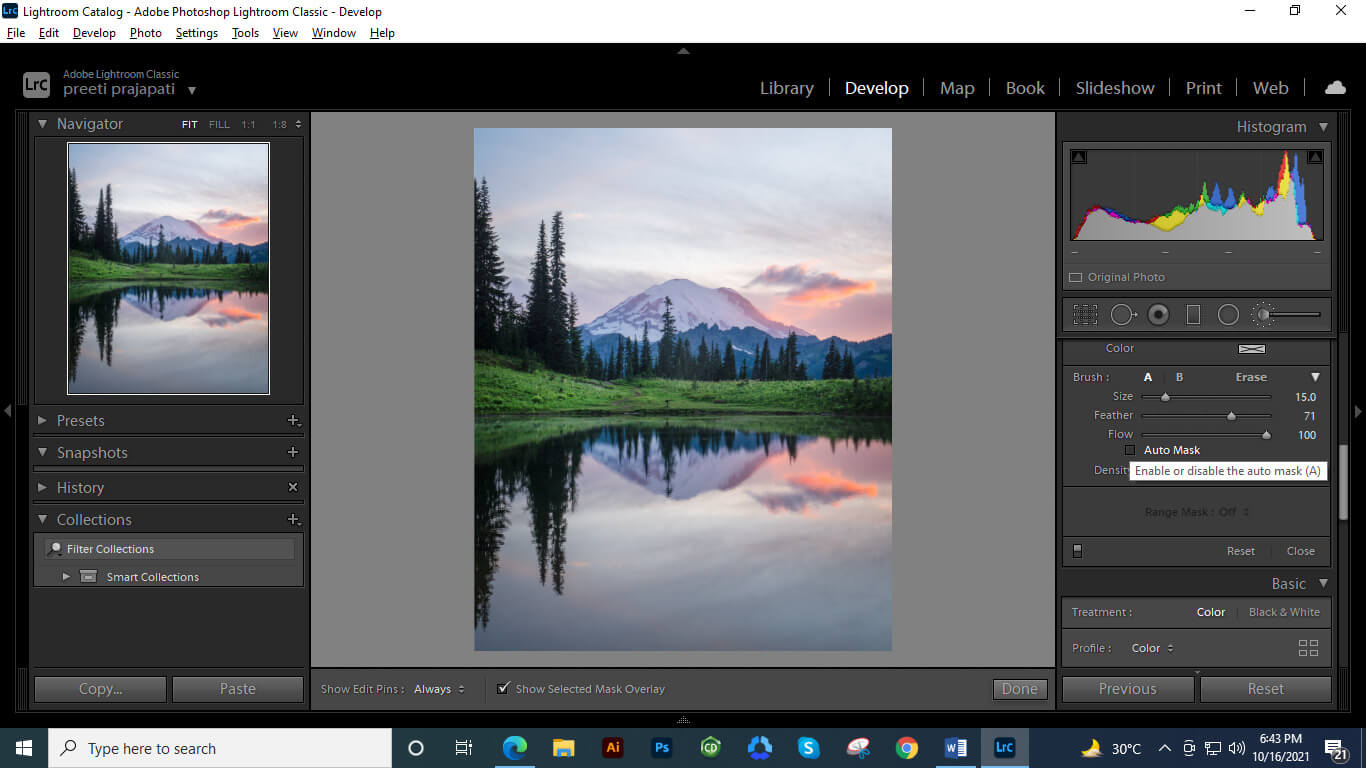
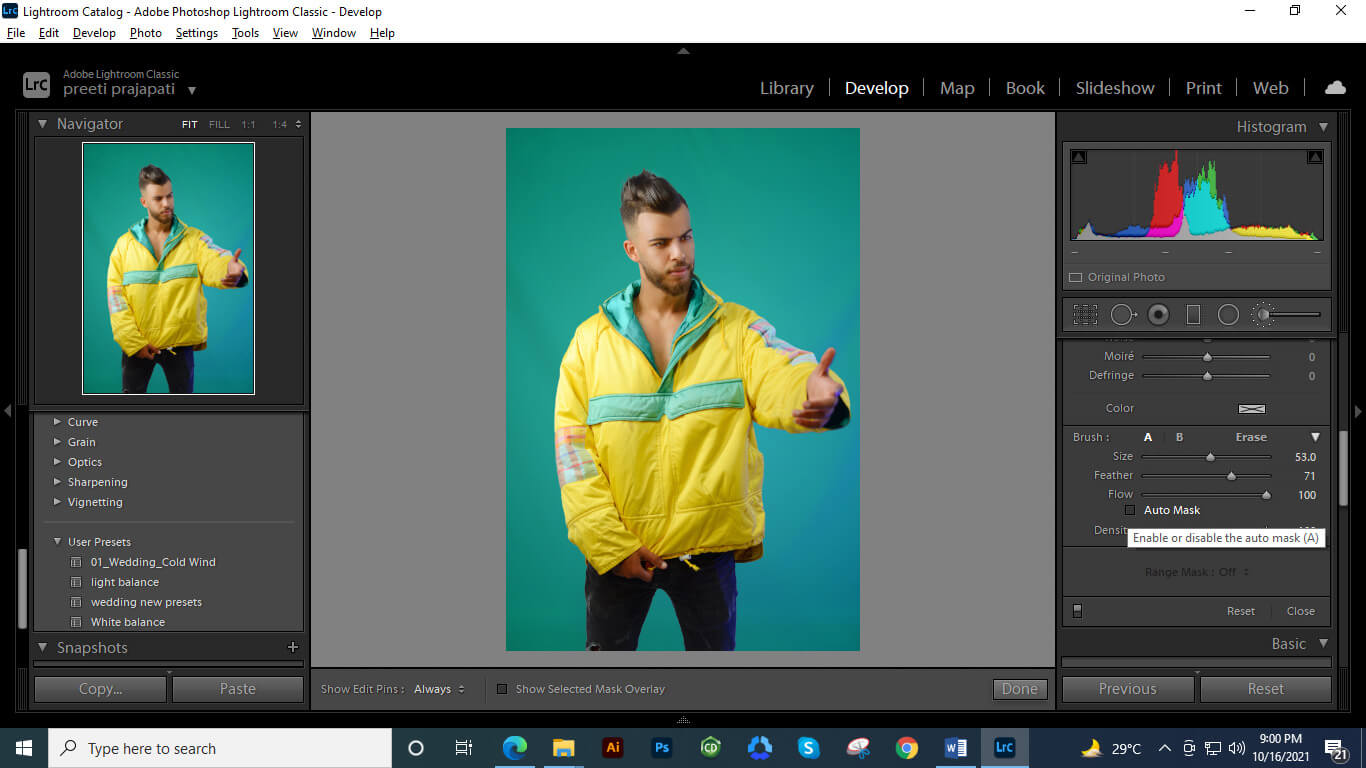
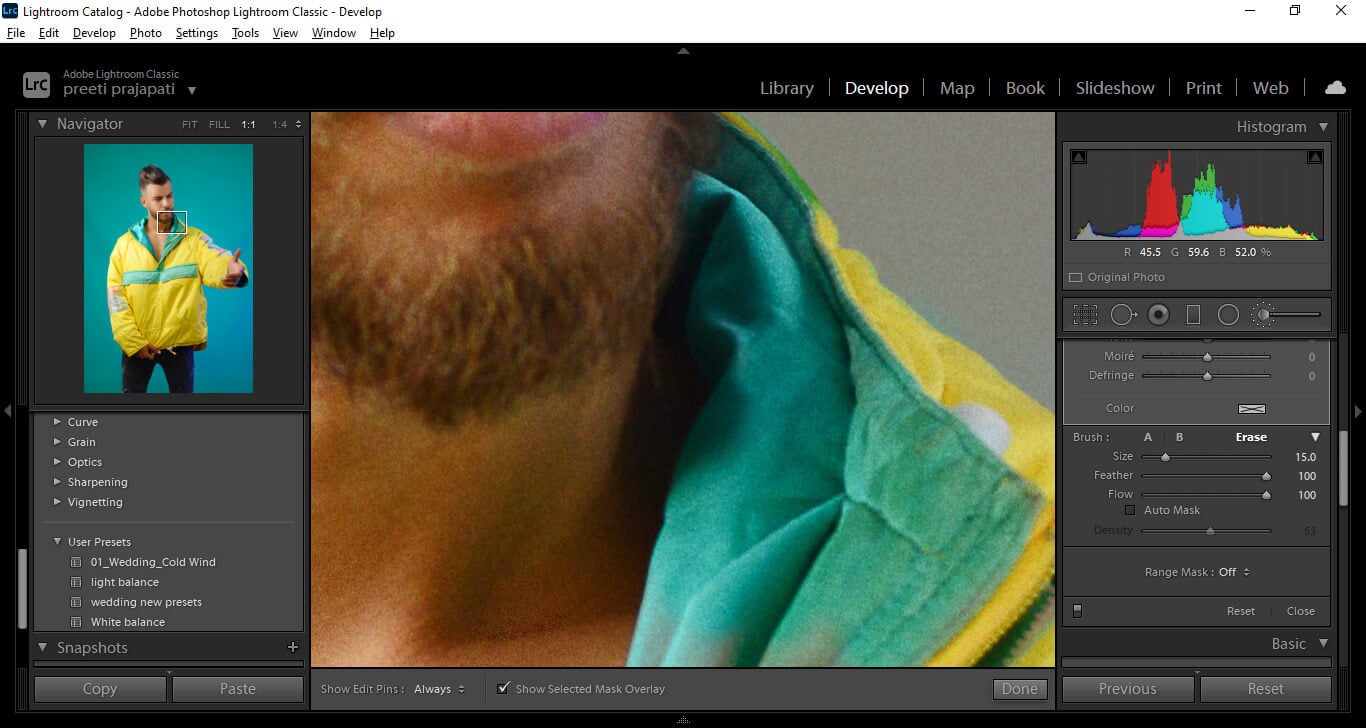
Now scroll down to the panel of this brush and enable the Auto Mask option by clicking on its check box so that It can quickly mask our desired area.
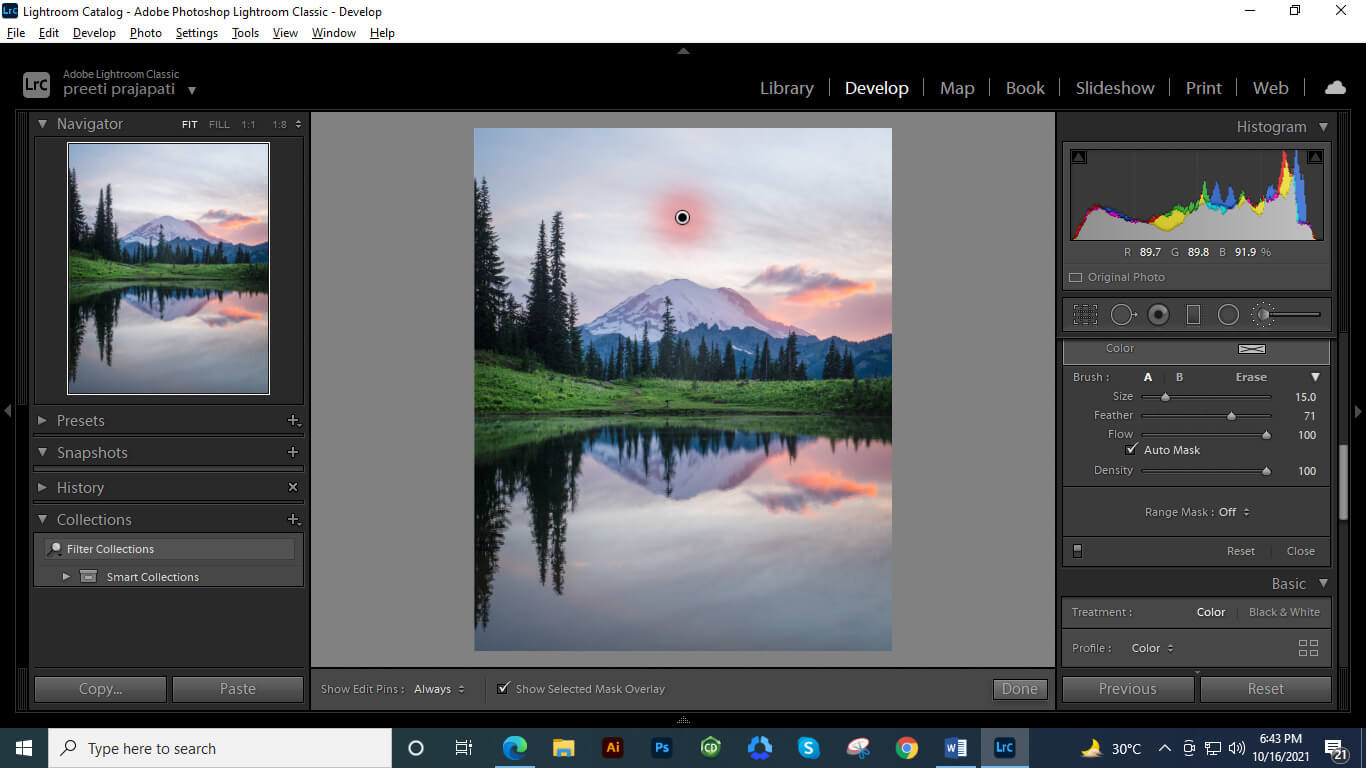
For masking, area make click on that area which you want to select.
Increase brush size for selecting a large area. You can scroll down the mouse wheel for changing the size of the brush tip. Press the O button on the keyboard for seeing your masked area with a red highlight.
If there is some area that I unwanted to your selection then you can hold the Alt button of the keyboard and unmasked that area with a brush tip.
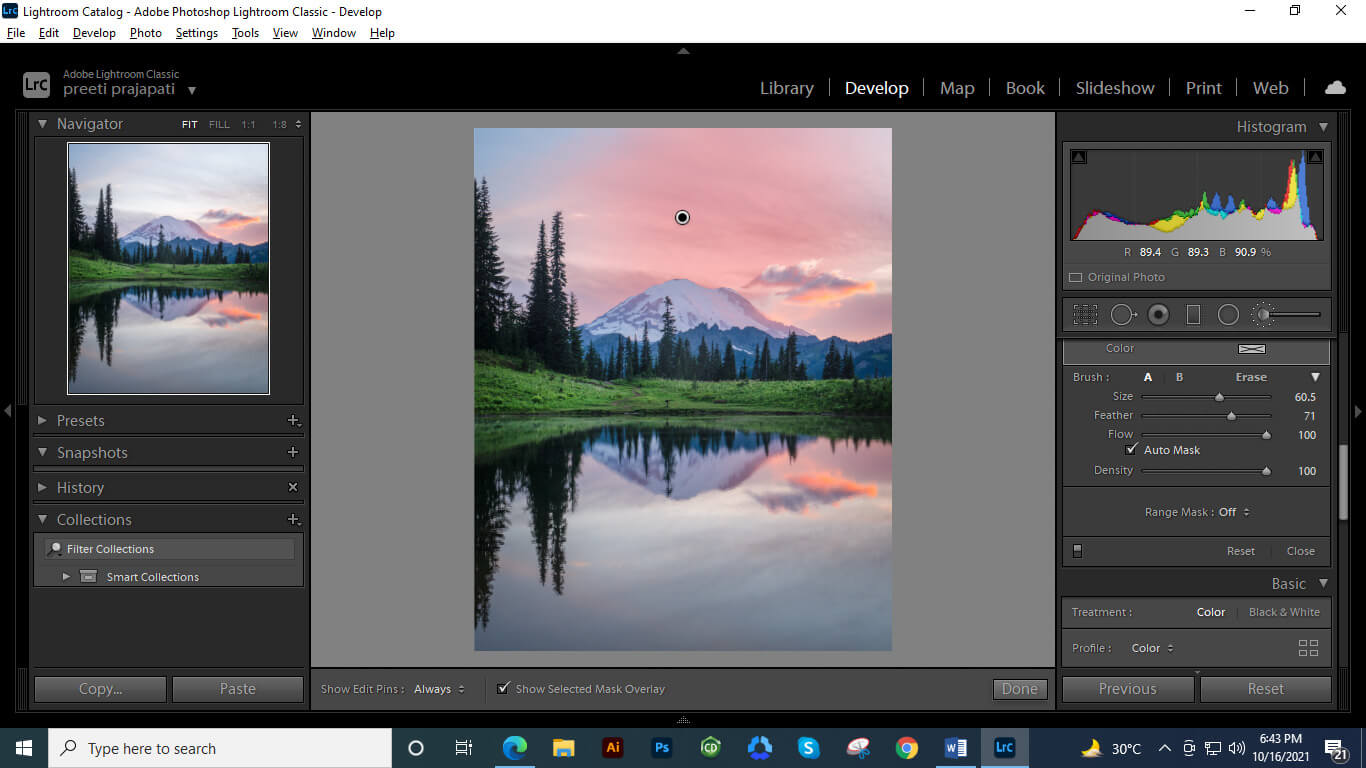
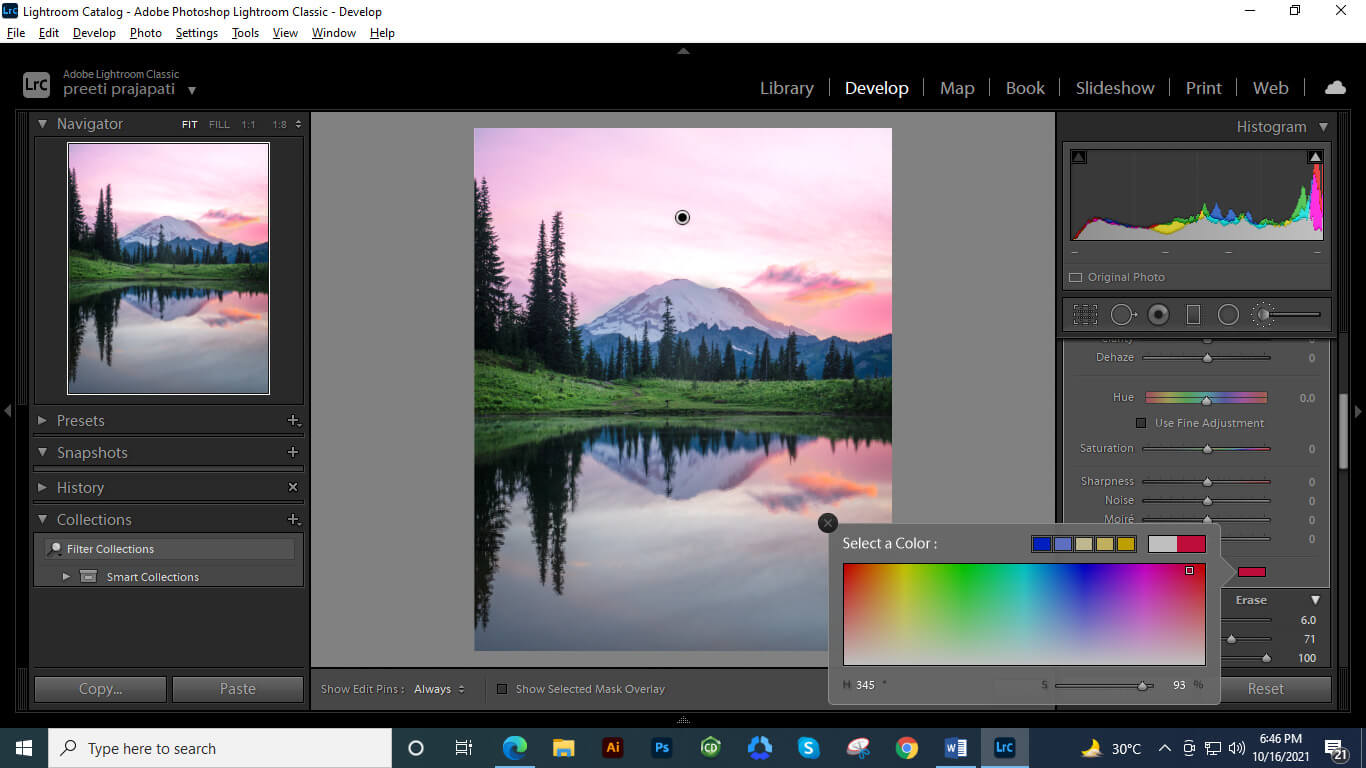
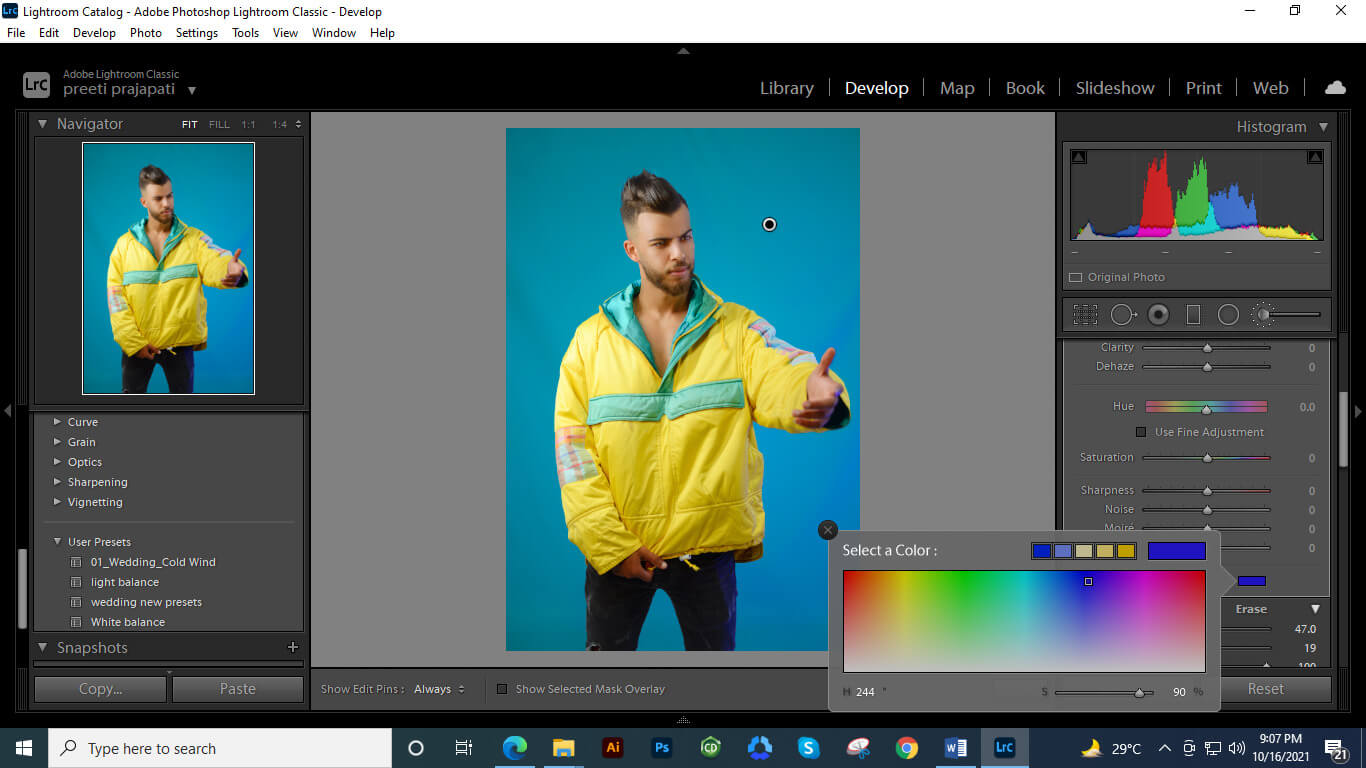
Now again press the O button to see the original area. Now I will choose a red shade from the color pallet of the brush tool and it will give this nice color to the sky. You can adjust the mask in a more précised way for having natural look.
Develop Module lightroom background color
As we know for doing any changes in our image we have to switch to Develop module of this software and you can find it at the top bar and next to the Library tab. So click on it.
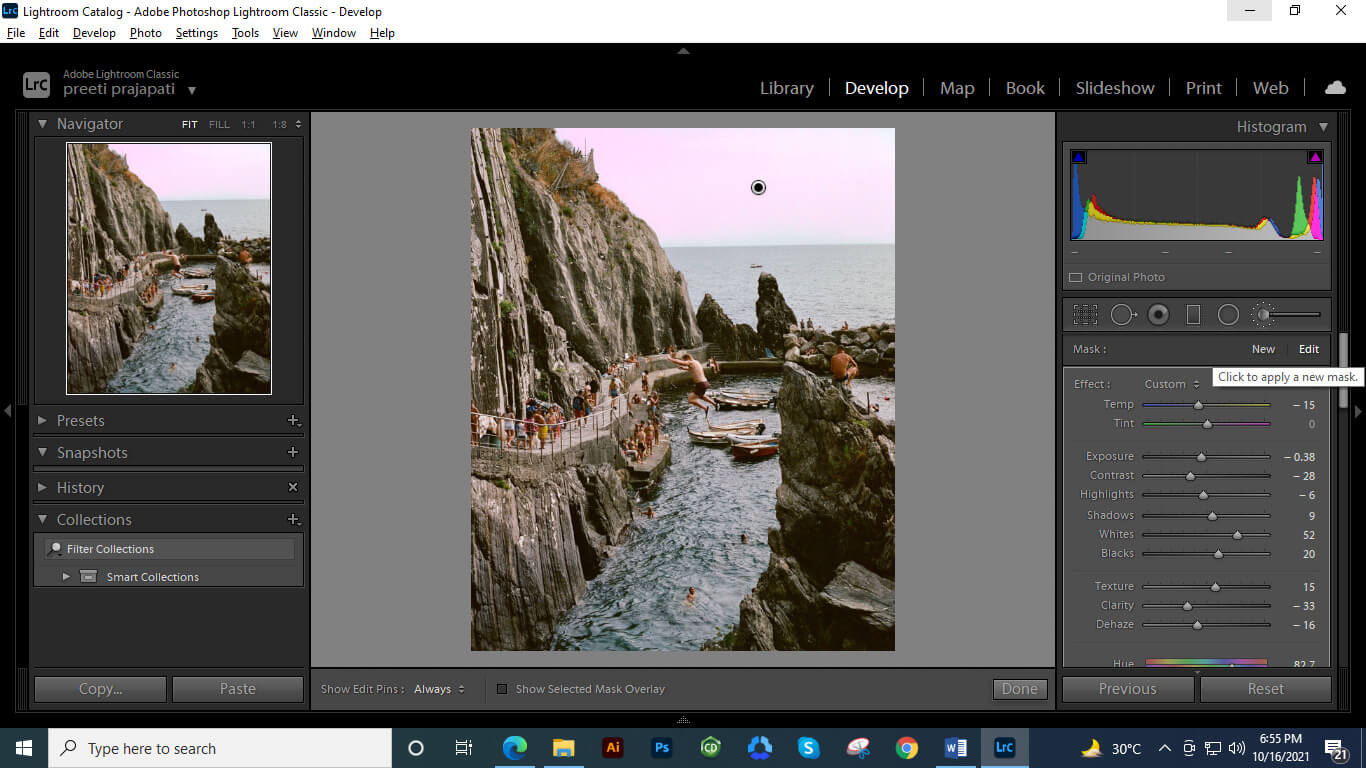
And in this module, we can make different adjustment for changing the background color of any image. Let me tell you how you can make changes in the parameters of developing a module for having different variations in your image. I will take an adjustment brush and mask this sky area.
Then you can change the Hue value of the mask area from the slider of Hue value of the brush panel.
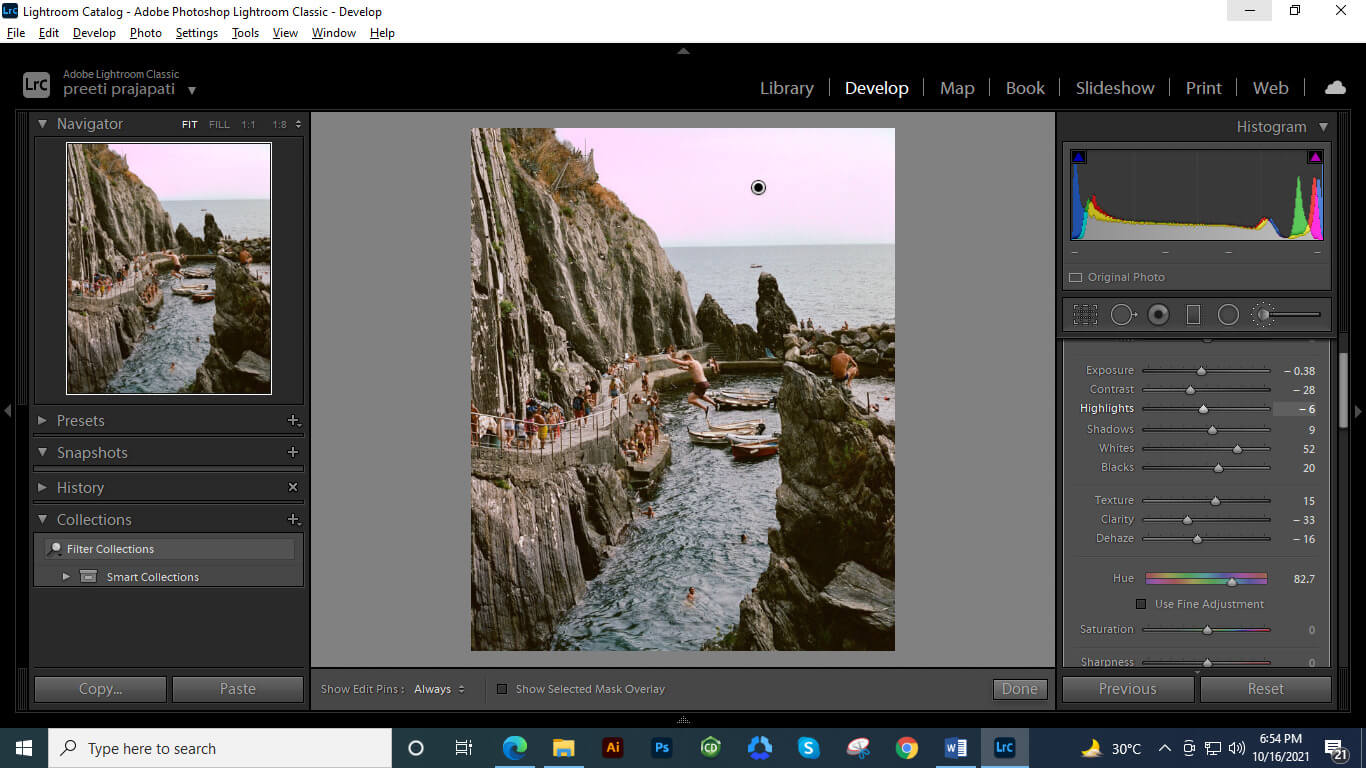
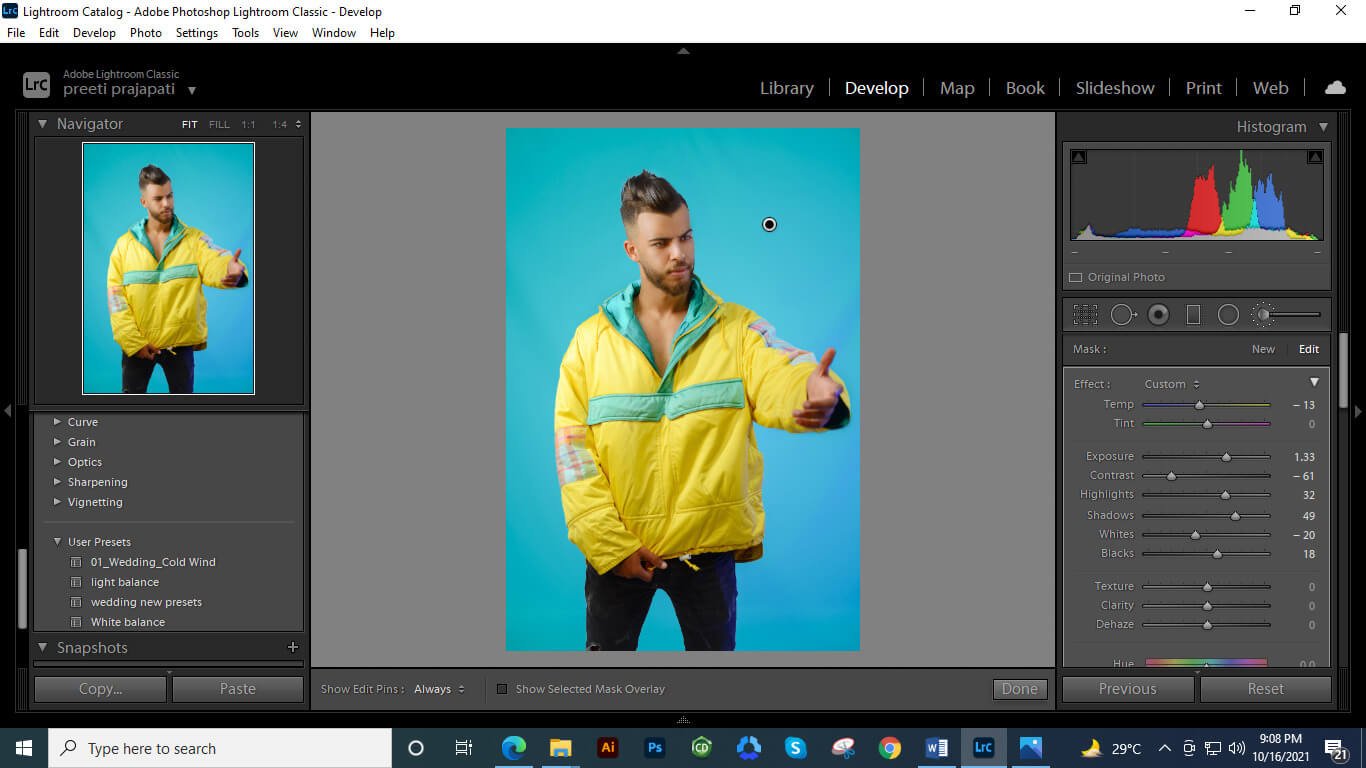
And after that, you can adjust other parameter values such as Exposure, Highlights, and so on.
Now we can add a new brush and use it for adjustment of different parameters of developing a module for that area.
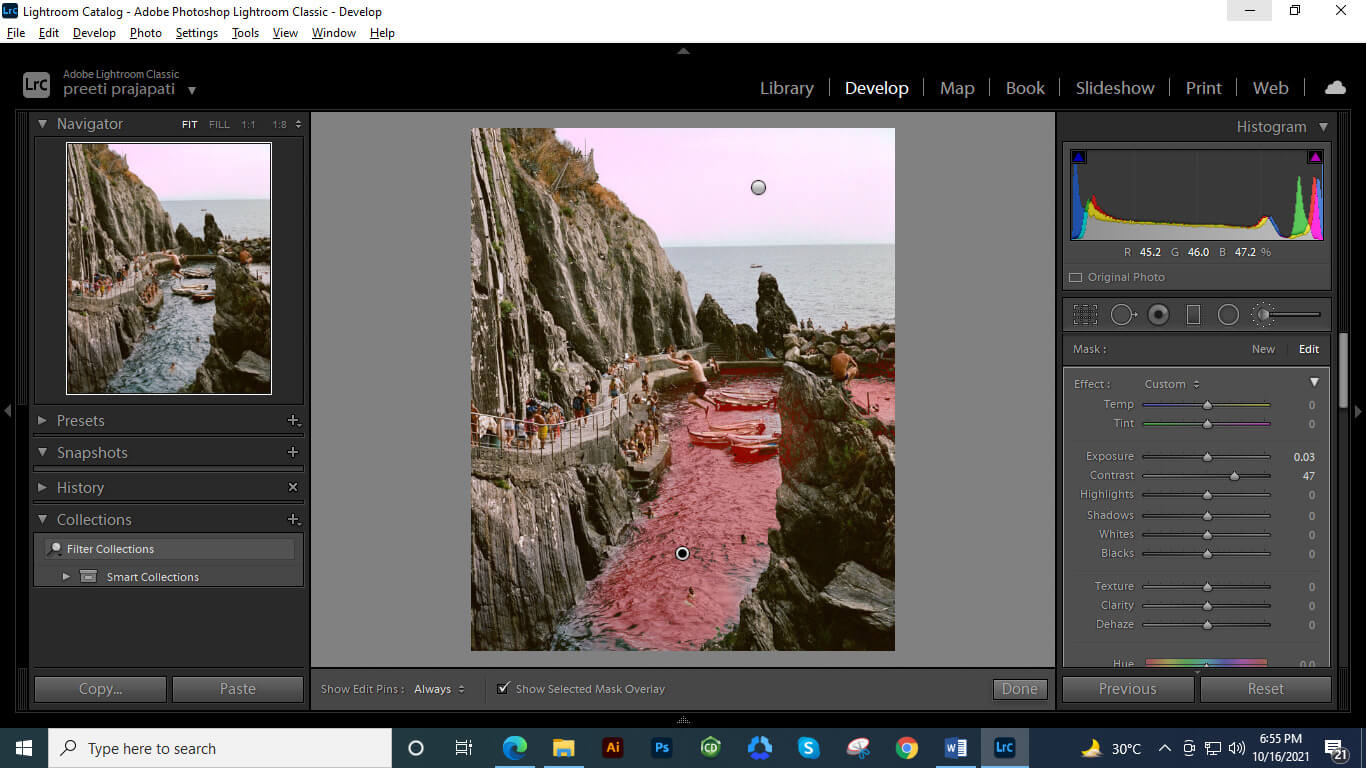
Such as I will mask this river area.
And change its color to something like this. You can see it’s creating a nice effect. We can adjust other parameters too for a more natural look.
Lightroom background color Brush Tool
In Lightroom, we can use the Brush tool for adjusting the background color of any image and we have different parameters in the brush panel which we can adjust for having different variations. Let us understand it by an example.
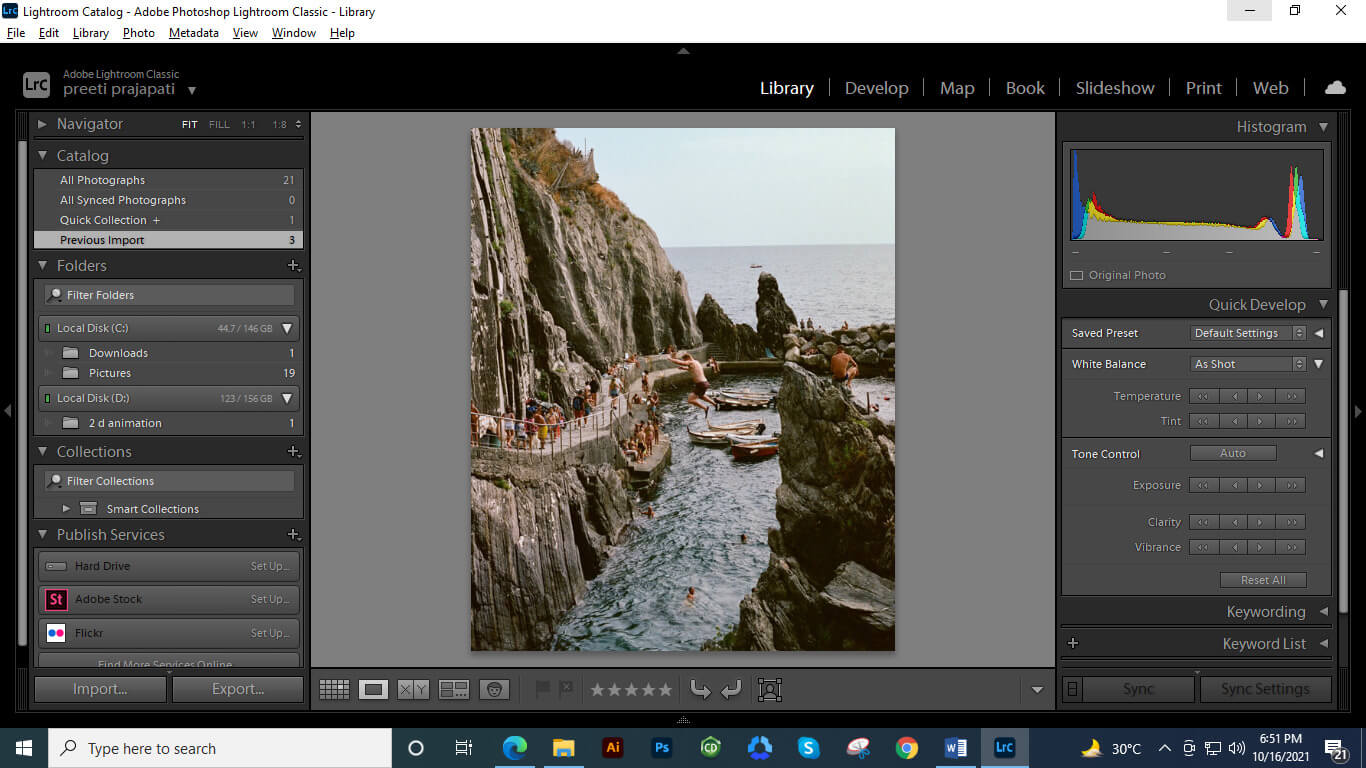
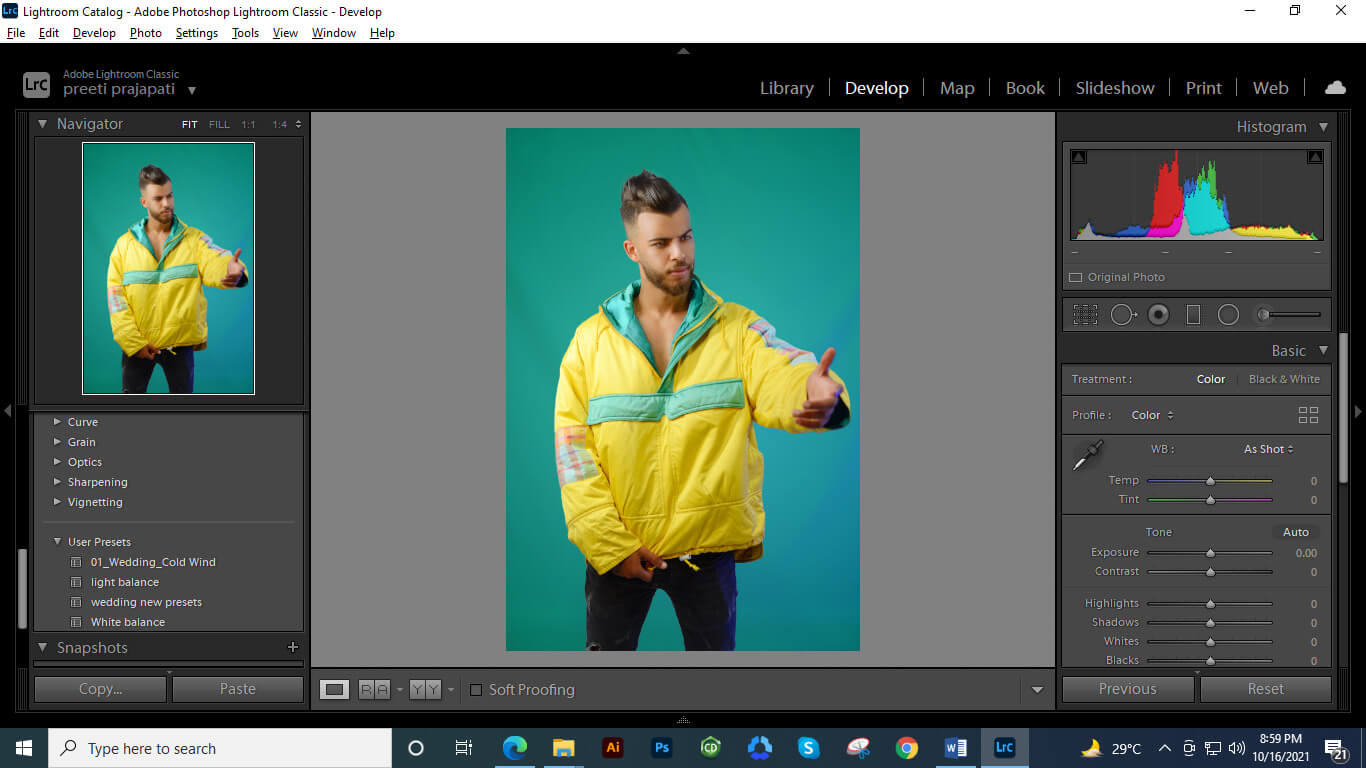
I have this image and I am going to change its background color by using the Brush tool of this software.
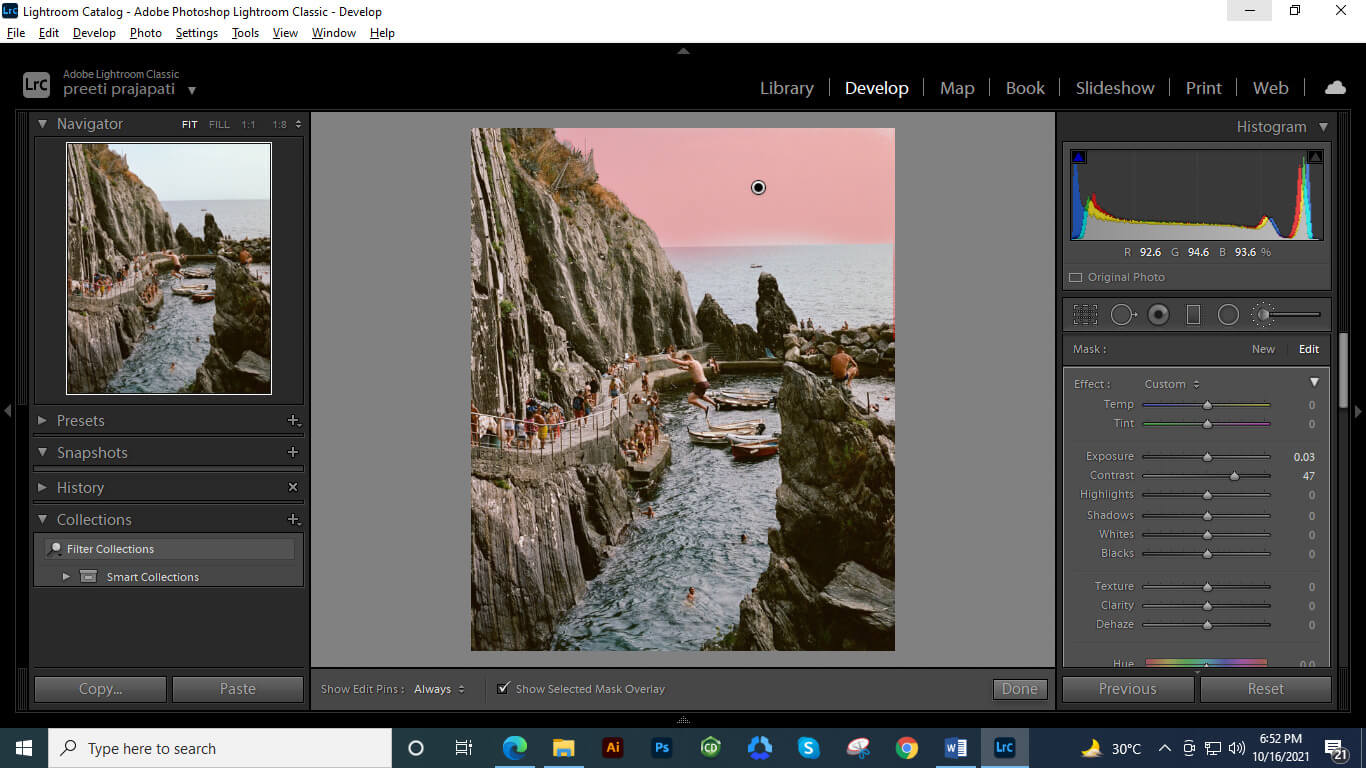
I will Enable the Auto Mask option of the brush tool so that I can mask the area properly.
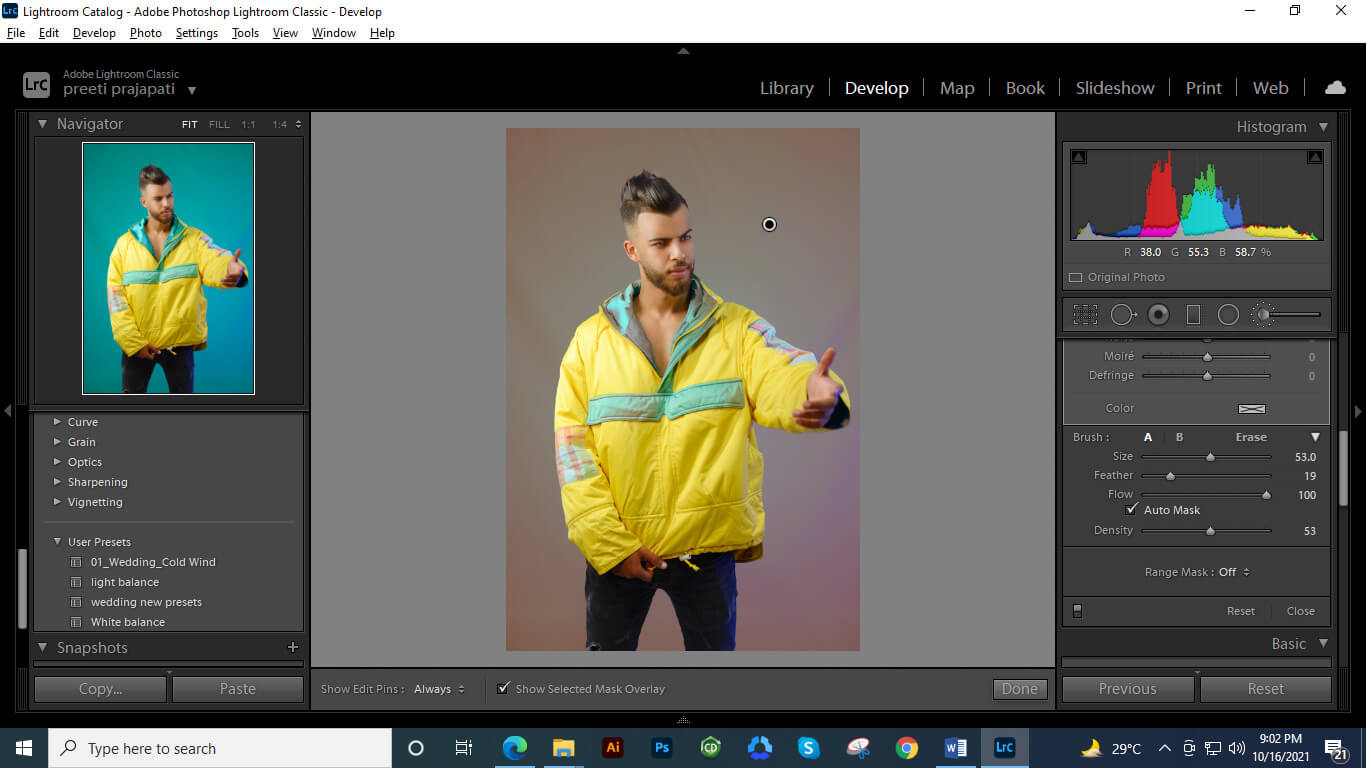
And I will mask the background area with the brush. Set the size of the brush according to the selection area.
If there is some area that you don’t want to select then you can unselect that area by holding the Alt button of the keyboard.
And after that, you can choose a nice color for the background of your image.
After that, you can adjust other parameters for having different looks.
This way you can work with the Brush tool of this software.
Conclusion
Now you can use different information from this article for having a good analysis of changing the background color of images in lightroom. You can play with different parameters for having different variations in the background color. Perfection of changing color will depend on how précised mask you make for the selected area of your image.
Recommended Articles
This is a guide to lightroom watermark. Here we discuss the all-important aspects of the watermark in Lightroom, and you can easily handle parameters. You may also have a look at the following articles to learn more –
