Introduction to Lightroom Classic
Lightroom Classic can be named Adobe Photoshop Lightroom Classic, which is renamed version of the previous version of Lightroom application that we have been using for image organizing and manipulation work in the past. It deals with desktop workflow and offers us to store our photos locally in files and folders on our computer storage. Not only this, but it also gives us all the editing tools which we need to have the best editing result of our photos on desktop devices. So today, let us analyze this software from different perspectives to understand it better.
Get Started Lightroom Classic
If you want to start working with Lightroom Classic and go through it to have the best output with your photos, it is quite simple to get started with it. Just follow the instruction given below, and you will have it on our desktop without any problem.
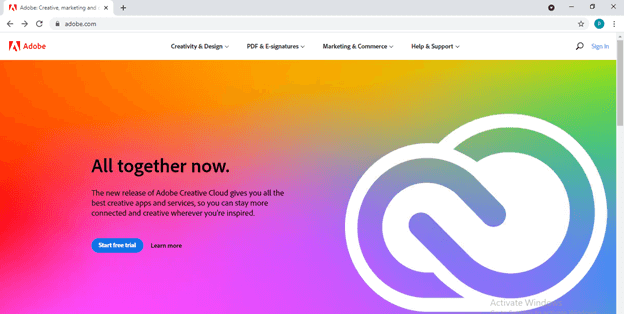
Open any browser in your computer system and search for Adobe.com, which is the official website adobe. The first page of Adobe will be open now; continue with your country, and It will take you to the home page.
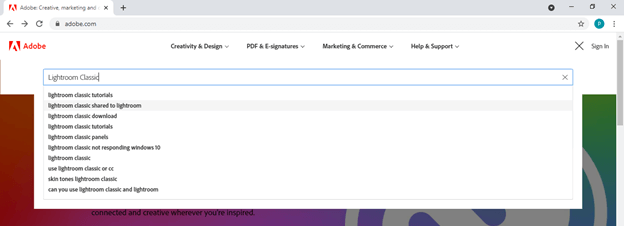
You can log in if you already have Adobe or create an account by Sign In. Now go to the search box of it, which is at the top of this homepage, and search Lightroom Classic.
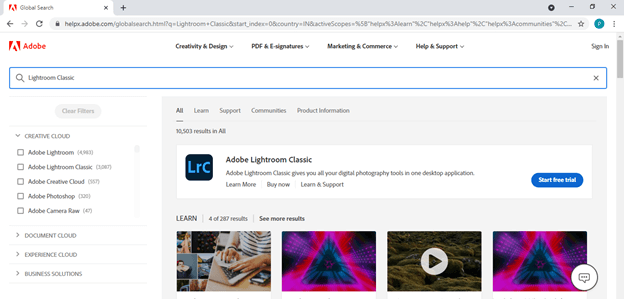
And you will have this page. Here you will have a download link to this software. You can click on Buy now to purchase its subscription plan or can go with the Start Free Trial button.
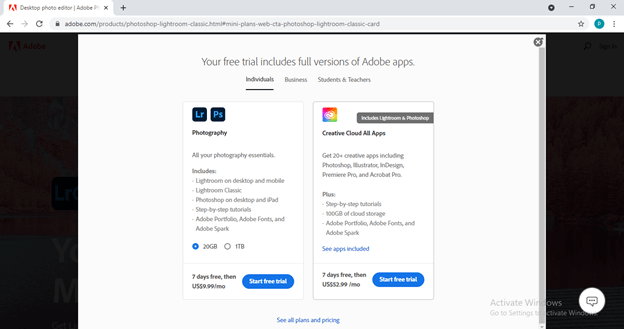
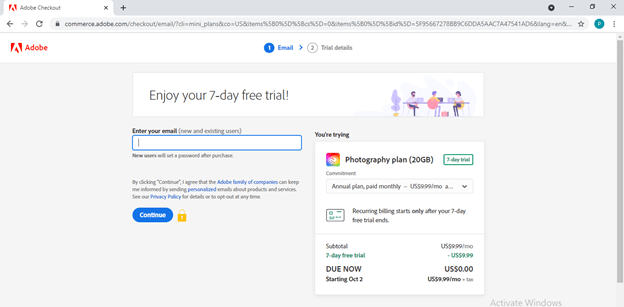
Once you click on any of the options, it will show you plans for Lightroom Classic subscription and Creative cloud app with all details which you will have after purchasing it. You can go with subscription charges or start with the free trial version. For a free trial, click on the Start Free Trial button.
And by entering your email account, you can start it.
After having your software downloaded, unzip the zip file of the Lightroom Classic installation file, and now I will tell you how you can install it on your computer.
Lightroom Classic install
You have to follow some easy steps to install this software on your computer, and after that, you can run it without any problem. So let us have a look at these steps.
- First, go to the unzip folder location of this software and open the Setup folder. You will have the Setup file in the Setup folder, so make double click on it to start the installation.
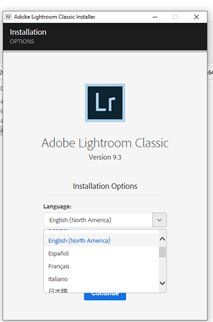
Once you double-click on it, an Adobe Lightroom Classic Installer dialog box will open like this. Here in this dialog box, click on the drop-down arrow button of the Languages option for choosing your desired language. Next, click on the language with which you want to go. Your installed software will be in your chosen language.
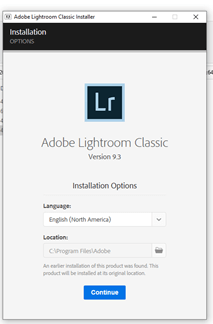
After choosing your language, click on the Continue button of this dialog box.
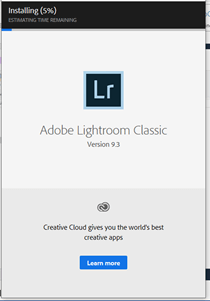
Once you click on the Continue button, it will start the installation process, which you can see at the top of this dialog box.
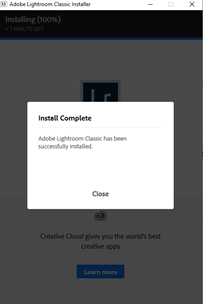
Once it has completed 100 % installation, then you will have Install Complete message. Then, click on the Close button of this popup message box.
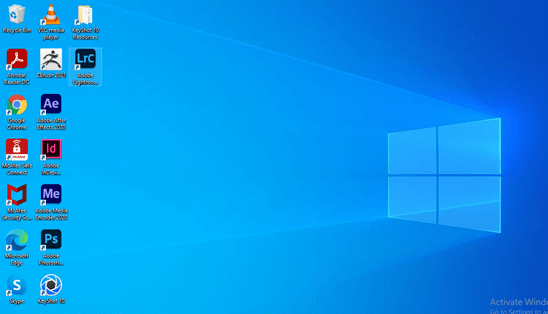
Now you will have a shortcut run launcher icon of Lightroom Classic on your desktop area. So click on it to run this software.
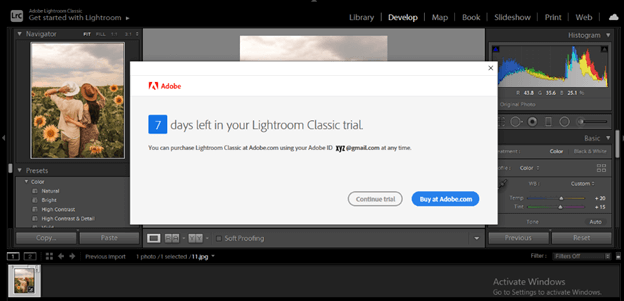
Once it runs, it will show you a message box regarding whether you want to continue with the trial version or want to buy it. So according to your suitability go with one of them. After that, you have to login with the same adobe account id if you haven’t logged in at the time of running this software.
Now after going through the installation process, let me tell you why it is useful for you to start working with Adobe Lightroom Classic if you are already using Adobe Lightroom.
Useful Adobe Lightroom Classic
In my opinion, it will be very useful for digital image organizing as well as manipulation work because Lightroom Classic offers all the tools that we need for editing our photos on the desktop and want to get the best result with it. You will find many tools and features that make it handier to the raster image editor, as well as a manipulator, and these features, include making dull-looking shots vibrant, punching up colors, easily removing distracting objects, well organization of photos on the desktop, and sharing them through various ways.
Now I am going to tell you some of the new features of Lightroom Classic so you can have an idea about why it is better than the previous version.
New Features in Lightroom Classic
You may find a number of good features in this software that are included in it by its developer, and some of them are:
- Enhance Image Quality Instantly:
It has an Al-powered Super Resolution feature that increases image resolution and maintains clean edges, color rendering, and other important details.
- Tether Live View for Nikon:
It can give you a live preview of our camera feed on our screen with perfect composition, exposure, and focus.
- Apple Silicon Device natively supported by it:
You can run Lightroom Classic on Apply Silicon devices natively for optimal performance and experience.
- New Cameras and Lens are easily supported:
You can find newly added cameras and lenses in the supported profiles full list of this software. So it is easy to start working with a newly added one.
These were some of the important new features included in this software for making it more powerful in the digital image organizing and manipulation field.
Conclusion
After going through this article, I am sure you have pointed out a number of good pieces of information about this software and have an idea why it is different from the previous version of this software itself. You can try this to start working with it because it also has a free trial version for its users.
Recommended Articles
This is a guide to Lightroom Classic. Here we discuss the number of good pieces of information about Lightroom Classic and also have an idea of why it is different from the previous version. You may also have a look at the following articles to learn more –
