Introduction to Lightroom Mobile Presets
Lightroom Mobile Presets can understand presets with different digital image manipulation settings, which we can apply in just one click to our photos. Although we know we can use and create presets in the desktop version of Lightroom, today I will tell you different aspects related to presets in Lightroom Mobile. You can create presets on mobile and use them on your other photos. Here I will also tell you if you want to use external presets to manipulate your photos, then how you can install your desired presets. So let us start our discussion about this topic to have all possible knowledge about them.
How to Create Lightroom mobile presets?
Creating Lightroom mobile presets is quite simple; you just have to follow some steps to reach out your end result. So I am going to tell you how you can do this.
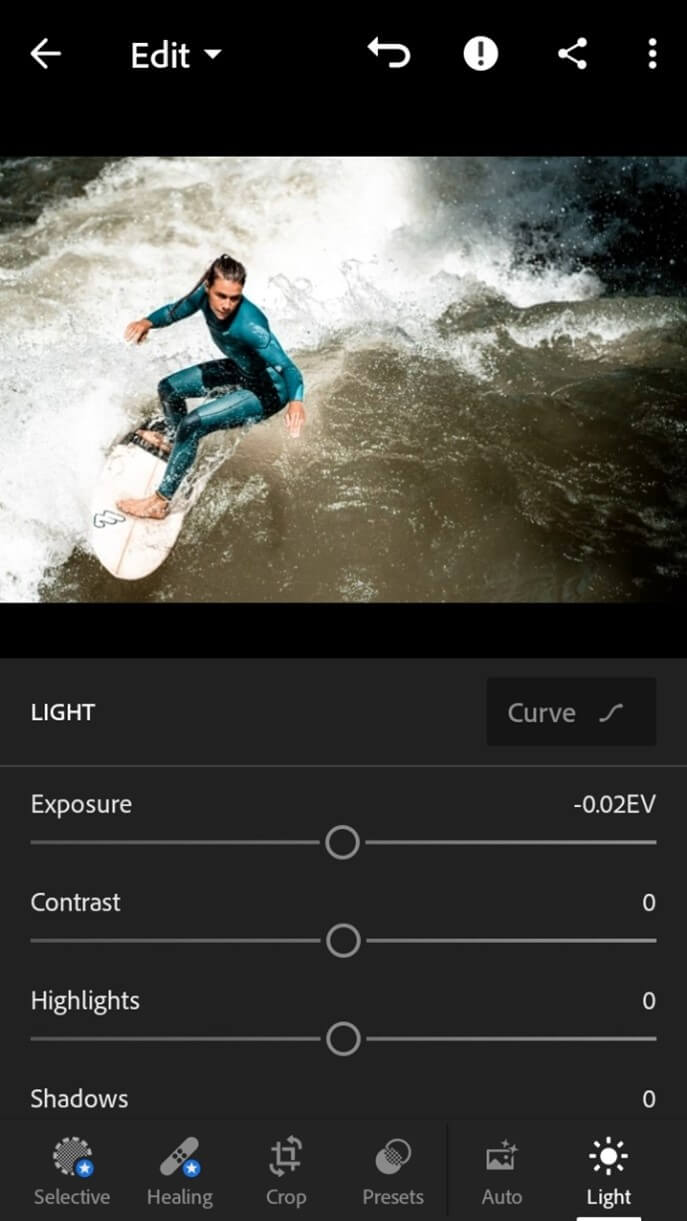
First, open a photo in which you want to manipulate by changing its parameters and using its setting as presets for other photos. I will open this one which is have downloaded from Unsplash.com. You can take your own photo for this purpose. I will make some changes in the Light intensity of this photo, so I will click on the Light button, which is at the bottom right corner of this user screen.
Now I will make some changes in the parameters of these photos for having some changes in their light intensity; after making your desired setting, click on three dots at the top of the right corner.
Once you click on it. A list will be open; go to Create Presets option of the list and click on it.
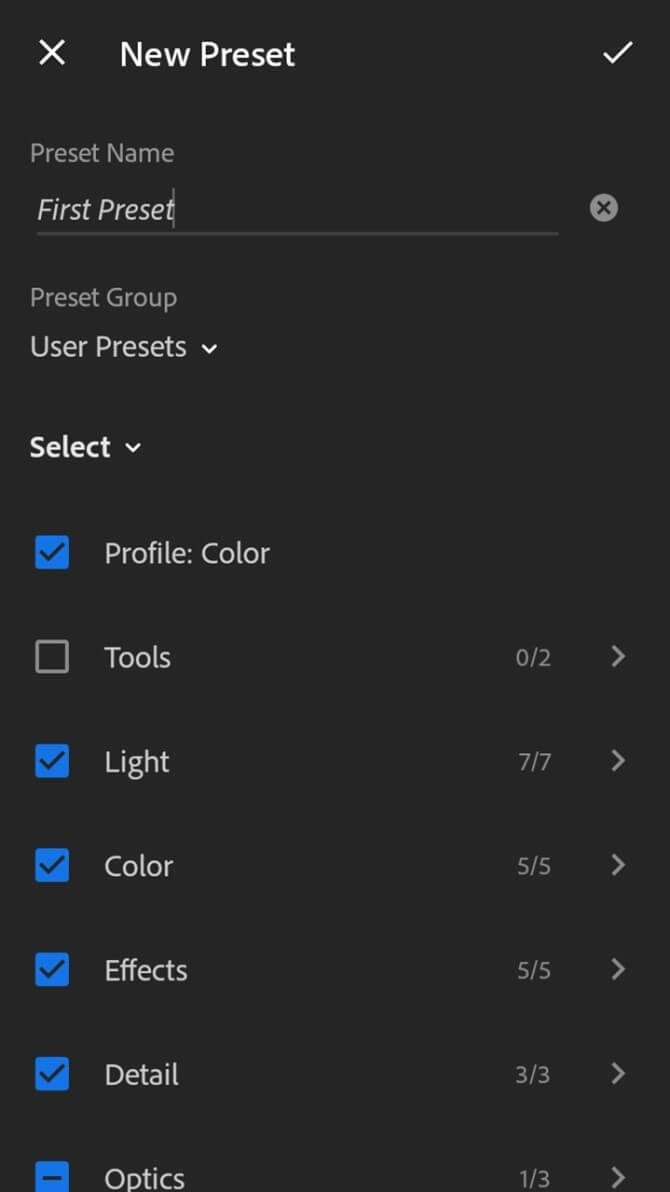
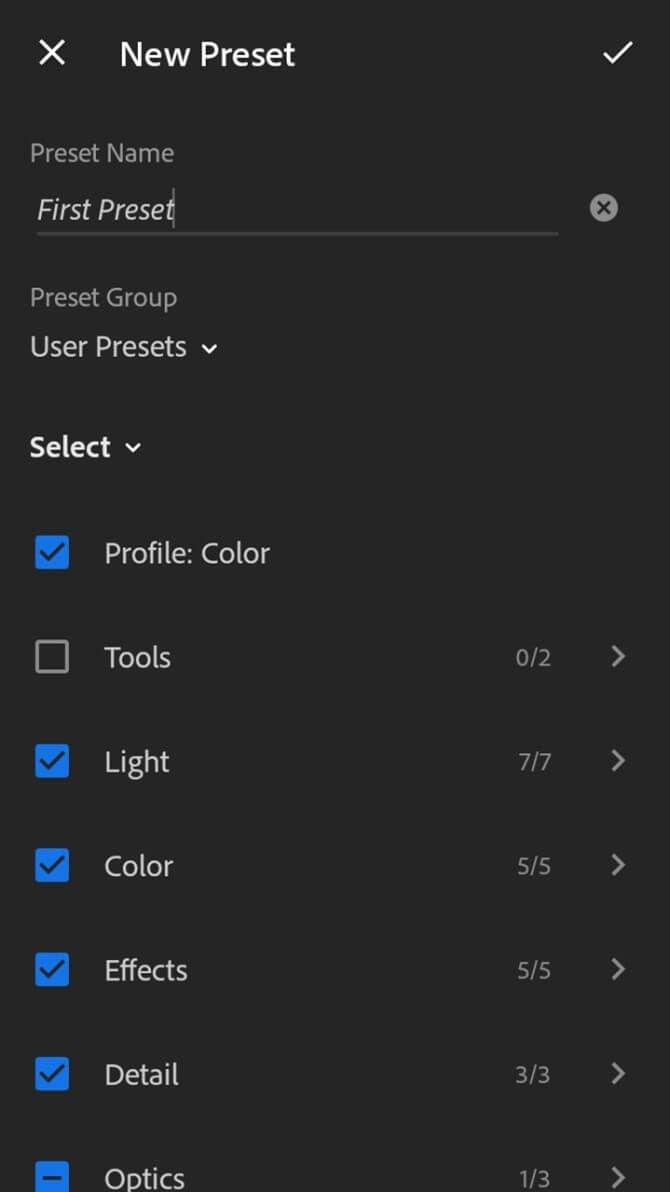
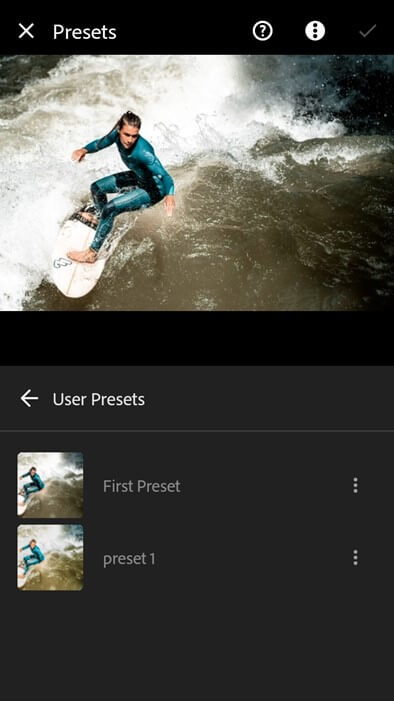
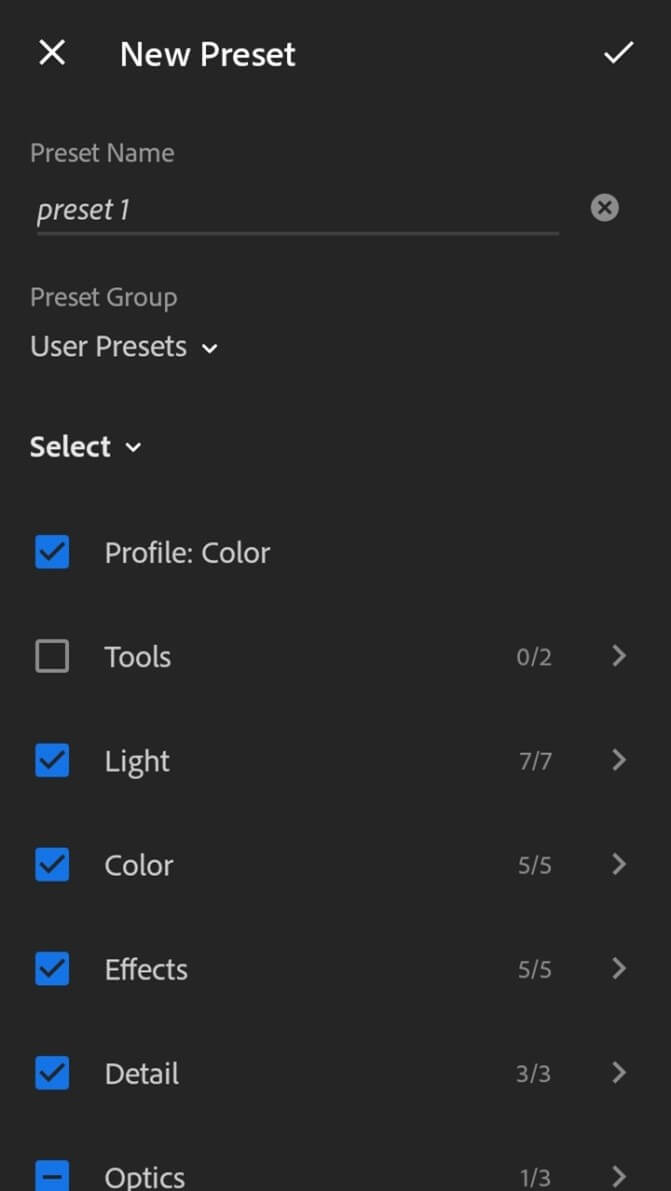
Once you click on it, it will ask you to name it. So name it as per your choice. I will name it as First Preset. Leave other parameters settings as it is
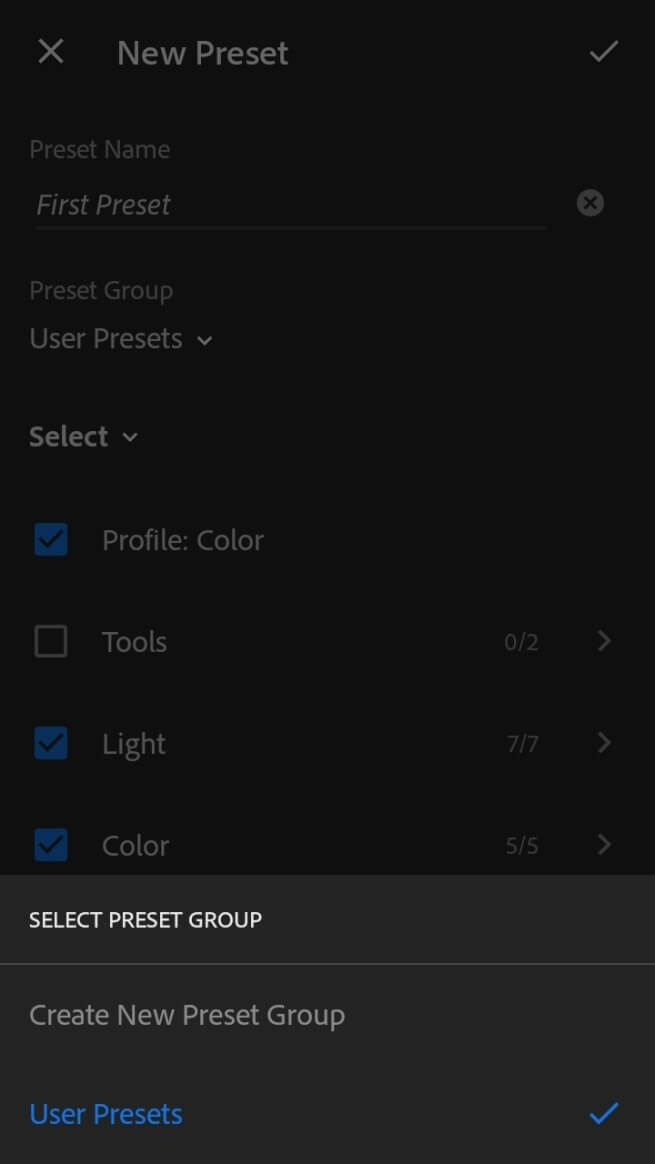
Here we have the Preset Group option; you can click on it to create a new group or go with the User group folder for saving your created preset.
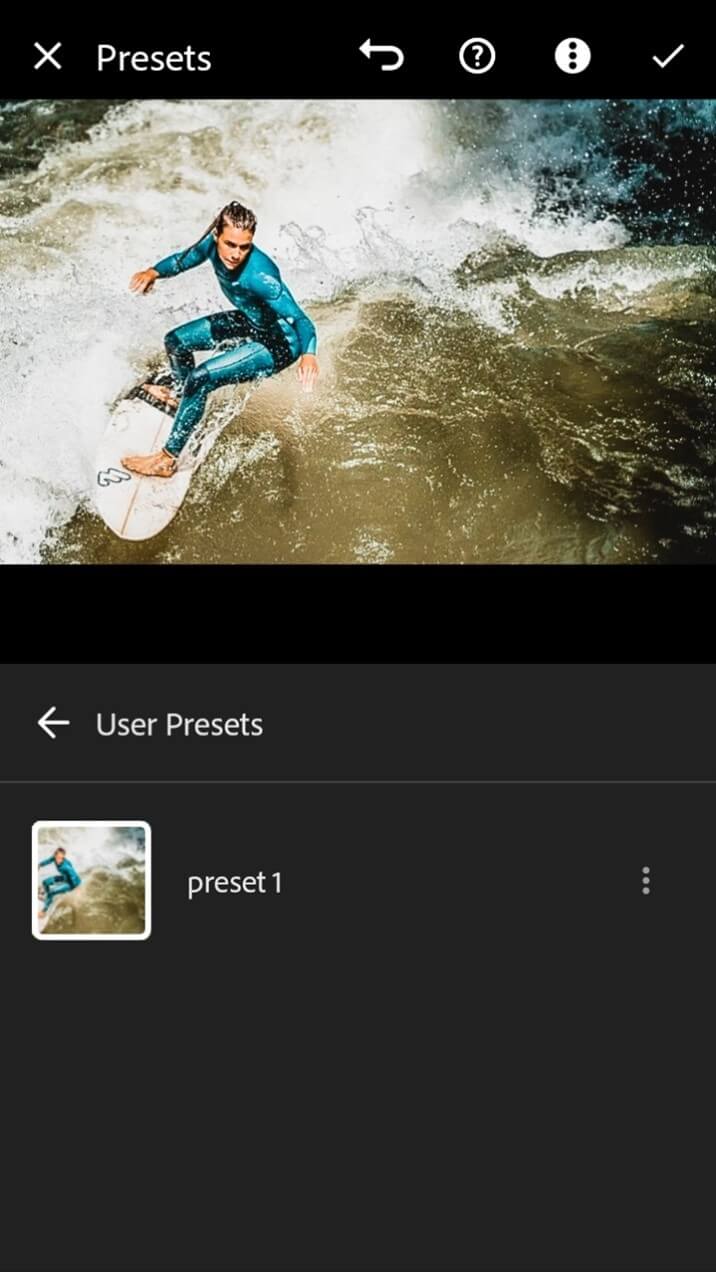
You can see we have our created preset in the User Presets folder.
Create a New Album
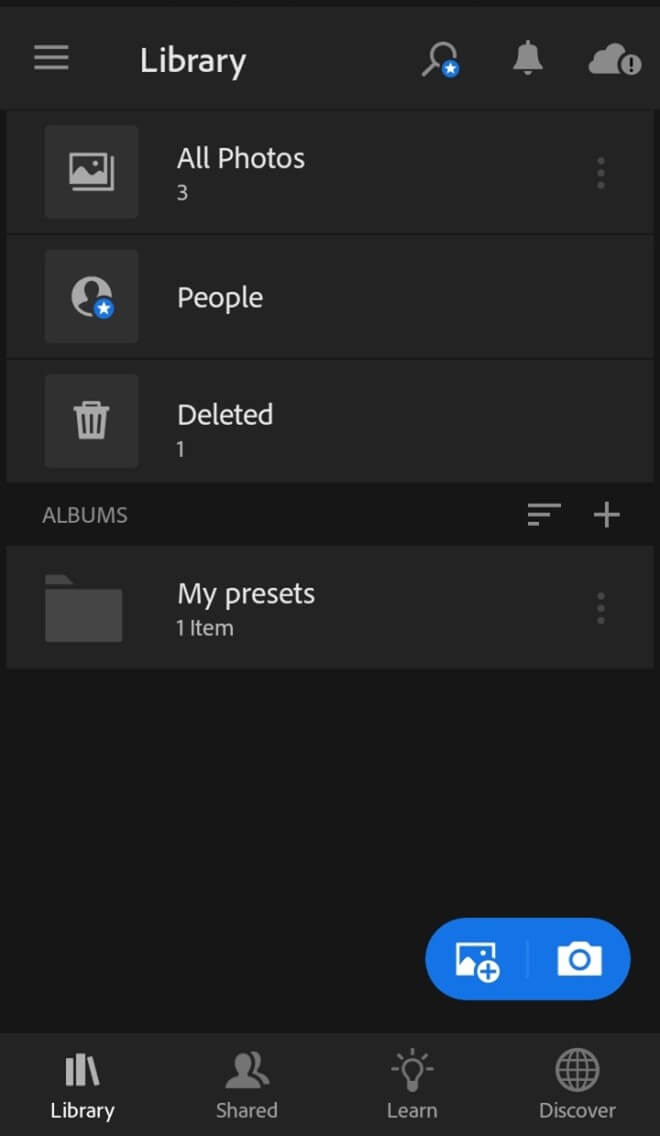
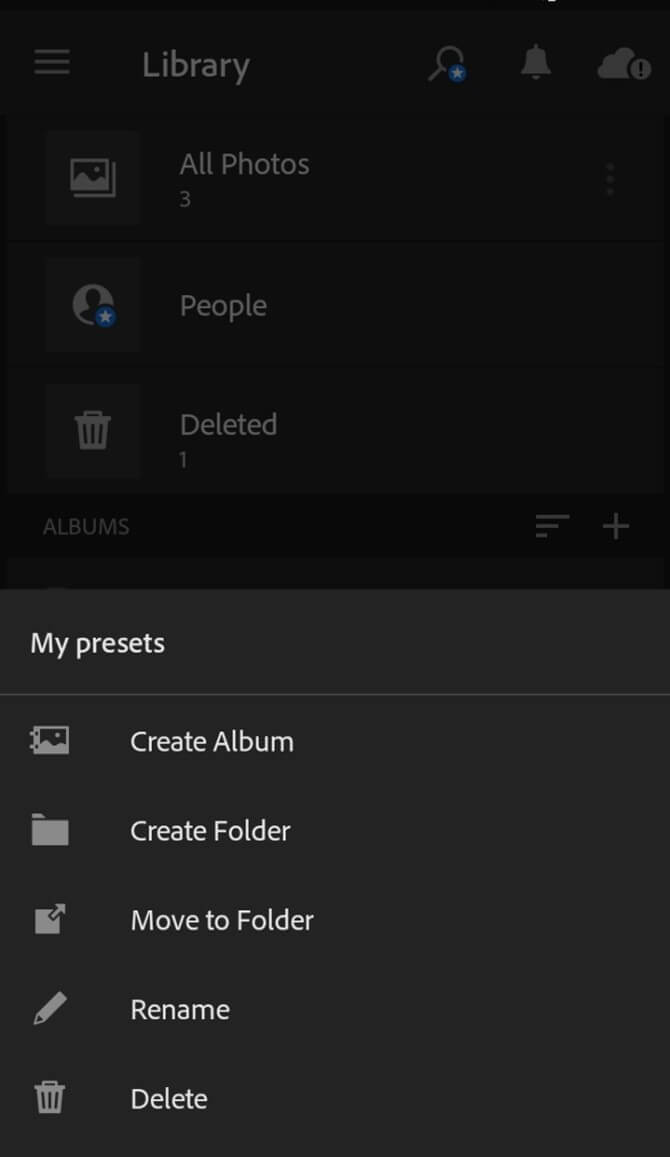
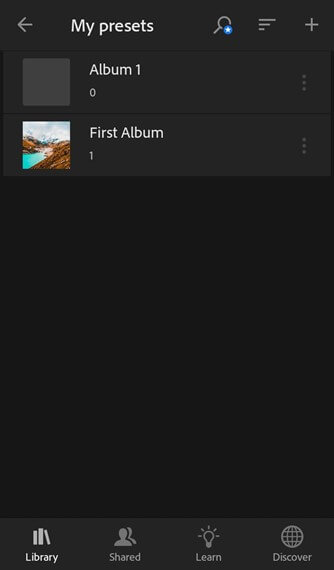
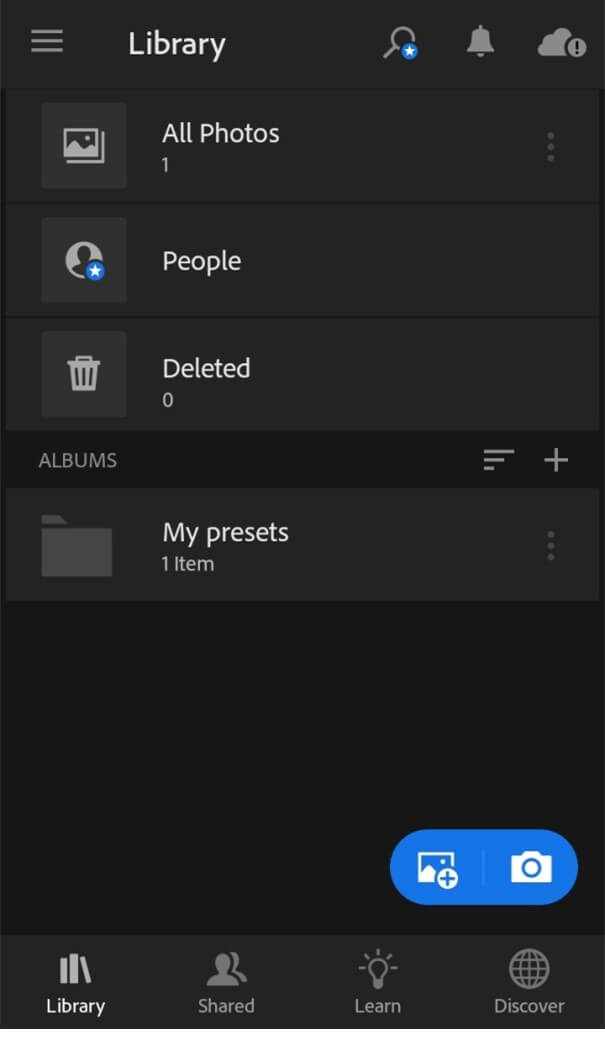
Now let me tell you how you can create a New Album of your photos if you want. So for that, go to the folder of which photos you want to have in the Album. I will go to the My Presets folder and click on the three dots at the top right corner.
Once you click on it, you will have this option so click on Create Album option.
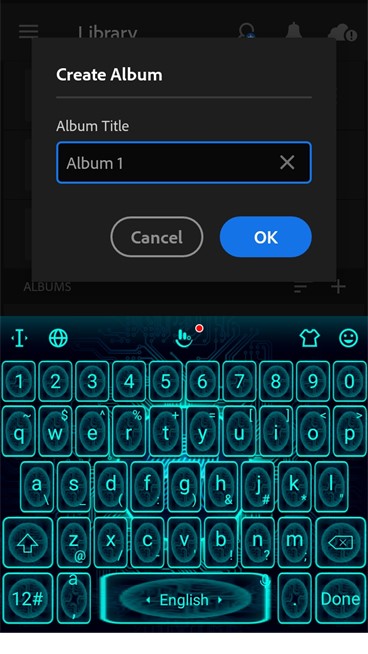
Name it as per your choice. I will name it as Album 1.
And you will have it in your saved folder.
How to Install Lightroom mobile presets?
There are a few steps that you have to follow for installing your desired Lightroom mobile presets, and these are as follows:
First, navigate your desired presets website and find out the download link from that website. You can go with free presets or can purchase if you want according to your requirement.
When you go to the download link, it is most probably that you have to Enter your email address for having a download link.
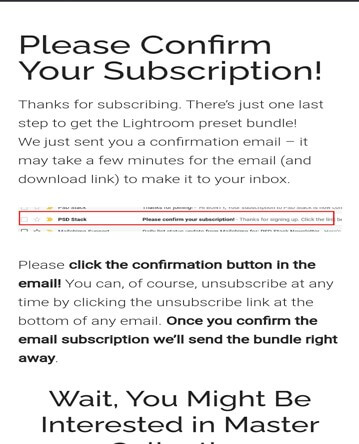
Once you enter the Email address, it will send a confirmation link to your email address. So open your email address and go through the confirmation steps.
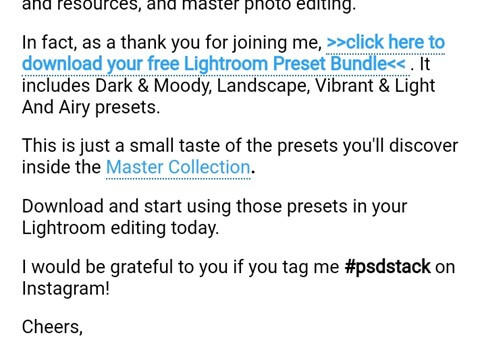
After confirmation, you will receive a download link on your same email address so click on it.
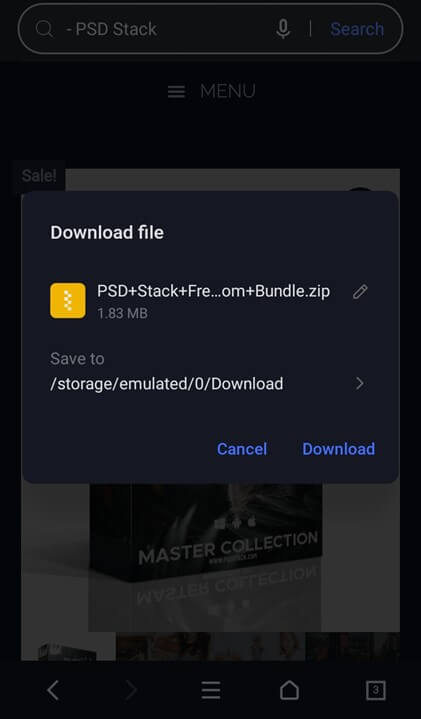
Once you click on the download link, it will show you the location where this is going to save. You can choose the location itself if you want to save it somewhere else.
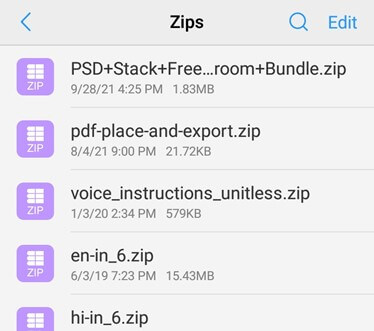
Once it downloads, you will have a zip file of it.
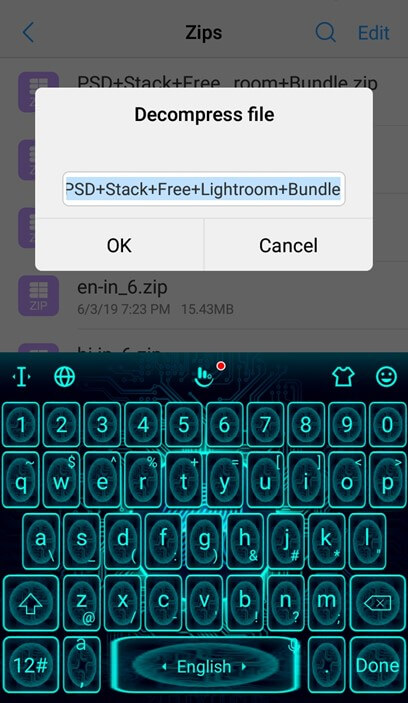
So unzip it and name the folder as per your choice.
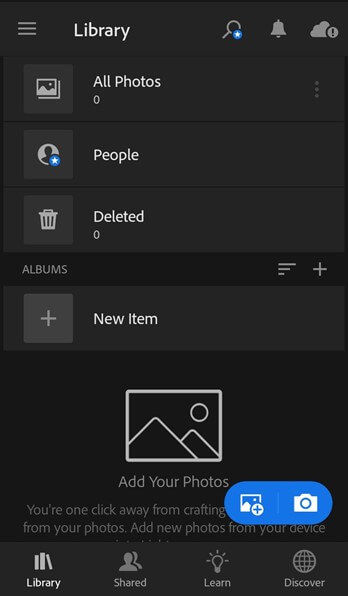
Now open Lightroom software on your mobile device, and there is a plus button at the user interface of this software so click on it.
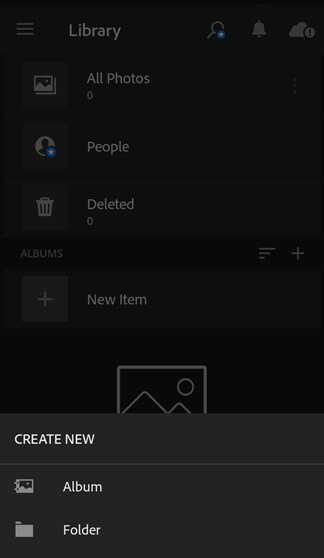
Once you click on it, you will have options for creating Folder and Album. So click on the Folder button.
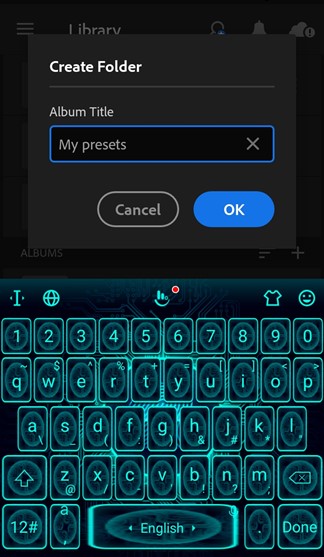
Once you click on the folder option, it shows you a dialog box for Name it. So do it as per your choice. I will name it as My Presets.
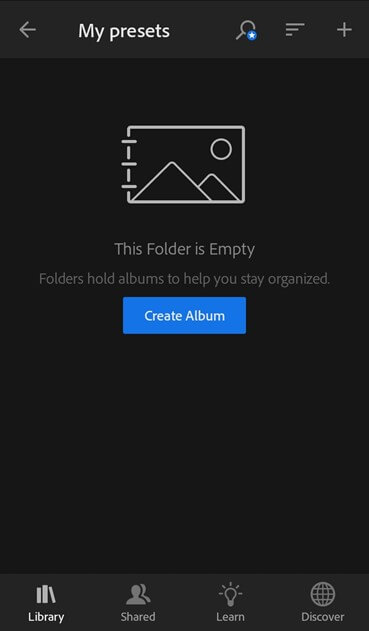
Click on Create Album button of the next interface.
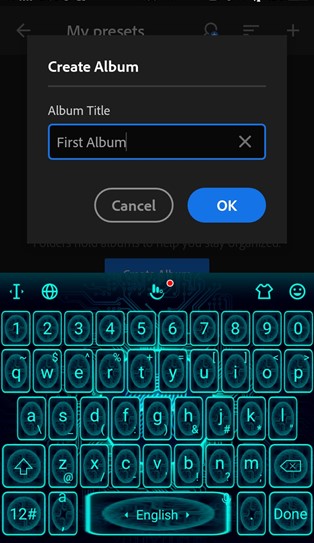
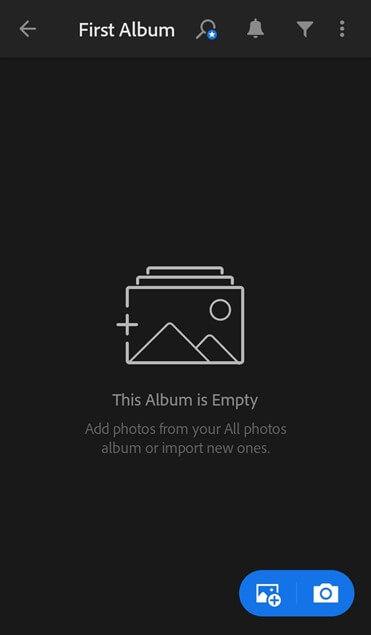
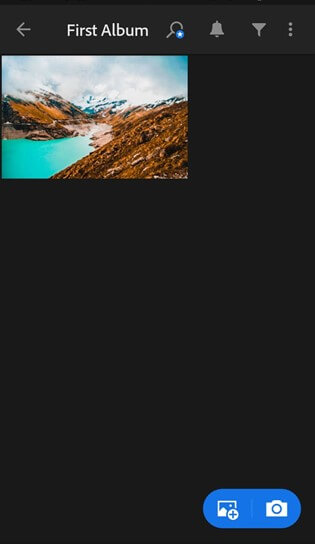
Name it again as per your desired Album name. I will name it as First Album.
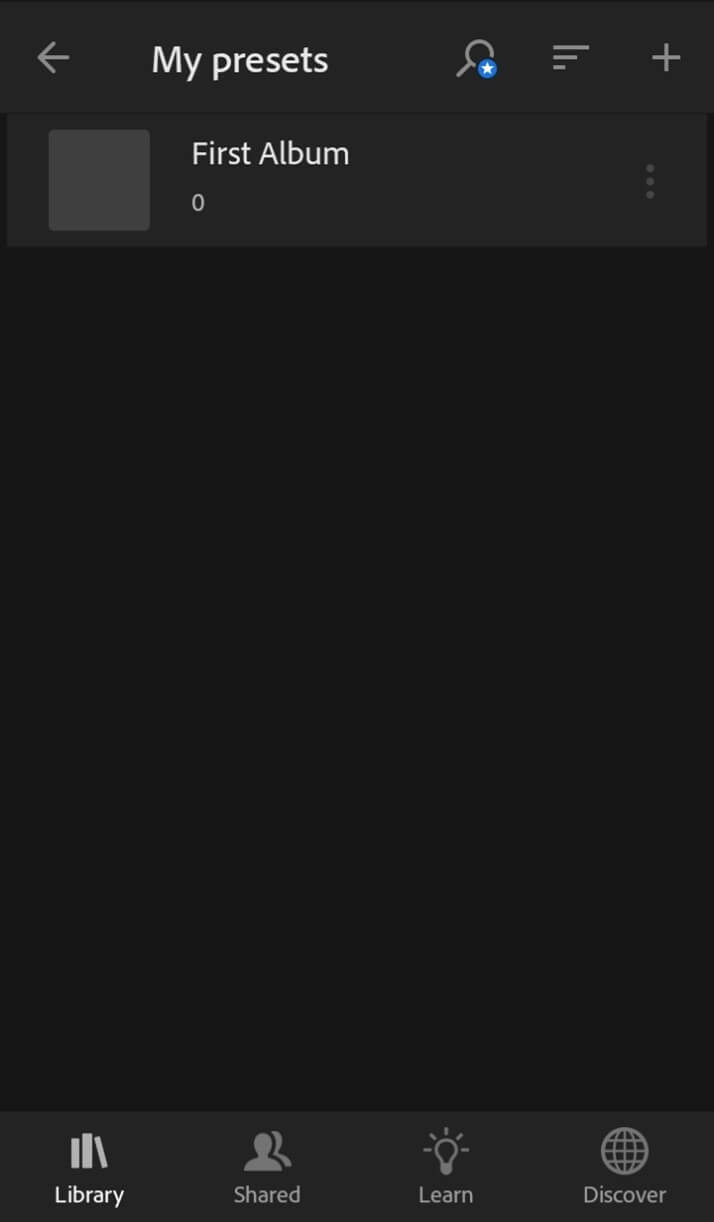
Your Album folder will create in the My Presets folder, so click on it.
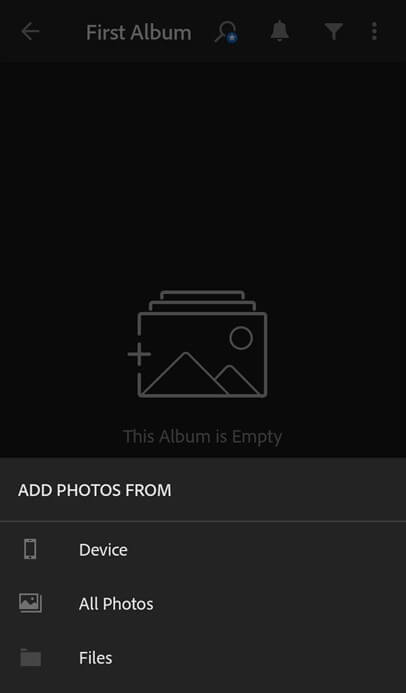
Now click on the Plus button at the bottom of this user screen.
Go to the Files option and click on it.
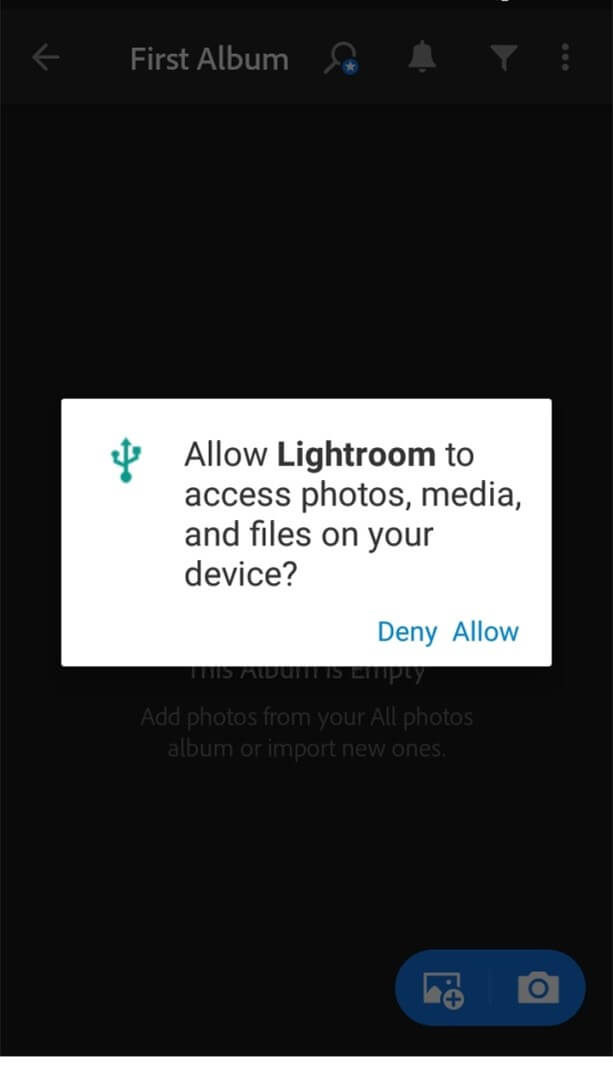
Allow Lightroom to use Photos of your mobile device.
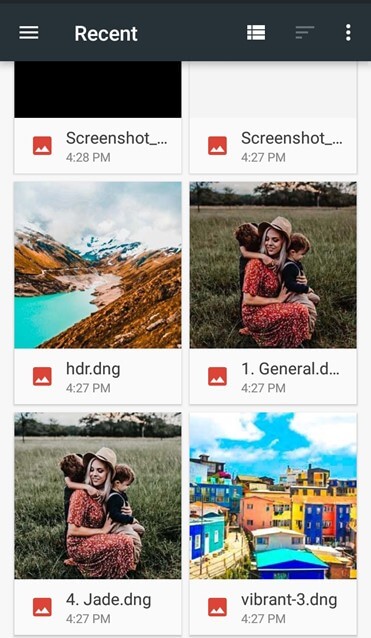
Now navigate for preset photos, which we have been installed in previous steps.
And in a few seconds, it will come into our Album.
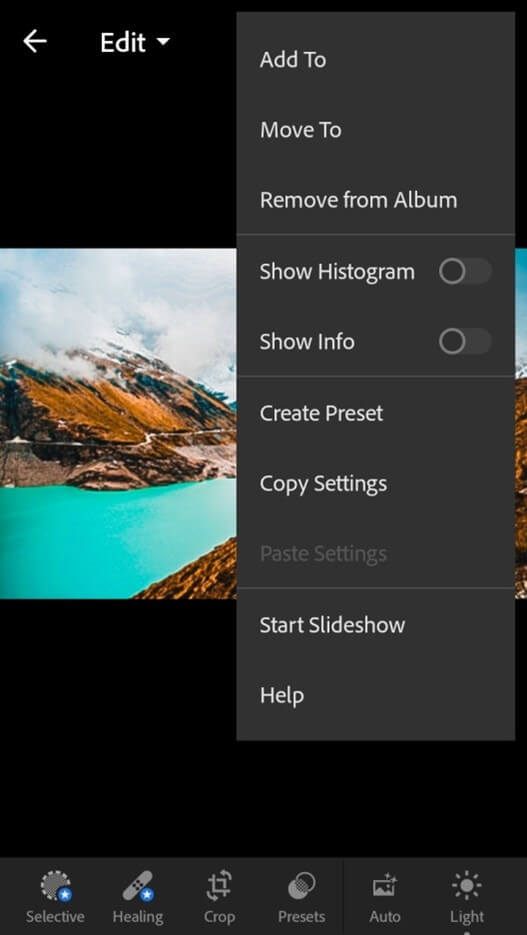
Now click on it to open it, then click on the three dots that are at the top right corner.
Click on the Copy Setting option to copy preset settings.
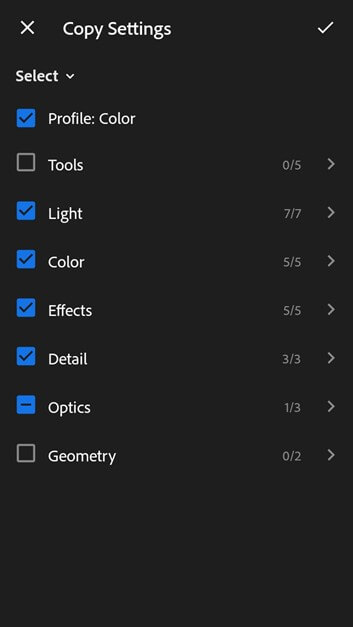
Make sure all the parameters enable then click on the done button at the top right corner.
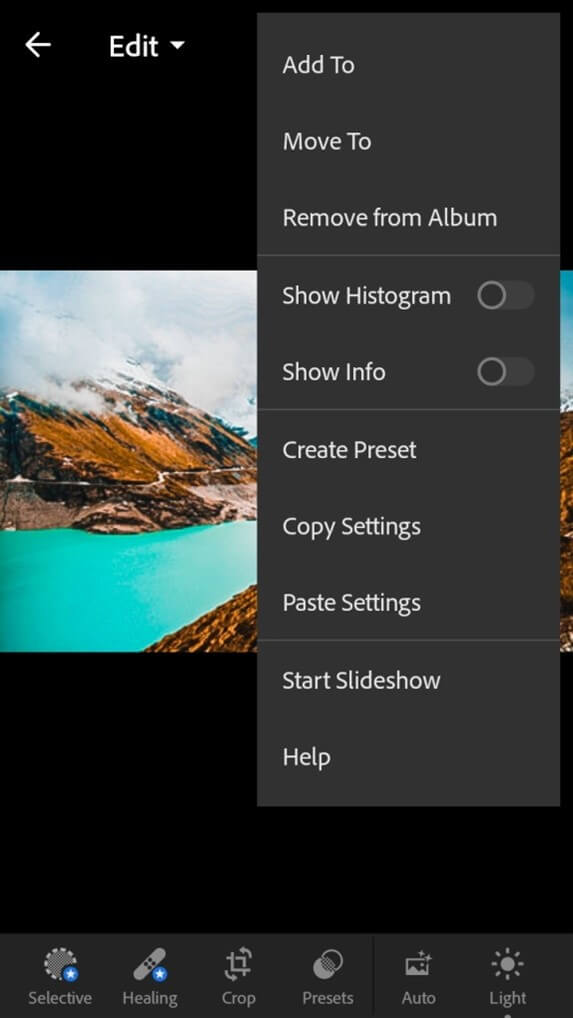
Now again, click on three dots, and this time click on Create Preset option.
Name it as per your choice. I will name it as Preset 1.
Now come to the Library of this Lightroom and choose your desired photo on which you want to apply this created preset.
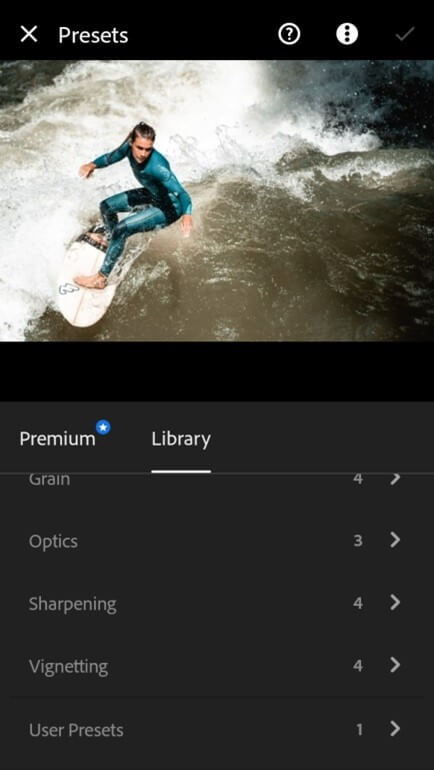
I will choose this one and click on it to edit it. Now go to the bottom of this screen, and there we have Presets button, so click on it.
Choose your saved preset from the list of presets.
And once you choose it, it will automatically be applied to your selected photo.
This way, we can work with Lightroom mobile presets.
Conclusion
After going through this article, you have an idea about Lightroom mobile presets, and you also know how you can use them, create them, and install them for making your photos more effective. In addition, you can go with different settings of photo manipulation steps and save them as your own presets.
Recommended Articles
This is a guide to Lightroom Mobile Presets. Here we discuss the idea about Lightroom mobile presets and How to Create them. You may also have a look at the following articles to learn more –

