Updated April 18, 2023
Introduction to Linux Write Command
In the Linux ecosystem, the write command is used to communicate with other login users in the different terminals. It is just communication from one terminal to the other or the user terminal. In the communication channel, we can also copy the lines from one user to another. In Linux, the write command comes under the util-Linux package.
Syntax:
write user [ttyname]- write: We can use the write keyword in the syntax or command. It will accept the two arguments as input i.e. the user name and the terminal number. The write command will help to communicate with the entered user.
- user: We can provide the user name to whom we need to communicate. Here, we can use the LDAP or static user both. There is no restriction for LDAP users or static users.
- ttyname: The write command, we need to provide the user. To which terminal we need to connect for the communication.
How does Linux Write Command Work?
In the Linux environment, we are having the functionality to communicate with the user from one terminal to other terminals. It will help to send or copying the lines from one user to others. When any user will communicate with a different user. The end-user will get the message as per the below format.
Message from yourname@yourhost on yourtty at hh:mm ...- Message: It will display the keyword with the message.
- yourname@yourhost: It will print the user name from which user the message is sending. Along with the user name, it will display the hostname as well. From which host, the communication or message is sending.
- yourtty: It will display the terminal information of the message sender.
- hh: mm: It will display the timestamp. At which timestamp, the message is sending from the user. Generally, the timestamp is in 24 hr.
Note: when the communication will over. The end-user will enter the interrupt command or character. The “EOF” indication will display at the end of the communication. With the help of this indication, the current user will understand the end of the communication.
Examples to Implement Linux Write Command
Following are the examples are given below:
1. Write Command: One to One Communication
In write command, we are able to communicate with the different terminal user. We can send the messages or copy line in the shell window.
Note: while communicating with the different user via write command. Please make sure that the end-user should be login in any terminal on the Linux environment. If the user is not log in then the write command will not work.
Command:
write educbaOutput:
Screenshot 1 (a)
Screenshot 1 (b)
Screenshot 1 (c)
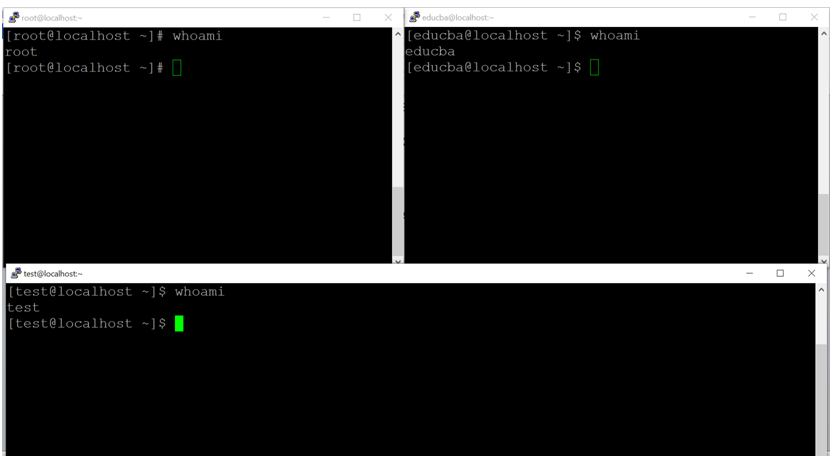
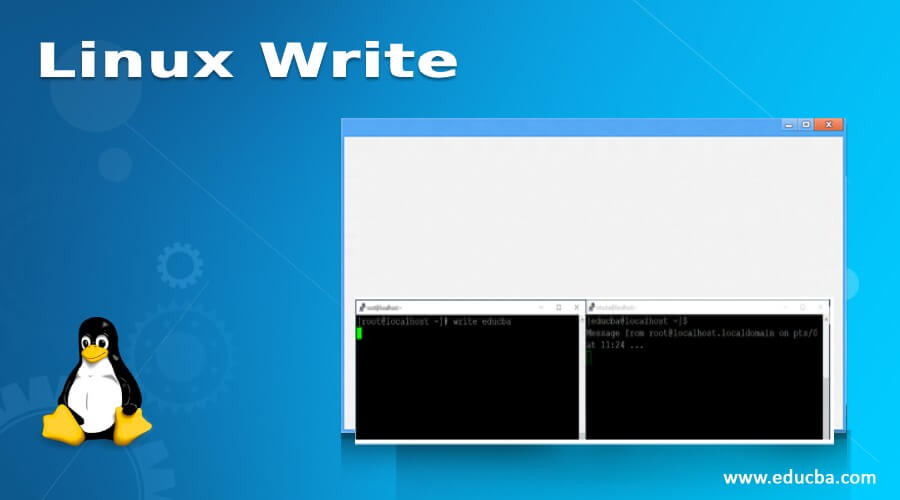
Explanation: As per the above command, we are using the write command to communicate with the “educba” user (refer screenshot 1 (a)). We are initiating the communication from root user to educba user. On the educba shell window, the user is able to see the below message from where the messages are coming from (refer screenshot 1 (b)). Message from root@localhost.localdomain on pts/0 at 12:30 … (the message is coming from the root user. The hostname is localhost.localdomain. The terminal is pts/0. The communication timing is 12:30).
When the communication will break from the root user. The “EOF” (end of file) message will print on the educba user shell windows. With the help of this message, the educba user will get the indication that the conversation was closed (refer screenshot 1 (c)).
2. Write Command: Multiple Communication
In the Linux environment, we are having the functionality to communicate with multiple terminal users via write command.
Note: While communicating with the multiple users. Kindly provide the user name with the message. To avoid, the message conflict from multiple users.
Command:
write educba
write root
write test
Output:
Screenshot 2 (a)
Screenshot 2 (b)
Screenshot 2 (c)
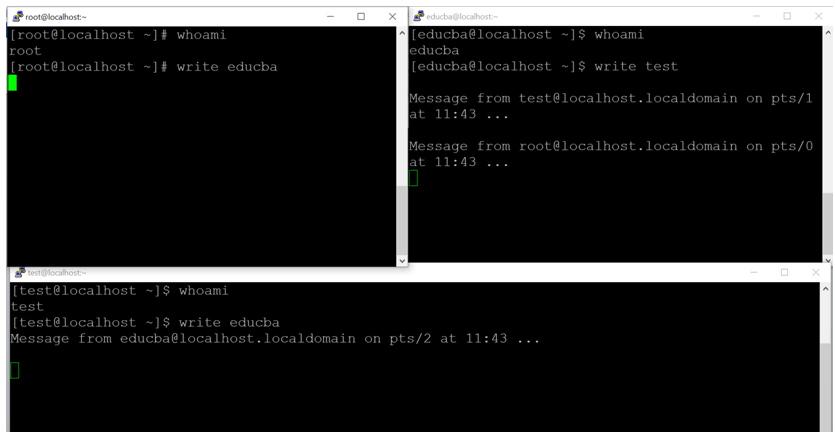
Explanation: As per the above command, we are able to communicate with different users in the Linux environment. Here, we are communicating with three different users i.e., educba, test and root user (refer screenshot 2 (a)). With the help of write command, we are able to communicate with the above three users (refer screenshot 2 (b)).
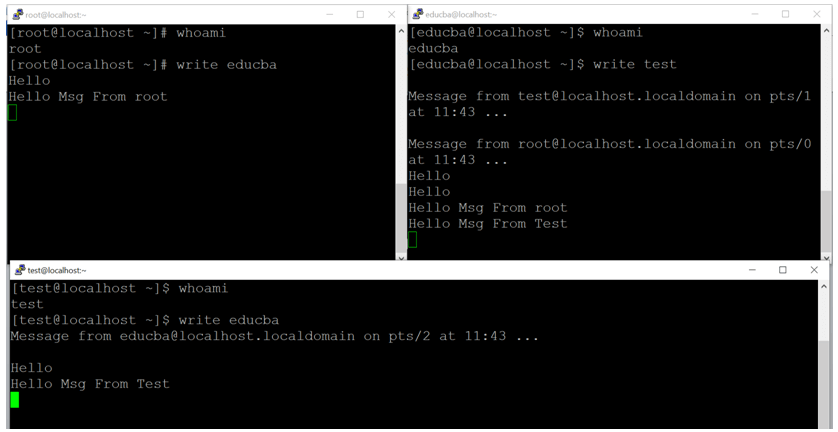
While communicating with multiple users, it is very difficult to communicate. Because we are not able to validate which message is coming from which user. To avoid this condition, we can add the user name at the end of the user message. Hence, the end-user will identify from which user the message is coming from (refer screenshot 2 (c)).
3. Write Command: Version Information
In write command, we are able to get the version information. To display the version information, we need to use the “-V” option with the write command.
Command:
write –VOutput:
Explanation: As per the above write command, we are able to print the version information on the write command. It is helpful to check the functionality. It is better to keep the latest version of the packages. Because in the latest version, the old bugs were fixed. In the new version, the features are including.
4. Write Command: Help
We are having the functionality to get help about write command. For getting any help, we need to use the “-h” option with the write Command.
Command:
write -hOutput:
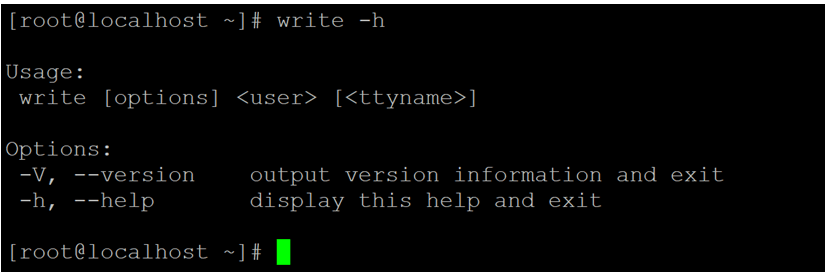
Explanation: As per the above command, we are getting the basic information or help with the write command. It will print the basic usage of the write command and how it will use.
Conclusion
We have seen the uncut concept of “Linux Write Command” with the proper example, explanation and command with different outputs. The write command is widely used to communicate from one user Linux terminal to another user Linux terminal. It will help to share the complex commands. Messages communication is very fast. It will work on the internet as well as on the intranet also.
Recommended Articles
We hope that this EDUCBA information on “Linux Write” was beneficial to you. You can view EDUCBA’s recommended articles for more information.


