Introduction to Lower third after effects
Lower third in after effects is a form of the animated tag line for social media platforms through which you can advertise your brand or you can display any tag lines in your video footage for giving information about your company’s detail or any other detail. At present, you can find different types of presets of the lower third from a different website and customize them according to your requirement for your personal use. Here in this article we will understand the concept of the lower third and learn how we can create a lower third for our project work. So let us start a discussion about this topic in a very exciting manner.
How to Create a Lower third in After Effects?
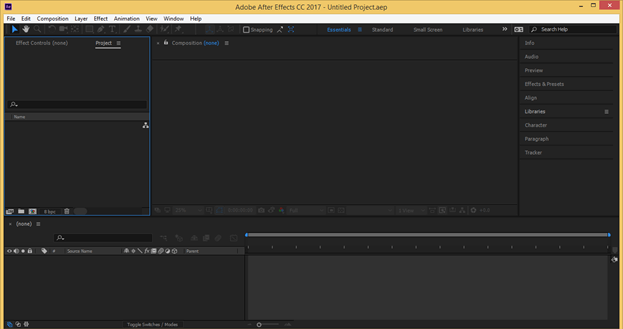
We can create a lower third in after-effects in just a few simple steps and learn it very easy for our professional use but before starting let us have a look at the working screen of this software so that there will be no problem occurring during our learning about this topic.
At the top of the working screen, there is a Menu bar along with several menus. Below this, we have a tool panel that has several tools. Below this bar we have three sections as at the left side Project panel, at the center composition window is there in which we can see our current work, at the right side, we have some parameters’ sections such as the Preview tab, Effects & Presets, and some others. At the end of the working screen, there are two panels such as the layer panel at the left side and the timeline section on the right side. You can rearrange all these sections as per your choice.
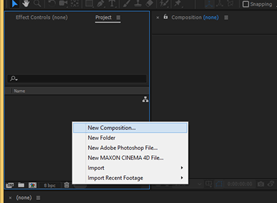
First of all, let us have a new composition for our learning. For new composition make right-click on anywhere in the project panel area and choose the ‘New composition’ option from the drop-down list.
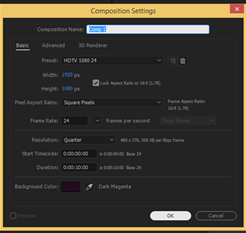
Make your desired settings in the composition settings box and press the Ok button of this dialog box.
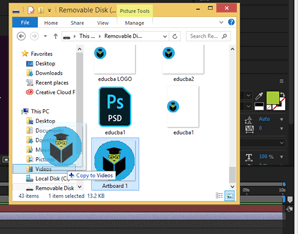
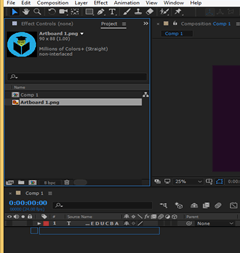
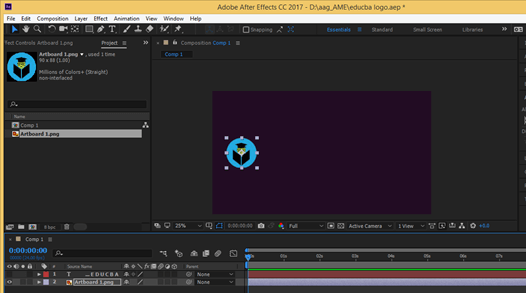
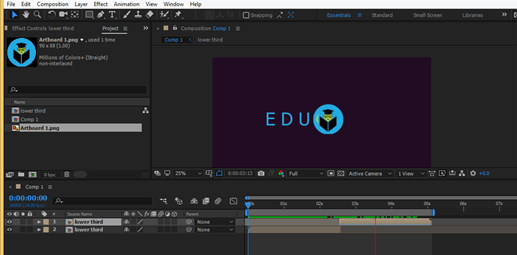
Now let us have a PNG file of the logo of EduCBA for learning about the third feature of the after effect. For placing this file I will go to that folder where I have saved it and pick it from there then drop it in the project panel area.
Now drag this logo in the layer panel of this software.
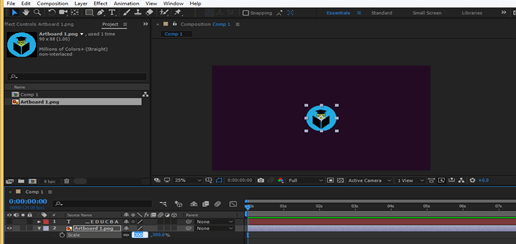
I will scale it up because I want this size.
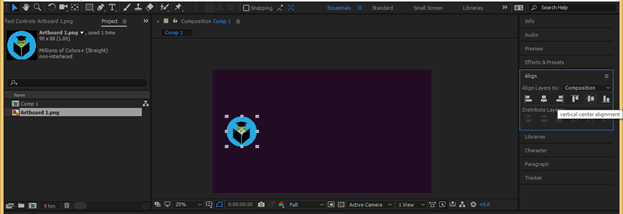
Place this logo on the left side of the composition window.
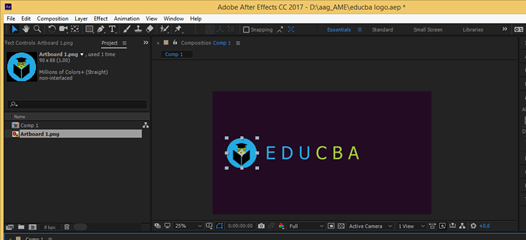
Now I will take the text tool and type the name of our website that is EDUCBA.
Hide this text by clicking on the eye button of its layer because we will animate this logo first for the third.
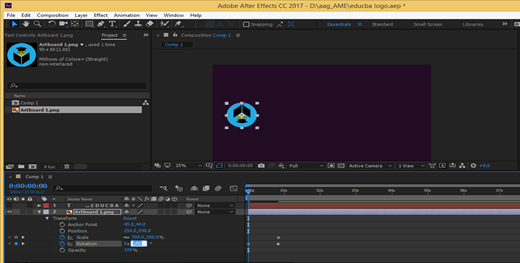
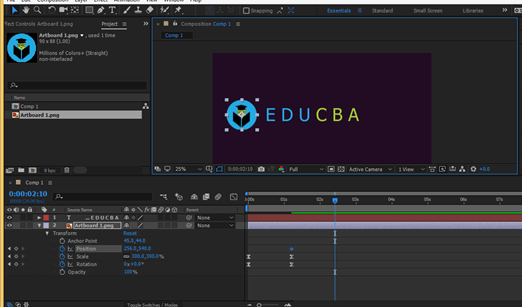
Now open the properties of this logo and make click on stopwatch icons of rotation and scale properties for animating them. Select both keys and drag them about 1 sec in the keyframe timeline section.
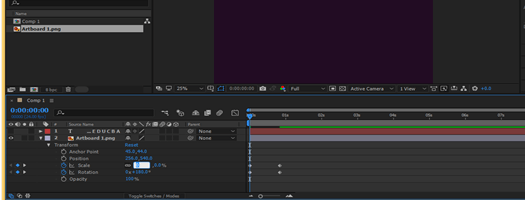
Now at starting, the set the value of rotation as 180 degrees.
And set the scale value as 0.
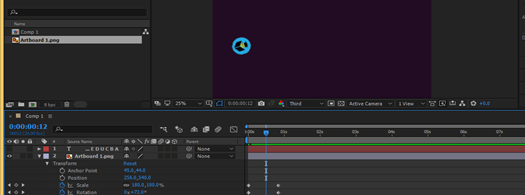
Now play this animation and check it.
I will select both keys and press F9 for making them easy to ease.
I will click on Graph Editor for adjusting the speed of rotation and scale animation of this logo.
Choose the Speed graph from this list.
Select scale property then hold and drag the handle of the scale graph and adjust the pick of the graph like this because I want scale animation speed high at the center of animation.
Select the rotation property then hold and drag the handle of the rotation graph and adjust the pick of the graph like this because I want rotation animation speed high at the center of animation.
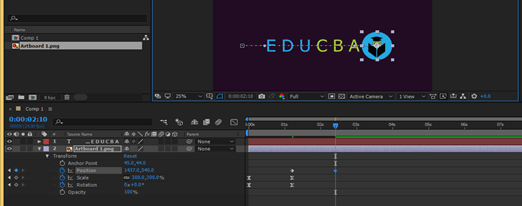
Click on the eye button of the text layer for seeing it. Now place the keyframe play head at the end of the first animation and click on the stopwatch icon of position property because now we will animate the position of this logo then place play head as some frame forward.
Now drag the logo in the x-direction in this way so that I will go through the text in the x-direction.
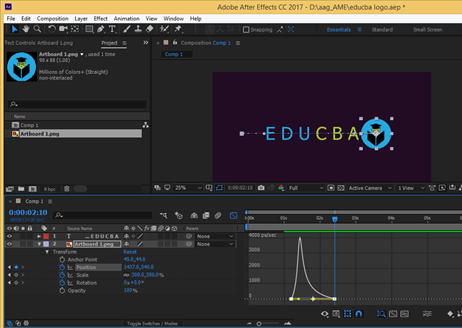
Make these keys easy easy also.
Open the speed graph and set the speed graph of position like this because if want speed of the logo will fast at starting the position animation.
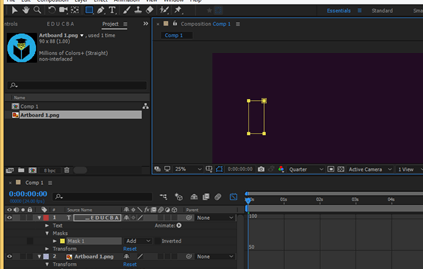
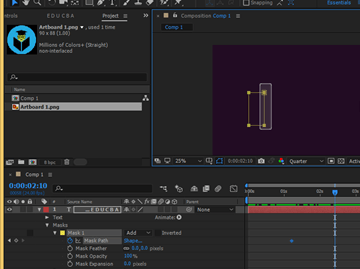
Now take the rectangle tool and make masks on the text layer like this.
Now place play head at the end of the first animation and add a key in the mask path property of the mask of the text layer.
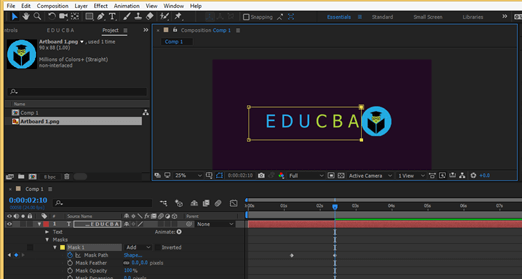
Now place play head at the end of the animation of position property and select these two points of mask.
Drag these two points in this way so that they cover the whole text like this.
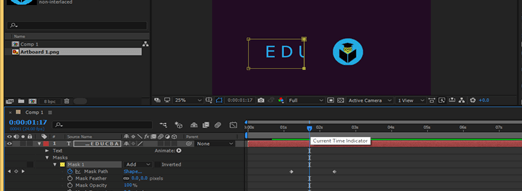
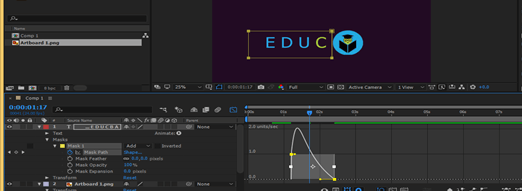
When you move the play head to see the animation you will notice the speed of the mask for revealing text and the speed of moving of logo in the x-direction is different.
So for matching them again go to the speed graph of the mask path and match its speed with the speed of the logo by dragging curve handles.
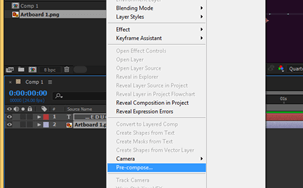
Now select both layers and make the right click. Choose the Pre-Compose option from the drop-down list for combining them in one layer.
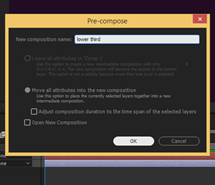
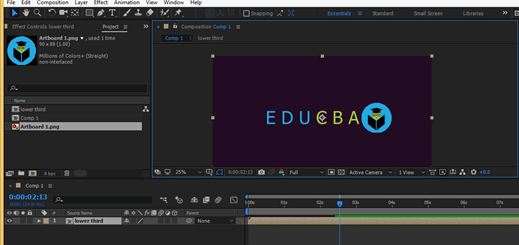
I will name it as Lower third then press the Ok button.
Now place play head at the end of an animation.
Press the Alt + ] buttons of the keyboard for trimming this layer from here.
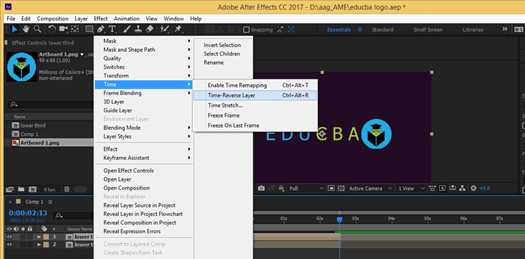
Now make a duplicate layer of this layer by pressing the Ctrl + D button of the keyboard then make right-click on the duplicate layer. Go to the Time option of the drop-down list then choose the Time-Reverse Layer option from the new list for playing our animation in the reverser direction.
Now place this layer at the end of the first layer.
Now when you play this animation it will play in the forwarding direction first then in the reverse direction.
In this way, you can make a lower third in After Effect.
Conclusion – Lower third after effect
Now after this article you can understand what the Lower third is and how you can handle different parameters as well as features of this software for making a good lower third. You can make different types of the lower third with your own idea by getting ideas from this article.
Recommended Articles
This is a guide to Lower third after effect. Here we discuss how you can handle different parameters as well as features of this software for making a good lower third. You may also have a look at the following articles to learn more –
