Masking Image in After Effects
Mask in After Effects is an outline or a path to modify the properties of the layers; we can mask with text, pictures, videos, and vectors images. There are three types of maskings, Tracking, merge paths, and traditional masking functions. Masking plays a key role in the video production industry because after the shoot, they may need to remove something from the video, so in such case, they prefer only masking. Most of the title animation is also done with text masking.
You may think the mask is easily available in photoshop, premier, etc.; why we need to use after effects…. come let us see.
Creating Mask in After Effects
There are many ways for masking images in After Effects; let’s look at a few essential steps below.
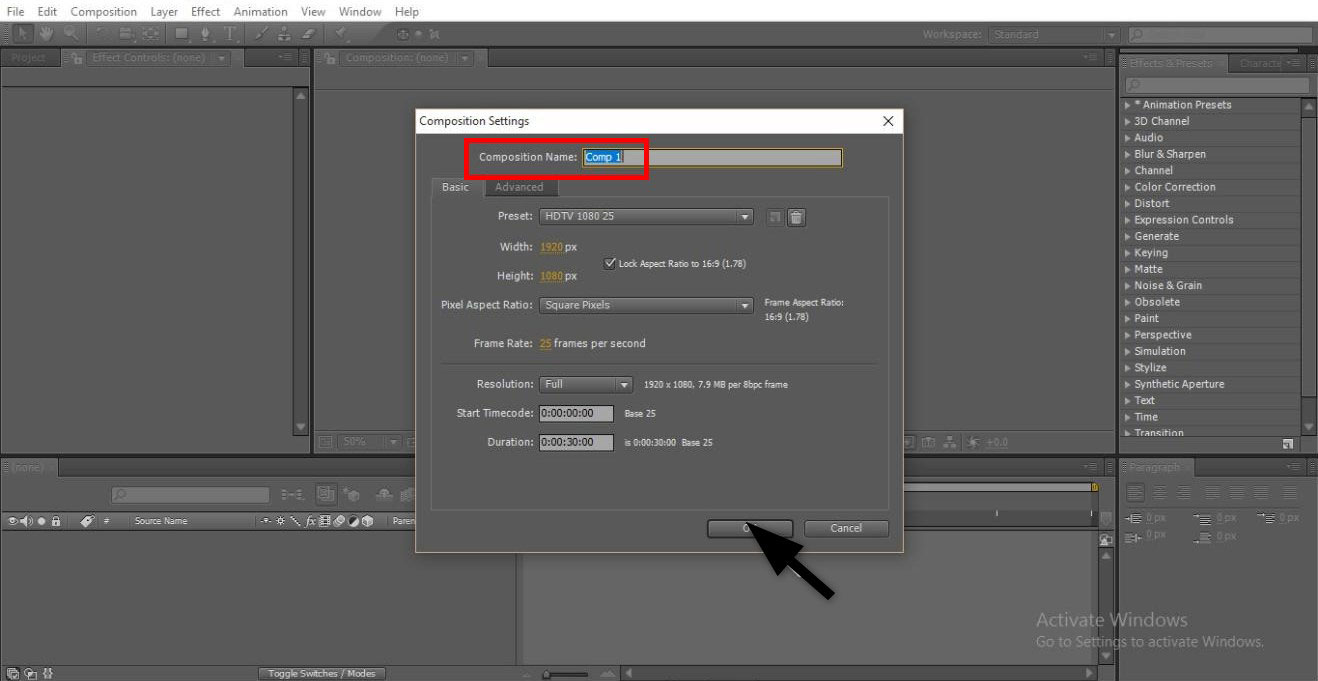
Step 1: Start a New composition.
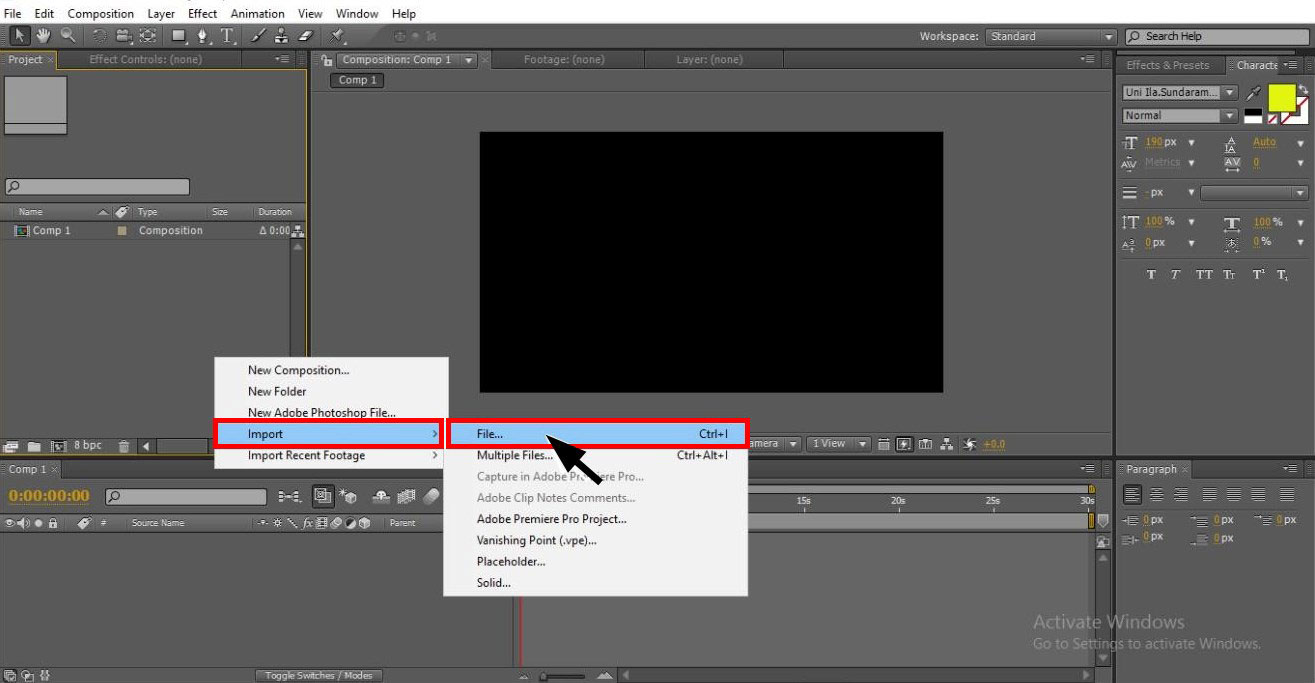
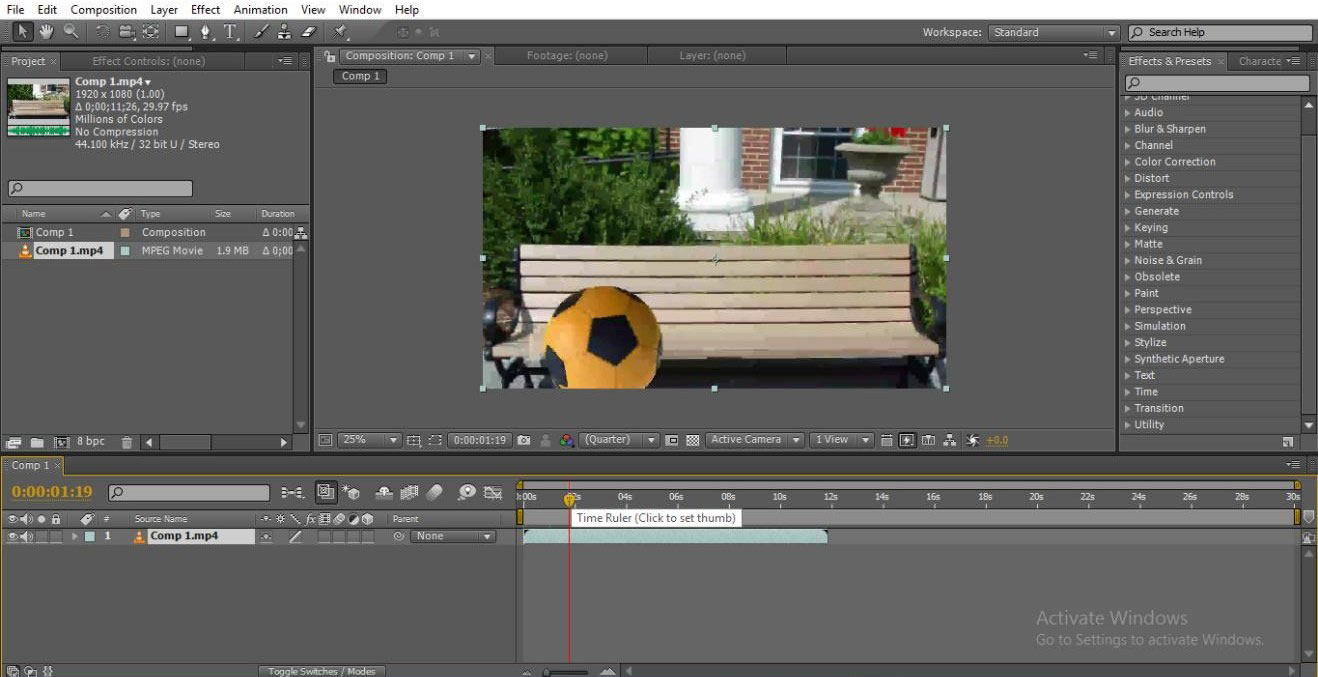
Step 2: Import the footage to the file.
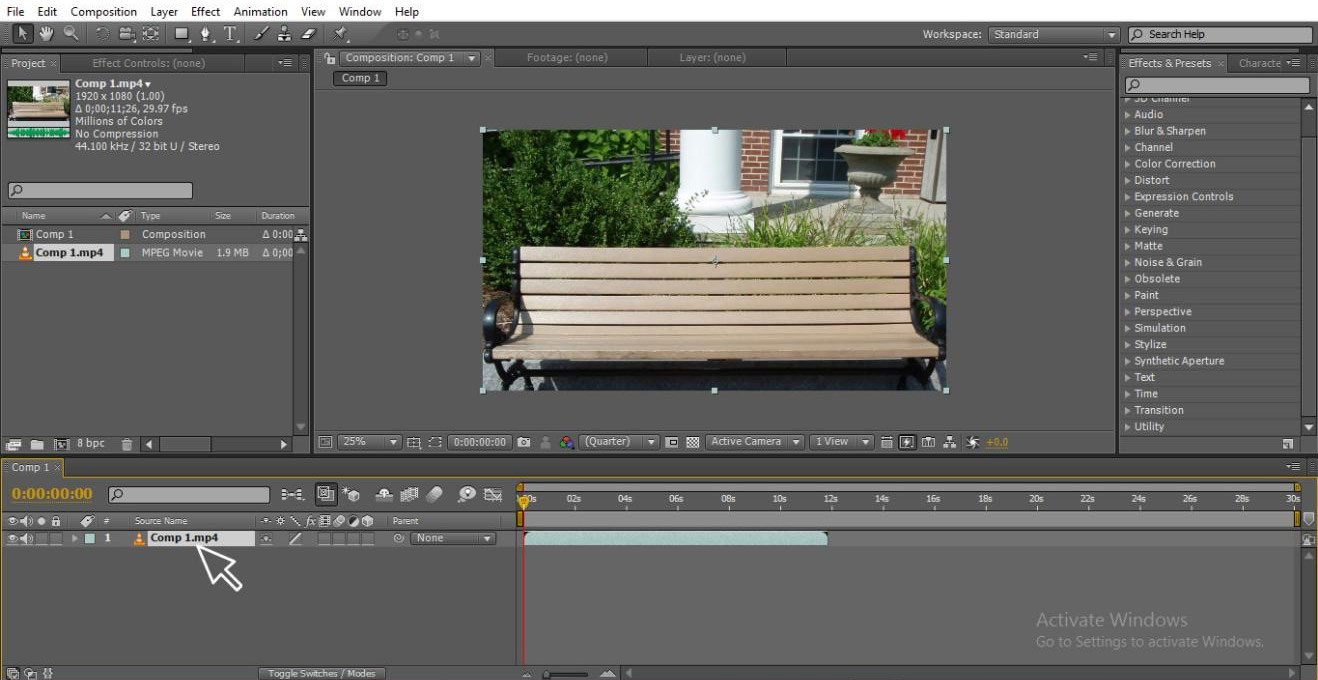
Step 3: Import the footage to the timeline; always import a simply objected footage when you are in the learning process.
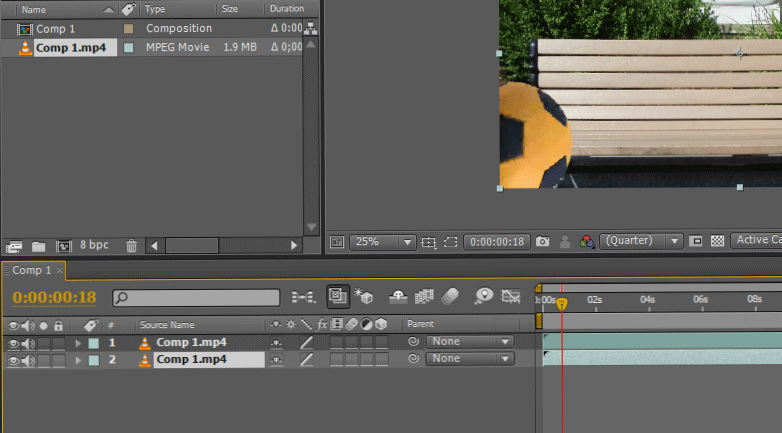
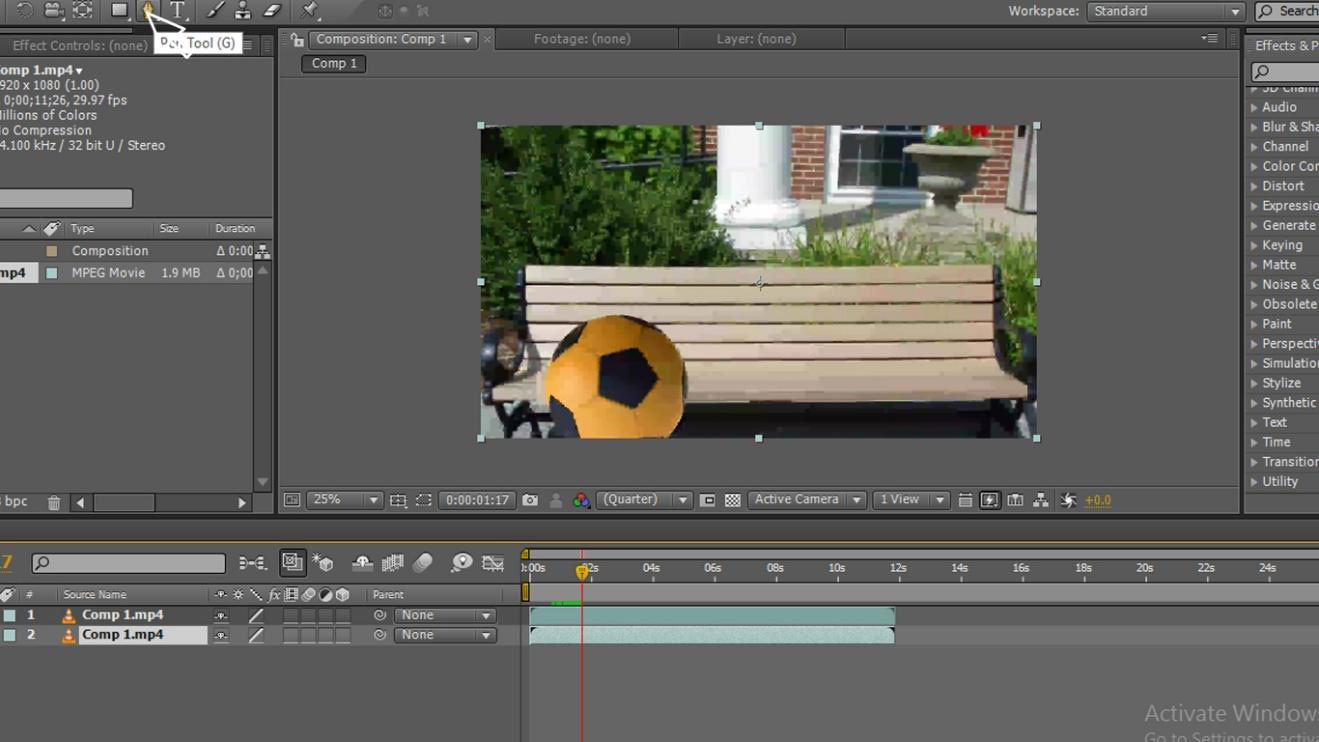
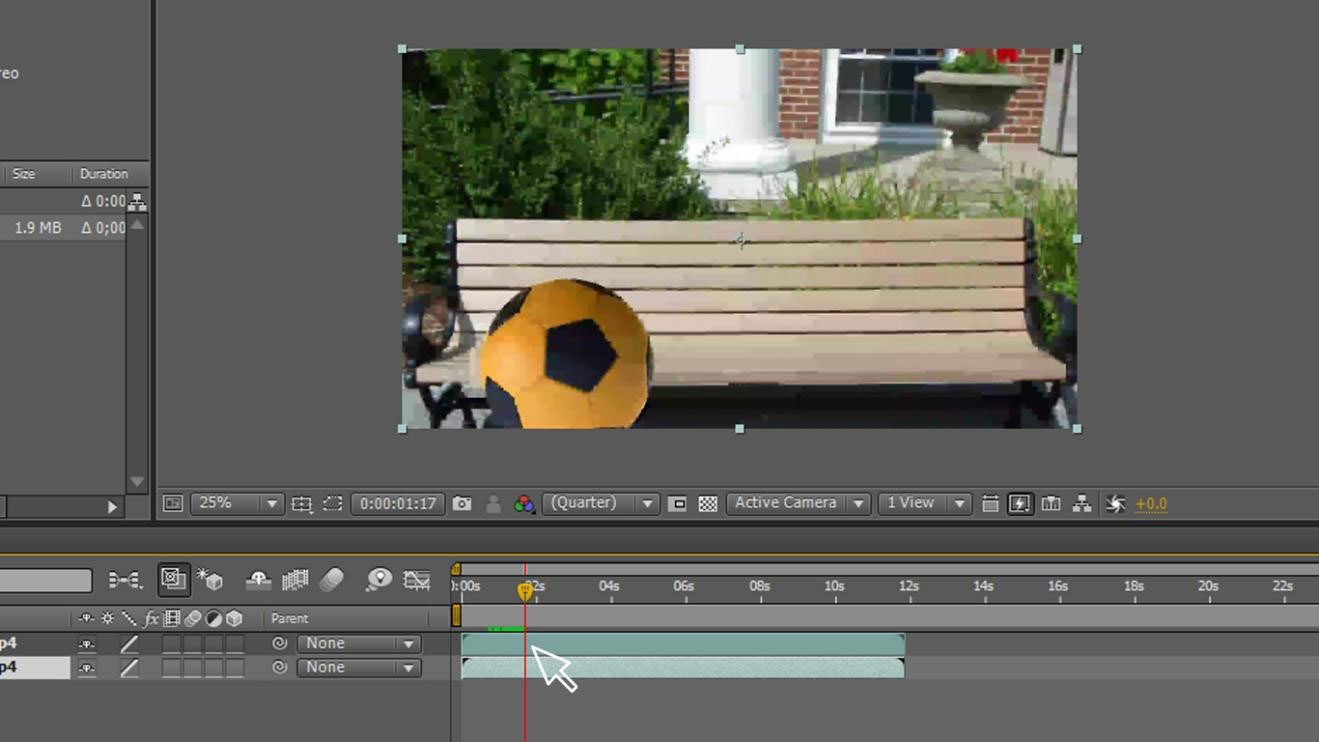
Step 4: Now, we need to create duplicate footage or import relevant footage for masking.
Step 5: Here, I import a video.
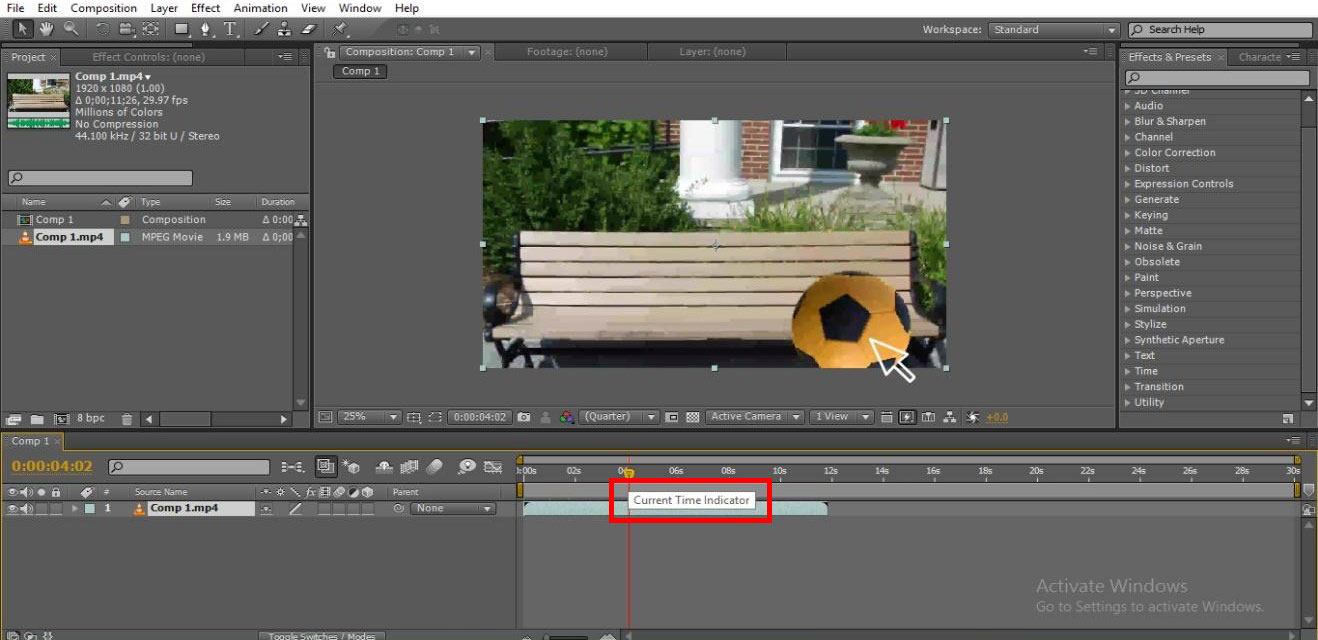
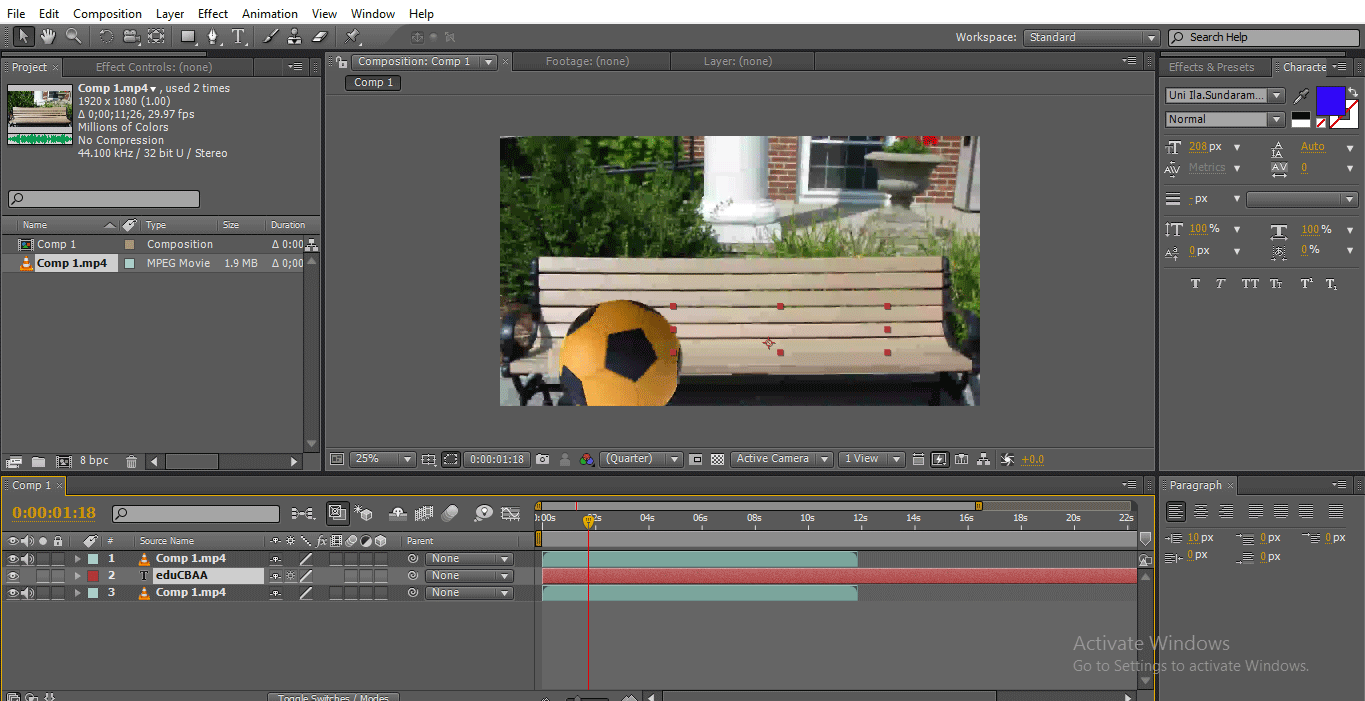
Step 6: Here, a ball traveling from one side to another indicates time.
Step 7: We can use a selection tool or pen tool to select the path for masking; here, I select the pen tool to draw the path.
Step 8: Select the point from where we need to start masking.
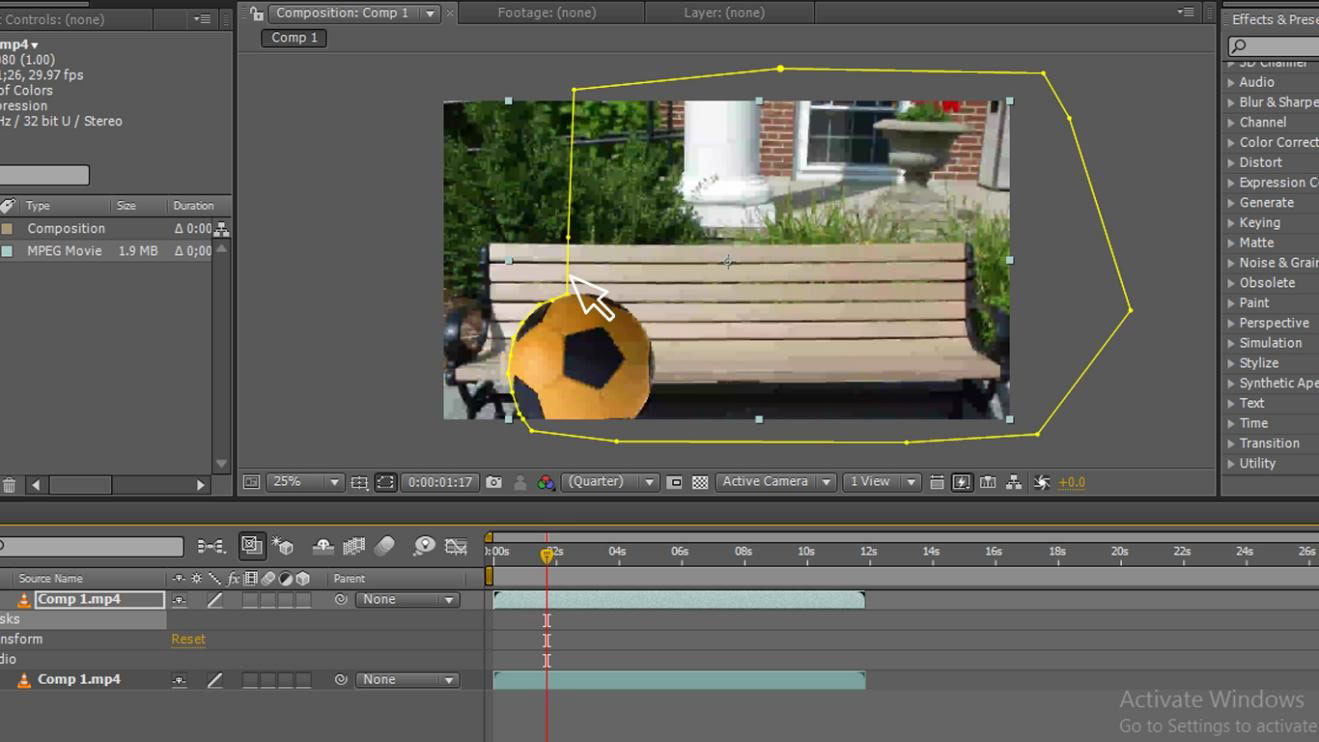
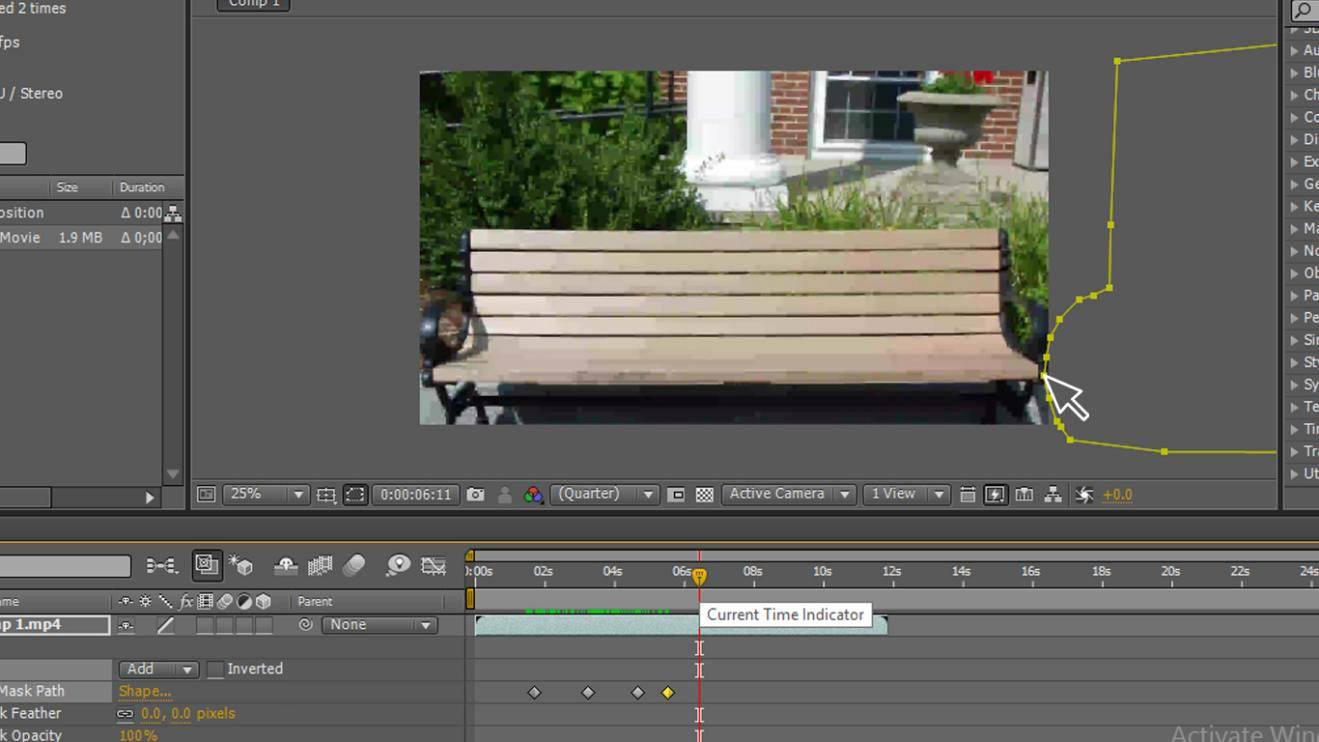
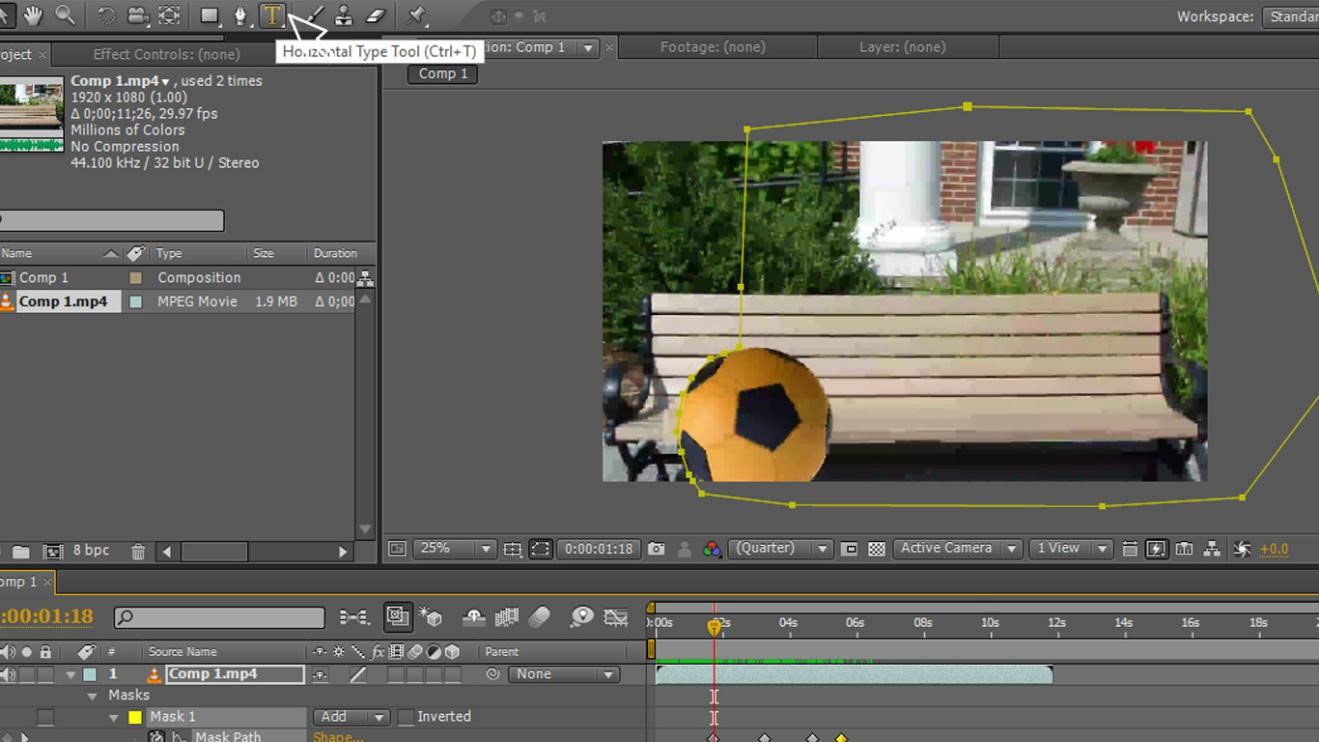
Step 9: We need to draw a path with the pen tool, here we have drawn an outline from the ball to the surface where we are going to mask the layer; we will be masking in the outline.
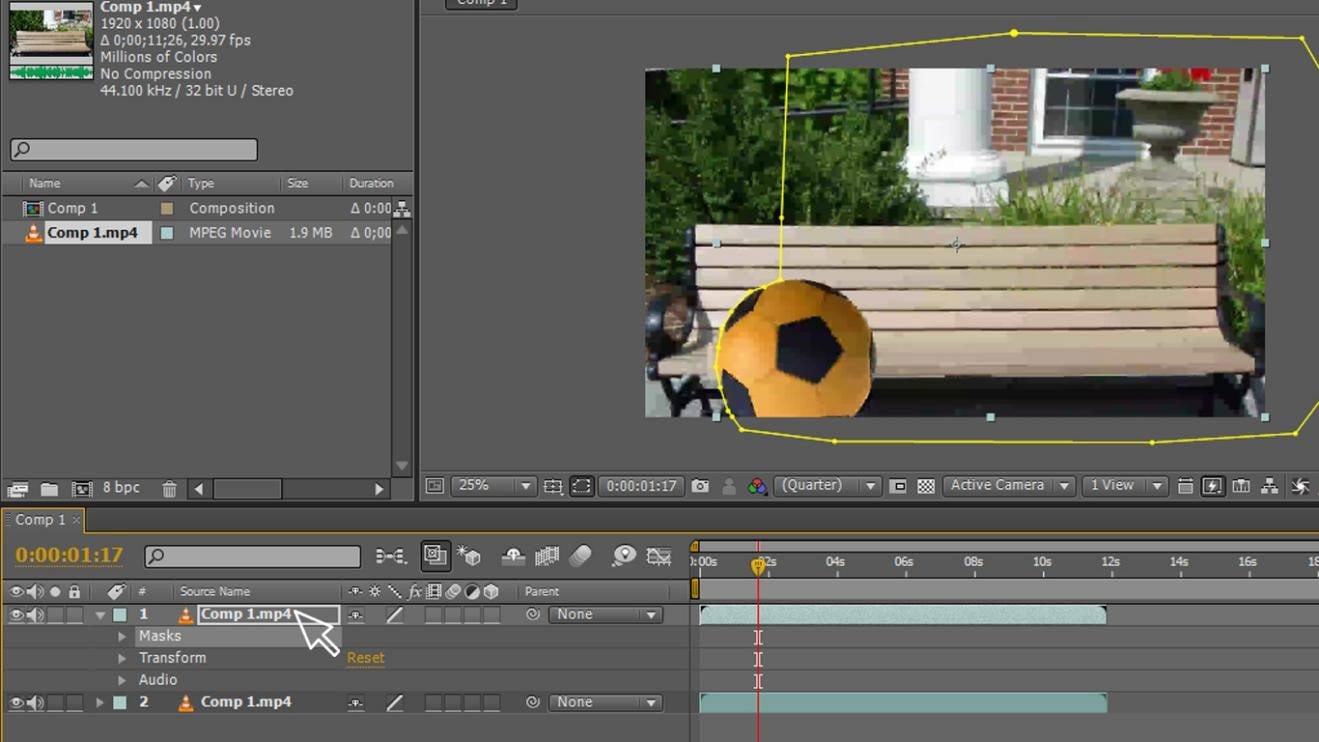
Step 10: Always keep the mask layer on top because we need to place the original footage in the down layer below.
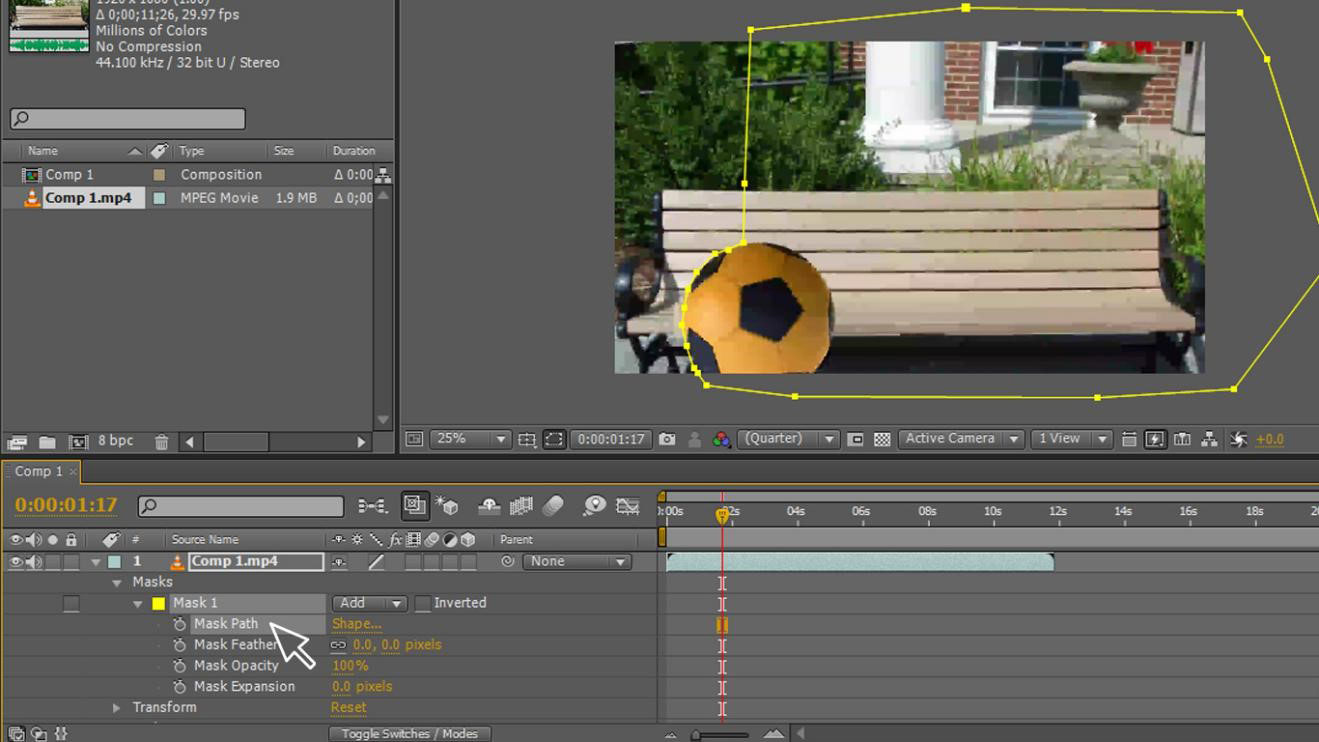
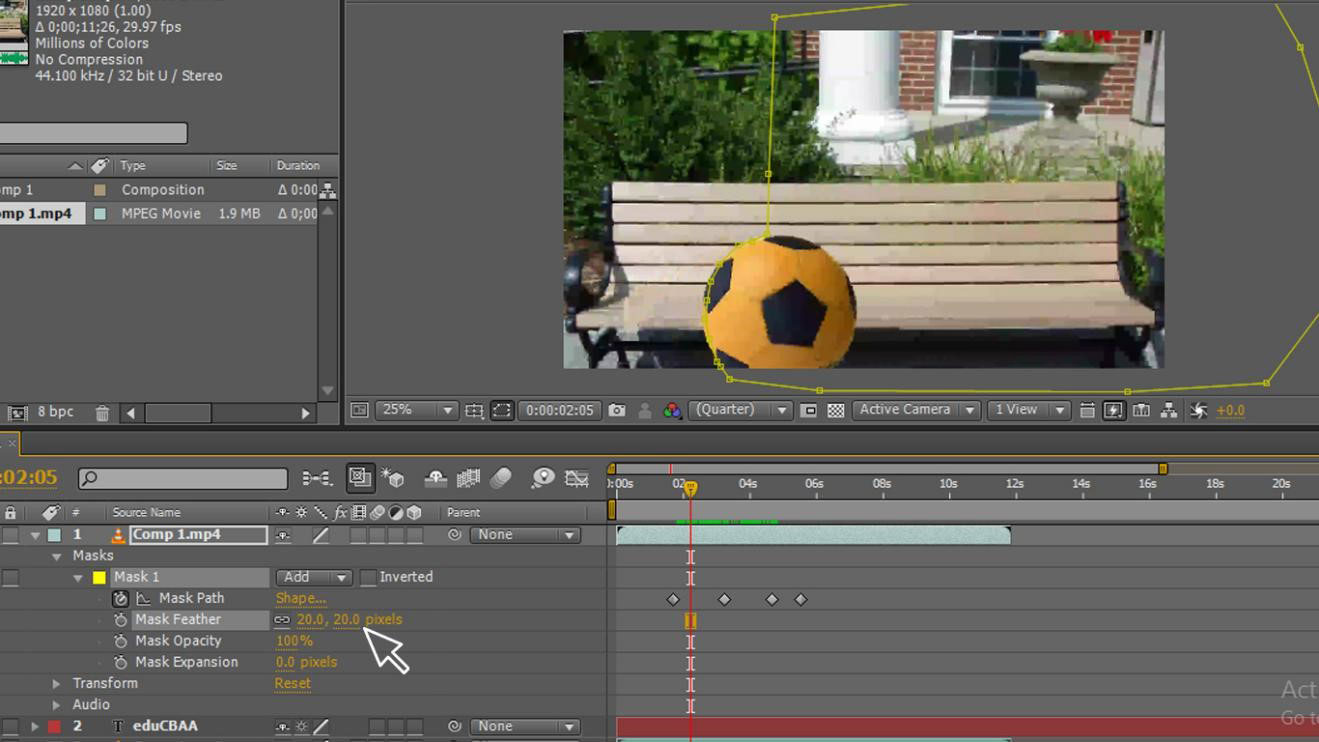
Step 11: Now go to masks – mask – mask path, here we need to select the points where we need to follow the object with the mask path.
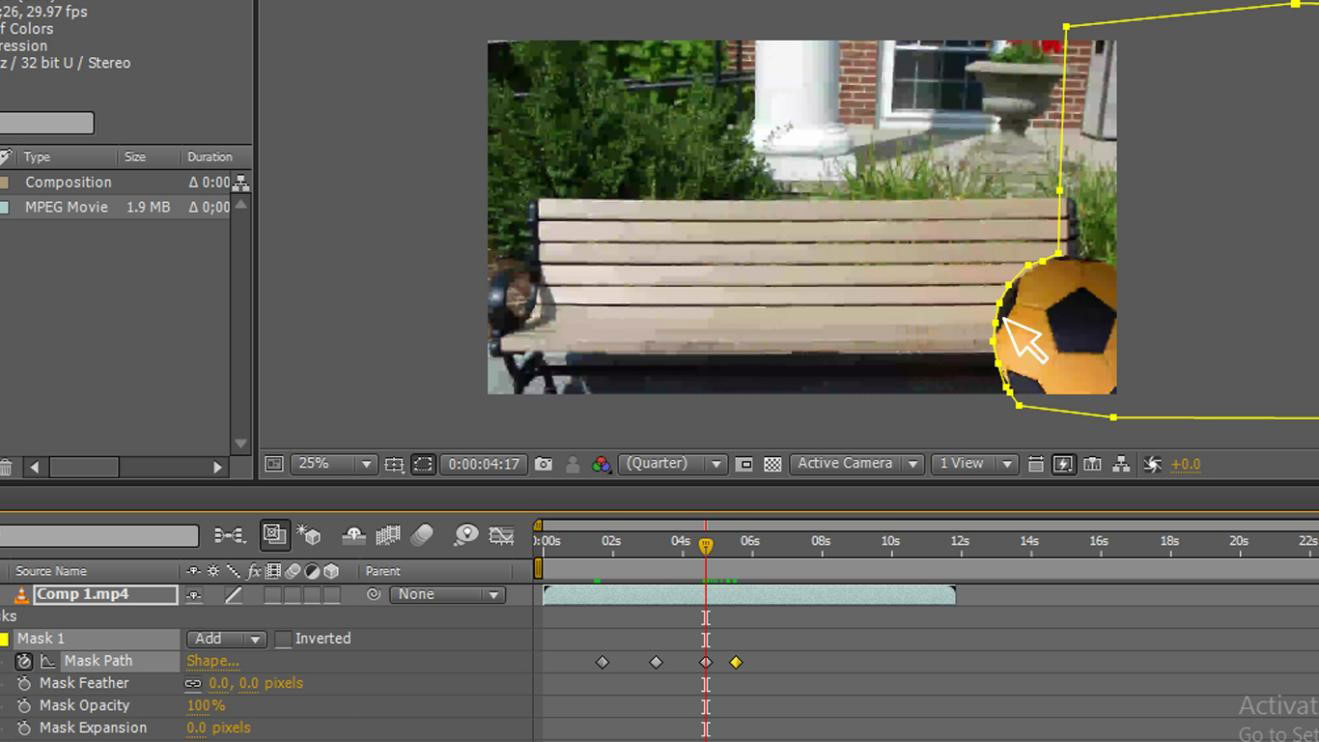
Step 12: We need to move the path along with the object; we kept three-four points to follow the object; we can find the mask following the object.
Step 13: We need to move until the end motion.
We finished the drawing shape, and we created the path and also animated the path; it’s just a basic process now we are moving to the next step of masking; let us try to mask a text with the ball now.
Step 14: Select the text tool.
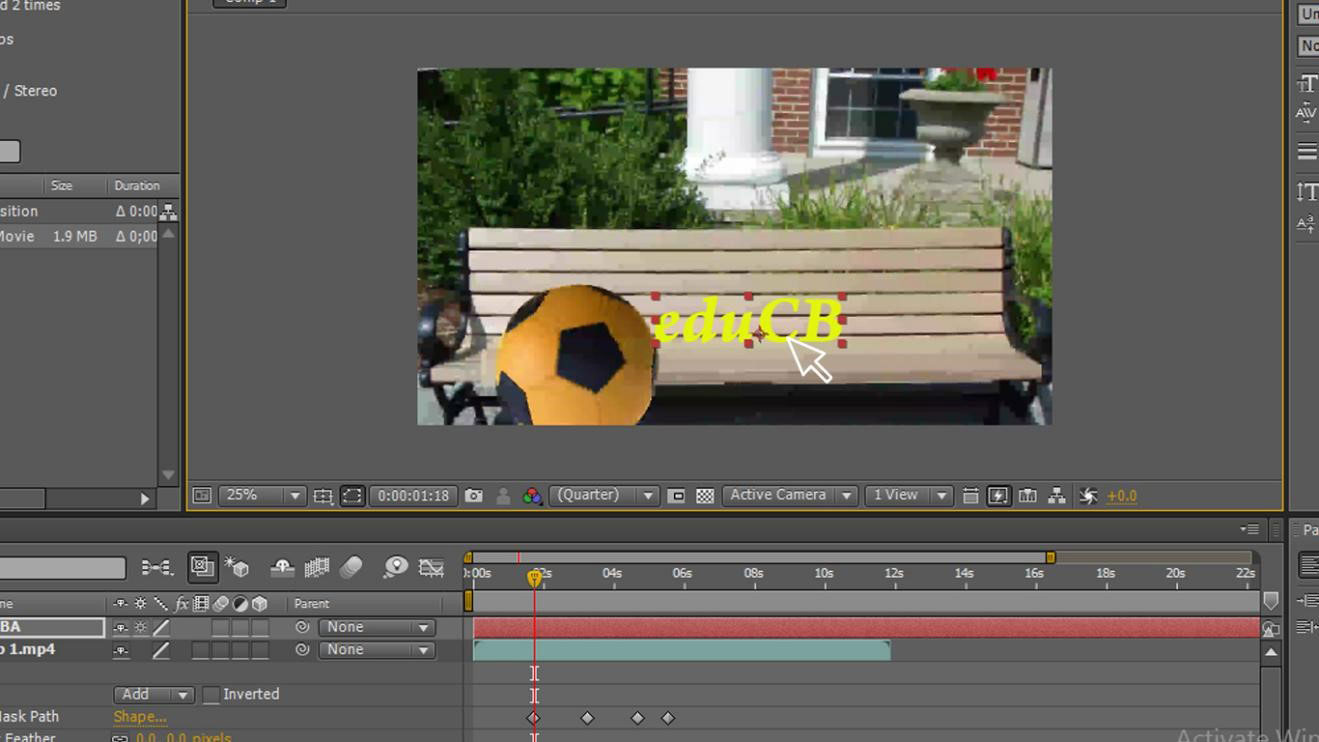
Step 15: Type your text.
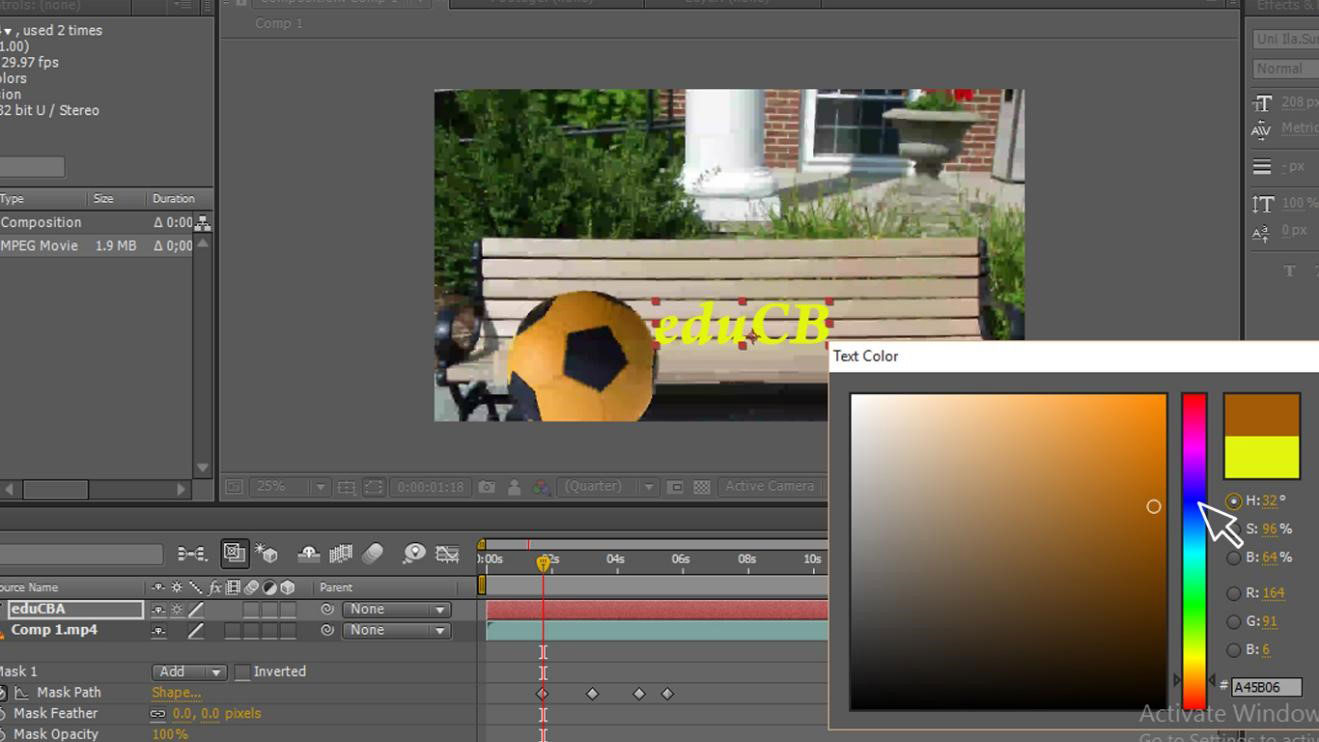
Step 16: Select color for the text; we need to select the perfect color every time, then only we can have a good outlook.
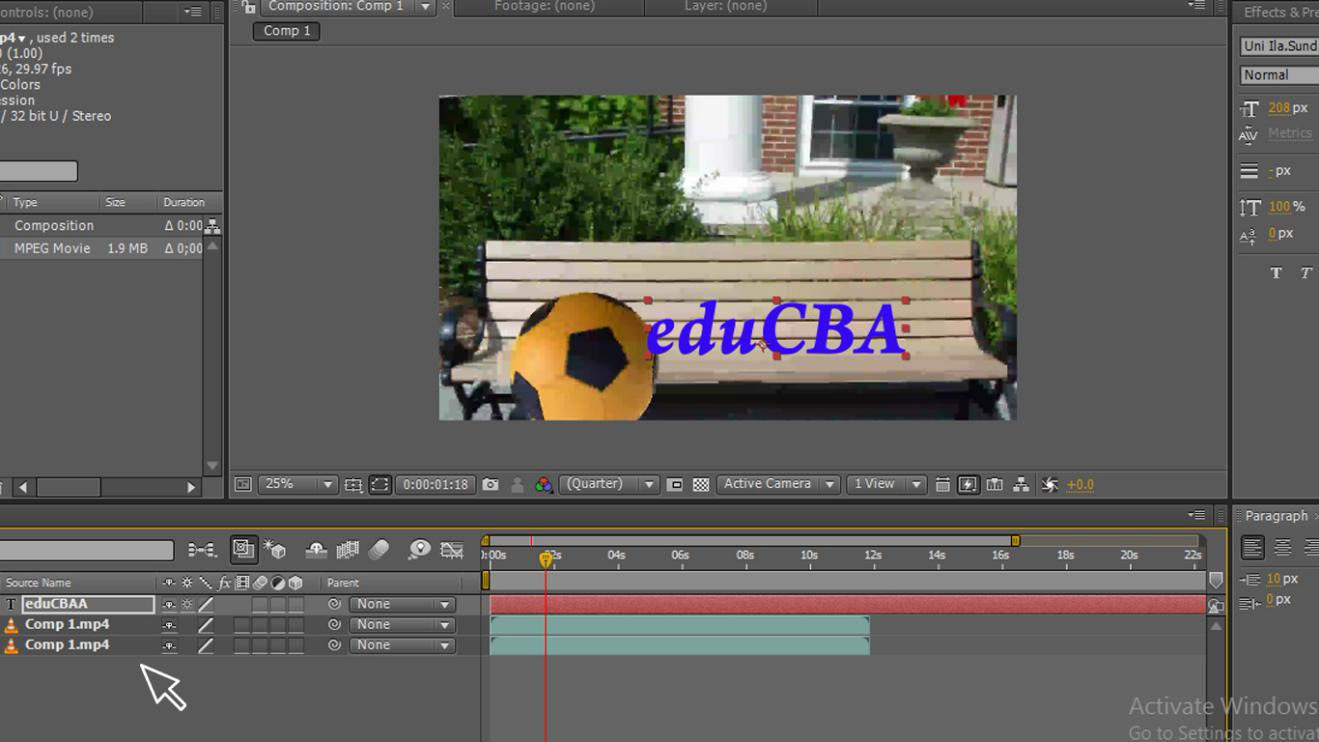
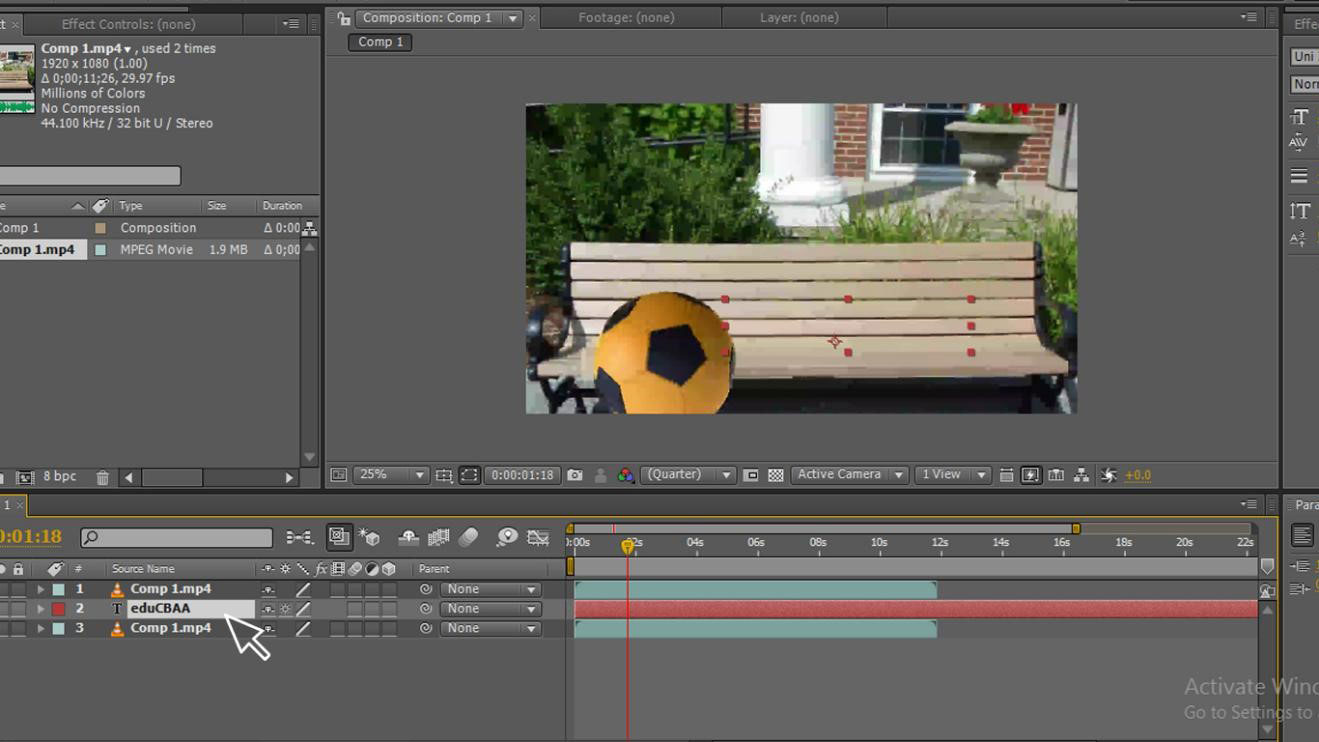
Step 17: We can see here we have three layers of footage, duplicate and text; here, we have a text layer on top.
Step 18: Move the text layer to the middle by that we can mask the text with the above layer, which shows like a ball masking the text, now we cannot see the text because the mask layer has hidden the text when we move the mask layer we can see the text.
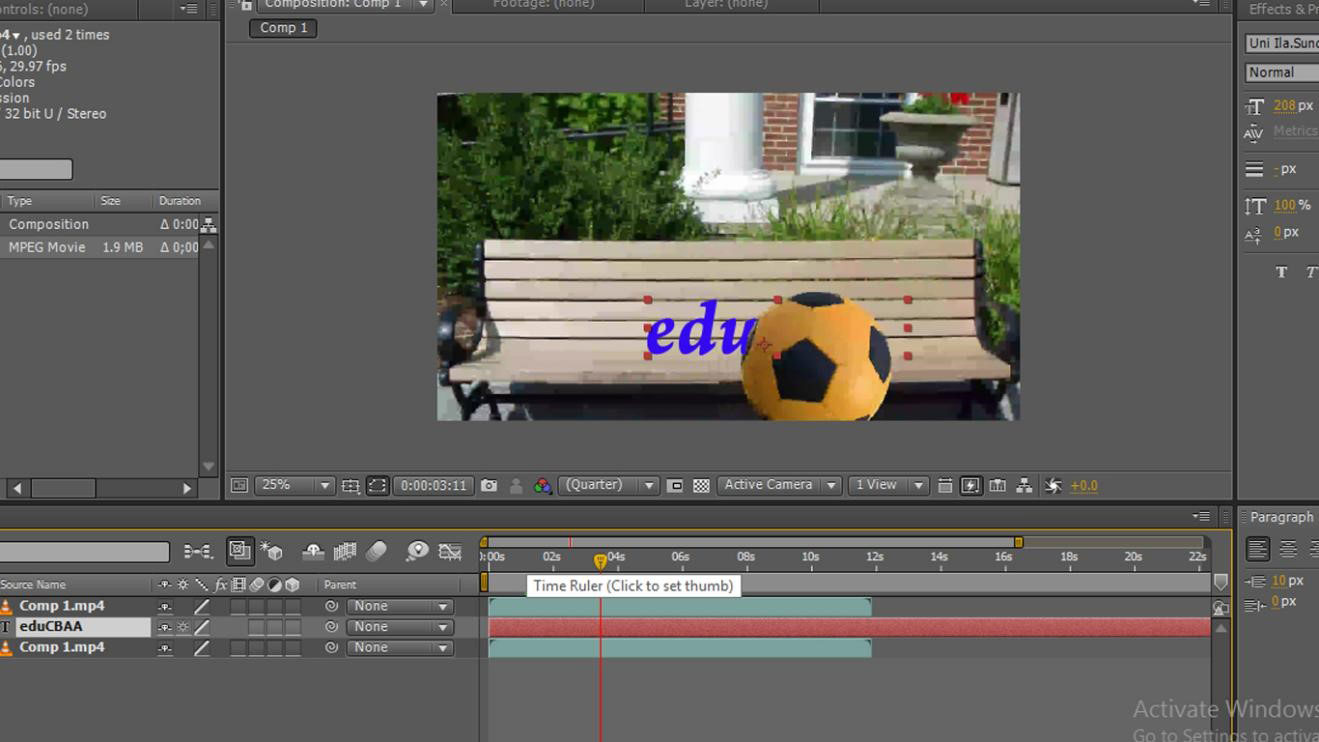
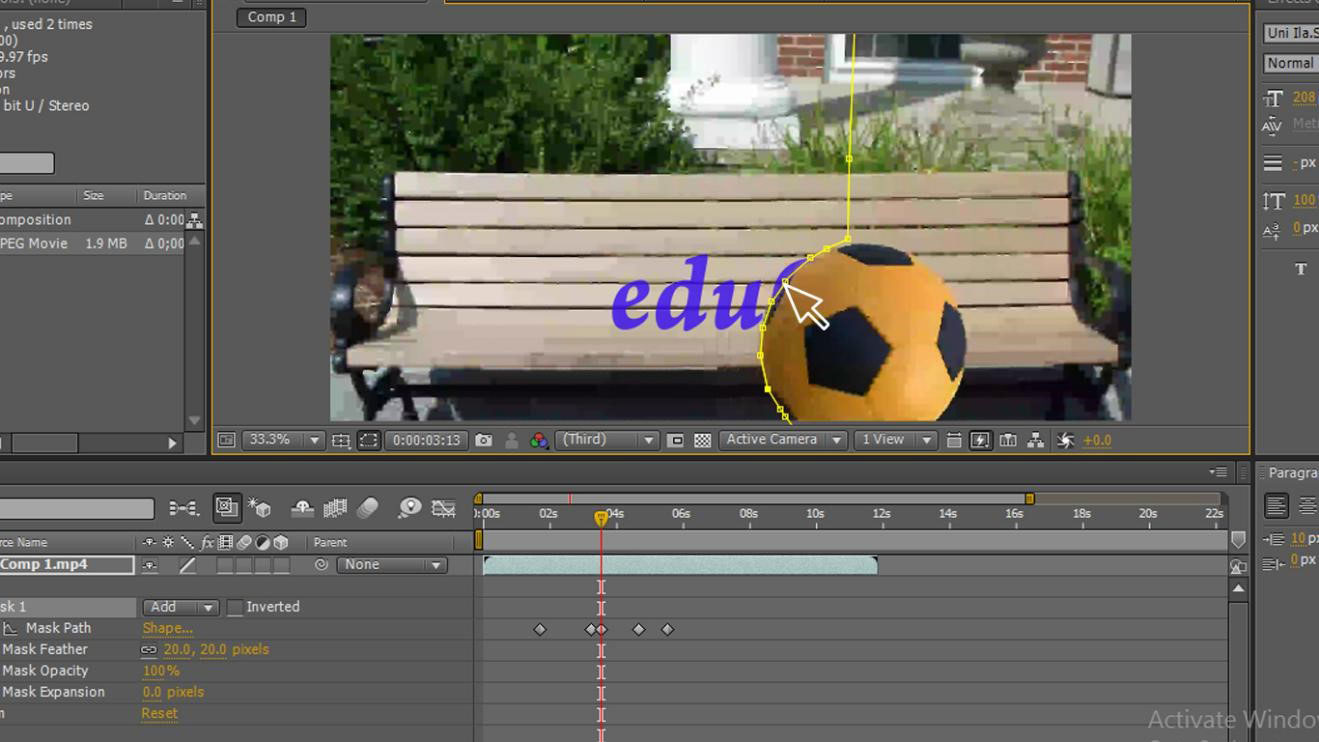
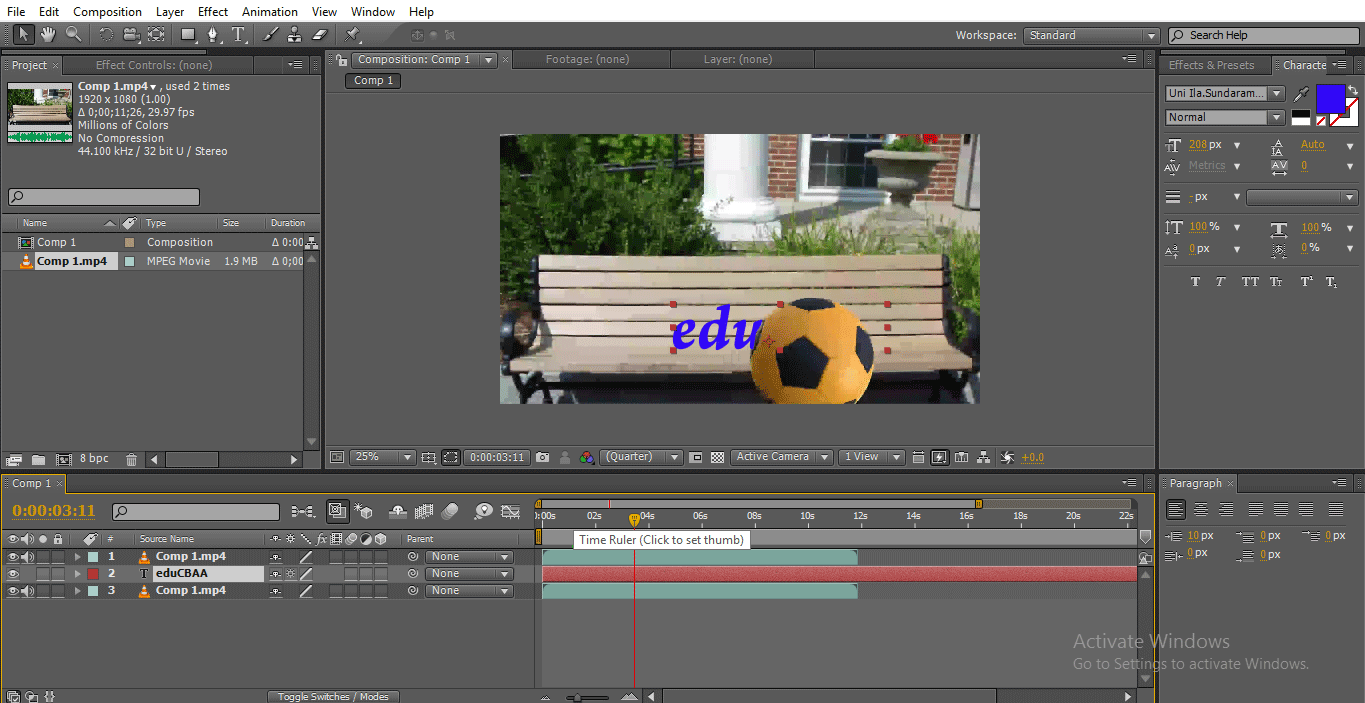
Step 19: Now see the picture; it shows like the ball has masked the text; we have the original layer below the text layer in the middle and the upper mask.
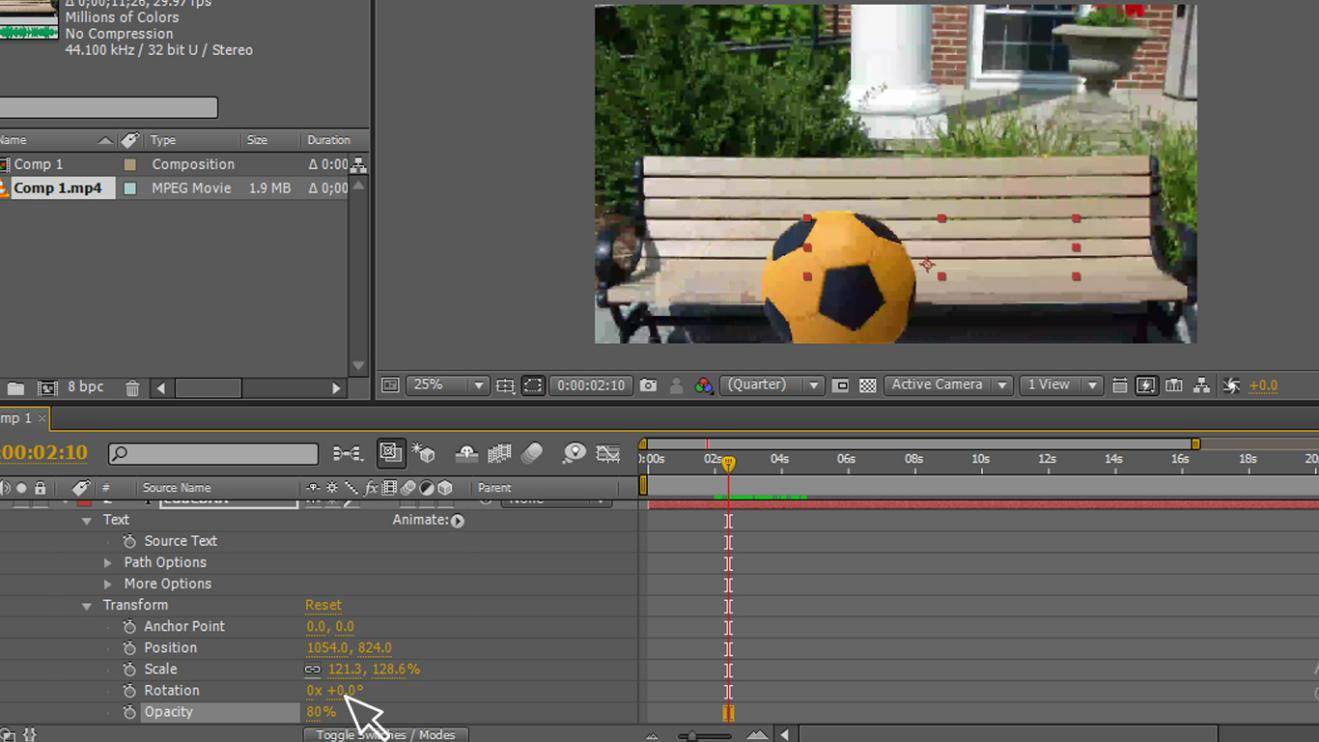
Step 20: Now go to text-transform – opacity and change the opacity value as you like; I have kept the opacity as 80; when you apply opacity, we can see a realistic image.
Step 21: Go to mask – mask feather – Change the feather; it is better to change the feather in every moment of the object; whenever we feel that the object is different, we need to change the feather with that we get a natural feel of the image.
Step 22: Adjust the keyframes. We need to adjust the keyframes in every moment when the object moves our path, which may mismatch with the object, so we need to observe well and match the path and adjust the keyframes equal to the object.
Step 23: Here we go; now we see the animation.
Step 24: When the ball moves, the text comes behind the ball.
In this process, we did a path masking, we masked a text with a ball to make a move, then we replicate it, then we drew a path for the ball, then we animated the path to move along, and we created and placed the text below the mask layer and above the original layer, then we animated the ball feeling the ball has masked the text.
Small Text Masking
To mask small text, let’s follow the below steps.
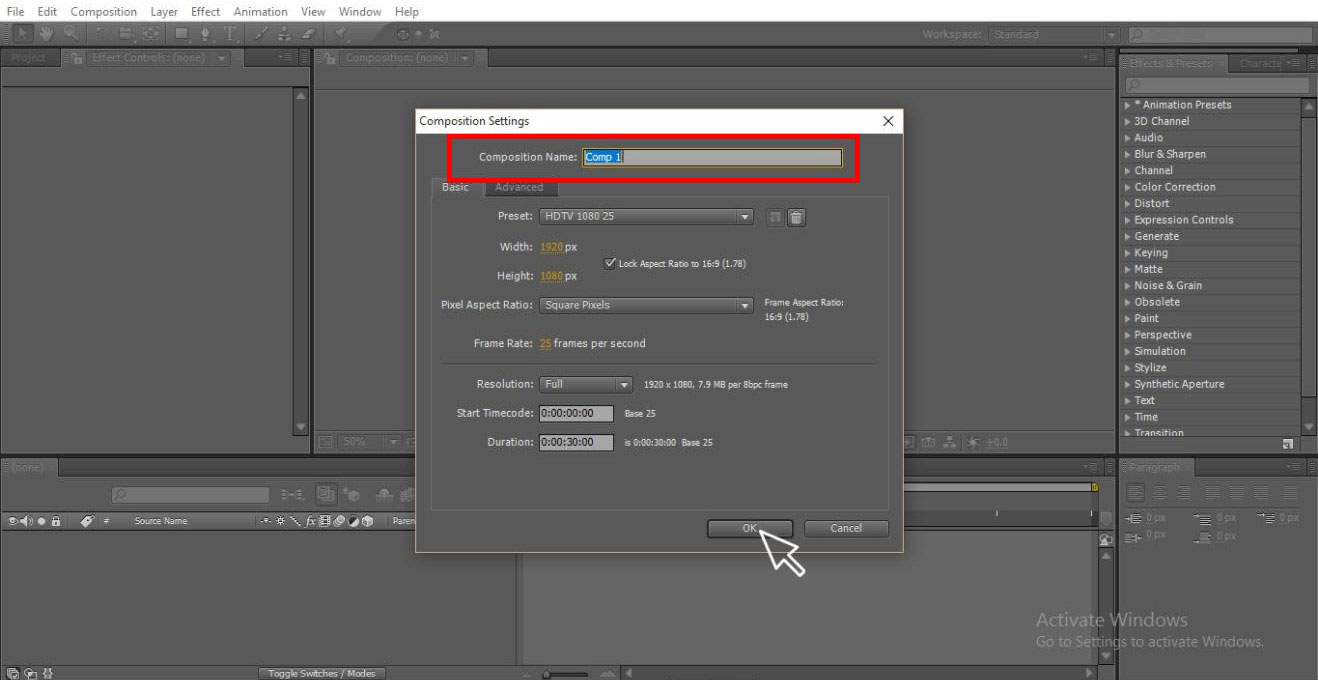
Step 1: Start a new composition.
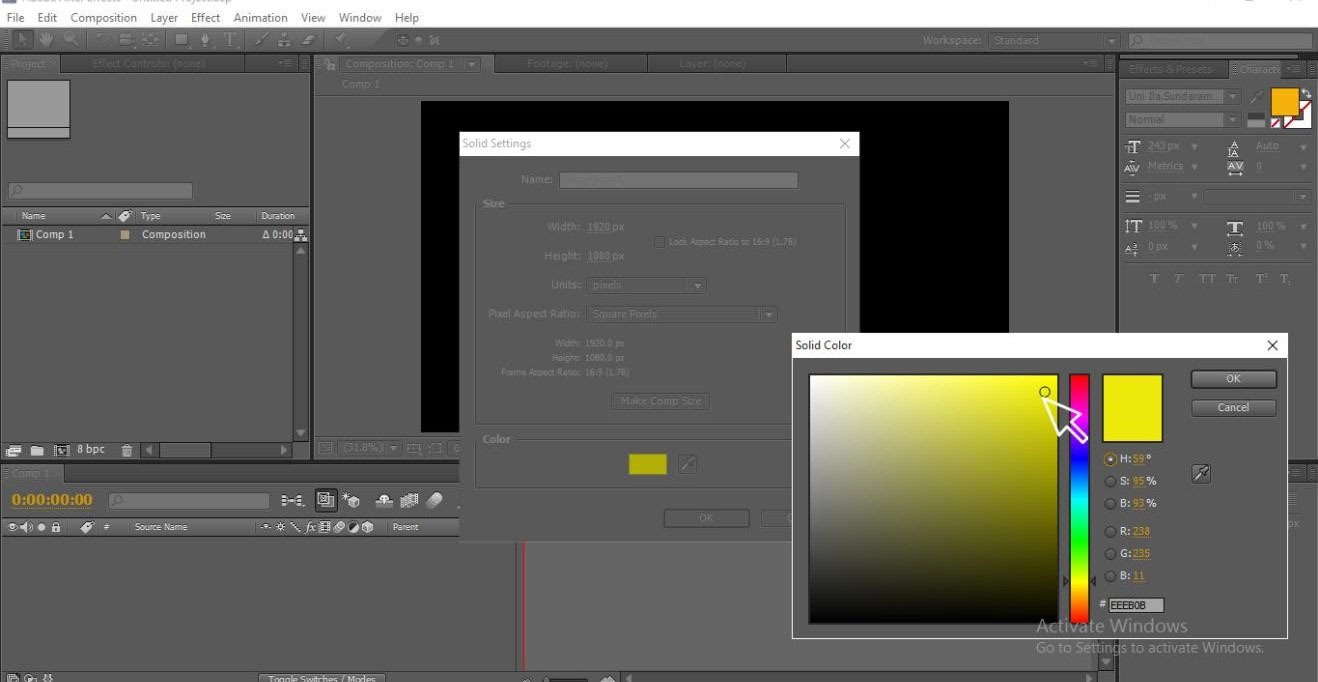
Step 2: Select the Solid layer with an attractive color.
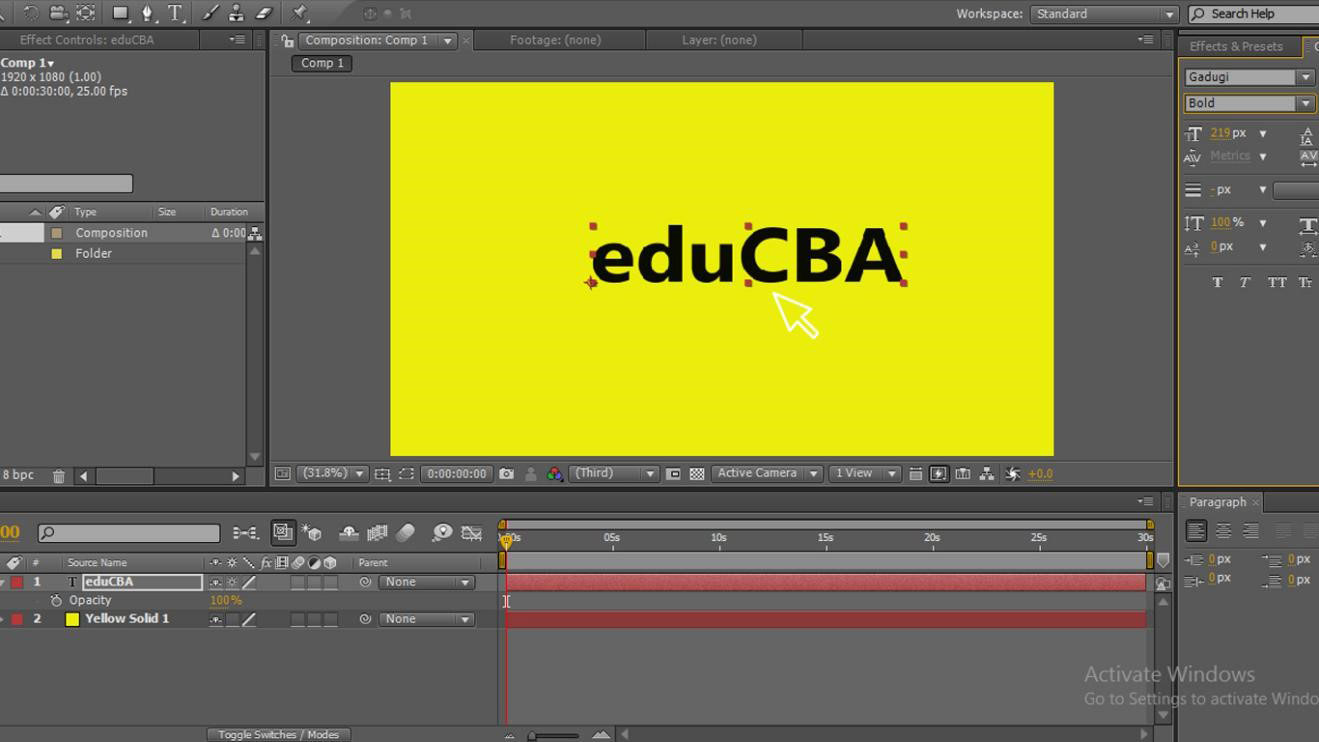
Step 3: With the help of the text tool, type your text.
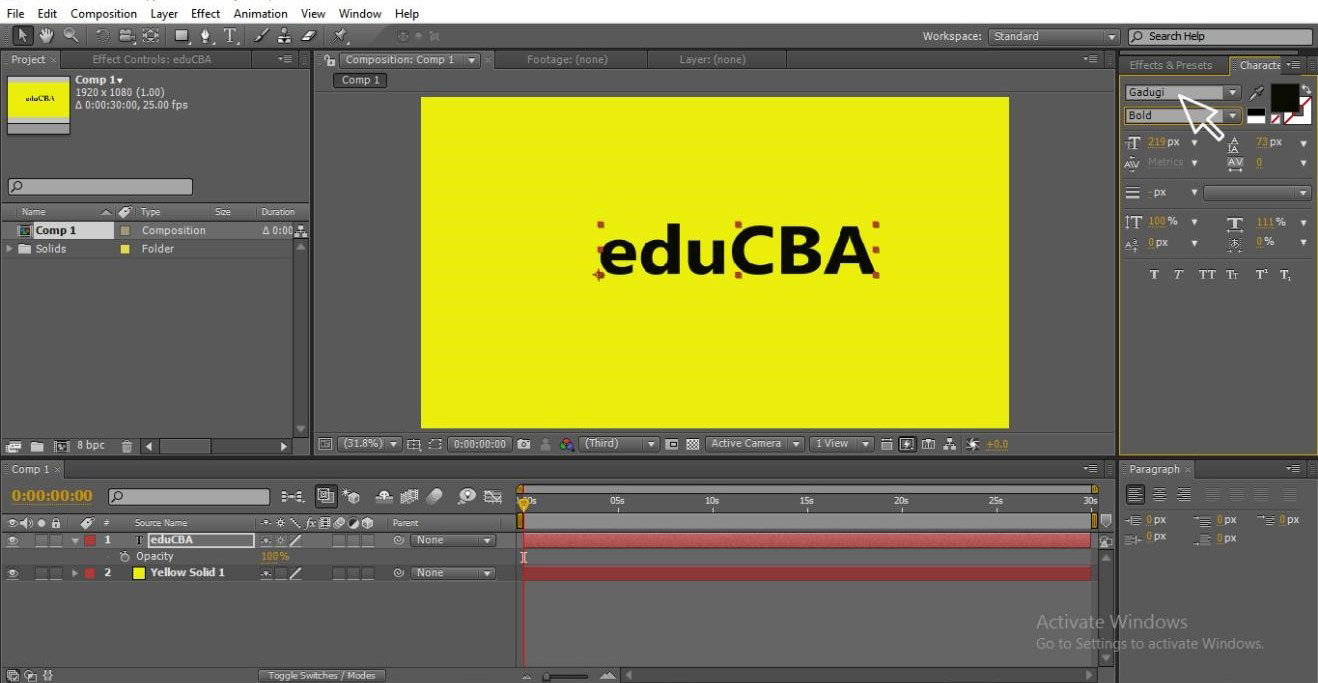
Step 4: Select a good style that suits your thoughts.
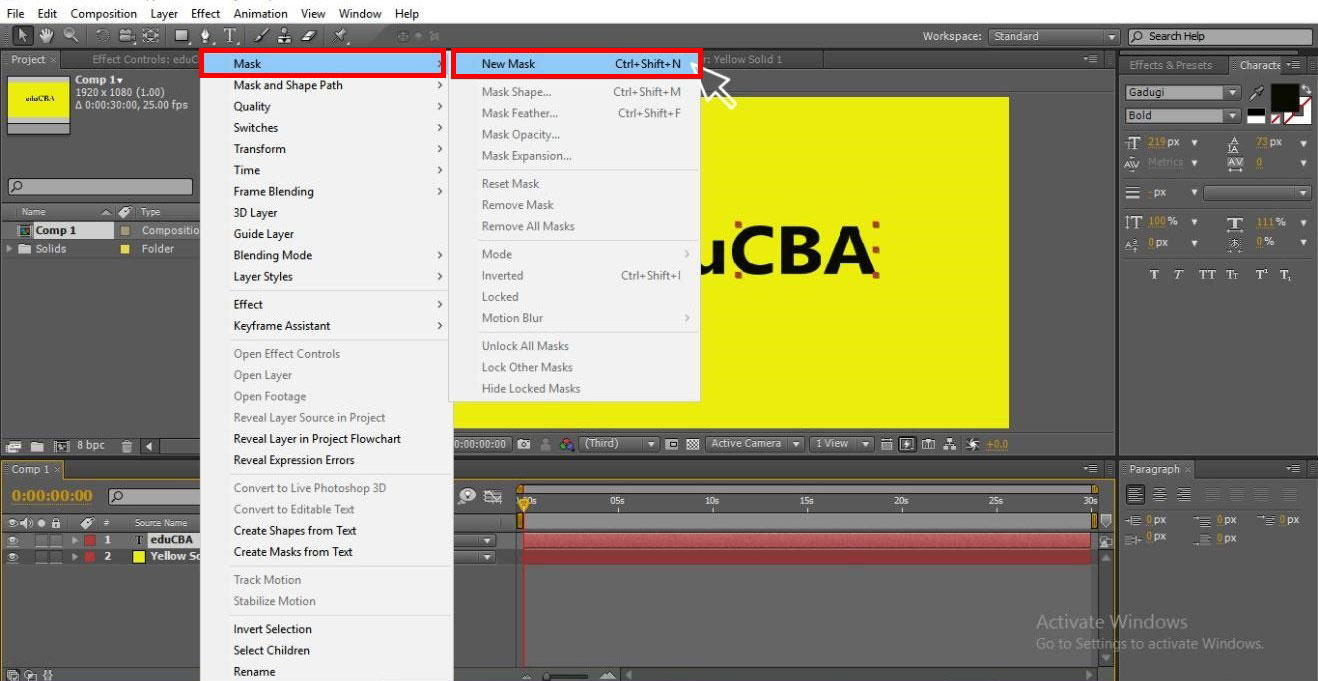
Step 5: Now right-click on the text and go to mask and select a new mask, where you can use the shortcut of CTRL+SHIFT+N.
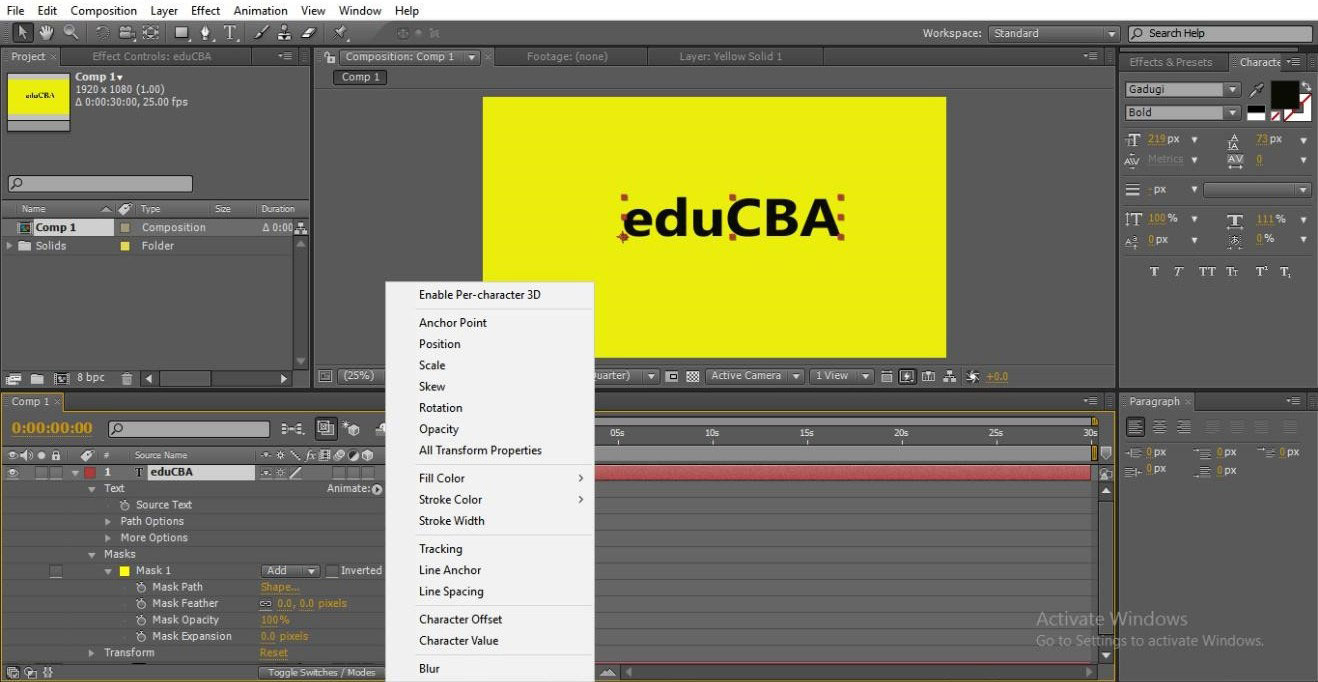
Step 6: Go to text and click on animation; here, we can see various animations.
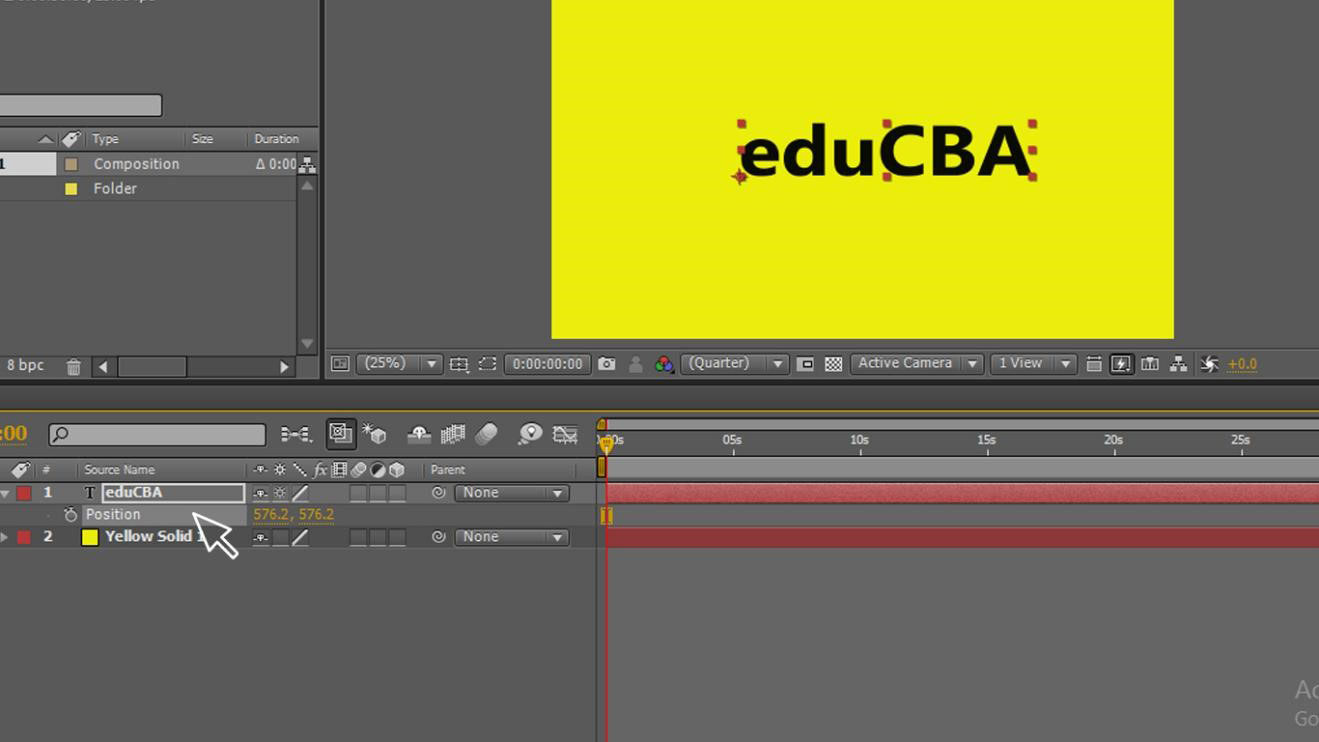
Step 7: If we go to the text and by selecting the position, we can animate the text.
Step 8: In this case, text animates in the screen from one side to another, but in masking, we animate within the path, let’s see how it works in the next step.
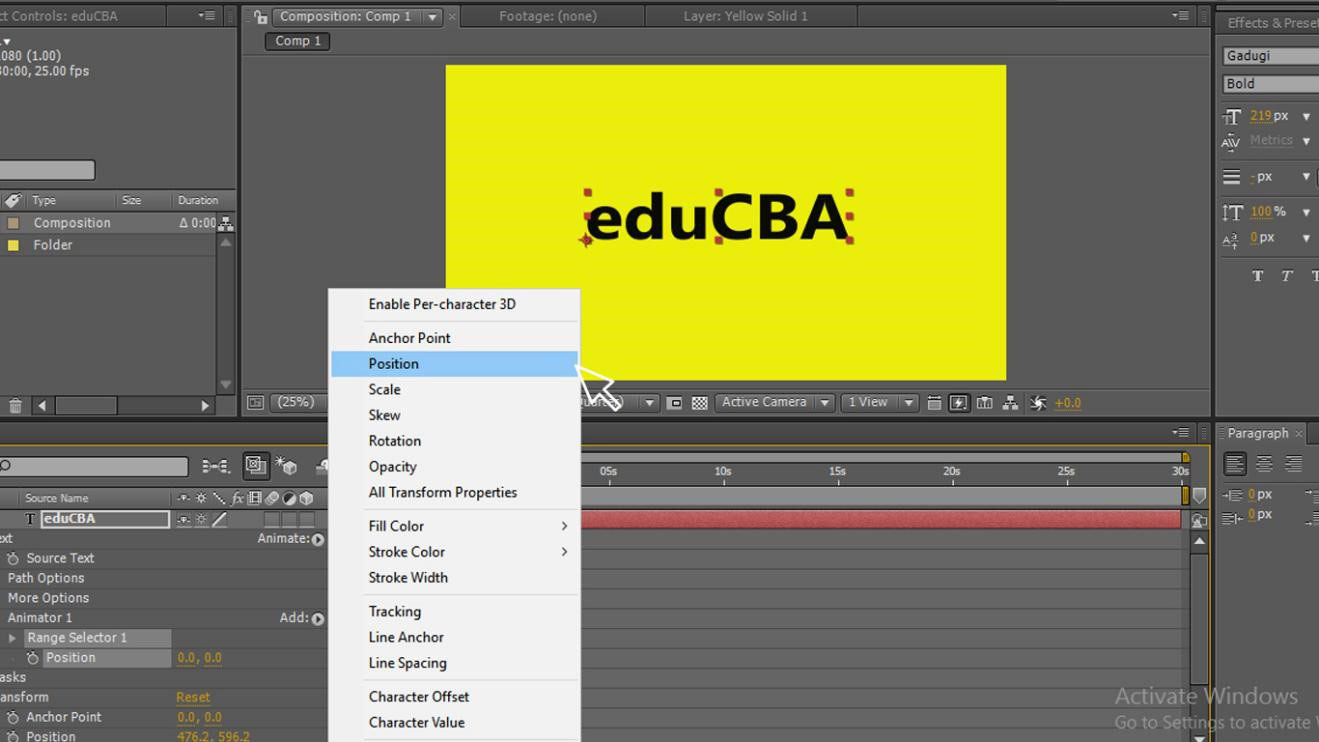
Step 9: Go to the text and click on animation, and we will get the sub-options in that select Position.
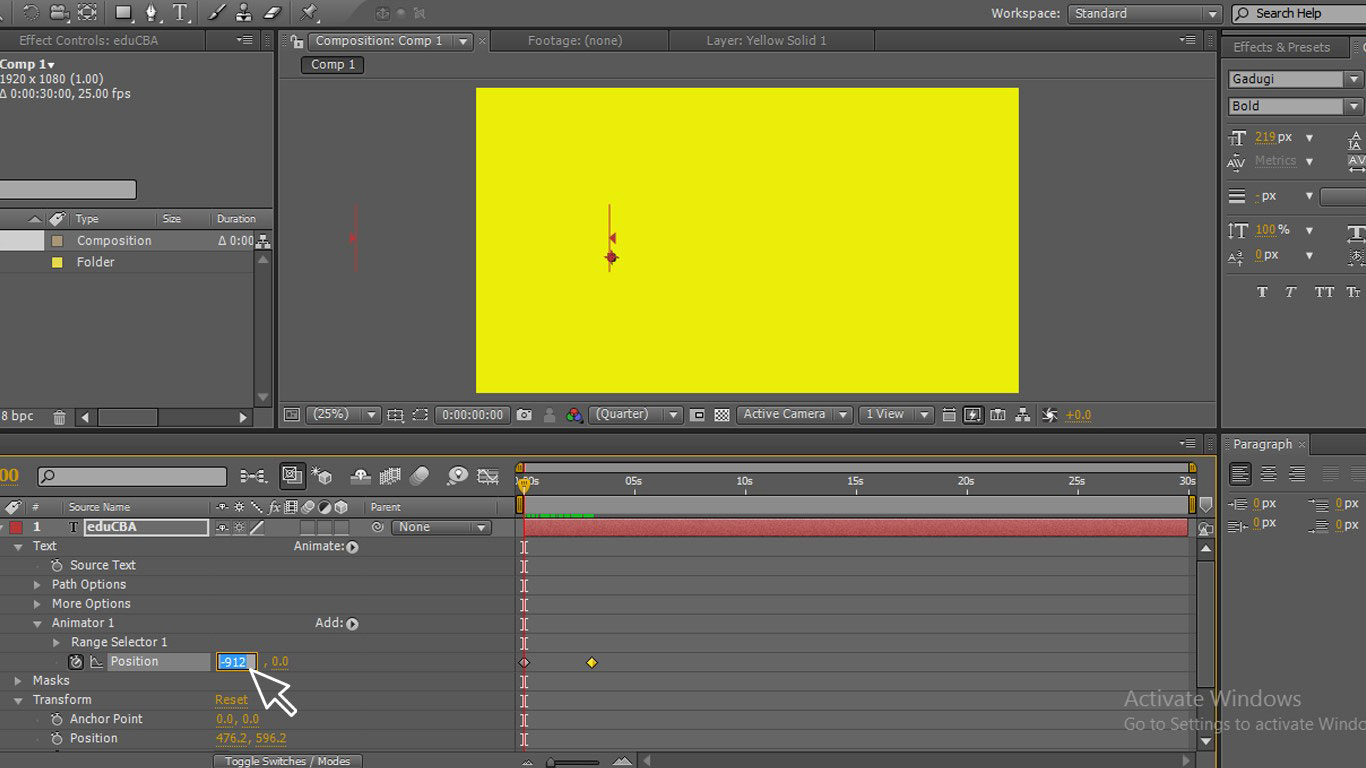
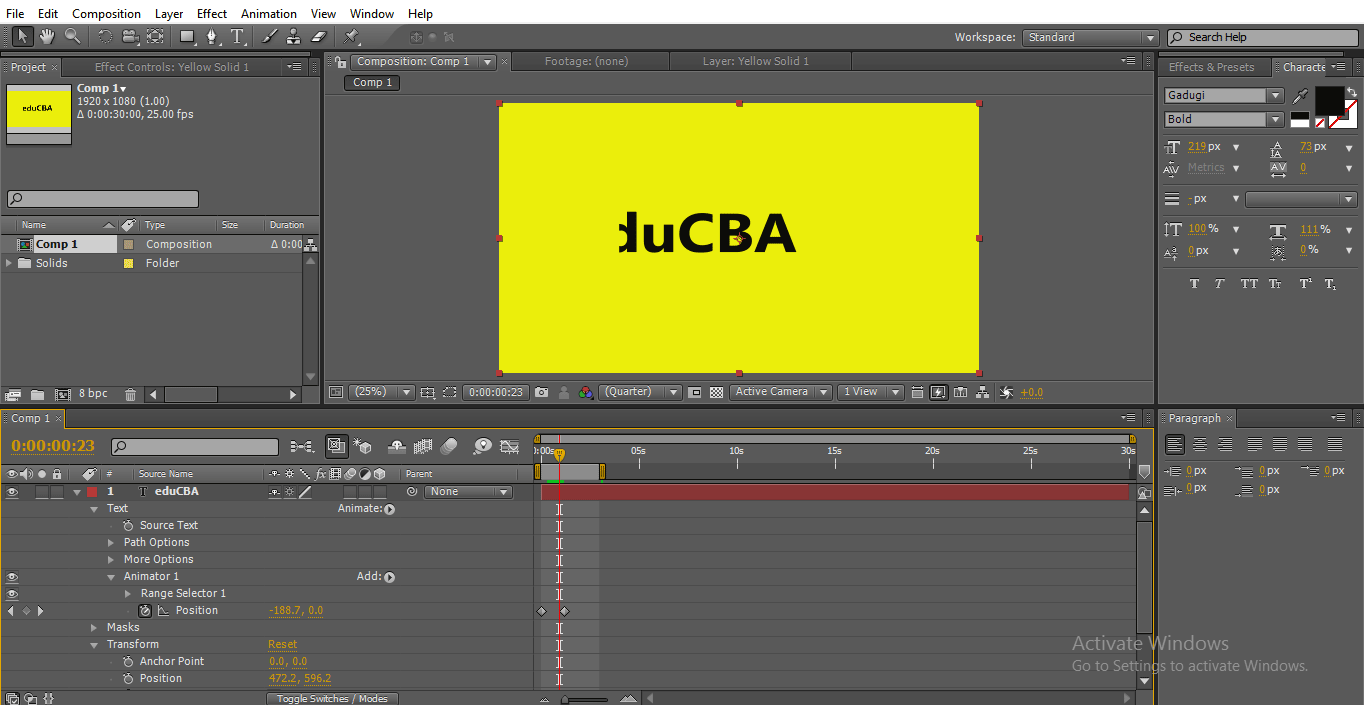
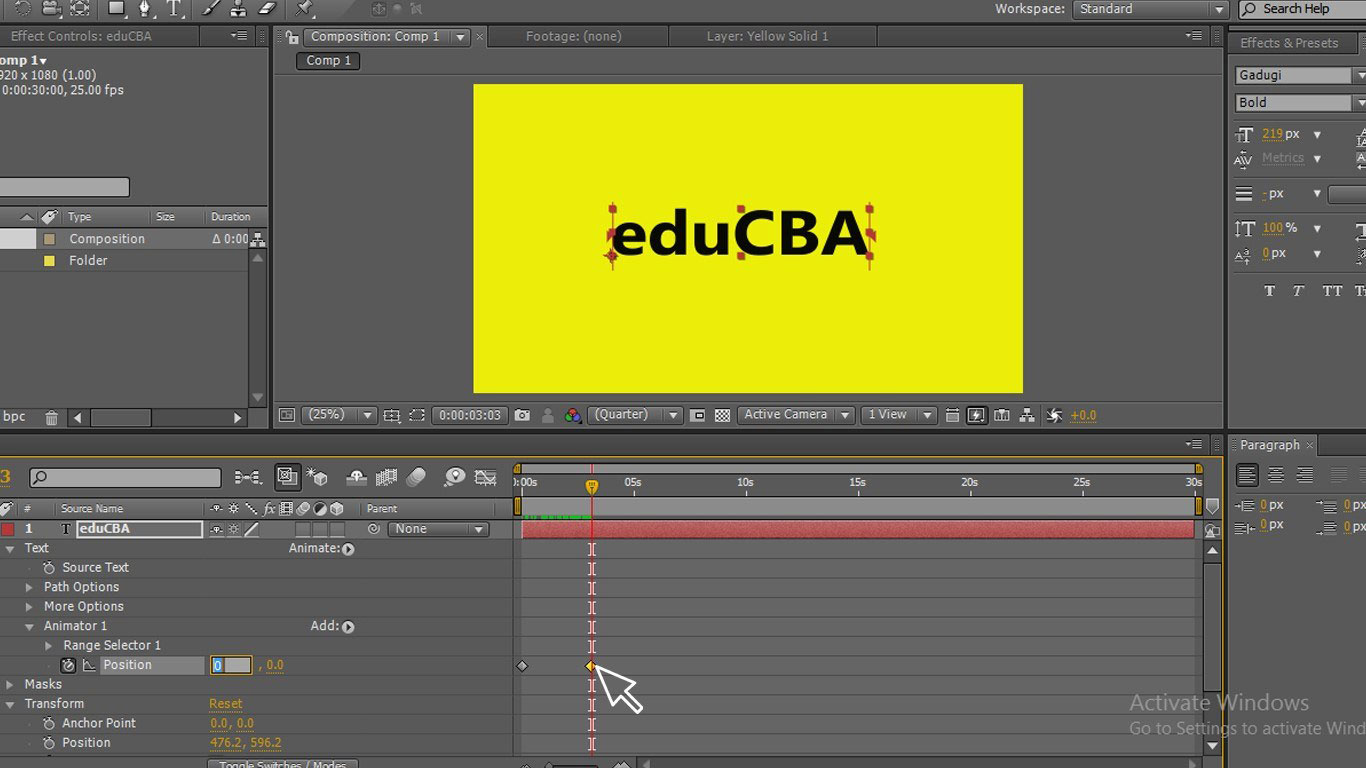
Step 10: Now give two points where to start and where to end, change the starting and ending values, give the starting value where the text hides here I have given 912.
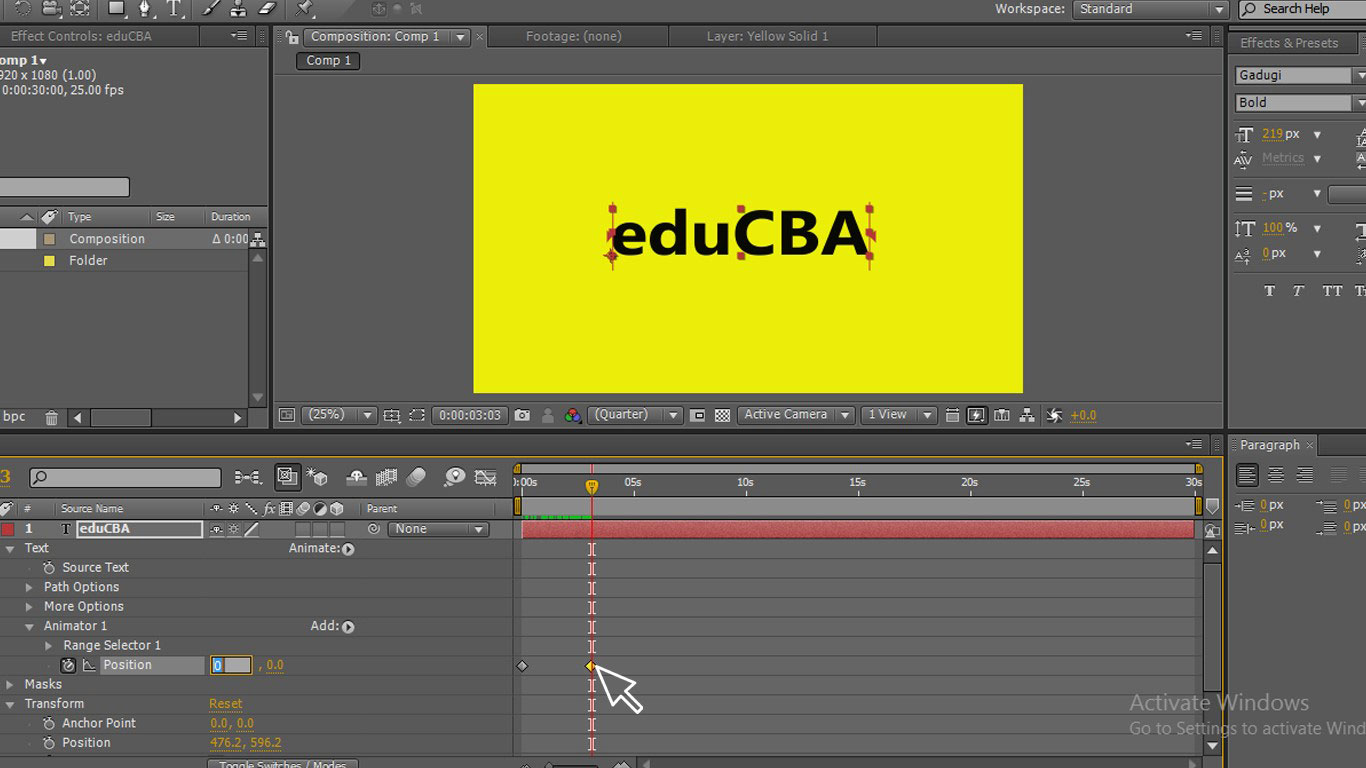
Step 11: Give the endpoint as 0 where the text gets its old position. Now you can see that text animates within the path.
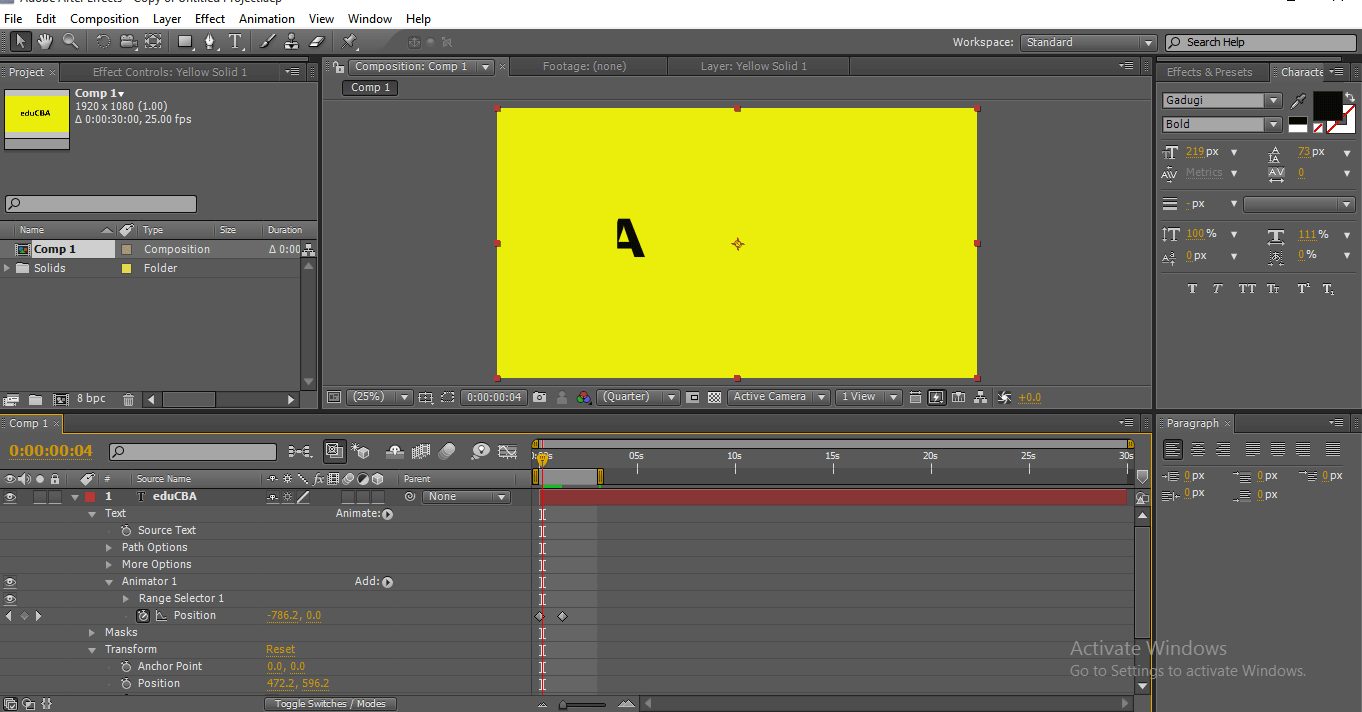
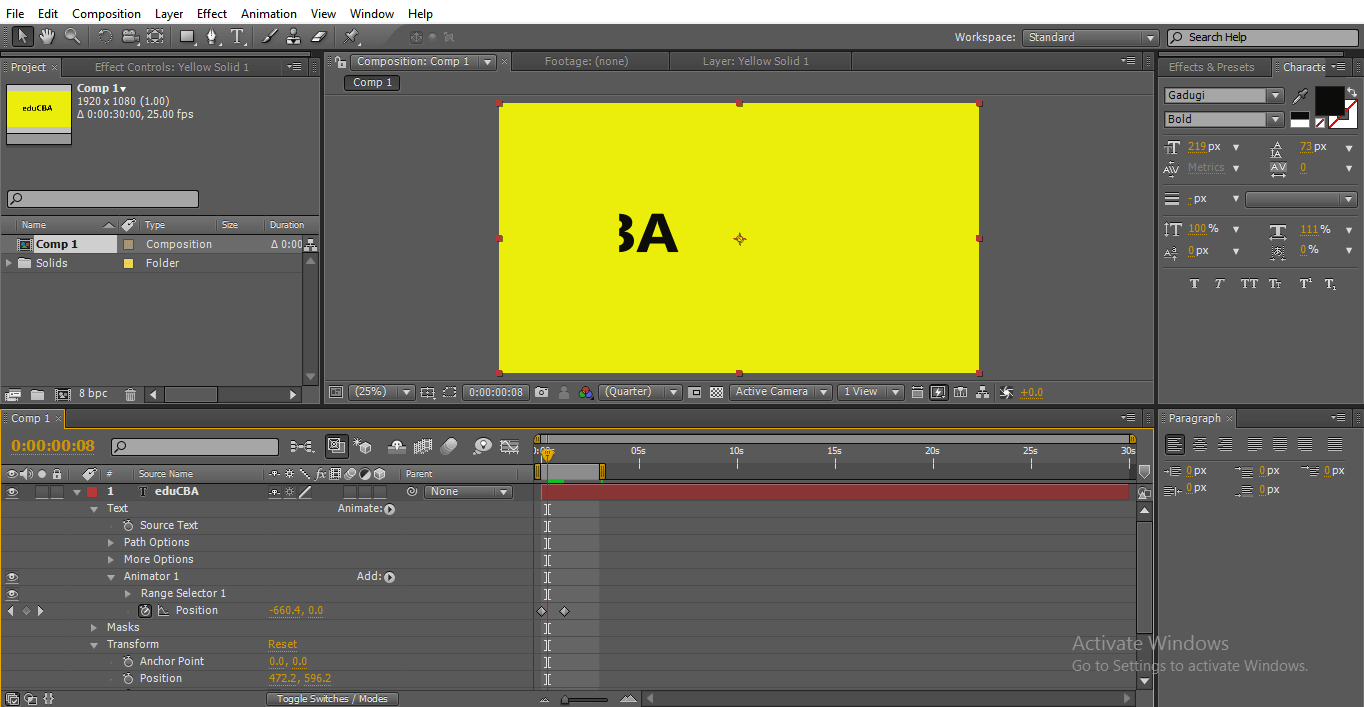
Step 12: Here we go now we can see. How text animates within the text path.
Conclusion
In this process, we created a text masking, for that we selected a text and applied a mask path to the text by that text is filled with its masking, then we animated the text, this type of animation is used in digital logos and title animations.
Recommended Articles
This is a guide to Mask in After Effects. Here we discuss the steps for creating Mask in After Effects and masking with small text. You can also go through our other related articles to learn more-

