Updated April 12, 2023

Introduction to Maven Shade Plugin
There are many plugins available for maven projects. The main aim of the plugins is to provide the capability to form the package of the artifacts in the maven project and its dependencies into an uber or fat jar and rename certain packages. Uber is a german word that stands for above which means it is one level up, unlike the other normal jars. Uber also called a fat jar is sufficient for independently running the project and contains all the dependencies and required jars withing itself for a particular project along with its project files. Shade plugin of maven provides us with the capability to create such an uber jar. There are also other plugins available such as assembly plugin. But shade plugin is the most preferred one as it provides relocating facility that helps in avoiding the class name conflicts having the same name in the classpath. Shade plugin has only one goal that is it can be only used in the package phase and the main purpose lies in creating the shaded jar that can be independently executed.
How we can use Shade Plugin to Build the Jar?
Let us understand how we can use shade plugin to build the jar using an example in the eclipse IDE.
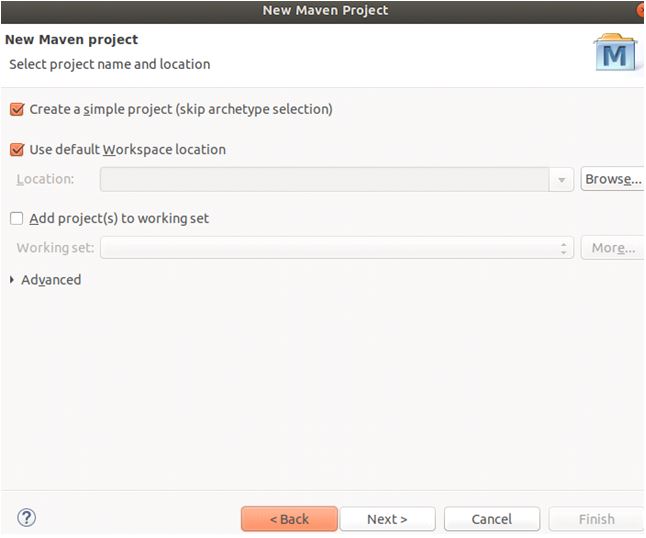
Step 1: The first step is to create a new maven project in your eclipse IDE that contains the general format of the maven project shown below. Select create a simple project(skip archetype selection) option that is sufficient for most of the java applications even those that use spring framework in it.
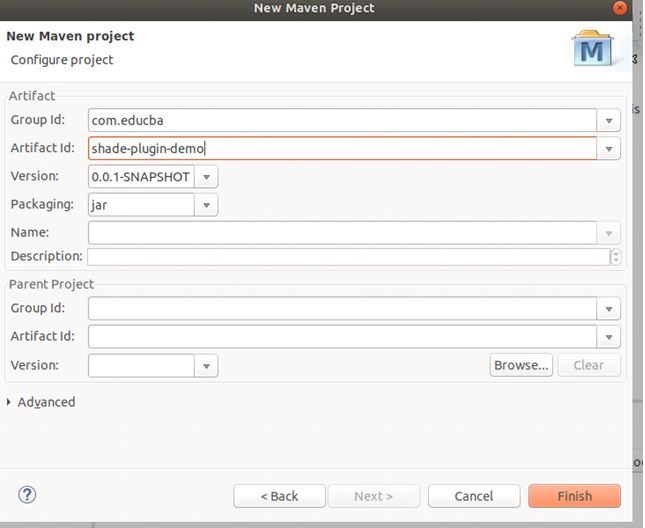
Step 2: we are creating a project with a group is as com.educba and artifact-id as shade-plugin-demo with the following specifications as shown in the image.
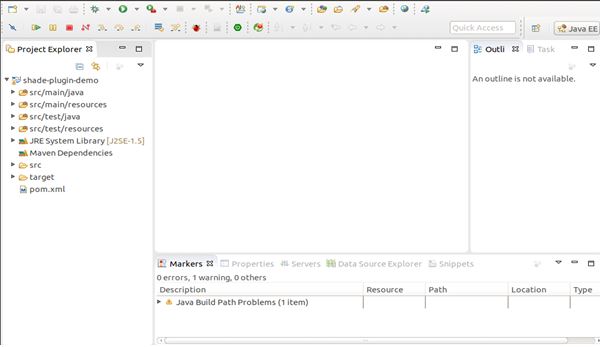
Step 3: After successfully creating your maven project, you will see the following project structure having J2SE 1.5 used in JRE system libraries.
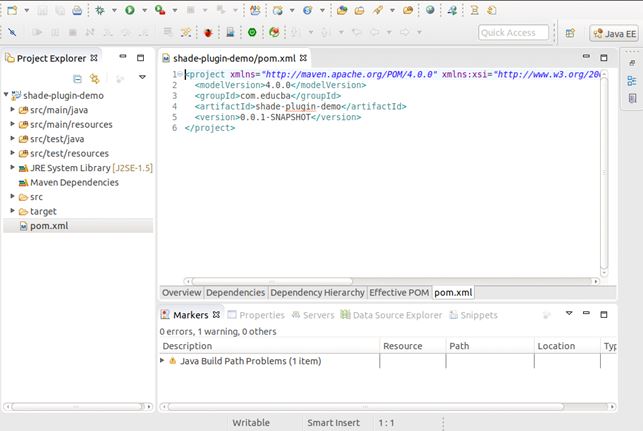
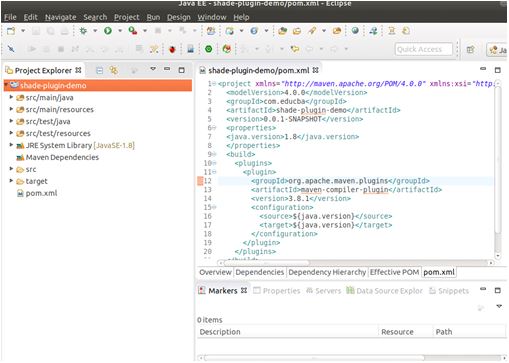
Step 4: Now, open the pom.xml file. It will look like this:
Step 5: Change the Java version to 1.8. and add the plugins tag and insert the maven compiler plugin in it as shown and save the file. Update the Maven project by right-clicking on your project -> Maven -> Update option to see the reflection. You will see that the java version now used by your JRE system libraries is 1.8.
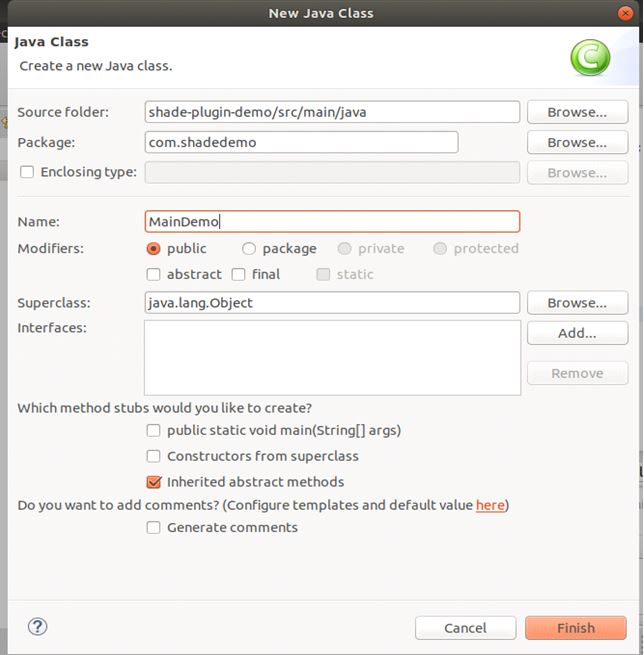
Step 6: Add a new class file in the src/main/java/com/shadedemo path named MainDemo.java. This file will contain your main method. Mention the name of the package as it is a good practice of not using the default package name.
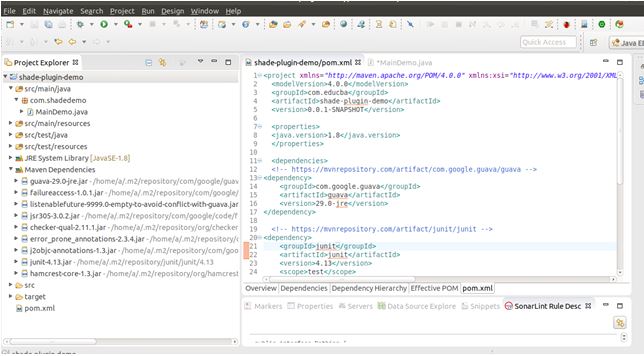
Step 7: Note that till now, the maven dependencies directory is empty. Add dependencies in your pom.xml file that your project might need such as we are adding google guava and JUnit for my usage. You can add the dependencies by making use of the central maven repository where you will get the dependency tag that you need to add in pom for your dependency after searching for it. Here’s the link of the central repository – https://mvnrepository.com/repos/central and search link is –https://search.maven.org/. After addition check maven dependencies.
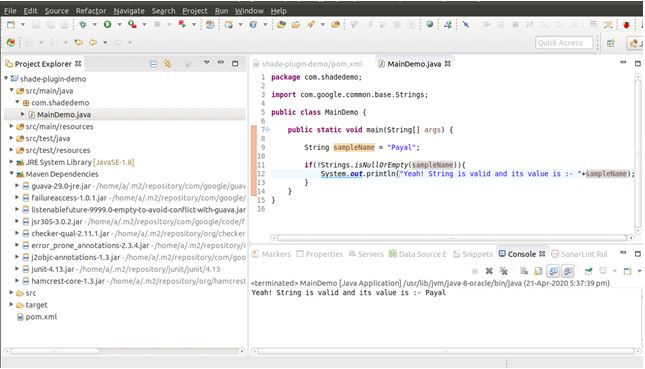
Step 8: Add some code in your main method. we will add a string named sample name and initialize it. Using the guava method isNullOrEmpty we will check whether it is not null or empty and then add a console to print the message as shown below. After running it as the java application you will see the message on the console saying – Yeah! A string is valid and its value is: Payal
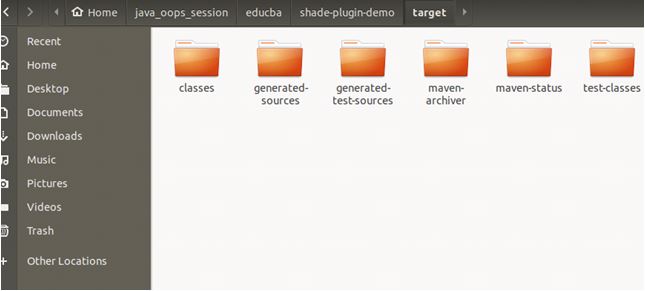
Step 9: Now, our application is ready. Let us check where the jars of our project will get the store. They are stored inside the folder named target. Open the target folder where your jars will be seen. In my case, the path is as follows:
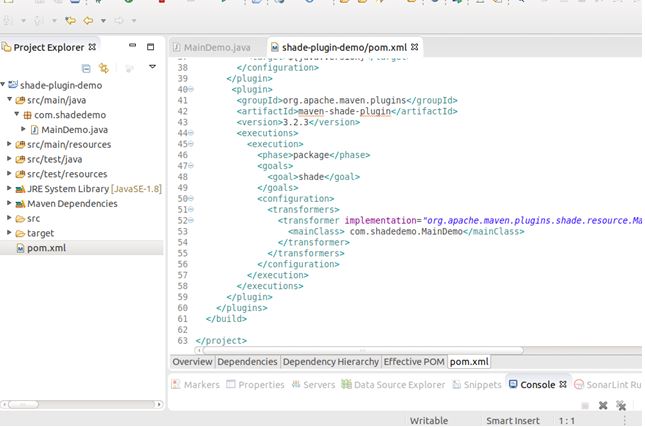
Step 10: Add the shade plugin tag from the https://maven.apache.org/plugins/maven-shade-plugin/examples/executable-jar.html link into your pom.xml file and mention the fully qualified name of your main file in the main class tag such as in my case com.shadedemo.MainDemo as follows:
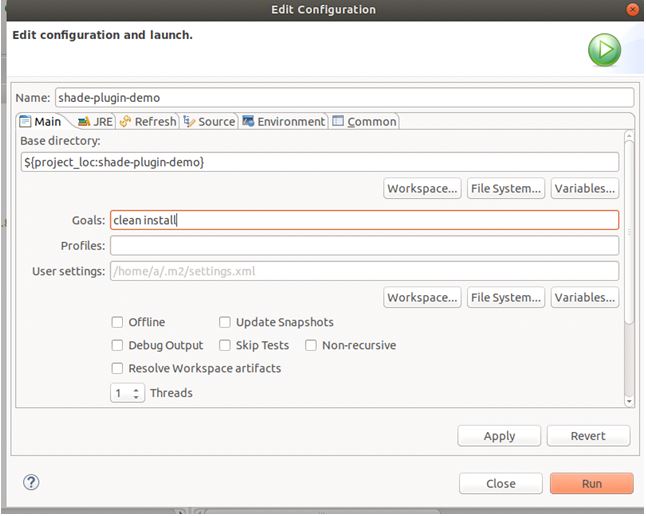
Step 11: Right-click on your maven project and run as a maven build and mention goals that are usual ones such as clean and install to build the jar file for your project using shade plugin.
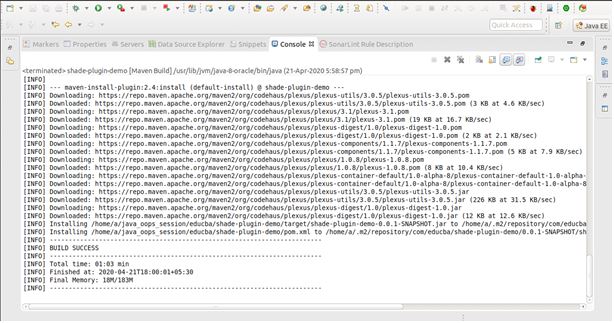
Step 12: After clicking on the run button the console will show all the build process notifications and will tell the build is done successfully if everything works out to be well. The path where the jar file will be located is also displayed on the console. In our case its as follows:
[INFO] Installing /home/a/java_oops_session/educba/shade-plugin-demo/pom.xml to /home/a/.m2/repository/com/educate/shade-plugin-demo/0.0.1-SNAPSHOT/shade-plugin-demo-0.0.1-SNAPSHOT.pomStep 13: After the build is successful, open your target folder where your jar is created and open a terminal at that location. To run your main file execute the following command on your terminal:
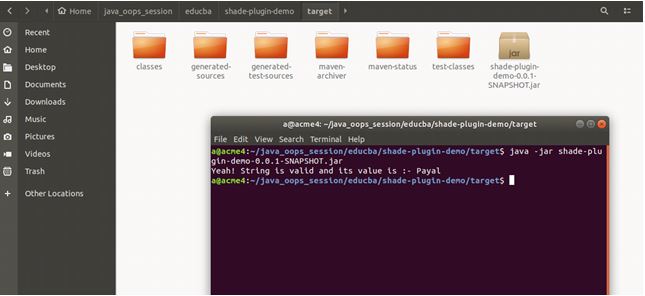
java -jar nameOfJar.jarIn our case, we can see a new jar file named shade-plugin-demo-0.0.1-SNAPSHOT.jar been created in my target folder and executing the command –
java -jar shade-plugin-demo-0.0.1-SNAPSHOT.jargives the following output:
You can change the name of your final jar that is built by using a shade plugin by adding a tag inside the build tag with name final name and mentioning the name of the target file to be created inside that tag.
Here, is how our pom.xml file looks like:
<project xmlns="http://maven.apache.org/POM/4.0.0" xmlns:xsi="http://www.w3.org/2001/XMLSchema-instance" xsi:schemaLocation="http://maven.apache.org/POM/4.0.0 http://maven.apache.org/xsd/maven-4.0.0.xsd">
<modelVersion>4.0.0</modelVersion>
<groupId>com.educba</groupId>
<artifactId>shade-plugin-demo</artifactId>
<version>0.0.1-SNAPSHOT</version>
<properties>
<java.version>1.8</java.version>
</properties>
<dependencies>
<!-- https://mvnrepository.com/artifact/com.google.guava/guava -->
<dependency>
<groupId>com.google.guava</groupId>
<artifactId>guava</artifactId>
<version>29.0-jre</version>
</dependency>
<!-- https://mvnrepository.com/artifact/junit/junit -->
<dependency>
<groupId>junit</groupId>
<artifactId>junit</artifactId>
<version>4.13</version>
<scope>test</scope>
</dependency>
</dependencies>
<build>
<plugins>
<plugin>
<groupId>org.apache.maven.plugins</groupId>
<artifactId>maven-compiler-plugin</artifactId>
<version>3.8.1</version>
<configuration>
<source>${java.version}</source>
<target>${java.version}</target>
</configuration>
</plugin>
<plugin>
<groupId>org.apache.maven.plugins</groupId>
<artifactId>maven-shade-plugin</artifactId>
<version>3.2.3</version>
<executions>
<execution>
<phase>package</phase>
<goals>
<goal>shade</goal>
</goals>
<configuration>
<transformers>
<transformer implementation="org.apache.maven.plugins.shade.resource.ManifestResourceTransformer">
<mainClass> com.shadedemo.MainDemo</mainClass>
</transformer>
</transformers>
</configuration>
</execution>
</executions>
</plugin>
</plugins>
</build>
</project>
main file MainDemo.java contains the following content in it:
package com.shadedemo;
import com.google.common.base.Strings;
public class MainDemo {
public static void main(String[] args) {
String sampleName = "Payal";
if(!Strings.isNullOrEmpty(sampleName)){
System.out.println("Yeah! String is valid and its value is :- "+sampleName);
}
}
}
Conclusion
We can use the shade plugin in maven to obtain the single jar file also called as uber/fat jar file that is self-sufficient and can be run independently as it contains all the dependencies and project code inside it. This can be done by simply adding the plugin tag with shade plugin related information as shown in the above example.
Recommended Articles
We hope that this EDUCBA information on “Maven Shade Plugin” was beneficial to you. You can view EDUCBA’s recommended articles for more information.
