Updated February 20, 2023
Introduction to Maven XMLBeans
Maven xmlbeans is a part of the maven plugin artifact which was starting with the xml beans as 5.0. Maven xml beans is a technology that was used to access xml while binding the types of java. Maven xmlbeans is providing several ways to get an xml. Using xml schema which was compiled for generating java types represents the schema types defined in maven.
Key Takeaways
- Maven xmlbeans is nothing but the tool which was used to allow to access full power on xml. XMLBeans uses the xml schema which was used to compile the interfaces of java.
- By using xml beans java interfaces and classes are used to access and modify the instance data.
What is Maven XMLBeans?
At the time of creating java types, we can access the instance of schema by using accessors of java beans styles of getting foo and set foo. The API of xml beans is allowing us to reflect the xml schema itself by using the model of xml schema object. The model of the cursor will traverse the xml of the full Infoset. Maven xml beans support xml DOM. To use the maven xmlbeans we need to add the xmlbeans plugin into the pom.xml configuration files.
A maven xml beans plugin is parsing the xsd files and produces the corresponding object model which was based on the parser of apache xml beans. The maven plugin produces two sets of output files referred by generated sources and classes. The former is compiled into the output build directory. The maven xml beans is a tool that allows access to xml java.
Use of Maven XMLBeans
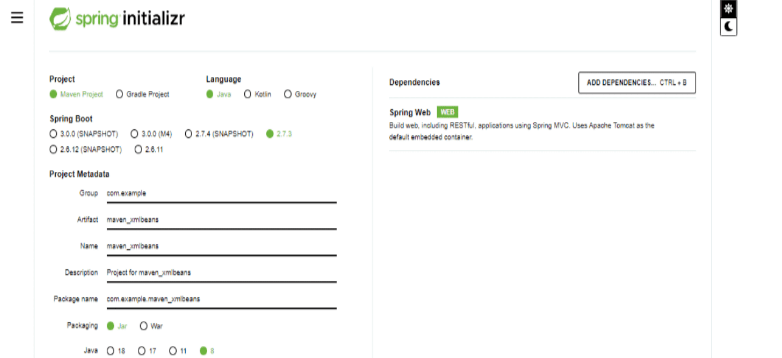
Given below shows the project template of maven xmlbeans:
1. While using the project template we are also assigning details of the project.
Group name – com.example
Artifact – maven_xmlbeans
Name – maven_ xmlbeans
Packaging – jar
Java version – 8
Language – java
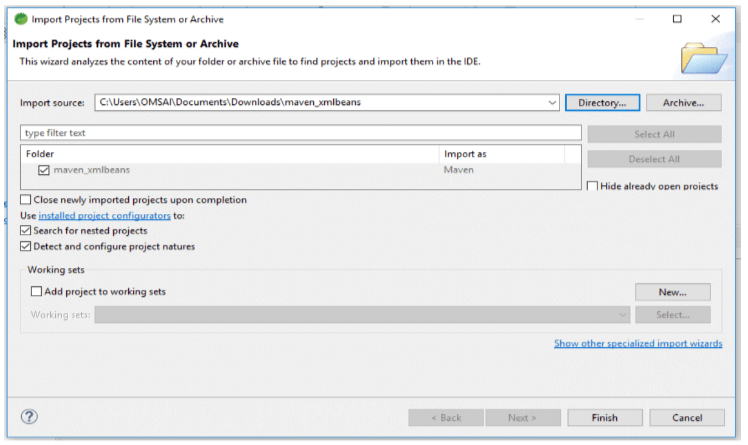
2. In this step we are downloading and extracting the project and opening the same by using the spring tool suite.
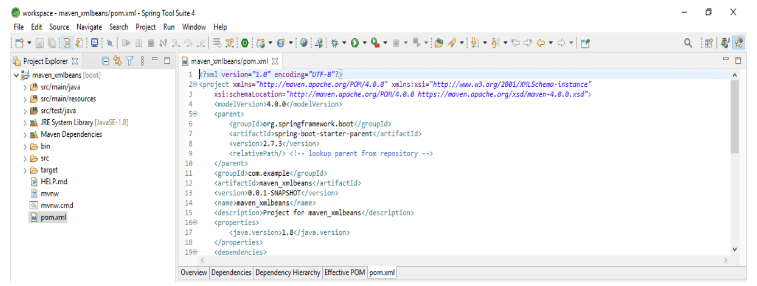
3. In this step we are checking the project structure of the maven xmlbeans project and also checking the pom.xml file.
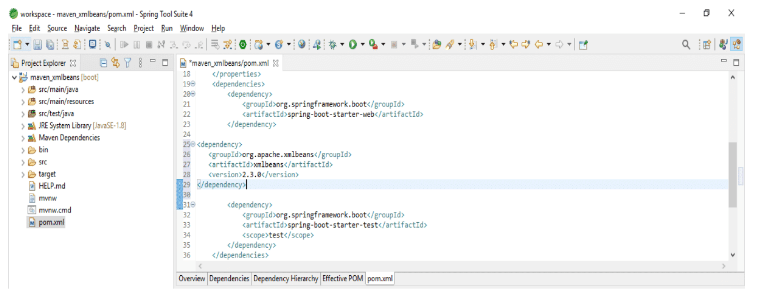
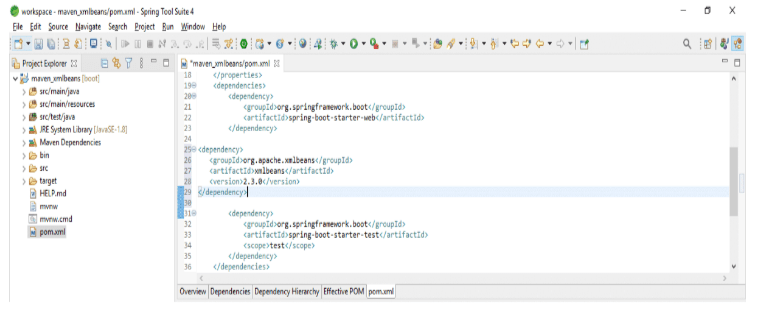
4. After opening the project in the spring tool suite now in this step we are adding the xml beans dependency in the pom.xml file. We are adding this dependency in the pom.xml file.
Code:
<dependency>
  <groupId> org.apache.xmlbeans </groupId>
  <artifactId> xmlbeans </artifactId>
  <version> 2.3.0 </version>
</dependency>
Output:
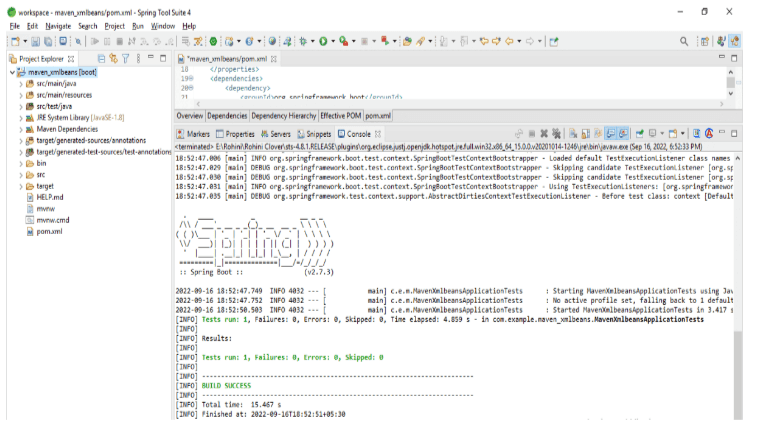
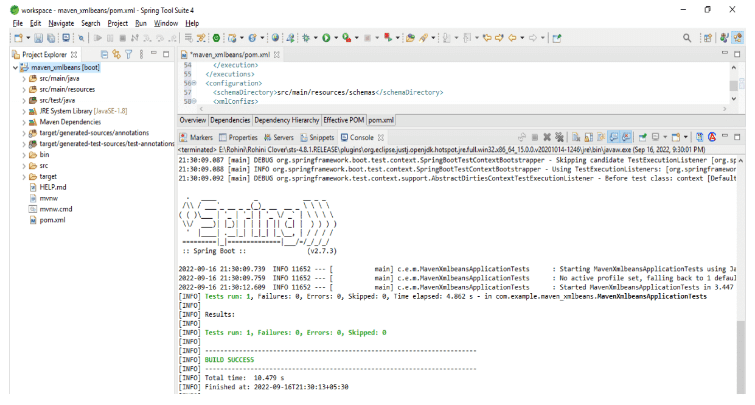
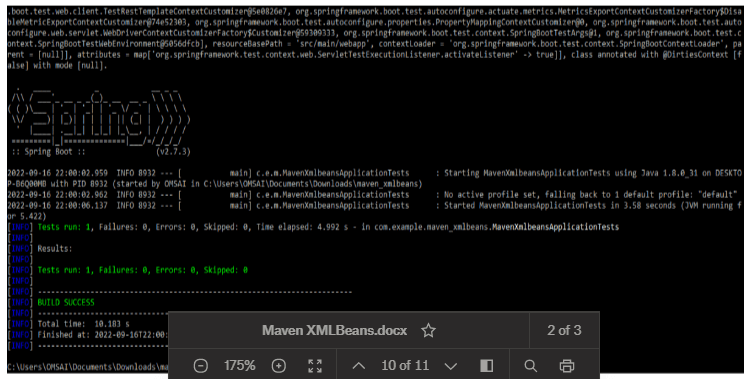
5. After adding the dependency now we are executing the maven test command to run the test of the project as follows. We are executing the test by using the GUI terminal as follows.
Maven XMLBeans Plugin
The source file of xml beans is generated by using basedir. The class of type system holder is generated by using basedir resources. The generated resources and sources are added to the project resources.
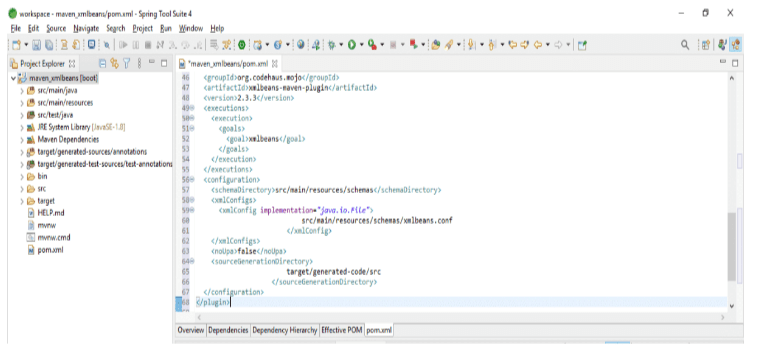
The below example shows how we can add the maven xml beans plugins into the maven. We are adding the maven xml beans plugin in the pom.xml files.
Code:
<plugin>
<groupId> org.codehaus.mojo </groupId>
<artifactId> xmlbeans-maven-plugin </artifactId>
<version> 2.3.3 </version>
<executions>
<execution>
<goals>
<goal> xmlbeans </goal>
</goals>
</execution>
</executions>
<configuration>
<schemaDirectory> path </schemaDirectory>
<xmlConfigs>
<xmlConfig implementation = "java.io.File">
path
</xmlConfig>
</xmlConfigs>
<noUpa> false </noUpa>
<sourceGenerationDirectory>
   path
</sourceGenerationDirectory>
  </configuration>
</plugin>
Output:
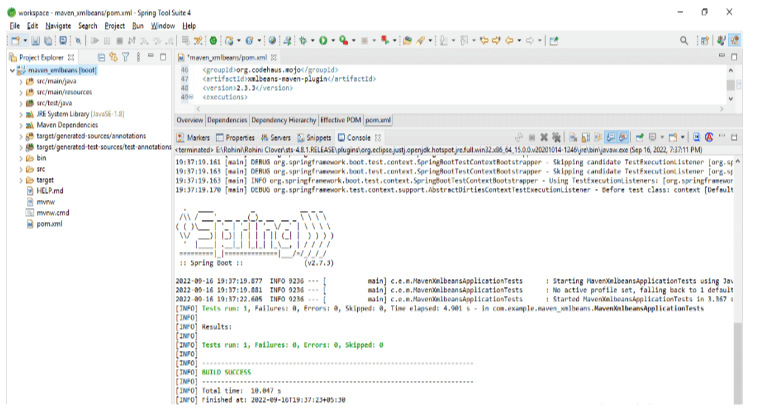
After adding the plugin of maven xml beans into the pom.xml file. Now in this step, we are running the maven application by using the maven test command as follows. In the below example we are using the spring tool suite to run the application as follows.
Maven XMLBeans Configure File
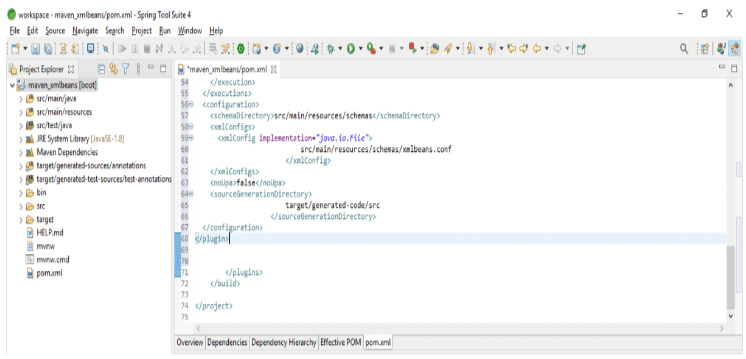
Maven xml beans configuration file uses the special compiler for converting xml schema into the bunch of java classes that we have defined for accessing the XML elements and other content. By using the xml schema the compiler of the java class is the nearest approach to put our schemas and compiler into separate jar files. We can mix all this code. To create the maven xmlbeans configure file we need to add the plugin code into the pom.xml files. In the below example, we are adding the code in the pom.xml file as follows.
Code:
<plugin>
<groupId> org.codehaus.mojo </groupId>
<artifactId> xmlbeans-maven-plugin </artifactId>
<version> 2.3.3 </version>
<configuration>
<schemaDirectory> configuration dir path </schemaDirectory>
<xmlConfigs>
<xmlConfig implementation="java.io.File">
  Configuration file path
</xmlConfig>
</xmlConfigs>
<noUpa> false </noUpa>
<sourceGenerationDirectory>
  Configuration file directory.
</sourceGenerationDirectory>
</configuration>
</plugin>
Output:
The pom.xml file is working as a configuration file in maven xml beans. We are configuring the configuration file path where our actual file is stored and the file directory of the configuration file.
After configuring the file in the below example we are running the configuration file which we have added to the pom.xml file.
Example of Maven XMLBeans
The below example shows to add the maven xmlbeans dependency into the project of maven. We are adding the dependency into the pom.xml file as follows. We are adding this dependency in the dependency section of the pom.xml file.
Code:
<dependency>
  <groupId> org.apache.xmlbeans </groupId>
  <artifactId> xmlbeans </artifactId>
  <version> 2.3.0 </version>
</dependency>
Output:
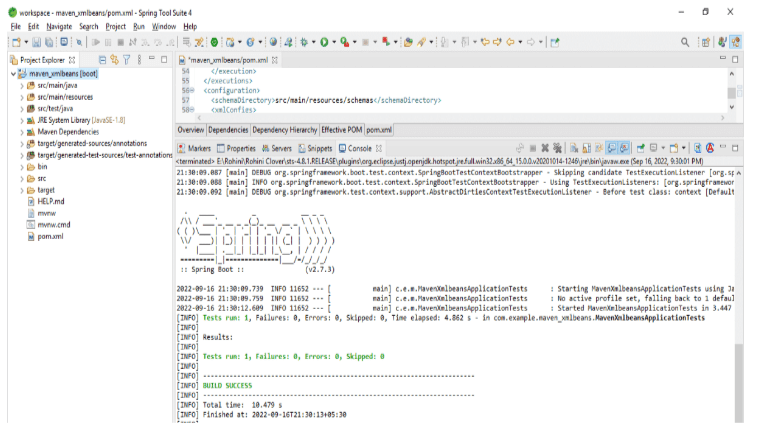
After adding the configuration to the pom.xml file now we are testing the maven project. In the below example, we are using the spring tool suite GUI.
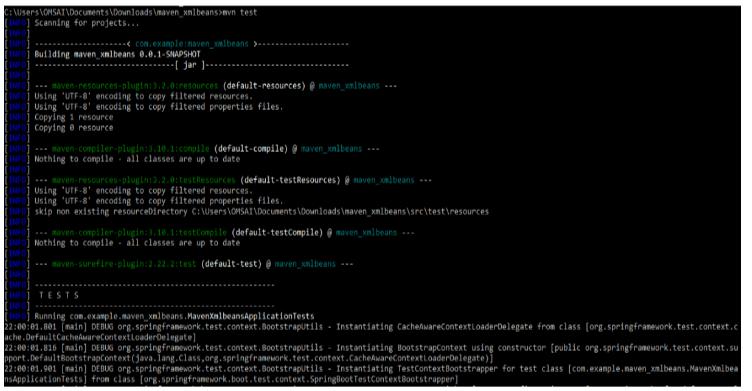
After adding the configuration in the pom.xml file now we are testing the maven project as follows. In the below example, we are using the command line.
Code:
mvn testOutput:
Conclusion
By using xml schema which was compiled for generating java types which were representing the schema types which was defined in maven. Maven xml beans support xml DOM. To use the maven xmlbeans we need to add the xmlbeans plugin in the pom.xml configuration files.
Recommended Articles
This is a guide to Maven XMLBeans. Here we discuss the introduction, use of maven XMLBeans, plugin, configure file, and example. You may also have a look at the following articles to learn more –
