Introduction to Maya Animation
Autodesk Maya is popularly known as Maya, which is famous for 3d computer graphics designing and widely used by 3d modeling professionals for their graphics designing work. We can animate any object in this software by using some tools and parameters of this software. Here in this article, we will tell you about Maya animation in a few simple steps with an example and brief you on some important parameters of Maya animation so that you can handle it without any problem. So let us start our learning about this topic in Maya software.
How to Animate in Maya software?
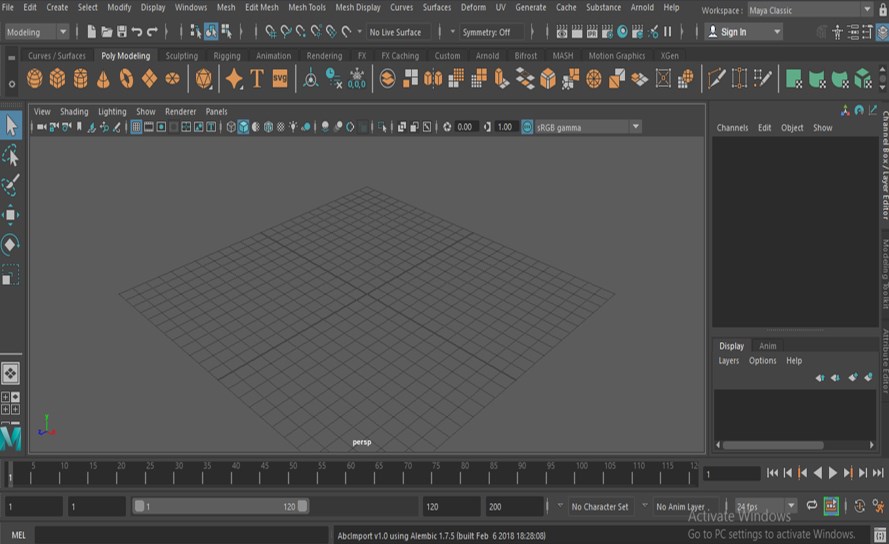
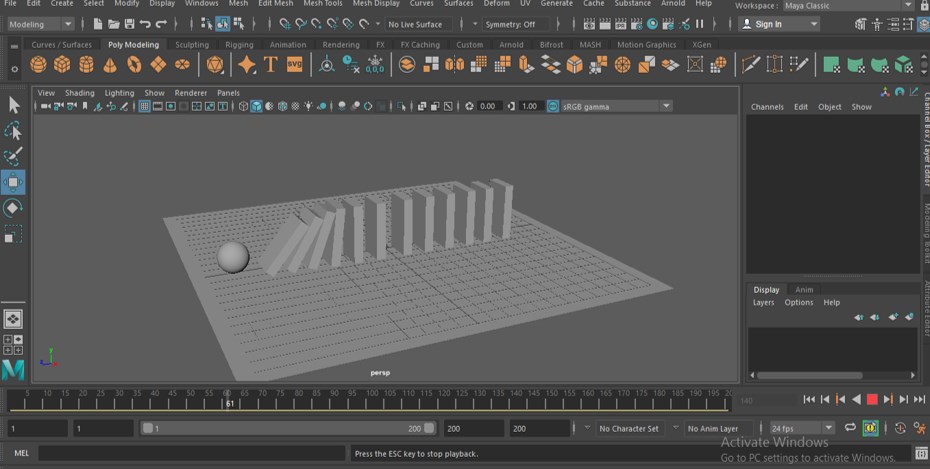
Here I will show you a simple animation example of a ball hitting a series of cuboids to easily understand this feature in Maya software. After this, you can make a complex animation also in this software. Before starting, let us have a look at the working screen for our better understanding.
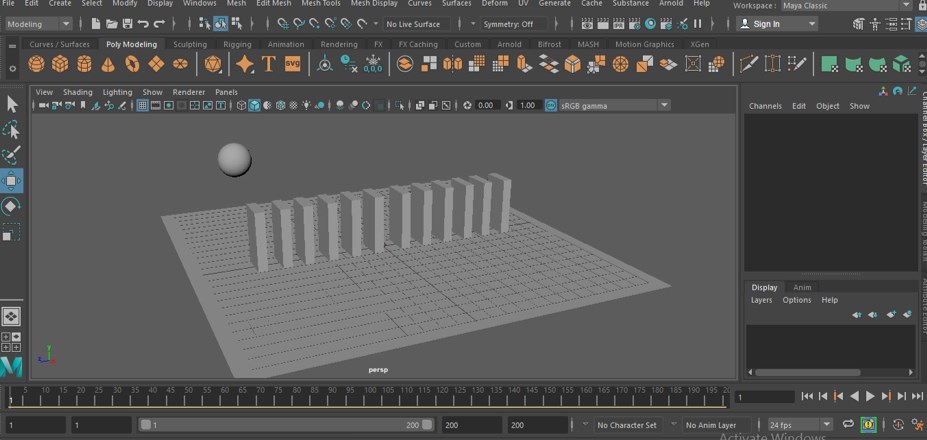
Step 1: A the top, we have a Menu bar for adjusting this software; this menu bar will change according to the method of our working, below this we have a Status line which contains some short cut commands; below this, there is a quick access toolbar which we call shell bra (You can add tools in shell bar according to your requirement if you are using them again and again in your working), at the left side we have Manipulating toolbar which has selection tool, move tool, etc., at the center we have our Perspective viewport in which we can see our work (you can open other viewports in this screen at the same time by pressing Spacebar button of the keyboard), at the right side we have some tabs such as Channel box which shows you parameters of the current select object of the viewport and allows you to make changes in the parameters of that object. You will understand other sections once you start working on this software; this software has the main sections.
Step 2: The Menu bar option will change according to changing the method of working from this list.
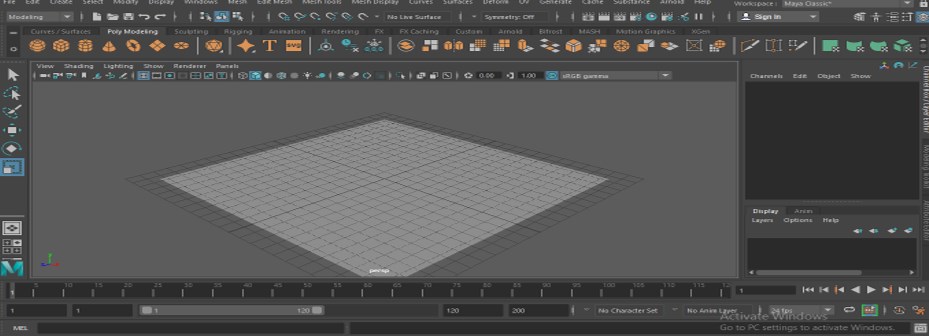
Step 3: Now, let us start our animation work in this software. For animation, take a Plane command from the quick access toolbar, which is above the viewport.
Step 4: Now, draw a plane according to you in the Perspective viewport. You can draw it in any other viewport according to your suitability by pressing a space bar for other viewports. You can adjust the size of the plane by using the Scale command of this software. For Scale command-click on the Scale icon of Manipulating toolbar, or you can press the R button for the handle point of Scale command on your object.
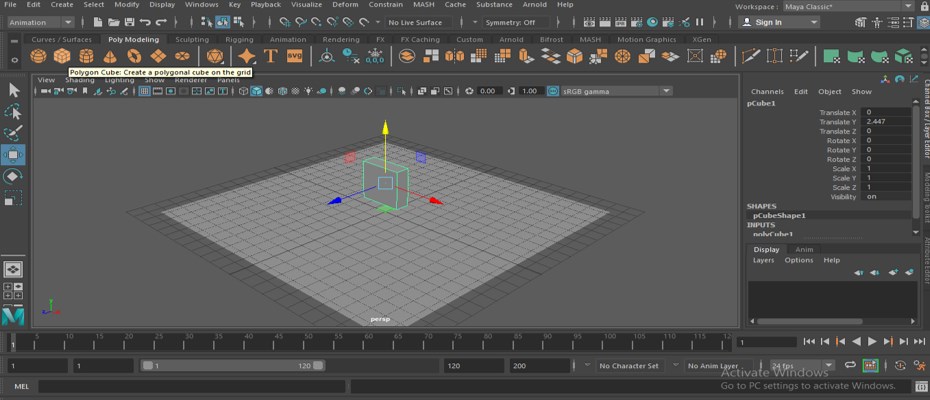
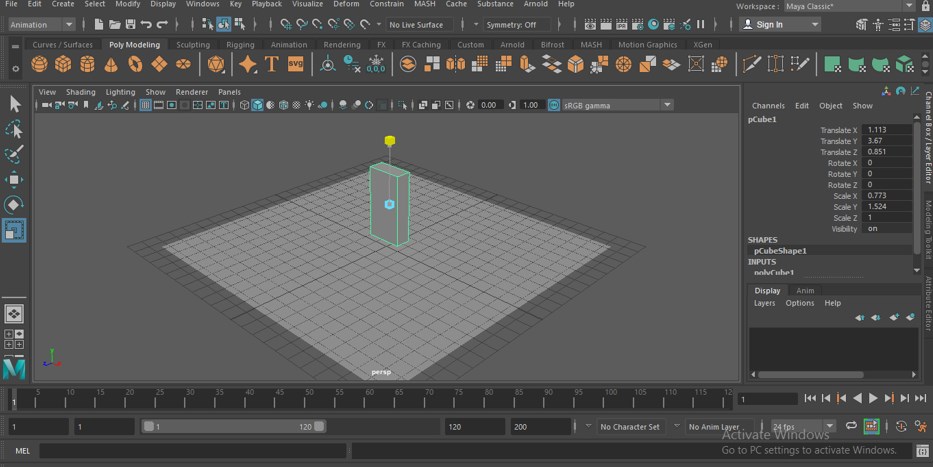
Step 5: Now, take a Cube command from the quick access toolbar of this software by click on it and draw a cuboid like this.
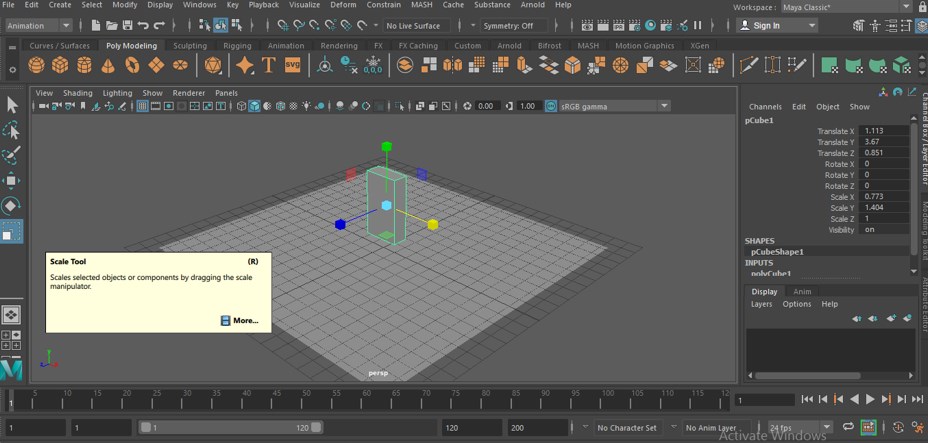
Step 6: Adjust the side of this cuboid by using the scale command of this software.
Step 7: To adjust the size through scale command-click on the handle button of any axis and drag it in the same direction. I will hold the Z axis handle and drag it in the Z direction for increasing its size in this direction.
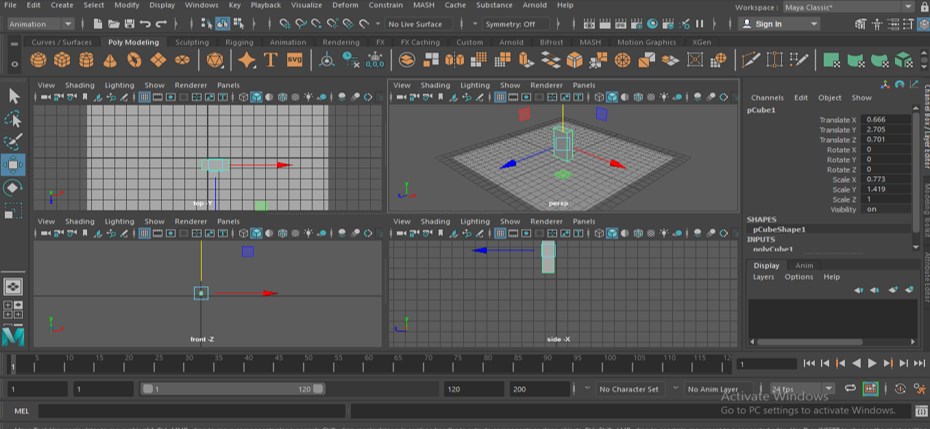
Step 8: Now press the Spacebar of the keyboard for all four viewports and adjust the cuboid at the center of your plane by using the move tool command. For the Move tool, click on the move tool icon of the Manipulating toolbar, or you can press W from the keyboard. Now move the object by using arrow handles of this axis.
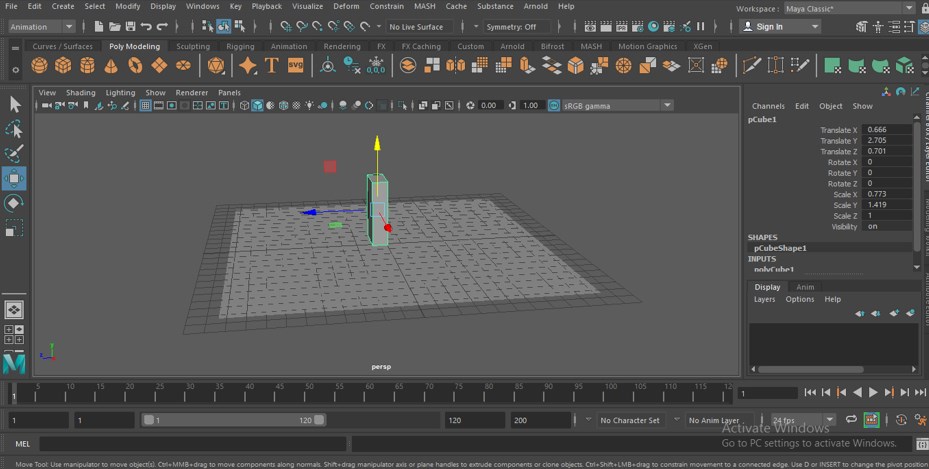
Step 9: Now again, press Spacebar for a full screen of the perspective viewport.
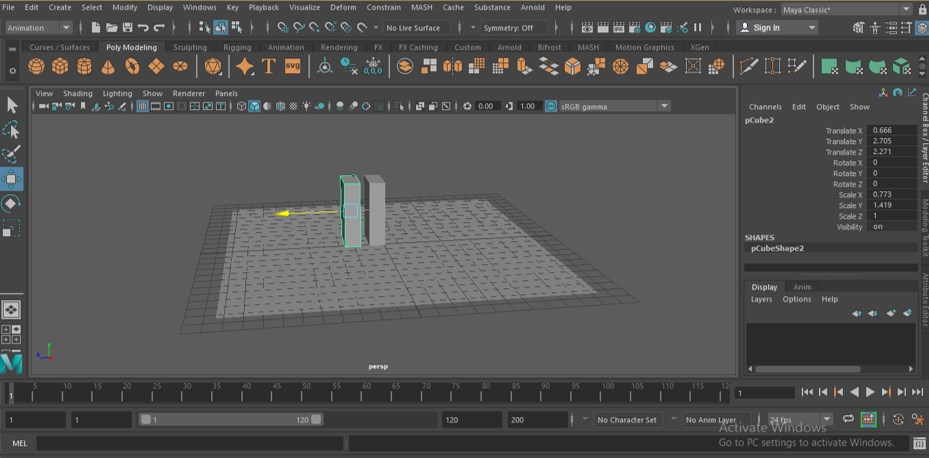
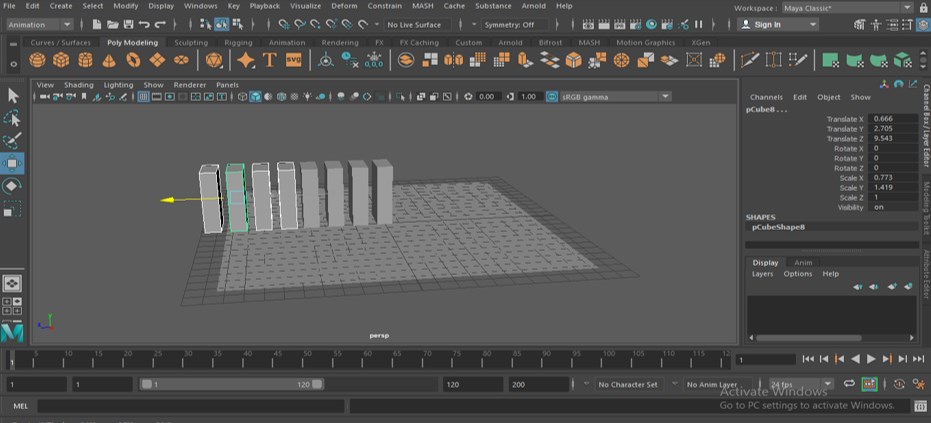
Step 10: Now press the keys Ctrl + D, duplicating a copy of this cuboid, and drag it in the forwarding direction.
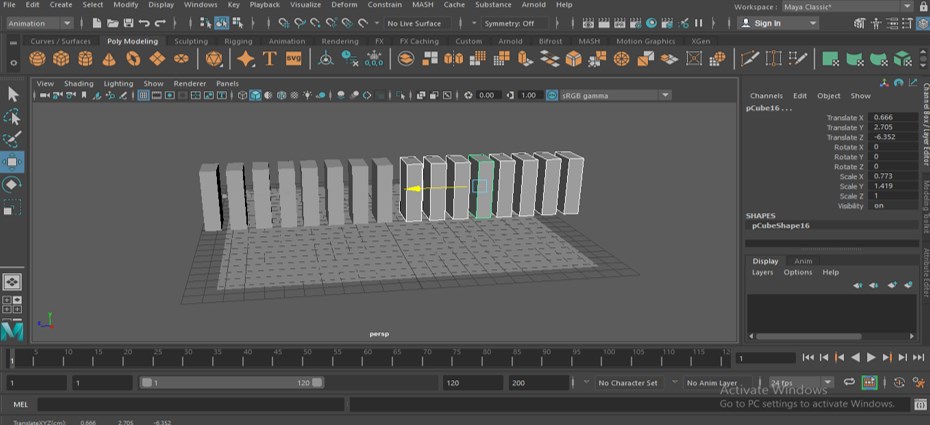
Step 11: Now select both cuboids and again press the Ctrl + D button from the keyboard, then drag both of them to make their copy like this.
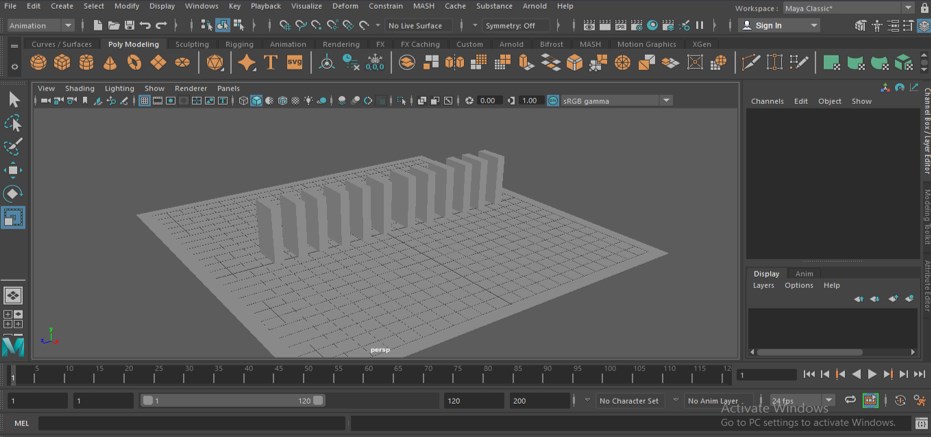
Step 12: Make a series of cuboids like this by making copies of this cuboid model.
Step 13: Now scale these cuboids as it scales them by using the scale command of this software.
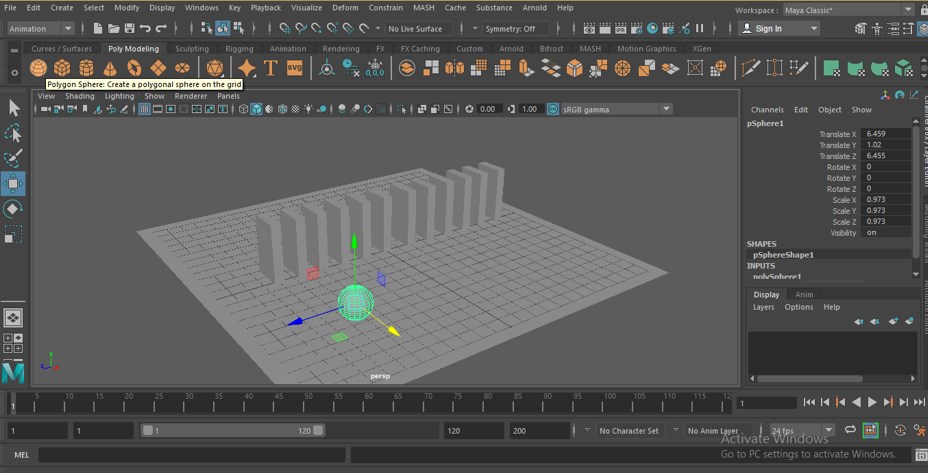
Step 14: Now, take a Sphere tool command from a quick access toolbar by click on it and draw a sphere like this. You can drag the sphere of any size according to you.
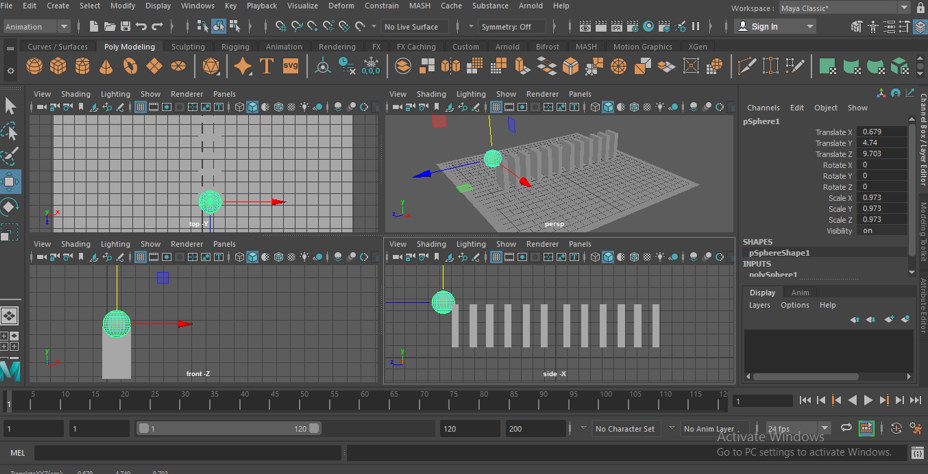
Step 15: Now press the spacebar of the keyboard for four viewports and adjust this sphere in this way so that it can hit the first cuboid.
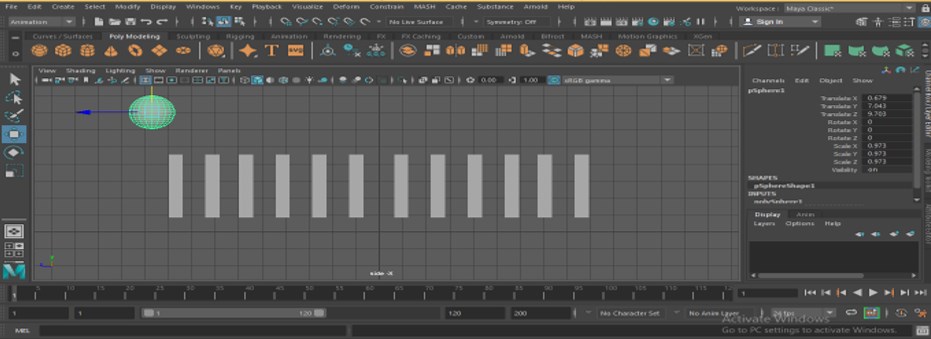
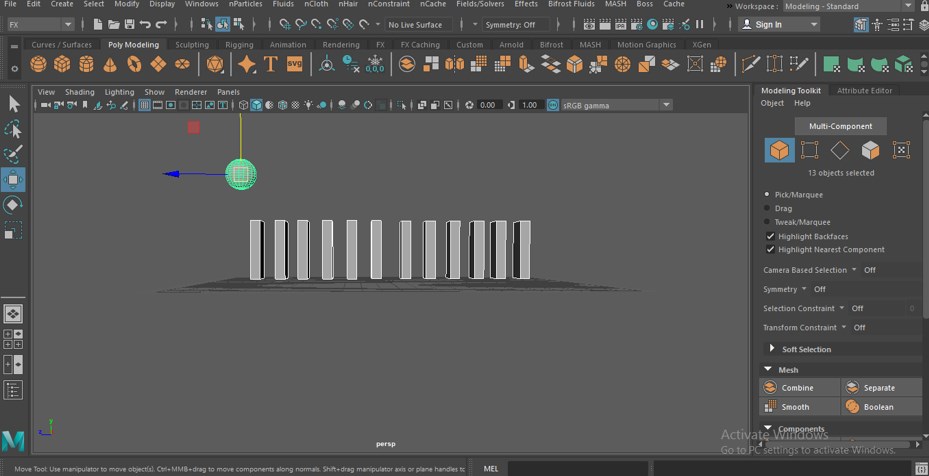
Step 16: Now adjust it at the same height as this.
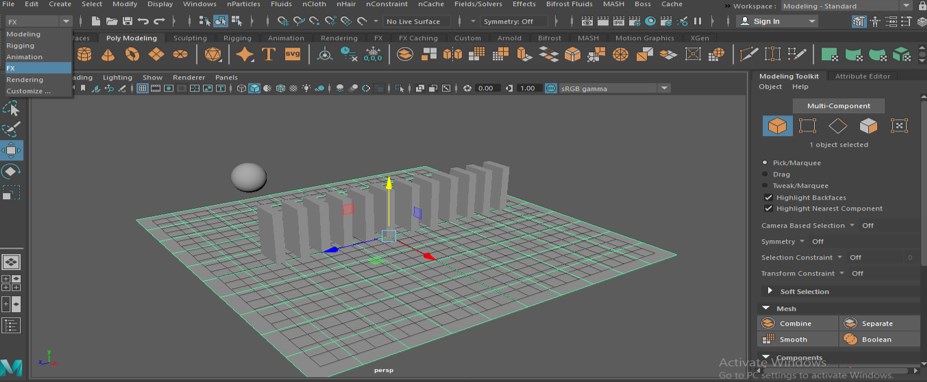
Step 17: Now select the plane by click on it and choose the FX method from the method of working from this list.
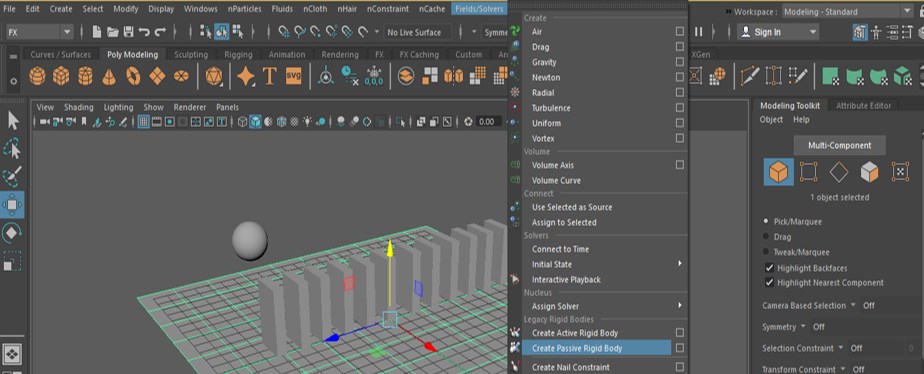
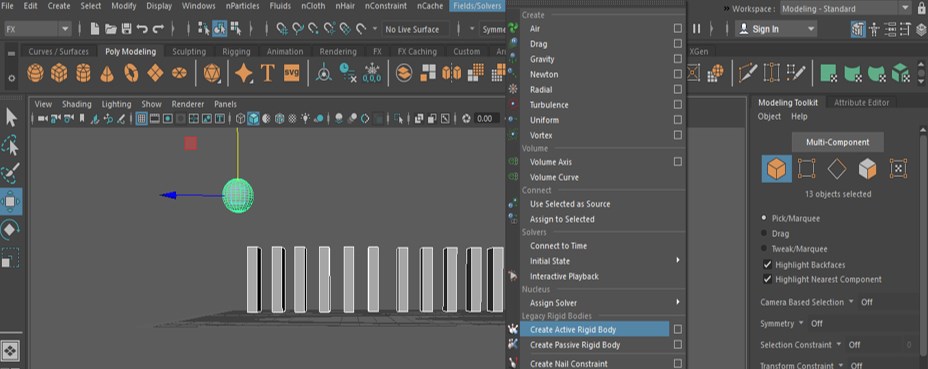
Step 18: Now go to the Field/Solvers menu of the Menu bar of the FX method. A drop-down list will be open; click on the ‘Create Passive Rigid Body’ option of this list.
Step 19: Now, select a series of cuboids and spheres by holding the keyboard’s shift key.
Step 20: Now go to the same menu of the Menu bar of the FX method and click on the ‘Create Active Rigid Body’ option of the drop-down list of Field/Solvers menu.
Step 21: Now, I want the sphere drop on the first cuboid so that I will click on the Gravity option of the drop-down list of Field/Solvers menu of the Menu bar.
Step 22: Now, we need a proper keyframe for playing our animation. So I will take 200 as the value of the keyframe. You can take it according to you.
Step 23: Now adjust the viewport in this way so that you can see the animation properly. I will adjust it like this by using the rotate tool.
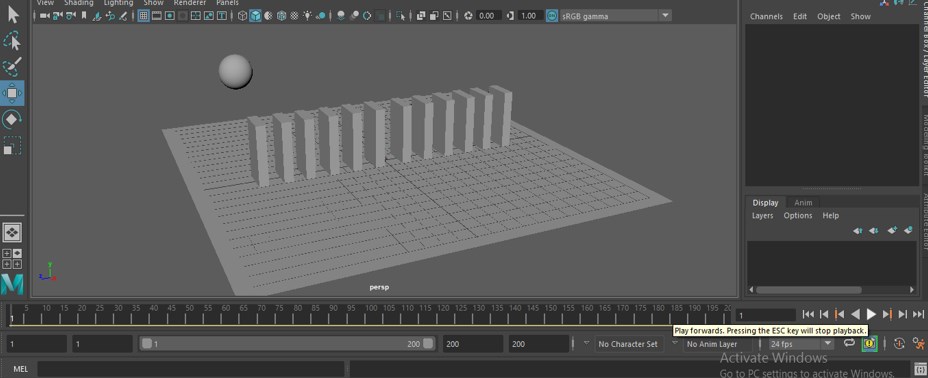
Step 24: Now play the animation by pressing the play button from the lower right end of the working area.
Step 25: Once you play, your animation will look like this.
In this way, you can make a simple animation in Maya software. You can make better animation in this software once you start practicing on it.
Conclusion – Maya Animation
Now, after this article, you can understand ‘what is Maya Animation’ and ‘how you can handle its parameter’ for making a good animation. There are many other features of the animation of Maya, which you can understand by learning more about the animation feature of this software.
Recommended Articles
This is a guide to Maya Animation. Here we discuss how to create an animation in Maya in a step by step manner. You can also go through our other related articles to learn more –
