Introduction to Maya Bonus Tools
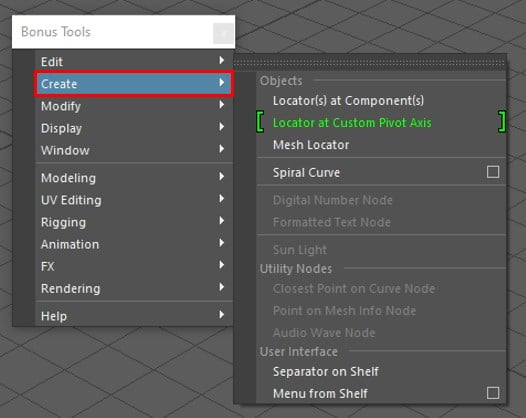
Maya Bonus Tools is a collection of scripts and plugins which is free of cost. A pull-down menu will appear at the end of the main Maya menu after installing bonus tools. Maya bonus tools have been designed and organized in such a way that it augments the standard Maya menu sets. Each menu has a sub-menu that can be detached and kept afloat like standard Maya menus. By selecting a mesh, edge, face or vertex and hold Shift+RMB, you can get context-sensitive access to modeling functionality without breaking your workflow.
Autodesk Maya Bonus Tools
The following points explain the bonus tools functions in Maya software with detail explanation:
Edit
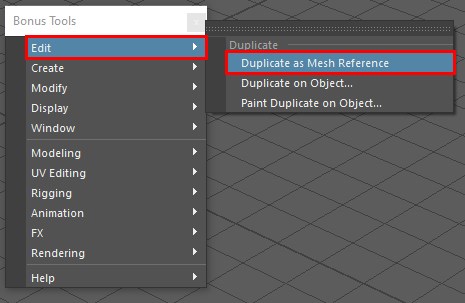
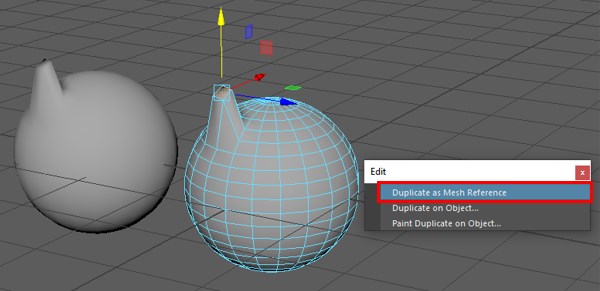
1 Duplicate as Mesh Reference
You can select one or more objects to apply this. A “One directional” Instance will be created. So, any topological changes made to the original object will be propagated to the duplicate as it is a mesh reference and they are linked and since this is one-directional so the changes made to duplicate will not affect the original mesh.
2. Duplicate on Object
This tool can be used to create a duplicate instance or copy of a selected object at the location of either selected components or random components on a selected object.
You have 3 methods to snap align object to the component, which will duplicate objects to the given verts/edges/faces.
- Orient: Object will be rotated to align with the normal of the component.
- Constrain: Object will also be constrained at the point and to that normal.
- Parent: Object will be parented to the transform/object of the selected target component.
3. Paint Duplicate on Object
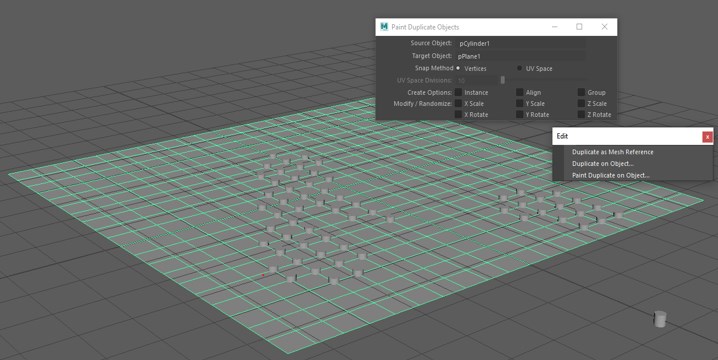
Select a source and a target object. Now the source object can be painted over the target object. For, e.g. Source is a leaf, and the target is a tree. Then the source can be painted over the target. Modifier keys change the behavior of the tools as CTRL while painting will delete existing duplicate objects but only while the tool is active. If the tool is quit and started again, then it will not delete previously placed objects. The shift will change either the rotation or the scale of the existing duplicates of the objects.
Vertex snapping and UV snapping can be chosen while placing objects. Vertex snapping will look at the vertices of the target object. For more refined placement, you can use UV space snapping, but you need clean and even UVs of your target object for this model to work.
Create
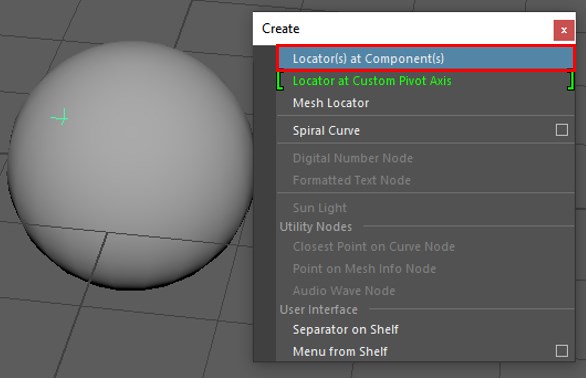
1. Locator(s) at Component(s)
A new locator is created at the center point of the selected edge, vertex or face.
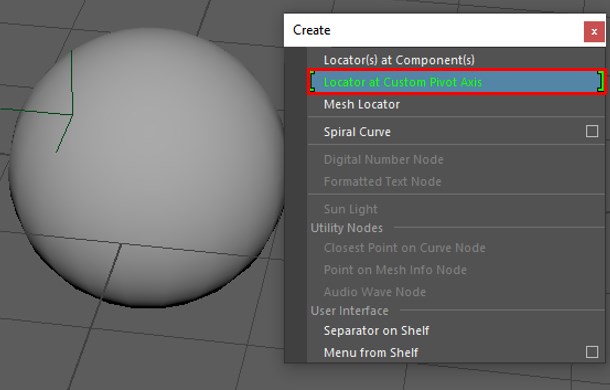
2. Locator at Custom Pivot Axis (New)
A new locator is created at the current active pivot. The locator will get custom rotation and position of the pivot if a custom pivot is set.
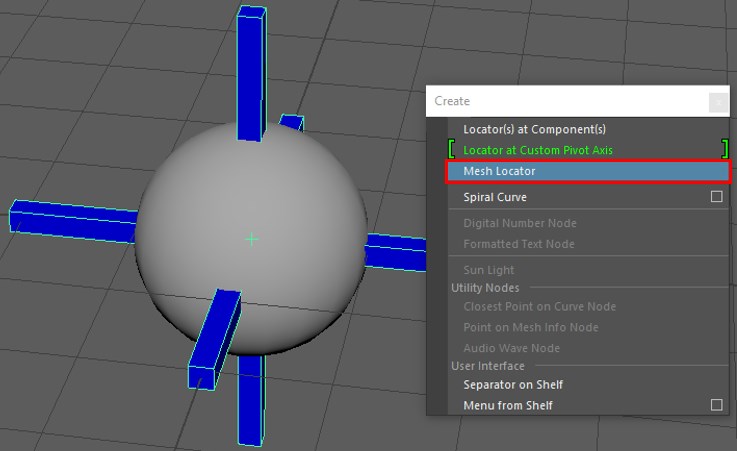
3. Mesh Locator (Updated)
A mesh object will be created similar to a locator. It has a thickness that can be changed and rendered. It can also transform, scaled and rotated. The precision for length and width with minimum value is 0.01.
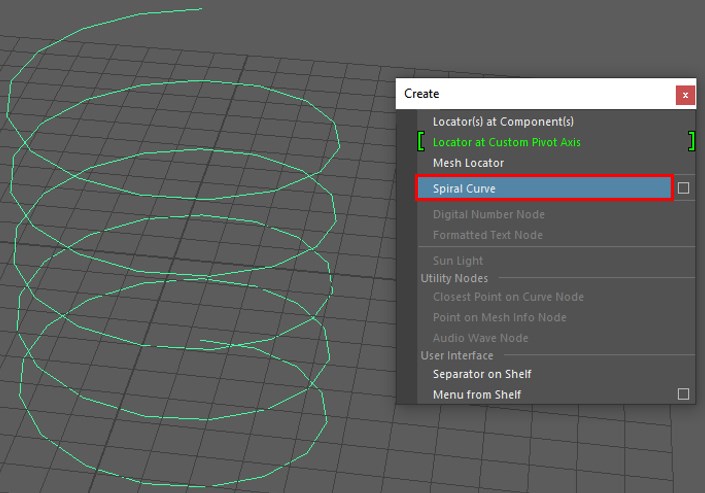
4. Spiral Curve
A spring shaped curve can be created. You can control the height, radius, and number of turns. To change the direction of the twist, enter a negative number.
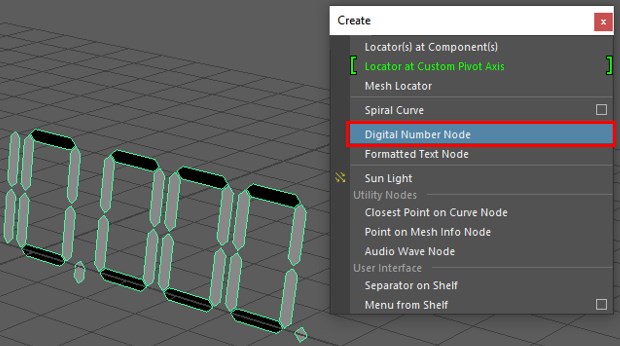
5. Digital Number Node
Displays value in the viewport in the shape of a digital readout. The look of the numbers can be refined using their attributes.
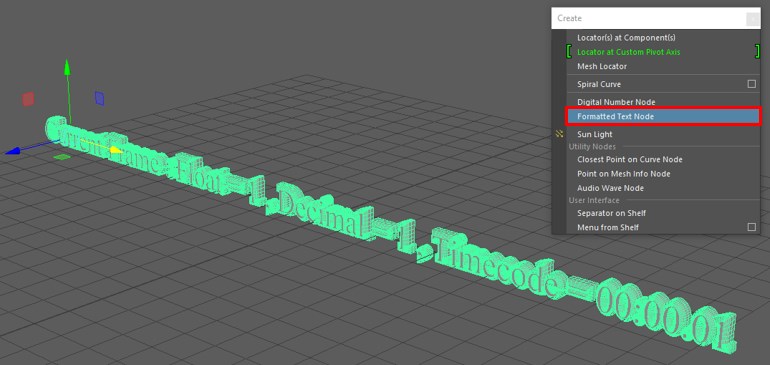
6. Formatted Text Node
Creates date or time format from the input values of the viewport as 3d text.
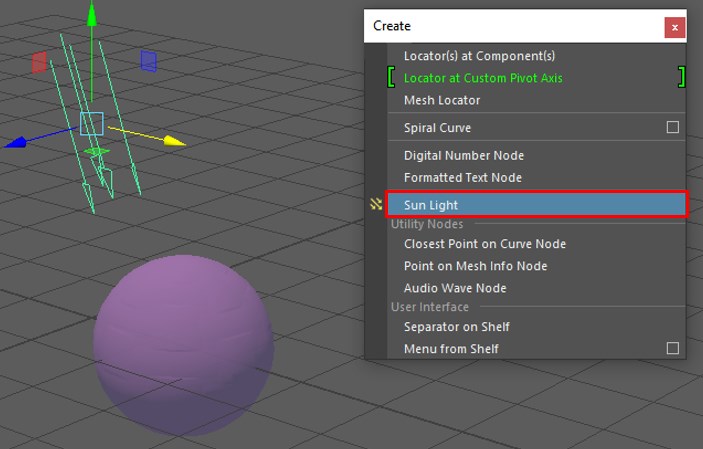
7. Sun Light
Creates a directional light that behaves like the sun with additional control attributes such as latitude, longitude, day of the year, and time to simulate the sun.
8. Closest Point On Curve Node
This plug-in takes input from a NURBS curve and world space position, and it computes the nearest point on the input curve from the input position. In addition to that “normal”, “tangent”, “U-parameter” and “closest distance from the input position” are also returned.
9. Point on Mesh Info Node
This computes world space position and normal by taking input of face index, U-parameter, and V-parameter and returns a point on a poly mesh.
10. Audio Wave Node
This creates a node that will output the amplitude of a sound node:
To use:
First, load a sound file into Maya. Go to Bonus Tools -> Create Audio Wave Node
Then enter one of the following MEL commands:
- setAttr audioWave1.audio -type “string” “soundfile”;
- connectAttr soundNode.filename audioWave1.audio;
After that enter the following MEL command:
- connectAttr time1.outTime audioWave1.input;
Finally enter the following MEL command:
- connectAttr audioWave1.output object.attribute;
The audioWave node has two attributes which let you scale the sampled amplitude:
- Sample: This attribute determines how many samples it will take to calculate the average and compute amplitude. The big number will take a significant amount for the change in amplitude to be detected.
- Scale: This attribute is a scaling factor for the resulting amplitude that will fall within a range of -1 to +1
11. Separator on Shelf
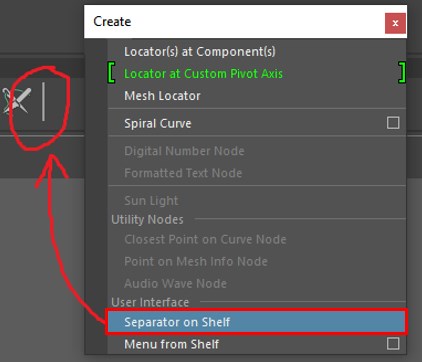
Visual Separator is used to organize shelves. Previously this feature was only available through a MEL command. This tool will create a separator on the currently active shelf. You can create any number of separators on a shelf as you need. MMB can be used to move the items between separators. They can be deleted from the shelf editor.
12. Menu from Shelf
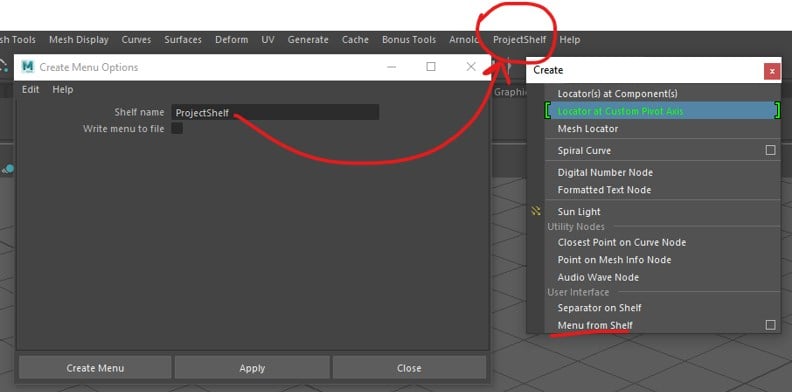
This option will convert a specified shelf into a pull-down menu, and it will appear at the end of the top Main Menu. The menu will last only during the current Maya session and will disappear if Maya is restarted. To delete a menu, you have to use deleteUI command or restart Maya. If you created a menu called TestingShelf, you would execute this MEL command -> deleteUI main_TestingShelf_Menu;
Recommended Articles
This is a guide to Maya Bonus Tools. Here we discuss How to Edit and Create menus in the Bonus Tools, create duplicate objects, and create locators and spiral curves. You can also go through our other related articles to learn more –
