Introduction to Mesh Tool In Illustrator
Gradient Mesh in Illustrator is a tool that allows users to create gradients in all forms, including 3D illustrations in vector format that can be further modified based on points and control the mesh; a mesh object is simply a colorful entity on which colors can slide in many ways, and the change can happen uniformly from one end to another; however, the mesh tool is not that simple to grasp for beginners as it required regular practice and learning to master the tool completely.
A mesh is a grid comprising of more than one mesh point that reacts much like even anchor points. You can modify each of these points to manage the form of the mesh. It is genuinely an exceptional type of object or constructs in Illustrator, and it does not do what a regular path does. A mesh object is a colorful object on which colors can glide in various directions, and the transformation can happen evenly from one end to another.
How to Use Mesh Tool in Illustrator?
Gradient Meshes permit for very pliable and comprehensive implementation of color to objects. It produces a mesh inside the object that will follow the contour. Color can then be registered to the mesh points, and various colors between the mesh points blend into each other.
Mesh Tool In Toolbar
You can produce a gradient mesh object in Illustrator in two primary ways, and in both instances, you begin by first sketching a normal vector object. You don’t sketch gradient mesh objects from scratch in Illustrator; you transform the vector forms that are existing to mesh objects.
With a vector object selected:
- Select Object > Create Gradient Mesh from the menu bar. This will open the create gradient mesh dialog box, providing you with the capability to define the number of rows and columns in your grid. If your original object has a color already registered to it, you can utilize the highlight and appearance alternatives to shadow the object with white. Selecting the number of rows and columns defines the amount of mesh points in your grid. You can always append or delete mesh points later.
- Choose the mesh tool from the toolbar, and click wherever you want within your vector path. Each click with the mesh tool appends mesh points to the grid object. You will also observe that as you append mesh points to an object, the paths joining the mesh points complement the contours of the object.
- Once you are done with defining the mesh points, you can move to the direct selection tool and choose each mesh point to alter its place and its direction handles. When a mesh point is chosen, you can select a color from the color panel/swatches/eyedropper tool to determine the color for that point. As required, you can move back to the mesh tool and click to append mesh points. To delete a mesh point from a mesh object, you can hold alt while clicking a point with the mesh tool.
Example of Mesh Tool
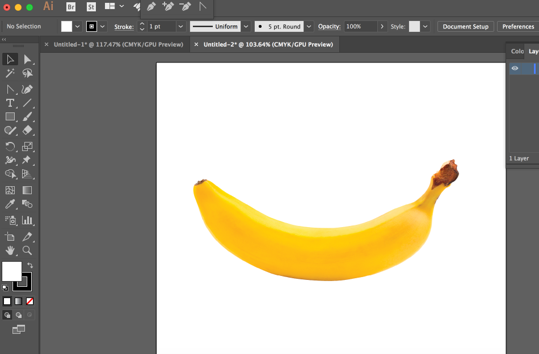
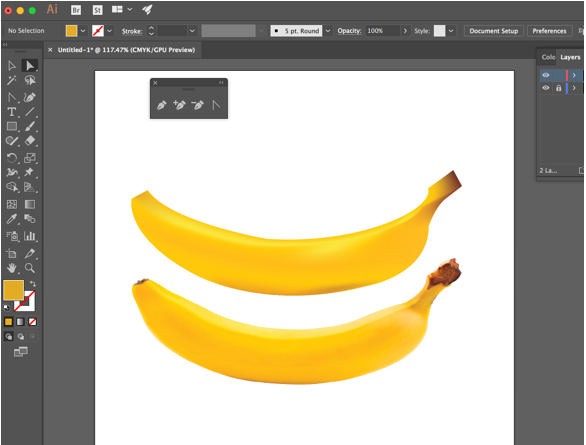
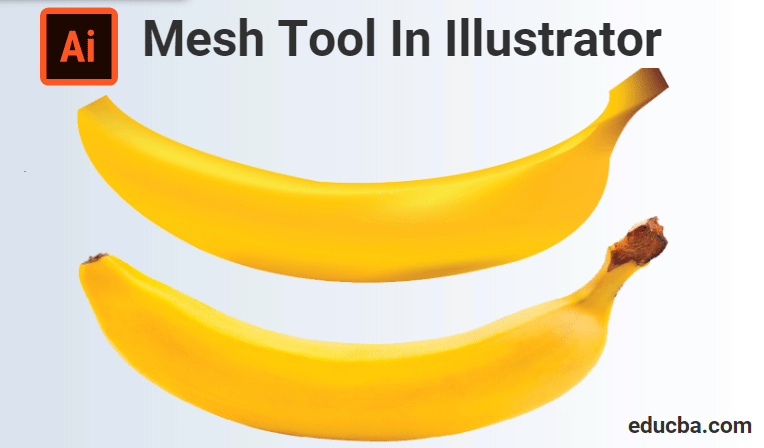
We will take the example of a banana, and we use the Mesh Tool.
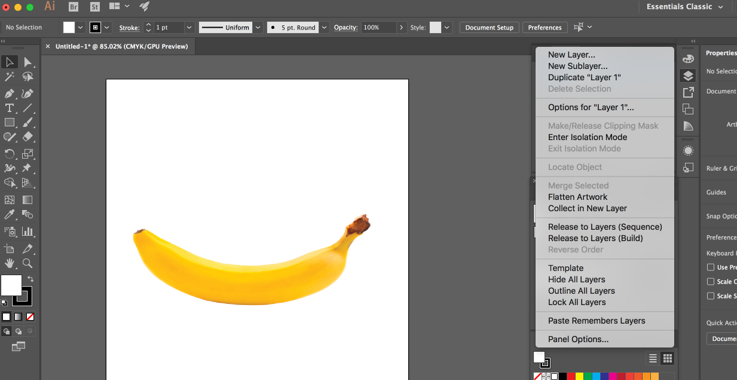
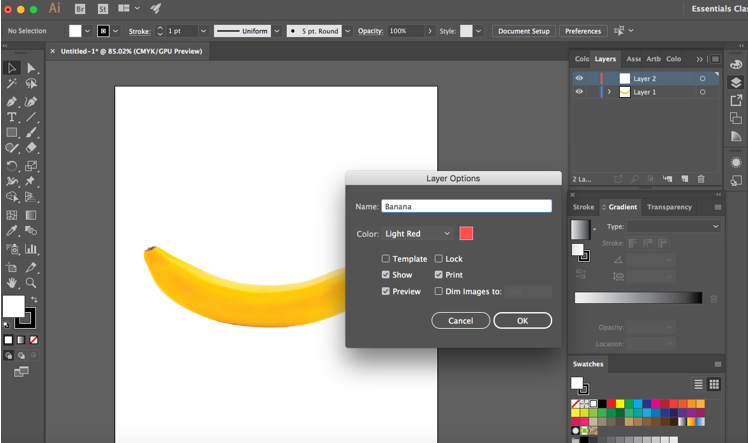
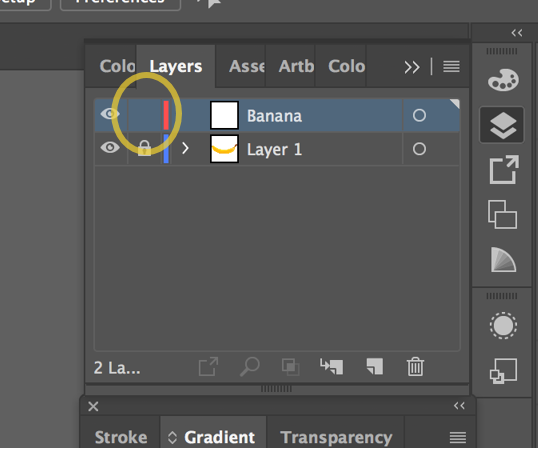
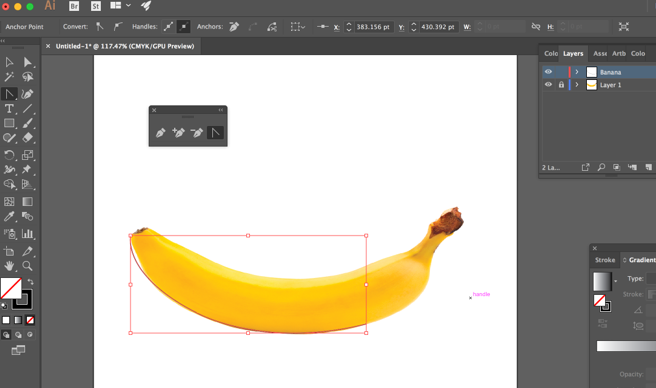
Step 1: Once you place the banana image on the artboard, create a new layer naming it banana and lock the current image layer, so you don’t delete anything by mistake.
Create New Layer
Locking The Original Image
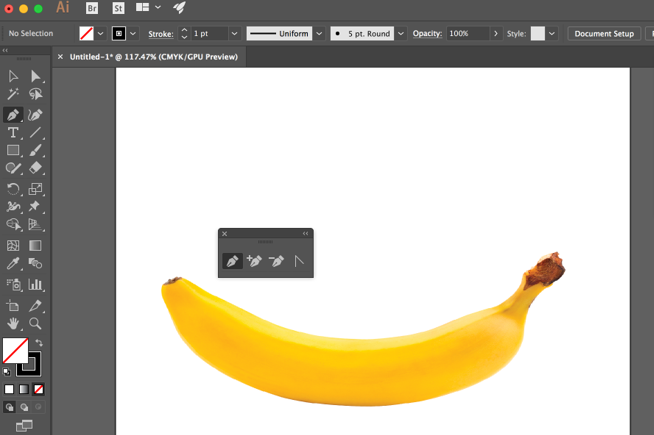
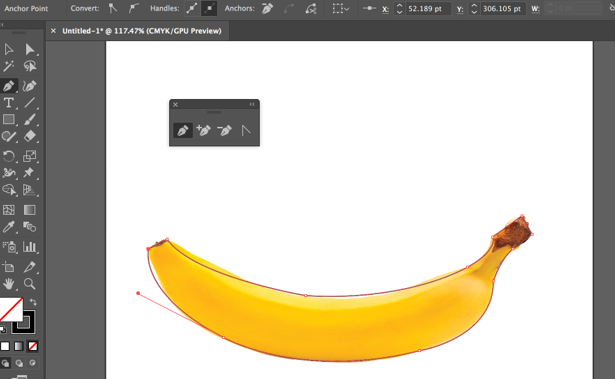
Step 2: Now, we will draw the banana by tracing the outline with the pen tool. Select the bottom tip of the banana as the first anchor point and start drawing the banana.
Pen Tool
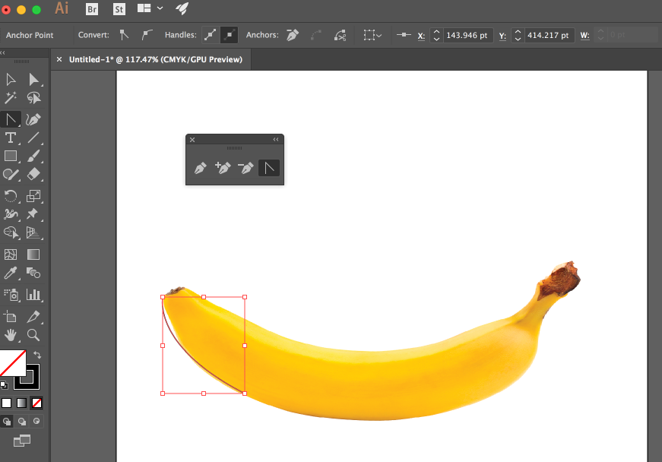
To draw the curvy outline of the banana, you can use the anchor point tool. Make sure the fill is empty.
Anchor Point Tool For The Curve
Final Outline Image
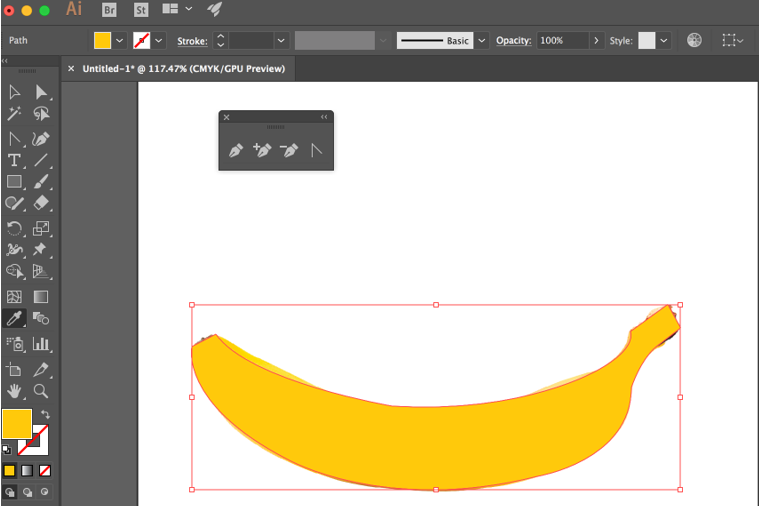
Step 3: Once the banana outline has been drawn; you need to give a base color to it. You can do that by using the eyedropper tool. With the eyedropper tool, you can pull the color you want from the image and apply it to the banana object you have drawn. The base color is yellow here, so that we will select the yellow color from the banana image.
Fill The Object With Yellow Color Using The Eyedropper Tool
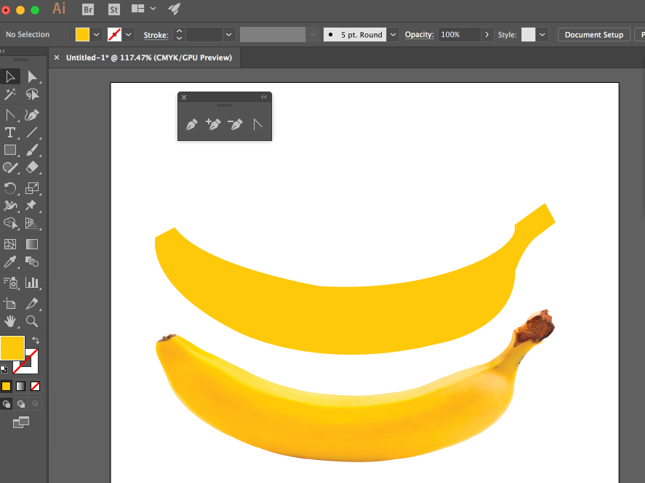
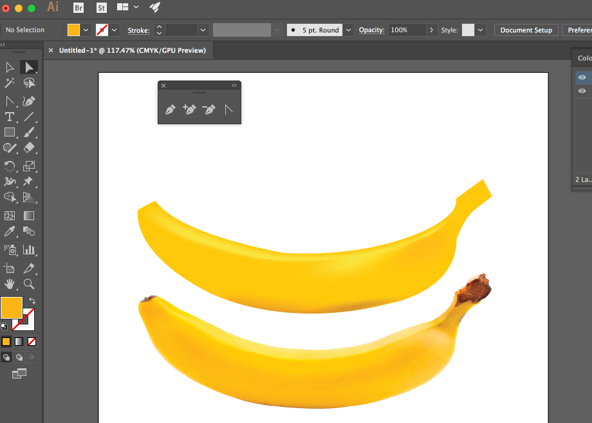
Now you can move the object away from the image.
Banana Outline With The Yellow Fill Done
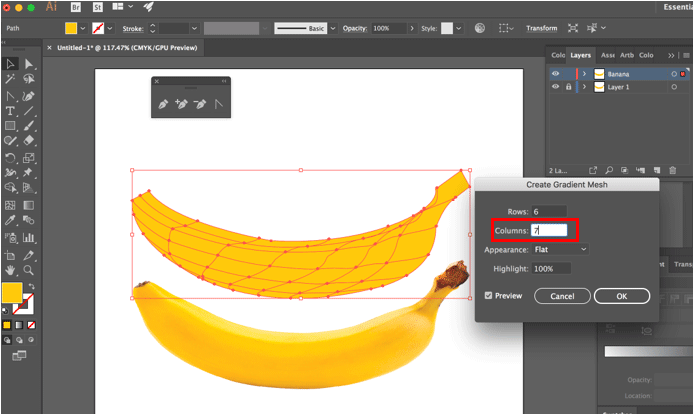
Step 4: Now select the object with the Selection Tool, then go to object > create gradient mesh. Choose the number of columns and rows as required.
Create Gradient Mesh
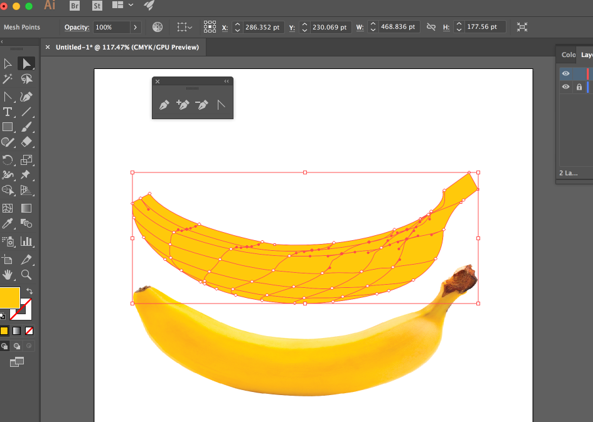
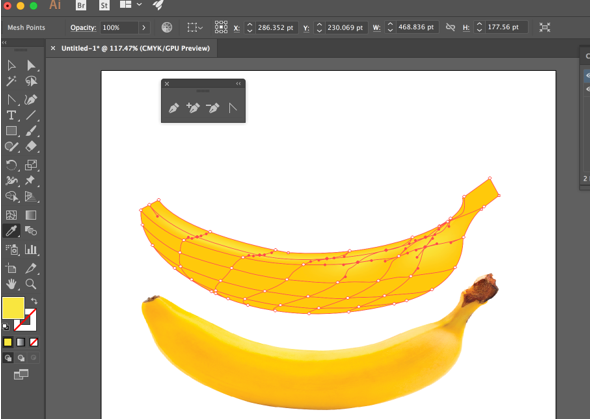
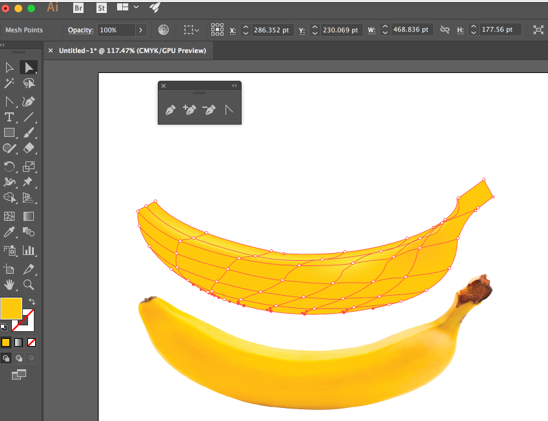
Step 5: We will now start giving some depth to the banana and highlight the top portion of the banana as in the original image. Using the gradient mesh tool, we can give some more layers to the banana. Once the meshes are created, select the direct selection tool and select the anchor points you want to highlight. Here we will select the top portion as shown in the images below. You can hold shift and select the number of anchor points you want to highlight.
Top Anchor Points Highlighted Using The Direct Selection Tool
Once the anchor points are selected, use the eyedropper tool to select the topmost part of the original image, and once you click on that part, you will get the desired highlighted color on the object, as shown in the below image.
The Top Highlighted Section
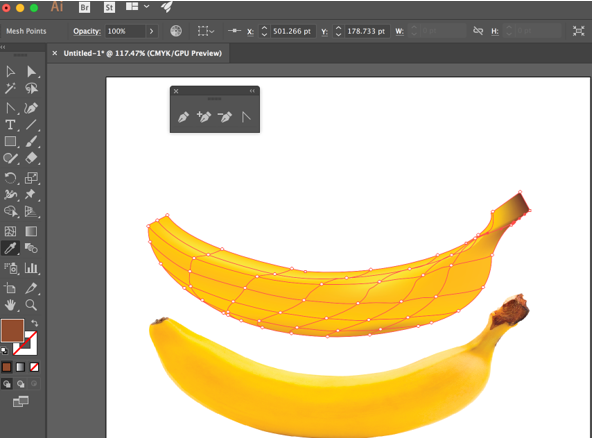
Similarly, select the anchor points where you want to highlight or give a darker shade to the object as in the original image. You can see how much depth you can give to your object using the gradient mesh tool in the below screenshots.
Selection of The Anchor Points For The Central Part
Central Part
The Tip
The Tip And The Bottom(The Final Image)
Conclusion
In Illustrator, when a non-radial or non-linear gradient is required, a gradient mesh and the mesh tool can be helpful and should be contemplated. The gradient mesh is utilized for describing the texture and surface shading. One of the advantages is the reduction in file sizes; the other is the simplicity in which the gradient could be modified. With the help of the gradient mesh tool, you can achieve more practical illustrations close to a 3-dimensional look. On the downside, you can say the gradient mesh tool is not simple to understand. Many people would like to utilize this feature, but they can’t decide upon any congruous way to describe its conduct.
Recommended Articles
This has been a guide to the Mesh Tool In Illustrator. Here we discuss the concept and step by step explanation of how to use the Mesh Tool in the Illustrator. You can also go through our other suggested articles to learn more –

