Updated May 30, 2023
Introduction of Micrometer
The term “micrometer” comes from the Greek words μικρός mikrós, which means “small,” and μέτρον metron, which means “measurement.”
American Joseph Whitworth of Manchester, England, invented the micrometer caliper in 1844. Its first practical application was in testing the manufacturing tolerances of guns.
In 1864, English engineer Edward James Stone introduced a “universal” micrometer for use in microscopes and telescopes. This design improved magnification capabilities by allowing for more precise positioning of an optical component relative to other parts of an instrument.
What is Micrometer
A micrometer is a precise measuring device. It has a fixed and adjustable jaw that moves using a screw mechanism.
To take the measurement, align the fixed jaw with one surface and then move the adjustable jaw until it touches another surface. Measure the distance between these two jaws using a micrometer.
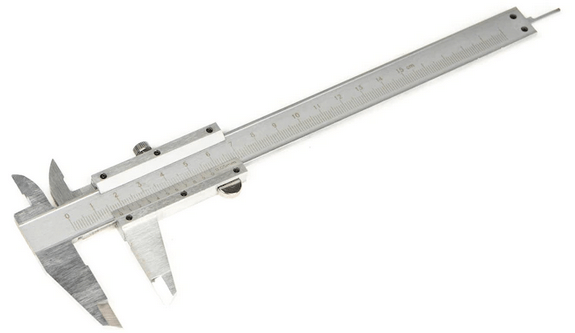
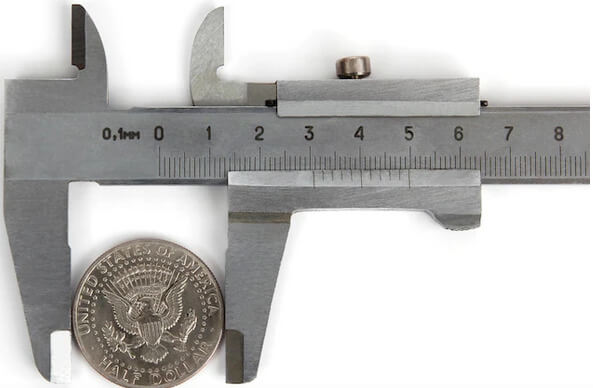
The fixed jaw has graduations for measuring, and the moving jaw has a vernier scale for reading these. The vernier scale comprises two fixed lines on top of the slide, separated sideways by half the width of one line.
To measure the line spacing, divide the reading by 100 and multiply that value by 10 to get in mm or inch measurements.
Parts
The various parts of the micrometer are as below.
- Frame: The frame is the micrometer’s body. This section contains the anvil, spindle, and screw.
- Anvil: The anvil is the tool to measure objects. It is typically flat and grooved. When measuring an object, the tracks hold it in place.
- Barrel: The barrel serves as the micrometer’s main body, holding the spindle and thimble in place.
- Screw: The thumbscrew turns the screw thread (or taper) to attach it to the barrel, enabling the screw to move up and down. As a result, the rod moves up and down with the barrel, displaying various measurements on its face.
- Locknut: A locknut secures everything and allows for fine adjustments when measuring.
- Ratchet Stop: The ratchet stop is the part of the micrometer that limits the spindle’s movement. The “limit” is the distance between the zero pin and the ratchet stop.
- Spindle: The long rod holds the anvil at one end and moves up and down concerning the frame as you turn the screw at the other end.
Heart of the Micrometer
The screw inside the barrel of a micrometer functions as the heart of the micrometer, determining the accuracy of the measurement based on its thread form. The screw’s thread, which can be felt as spikes when touching it, plays a crucial role. The cable, as the helical component, moves up the screw, converting torque into linear force.
Operating Principle
The process of using micrometers works as follows:
- Place your object on a flat surface and secure it.
- Align your micrometer to touch both sides simultaneously, ensuring the screws are in the correct position.
- Turn each screw until they both touch your object simultaneously (this will move the spindle closer to or further away from the barrel).
- Read the number on the dial closest to where you touched both sides of your micrometer simultaneously (this number will be between 0 and 6 inches).
- The reading on the vernier scale is half of one graduation.
When is a Micrometer Used?
A micrometer is a unit of measurement used for precise measurements. The following are some micrometer applications:
- Machines with in-and-out moving parts, such as pistons, must maintain a continuous straight line; otherwise, even minor sway can cause problems.
- Bearings and pipe fittings require precise specifications to function correctly.
- There are many ways to measure the thickness of metals, including using micrometers.


