Updated April 20, 2023

Introduction to Node.js setTimeout
The following article provides an outline for Node.js setTimeout. setTimeout is a built-in Node.js API function which executes a given method only after a desired time period which should be defined in milliseconds only and it returns a timeout object which can be used further in the process. setTimeout is mainly used when a particular block of code should be executed after a delay of few milliseconds also this time defined is the minimum time of wait before executing the callback function defined in setTimeout method.
Syntax of Node.js setTimeout
1. setTimeout without parameter
setTimeout(delayedFuntion, delayTimeInMS);
functiondelayedFuntion() {
//Write code here
}
setTimeout(function () {
//Write code here
}, delayTimeInMS)- First parameter: It should always be the function which needs delay in execution. Function on the fly or separately defined function both works fine here.
- Second parameter: It is the minimum time of delay required and should always be defined in milliseconds.
2. setTimeout with parameter
setTimeout(delayedFuntion, delayTimeInMS, param1, param2, .. and so on);
functiondelayedFuntion(param1, param2, .. And so on) {
//Write code here
}
setTimeout(function (param1, param2,..and so on) {
//Write code here
}, delayTimeInMS, param1, param2,..and so on)- First parameter: It should always be the function which needs delay in execution. It is parameterized method and can be defined on the fly or separately defined function both works fine here.
- Second parameter: It is the minimum time of delay required and should always be defined in milliseconds.
- Third parameter: The values defined from third parameter and so on(4th, 5th,..) are the values which should be passed in same sequence as it will be read in delayed Function (1st parameter of setTimeout). Sequence is most important here.
3. clearTimeout with setTimeout
vartimeoutObjectValue = setTimeout(function (param1, param2, ..and so on) {
//Write code here
}, delayTimeInMS);
clearTimeout(timeoutObjectValue);- First parameter: clearTimeout method accepts only one parameter and that should always be the timeout object returned from setTimeout method.
How setTimeout Function works in Node.js?
- setTimeout function executes the Callback function after mentioned delay in millisecond and returns a timeout object instance which can be used to cancel the timeout instances.
- This is similar to browser timeout where window.timeout is used to set timeout on browser and execute method with required delay. It is very important to note that the timeout mentioned in setTimeout method has no guarantee provided by NodeJSor JavaScript API that exactly after this time the function will get executed, it the minimum time of delay.
- Another interesting part of setTimeout method is that, in an application if many such timeout instances are created it is a good practice to cancel those timeouts once their use is over in order to prevent triggering of these instance and also to reuse same object further.
Example of Node.js setTimeout
Let’s consider an example where User is Adding Items to a shopping cart and is being navigated to the payment screen, as per security compliance policy, the requirement is that once the user is on payment page for more than 10 seconds some action needs to be taken to avoid or to cancel the payment process as payment gateway will be down, which means we need to set timeout with delayTimeInMS as 10 seconds and in callback function the code can be written to display alert, or to refresh or to go back to home page.
Example #1
Create a Simple Node.js application using command npm in it which provides index.js as the entry point where all the Node.js code can be written. We will be using express node module, so make sure you install express. For Demo purpose we will display the output on the CMD console.
Index.js
Code:
var express = require('express');      //Using express node module to create service
var app = express();
app.get('/', function (req, res) {      //Using express app.get method to display details on UI
res.writeHead(200, {"Content-Type": "text/html"});
res.write('<!DOCTYPE html>'+
'<html>'+
' <head>'+
' <meta charset="utf-8" />'+
' <title>My Node.js page!</title>'+
' </head>'+
' <body>'+
' <h1>Payment Screen</h1>'+
' </body>'+
'</html>');
res.end();   //Writing content to html using res.write
vardelayTimeInMS = 10000;  //Defining time in ms
vardelayedFuntion = function () {
//Write Code here
console.log("Payment page exceeded the time limit, please refresh the screen");
}
setTimeout(delayedFuntion, delayTimeInMS);
});
app.listen(3000, function () {
console.log('Demo Applications has started to listen on port 3000!');
});
Example #2
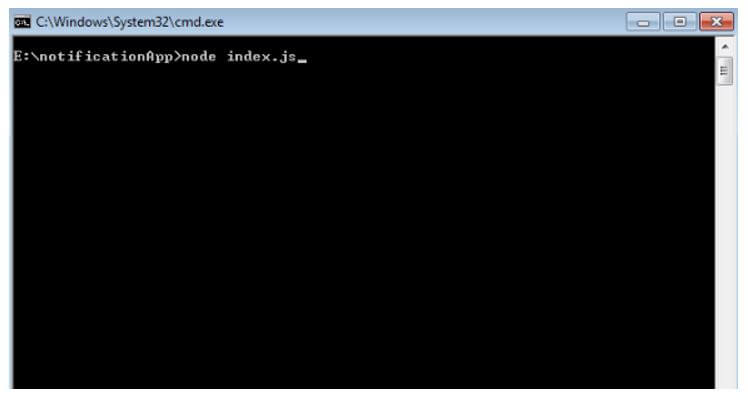
To start the application run the command node index.js in CMD.
Example #3
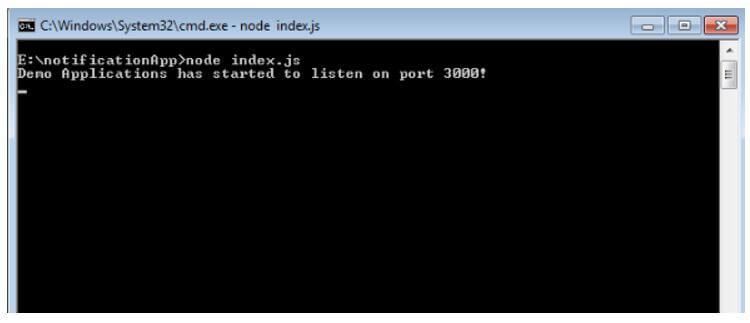
As our Node Application is listening on port 3000, once CMD says the application has started to listen on port 300, open chrome window or any other browser and launch local application on http with port number as 3000.
Example #4
On Browser window HTML content can be rendered to display the Payment related details or asking for Payment information which later will redirect to the Payment Gateway. For Demo purpose we are just displaying simple HTML content as below.
Example #5
Now the setTimeout method starts executing and counting on the time which is defined in delayTimeInMS(2nd parameter in setTimeout). Note this is the minimum time of delay and not the exact time after which delayedFuntion(1st parameter in setTimeout) will get executed.
Example #6
Keep monitoring the console and once minimum 10 seconds time has passed you will see that delayedFuntion(1st parameter in setTimeout) is executed and whatever code is written inside this method gets executed. For instance we have just printed few lines on console but it can be used for wider aspects like refresh the content, navigate to home page, alert the user, show timeout window, etc.
Advantages of Node.js setTimeout
Given below are the advantages mentioned:
- Using Node.js framework, code runs asynchronously, and so at times requirement arises that the code execution which is asynchronous should be kept on hold for a minimum time period mention in setTimeout method.
- This becomes the major advantage of using setTimeout method is Node.js so that code execution, delay in response, processing response after a time period, redirecting or reloading contents after a time is exceeded, etc. All can be achieved by using setTimeout method.
Conclusion
The Node.js setTimeout method can be used at various places in javascript code where user need some operation to be performed after a delay of time. As javascript is single threaded, using setTimeout allows the thread to run another events which are waiting in the queue and makes execution faster. Make sure while using setTimeout in loops it could be tricky at times and at times used quite easily. On a whole setTimeout is very useful method in Node.js and can be used across application with no major lines of code.
Recommended Articles
This is a guide to Node.js setTimeout. Here we discuss the introduction to Node.js setTimeout, how setTimeout function works with programming example and advantages. You may also have a look at the following articles to learn more –


