Updated April 10, 2023

Introduction to OpenCV bounding box
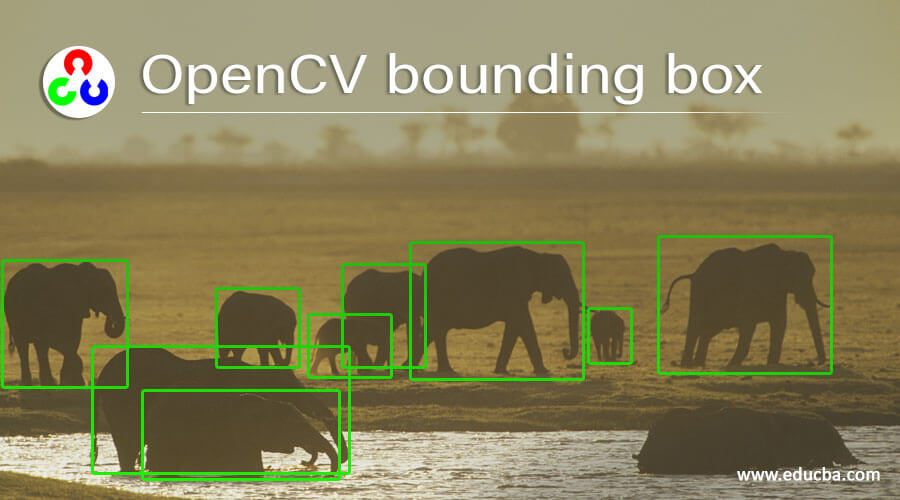
An imaginary rectangle around a given object that serves as a region of interest in the given image is called a bounding box and these rectangles can be drawn over an image using data annotators by defining the x coordinate and y coordinate of the region of the interest in the image and to draw a bounding box on a given image, we make use of a function called selectROI() function in OpenCV using which a rectangle can be selected in a given image and then the rectangular region can be cropped and just the cropped image from the given image can be displayed.
Syntax to define selectROI() Function in OpenCV:
selectROI(source_image)Where,
- source_image is the image on which the rectangular region can be selected, cropped and the cropped image can be displayed as the output on the screen.
Working of selectROI() Function in OpenCV
- The bounding box is an imaginary rectangle drawn around a given object and it serves as the region of interest.
- To draw a bounding box around an object in the given image, we make use of a function called selectROI() function in OpenCV.
- The image on which the bounding box is to be drawn using selectROI() function is read using imread() function.
- The selectROI() function is used on the input image by passing it as the parameter to the selectROI() function to select the region of interest by drawing a bounding box around the required object.
- The selectROI() function returns an image by allowing us to draw the bounding box wherever necessary.
- Then the image within the bounding box drawn using selectROI() function can be cropped using imCrop() function.
- Then the cropped image alone can be displayed as the output on the screen.
Examples of OpenCV bounding box
Given below are the examples of OpenCV bounding box:
Example #1
OpenCV program in python to demonstrate selectROI() function to draw a bounding box around a given object in the input image and then crop the area within the bounding box and then display the cropped image as the output on the screen.
Code:
#importing all the required modules
import cv2 as cv
#reading the image on which bounding box is to be drawn using imread() function
imageread = cv.imread('C:/Users/admin/Desktop/educba.jpg')
#using selectROI() function to draw the bounding box around the required objects
imagedraw = cv.selectROI(imageread)
#cropping the area of the image within the bounding box using imCrop() function
croppedimage = imageread[int(imagedraw[1]):int(imagedraw[1]+imagedraw[3]), int(imagedraw[0]):int(imagedraw[0]+imagedraw[2])]
#displaying the cropped image as the output on the screen
cv.imshow('Cropped_image',croppedimage)
cv.waitKey(0)
cv.destroyAllWindows()
Output:
In the above program, we are importing the required modules. Then we are reading the image on which the bounding box is to be drawn using imread() function. Then we are drawing the bounding box on the required object in the given image using selectROI() function. Then we are cropping the area within the bounding box using imCrop() function. Then we are displayed the cropped image as the output on the screen. The output is shown in the snapshot above.
Example #2
OpenCV program in python to demonstrate selectROI() function to draw a bounding box around a given object in the input image and then crop the area within the bounding box and then display the cropped image as the output on the screen.
Code:
#importing all the required modules
import cv2 as cv
#reading the image on which bounding box is to be drawn using imread() function
imageread = cv.imread('C:/Users/admin/Desktop/plane.jpg')
#using selectROI() function to draw the bounding box around the required objects
imagedraw = cv.selectROI(imageread)
#cropping the area of the image within the bounding box using imCrop() function
croppedimage = imageread[int(imagedraw[1]):int(imagedraw[1]+imagedraw[3]), int(imagedraw[0]):int(imagedraw[0]+imagedraw[2])]
#displaying the cropped image as the output on the screen
cv.imshow('Cropped_image',croppedimage)
cv.waitKey(0)
cv.destroyAllWindows()
Output:
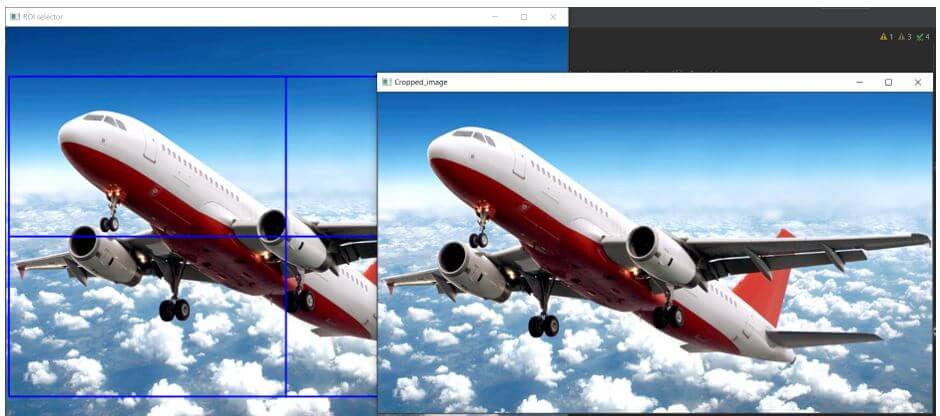
In the above program, we are importing the required modules. Then we are reading the image on which the bounding box is to be drawn using imread() function. Then we are drawing the bounding box on the required object in the given image using selectROI() function. Then we are cropping the area within the bounding box using imCrop() function. Then we are displayed the cropped image as the output on the screen. The output is shown in the snapshot above.
Example #3
OpenCV program in python to demonstrate selectROI() function to draw a bounding box around a given object in the input image and then crop the area within the bounding box and then display the cropped image as the output on the screen.
Code:
#importing all the required modules
import cv2 as cv
#reading the image on which bounding box is to be drawn using imread() function
imageread = cv.imread('C:/Users/admin/Desktop/car.jpg')
#using selectROI() function to draw the bounding box around the required objects
imagedraw = cv.selectROI(imageread)
#cropping the area of the image within the bounding box using imCrop() function
croppedimage = imageread[int(imagedraw[1]):int(imagedraw[1]+imagedraw[3]), int(imagedraw[0]):int(imagedraw[0]+imagedraw[2])]
#displaying the cropped image as the output on the screen
cv.imshow('Cropped_image',croppedimage)
cv.waitKey(0)
cv.destroyAllWindows()
Output:
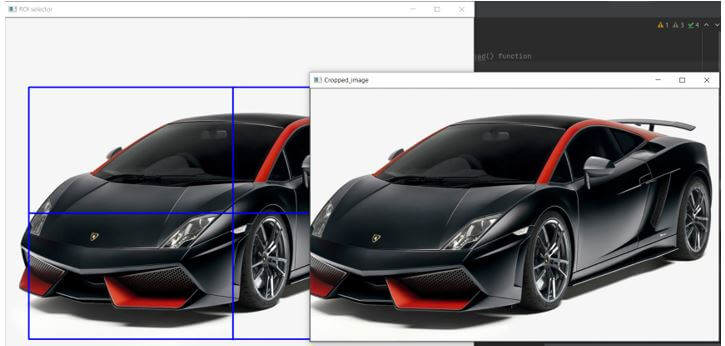
In the above program, we are importing the required modules. Then we are reading the image on which the bounding box is to be drawn using imread() function. Then we are drawing the bounding box on the required object in the given image using selectROI() function. Then we are cropping the area within the bounding box using imCrop() function. Then we are displayed the cropped image as the output on the screen. The output is shown in the snapshot above.
Recommended Articles
We hope that this EDUCBA information on “OpenCV bounding box” was beneficial to you. You can view EDUCBA’s recommended articles for more information.


