Introduction to Paper Texture in Illustrator
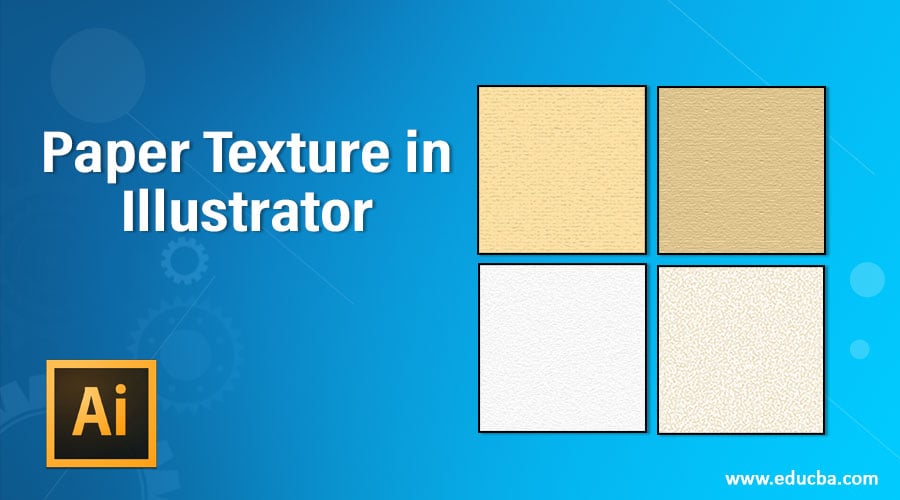
Paper Texture is one of its best feature, which helps in a different type of graphic designing work. Paper Texture Illustrator is referred to as the illustration, which uses a natural feel of real-world paper effect and helps you understand the purpose of that particular illustration. With Paper Texture, you can make highly professional illustration work and use it as a base idea of any theme-oriented graphics.
Here in this article, we will understand ‘What is Paper Texture Illustrator?’ and learn ‘How to apply Paper Texture in illustrator?’ with a very simple and exciting example. You can use this paper texture idea for your project work for making your project effective.
How to Create Paper Texture in Illustrator?
Is this a big question for you? Now don’t worry about the answer to this question it will be no more question for you after this article. You just have to stay with this article, and you will find an easy way for this problem at the end of the article. Now let us start our learning of creating paper texture with few simple steps. The steps are as follows.
Step 1: Go to the File Menu of a Menu bar at the top of the working screen of the illustrator. Choose the ‘New’ Option from the drop-down list for making the ‘New’ document in this software.
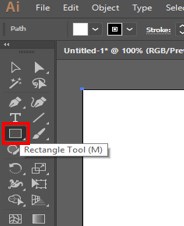
Step 2: Now go to the tool panel section, which is on the left side of the working screen of this software, and choose the Rectangle tool from the list of the tool panel.
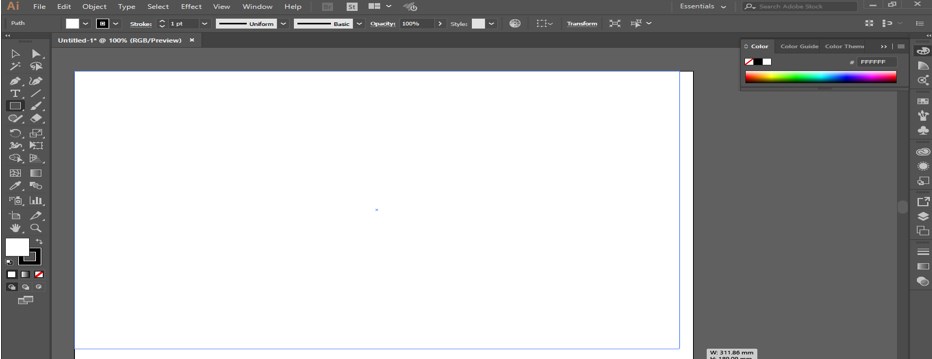
Step 3: Make a rectangle with the help of this rectangle tool of this software. Make sure the rectangle will fully cover the area of the document.
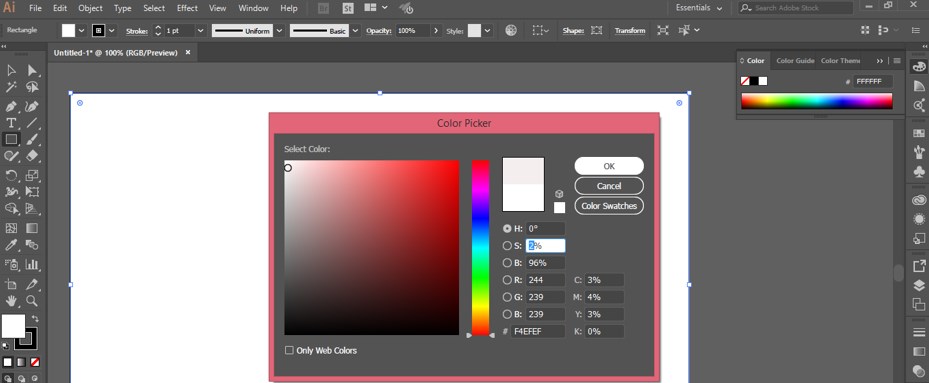
Step 4: Now click on the Fill Color box of this rectangle which is at the bottom end of the tool panel section. A Color Picker box will be open. Choose 2% black color in combination with white color that is a light grey color. You can choose any other color for the texture of your paper.
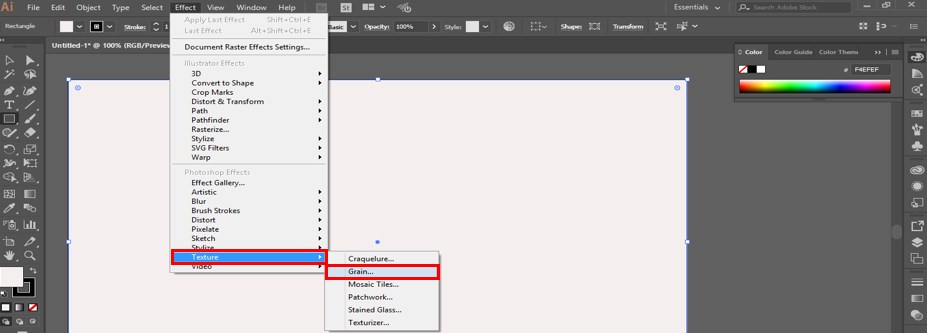
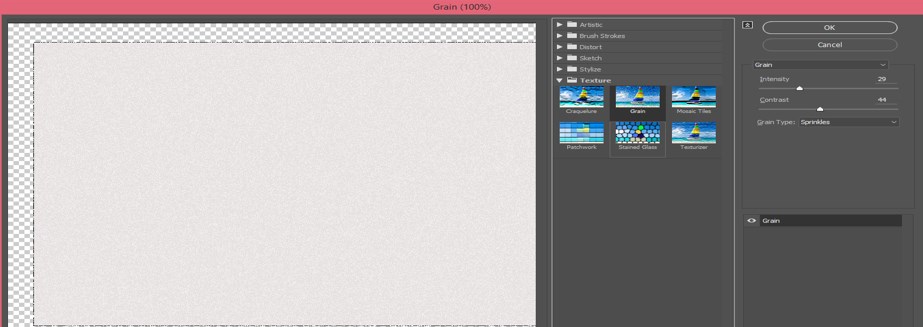
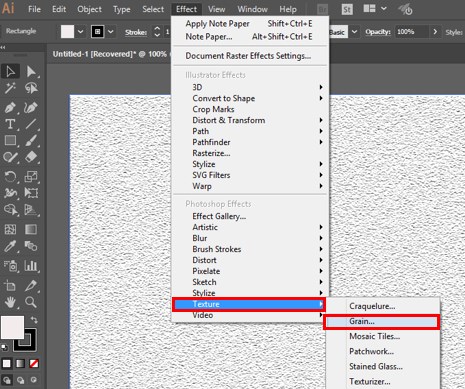
Step 5: Go to the Effect Menu of the Menu bar, which is at the top of the working area. A drop-down list will be open. Go to the Texture option of this list and choose the Grain option from the new drop-down list.
Step 6: The grain box of texture option will be open when you click on the Grain option of the drop-down list.
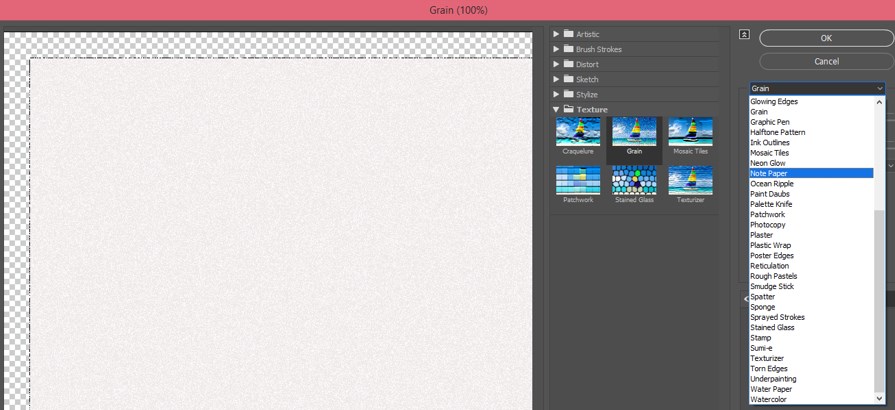
Step 7: Here in the Grain option of Texture effect, we have many different types of options. Click on the drop arrow of the grain option. A drop-down list will be open here. Choose ‘Note Paper’ style of grain effect by click on it.
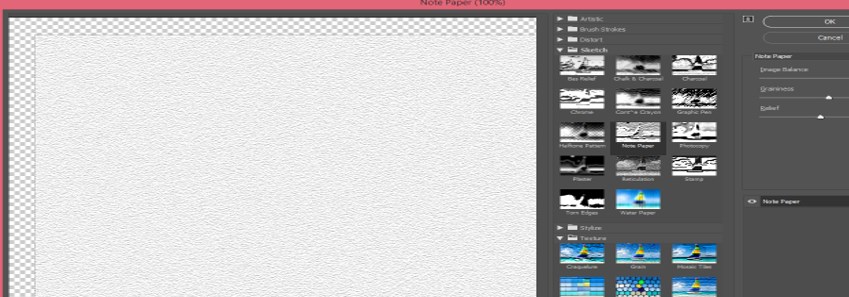
Step 8: When you select the ‘Note Paper’ option, the texture of the paper will appear in your document area. For enhancing the detailing of this texture, we will make some settings in the parameter of this option.
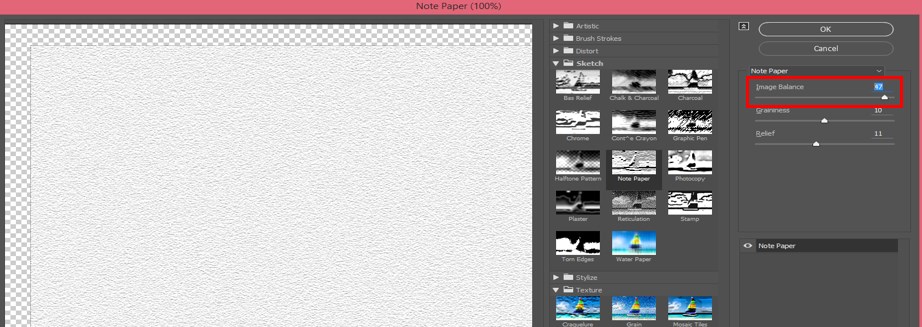
Step 9: Let us make some changes in the parameter of this option. Make the ‘Image Balance’ value up to 47 for the natural effect of the texture of the paper.
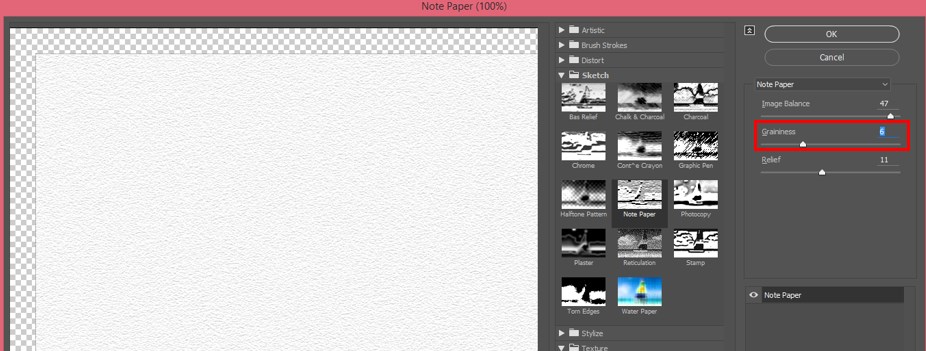
Step 10: Now make the value of ‘Graininess’ up to 6. Graininess means the density of grain in any texture. If the value of graininess is less, then the density of the grain will be less.
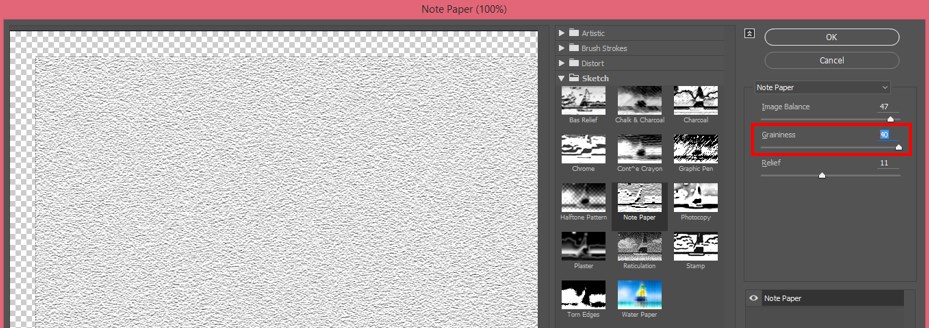
Step 11: And when you increase the value of this property, the density of the grain will be increased, and the texture will look like this. You can adjust the value of graininess according to you, which suits your desired texture.
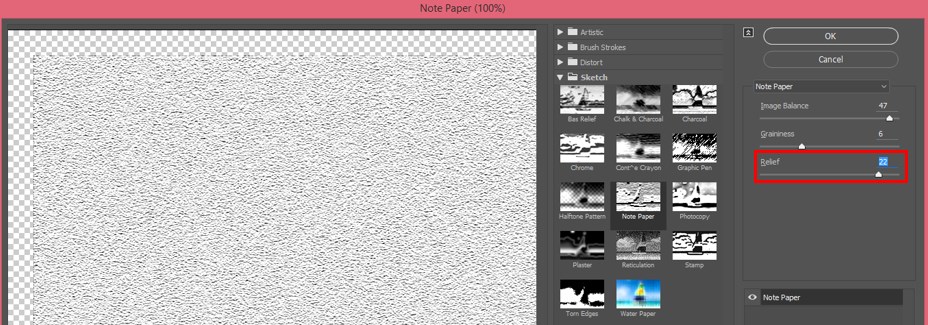
Step 12: The next parameter is of the ‘Note Paper’ style is Relief. You can increase and decrease the value of Relief according to you. Relief lightens or darkens the detailing of grain structure when you increase and decrease its value.
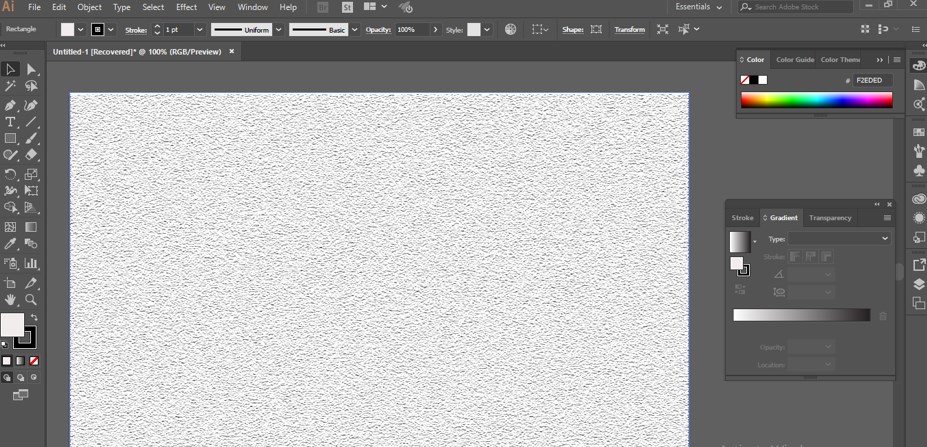
Step 13: This is the final paper texture of the Note Paper style. Now you can use this paper texture in your illustration or graphics designing work and make an effective project with these features.
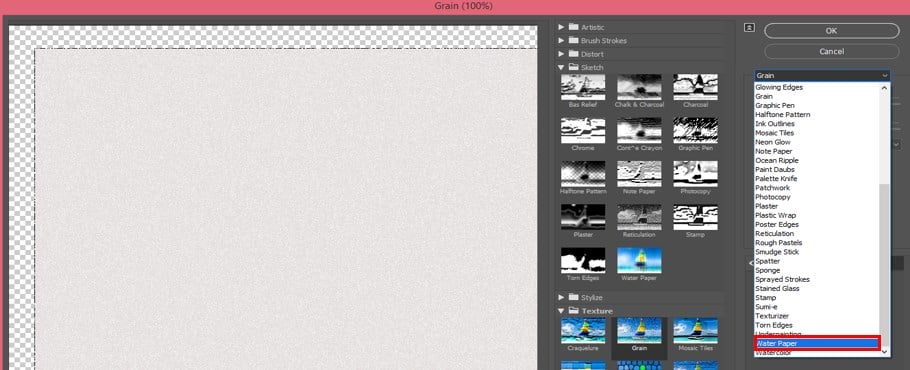
Step 14: Now, I will introduce you to one more paper texture style. You can also use this style as a paper texture in adobe illustrator, the Water Paper style. Again, for Water paper style, go to Effect Menu of Menu bar and go to Texture in a drop-down list. Choose the Grain option again.
Step 15: Now click on the down arrow key of the Grain style option and Choose Water Paper style from the drop-down list.
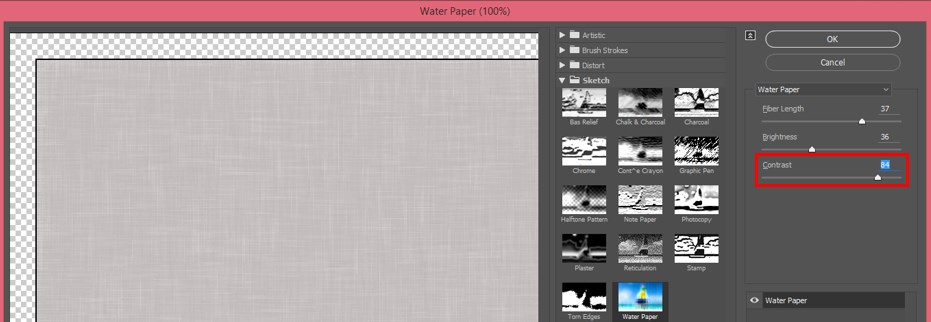
Step 16: We also have some parameters in this texture. Fiber Length is one of the important properties of this style. When you decrease the value of Fiber Length, the fiber mark on paper will look like randomly arranged.
Step 17: When you increase the value of Fiber Length, it will give a smooth structure to the paper like this.
Step 18: You can set the brightness of this style according to you. The appearance of the color of paper becomes light when you increase the value of Brightness.
Step 19: And when you decrease the value of Brightness, it will give you darken appearance.
Step 20: The third one is Contrast. Contrast increases and decreases the smoothness of the color of the paper. By changing the value of the Contrast, you can adjust it according to your requirement.
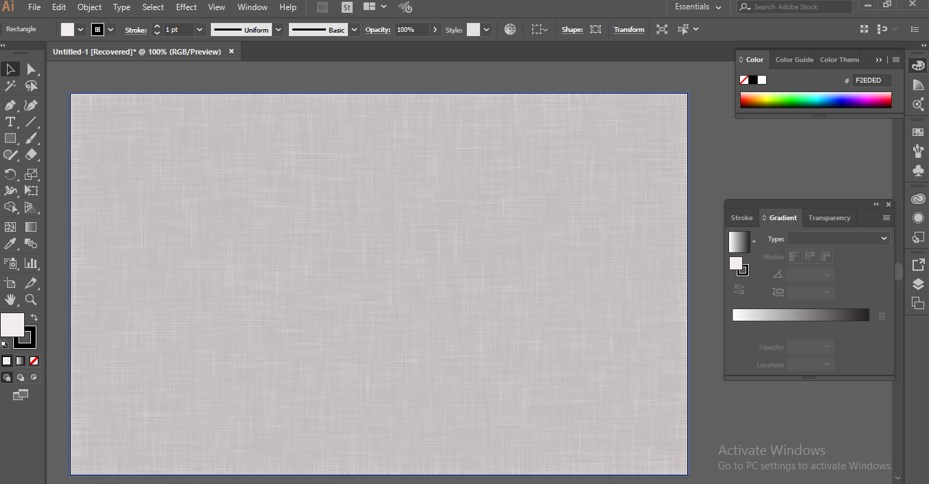
Step 21: This is the final Water paper texture. You can also use this texture as the base of any artwork and utilize its quality to enhance the appearance of your work.
In this way, you can add paper texture in your graphics work of adobe illustrator software. You can make your own paper texture with the help of some tools and features of this software. By adding paper Texture to your work, you can manipulate it with your own ideas.
Conclusion
After this article, now you know about Paper Texture illustrator, and you can use it in your graphics work to make your work more effective for its real purpose. You can have command of this feature of illustrator by analyzing all aspects of this feature.
Recommended Articles
This is a guide to Paper Texture in Illustrator. Here we discuss the Introduction and how to create Paper Texture in Illustrator with its Aspects and Features. You can also go through our other related articles to learn more –

