
What Exactly is the Patch Tool for?
The patch tool is used for retouching or repairing photos that are damaged. It is found as a part of healing brush tools. You can also use it for removing components from your image. It offers an effective method to fix any large or small part of the image. There are similarities to the healing brush tool as the patch tool also matches the coloring, texture, and lighting of the selected area to the source. In this topic, we are going to learn about the Patch Tool in Photoshop.
The difference is that, unlike the brush, it only works based on the selection. One aspect of the patch tool is that it renders a slightly different outcome as you use it multiple times. You can effortlessly work on larger areas of an image with great results. One can clone or duplicate parts of a photo using the destination mode along with the patch tool. We will discuss how to do that further in the article. Furthermore, users can also use transparent or pattern options as well.
Although some of them might not be used quite frequently, it still is good to be aware of the option. Before the release of Photoshop CS6, there was no option to work on empty layers with the patch tool. Therefore, users had to duplicate the layers and then work on the images. With Photoshop CS6, the new feature introduced is content-aware which can better the results when combined with the patch tool. Thus, the patch tool has become more effective and useful than the earlier versions.
Where is the Patch Tool located?
The patch tool can be selected from the tools panel under the healing brush tool. It is third in the row.
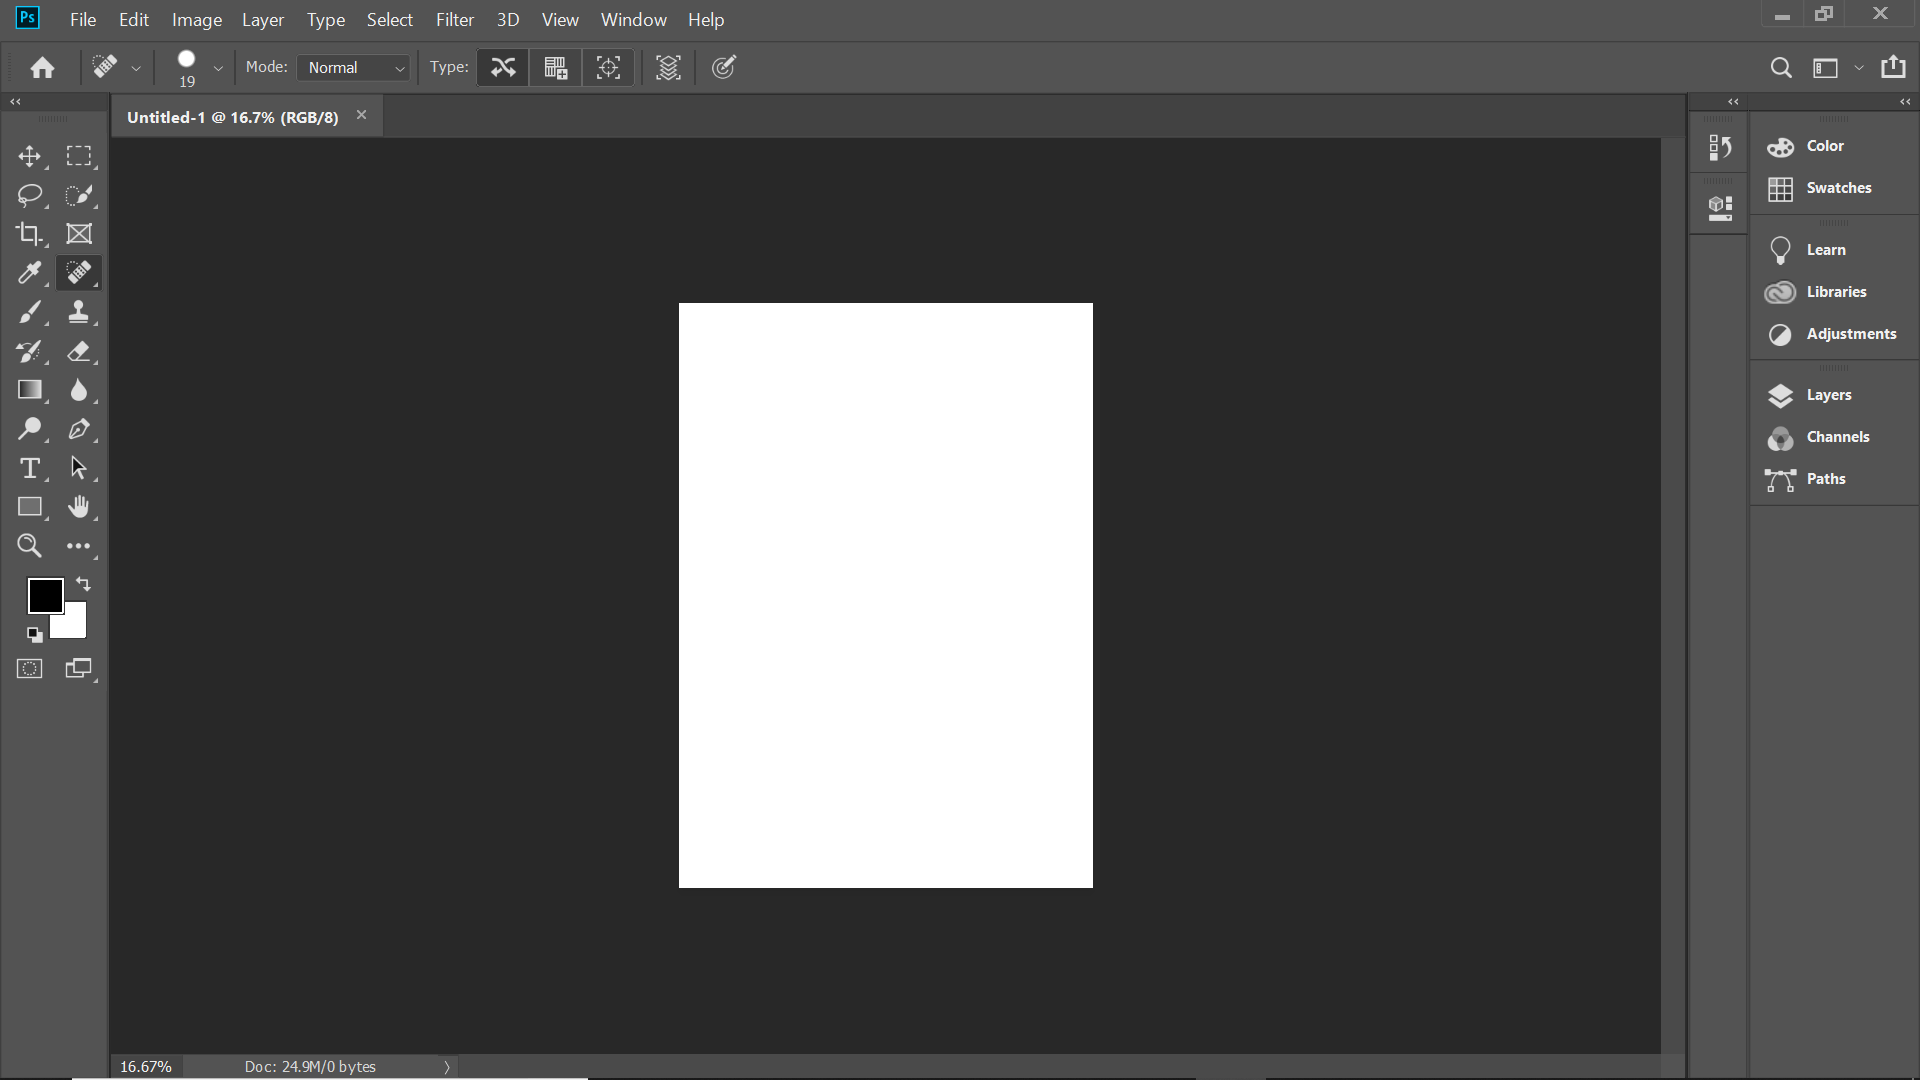
How does the Patch Tool Work?
- First of all, you need to select an area after choosing the patch tool. Its functionality is similar to the lasso tool if you are already familiar with it.
- Next, you simply have to hover the cursor around and drag it to any direction.
- Once you opt for the source or destination node in the options bar, you can find a preview of an image while dragging.
- As soon as you release the mouse, Photoshop would blend the pixels evenly in such a way as to match the original photo condition. If you need to deselect, use the shortcut: Ctrl + D on Windows and Cmd + D on Mac.
You have to be careful in selecting the object, as even a tiny border can impact the result significantly.
For Removing Unwanted Elements from the Image
You can also use the patch tool in normal mode to remove things from an image instantly and easily. However, it will not guarantee a 100 percent result always. Also, ensure that you are not working on the original layer. Use a duplicate BG layer or an empty layer. Note: You can make use of any selection tool other than the patch tool to define a selection.
Below is an example of an object removed using the patch tool.
Step 1: Navigate to the File menu and select Open. After this, you will see a pop up like the below image.
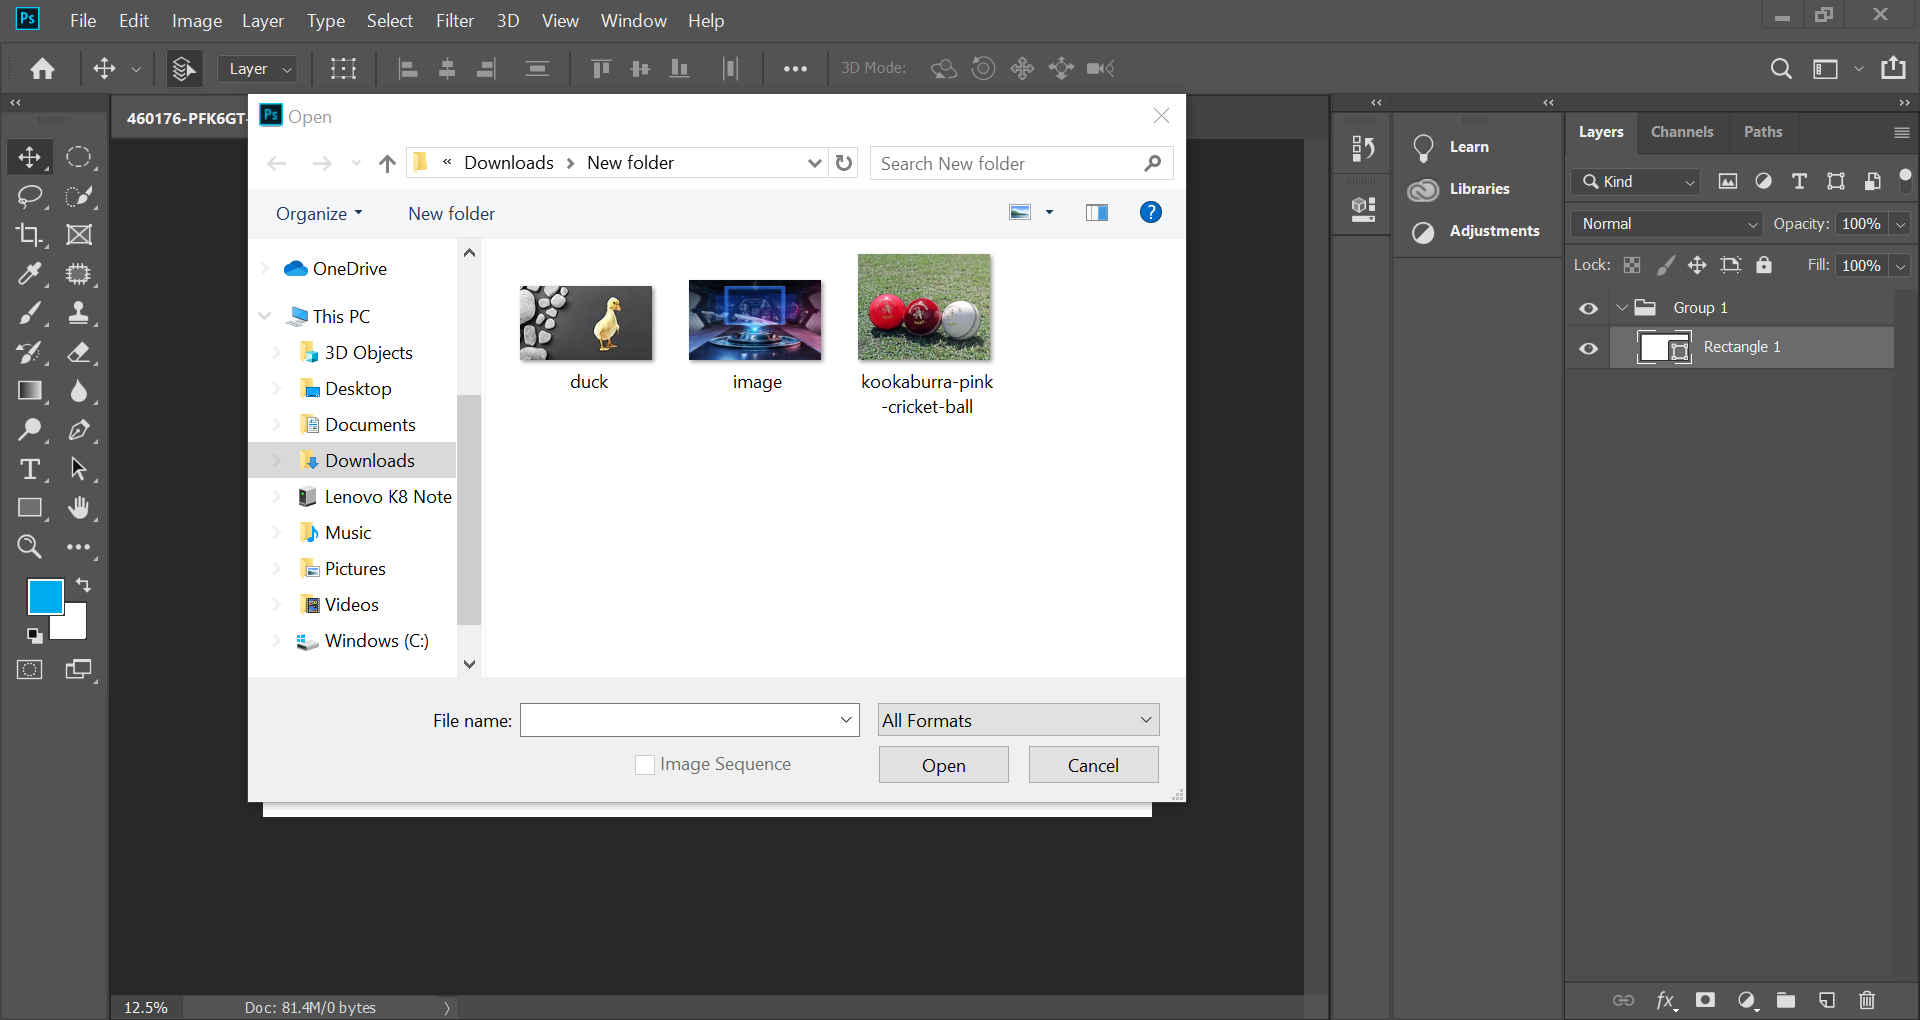
Step 2: Next, you have to choose the image you want to rework
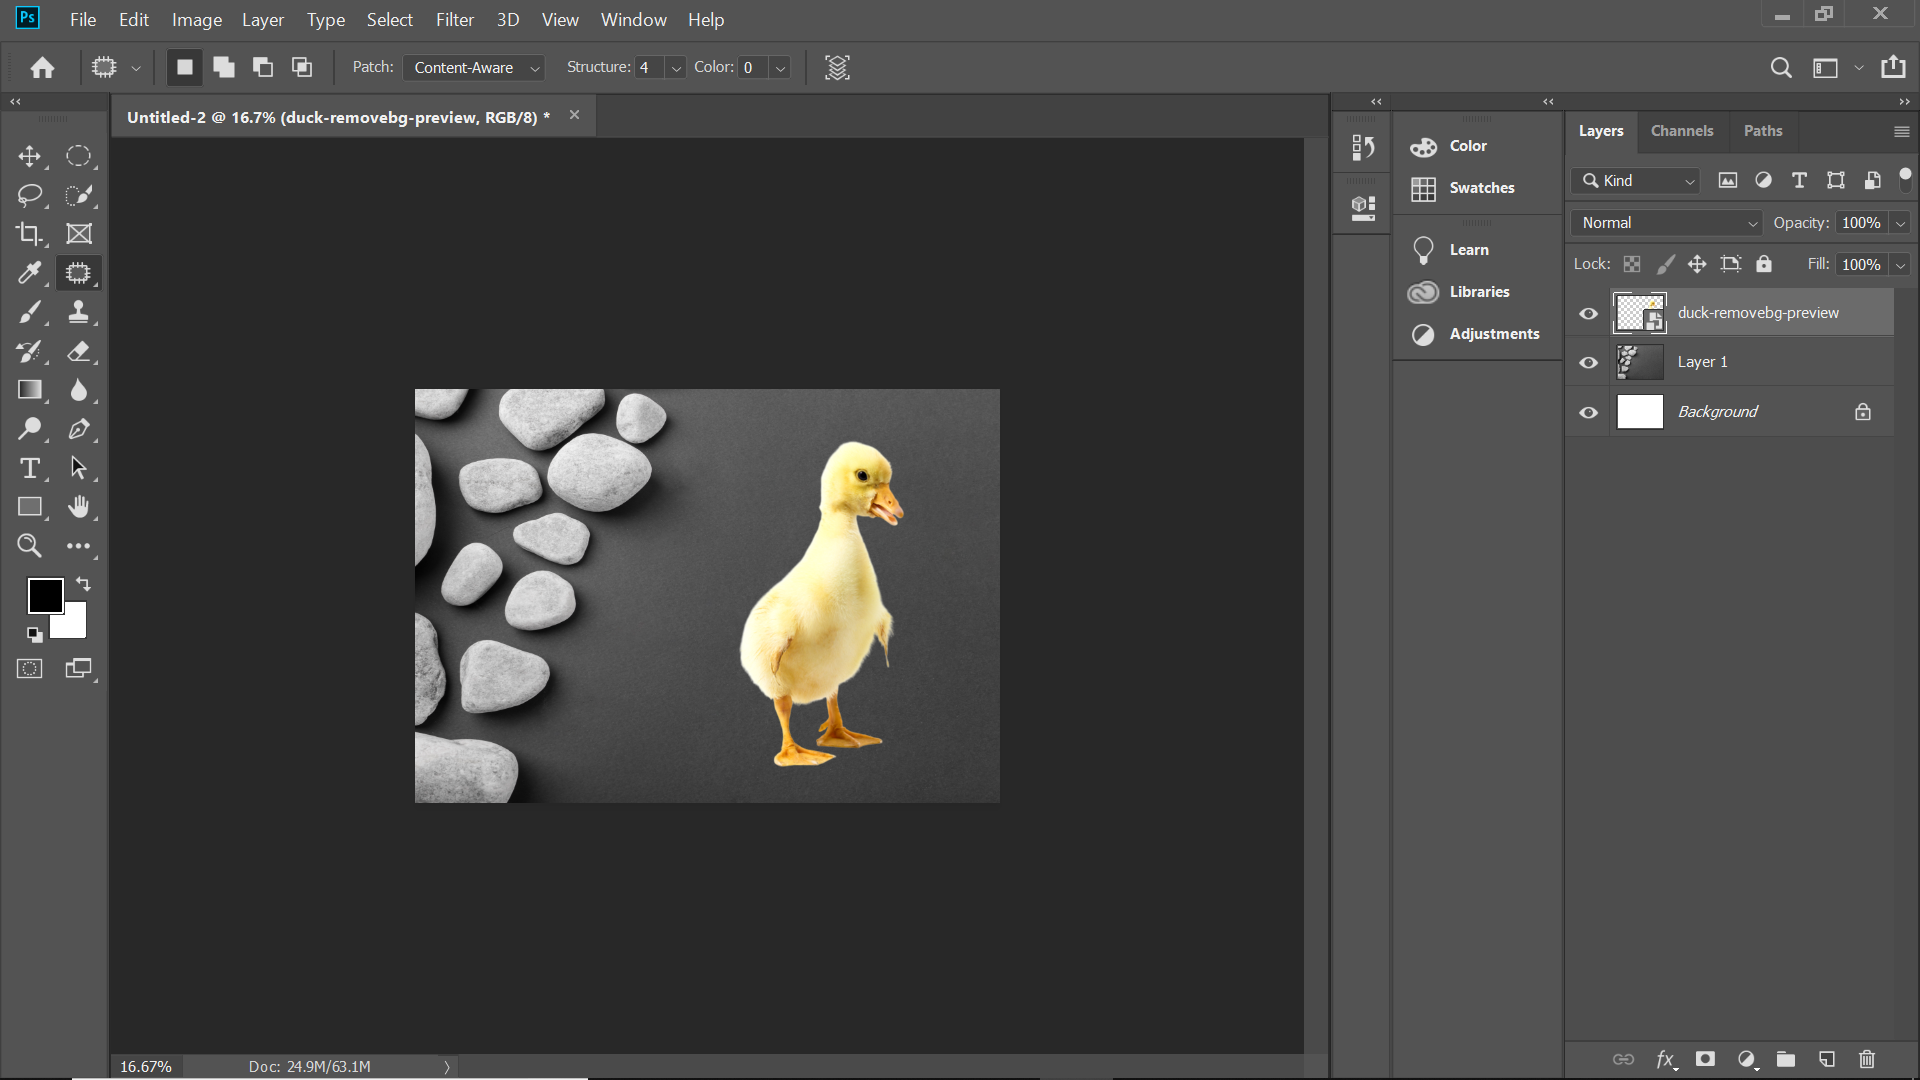
Step 3: After the image opens, select the unwanted area from the image using the patch tool

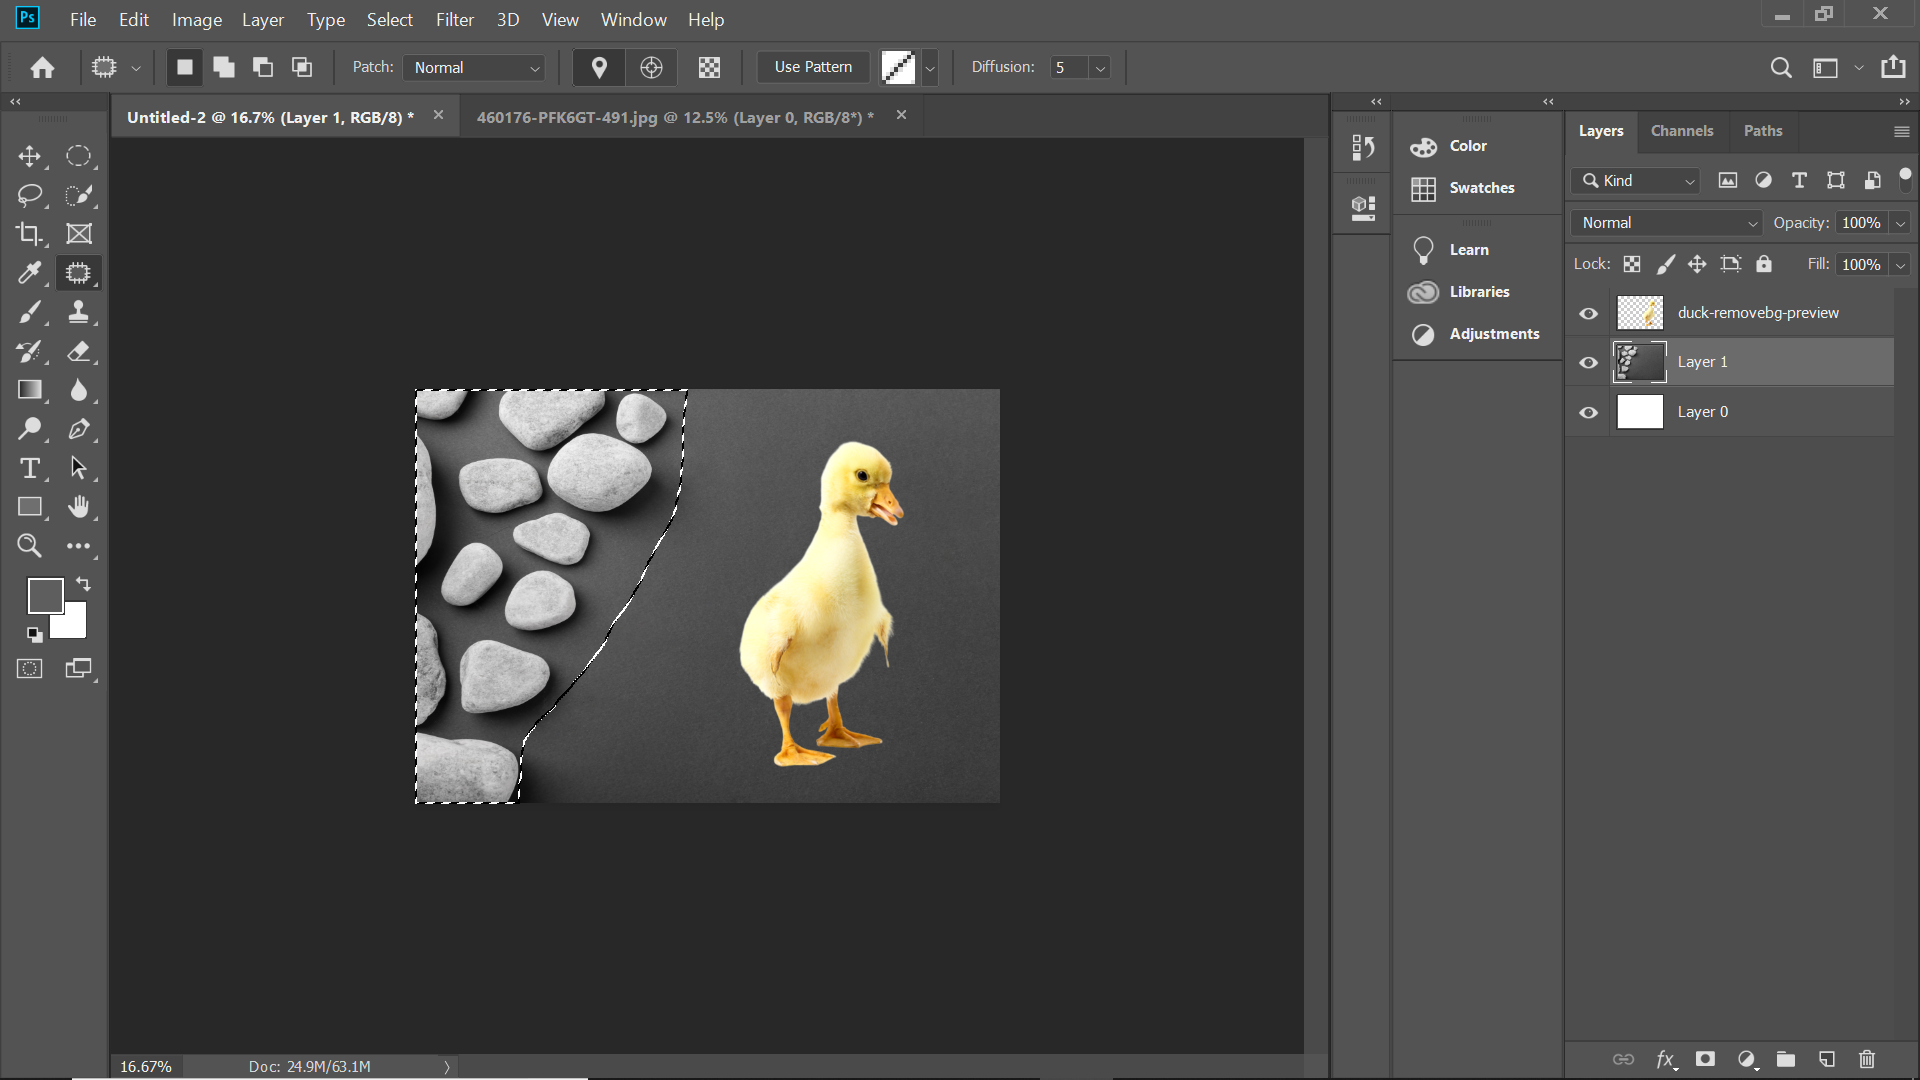
Step 4: Using the patch tool, move the selected area to match the background you want it to be, as shown in the below image.
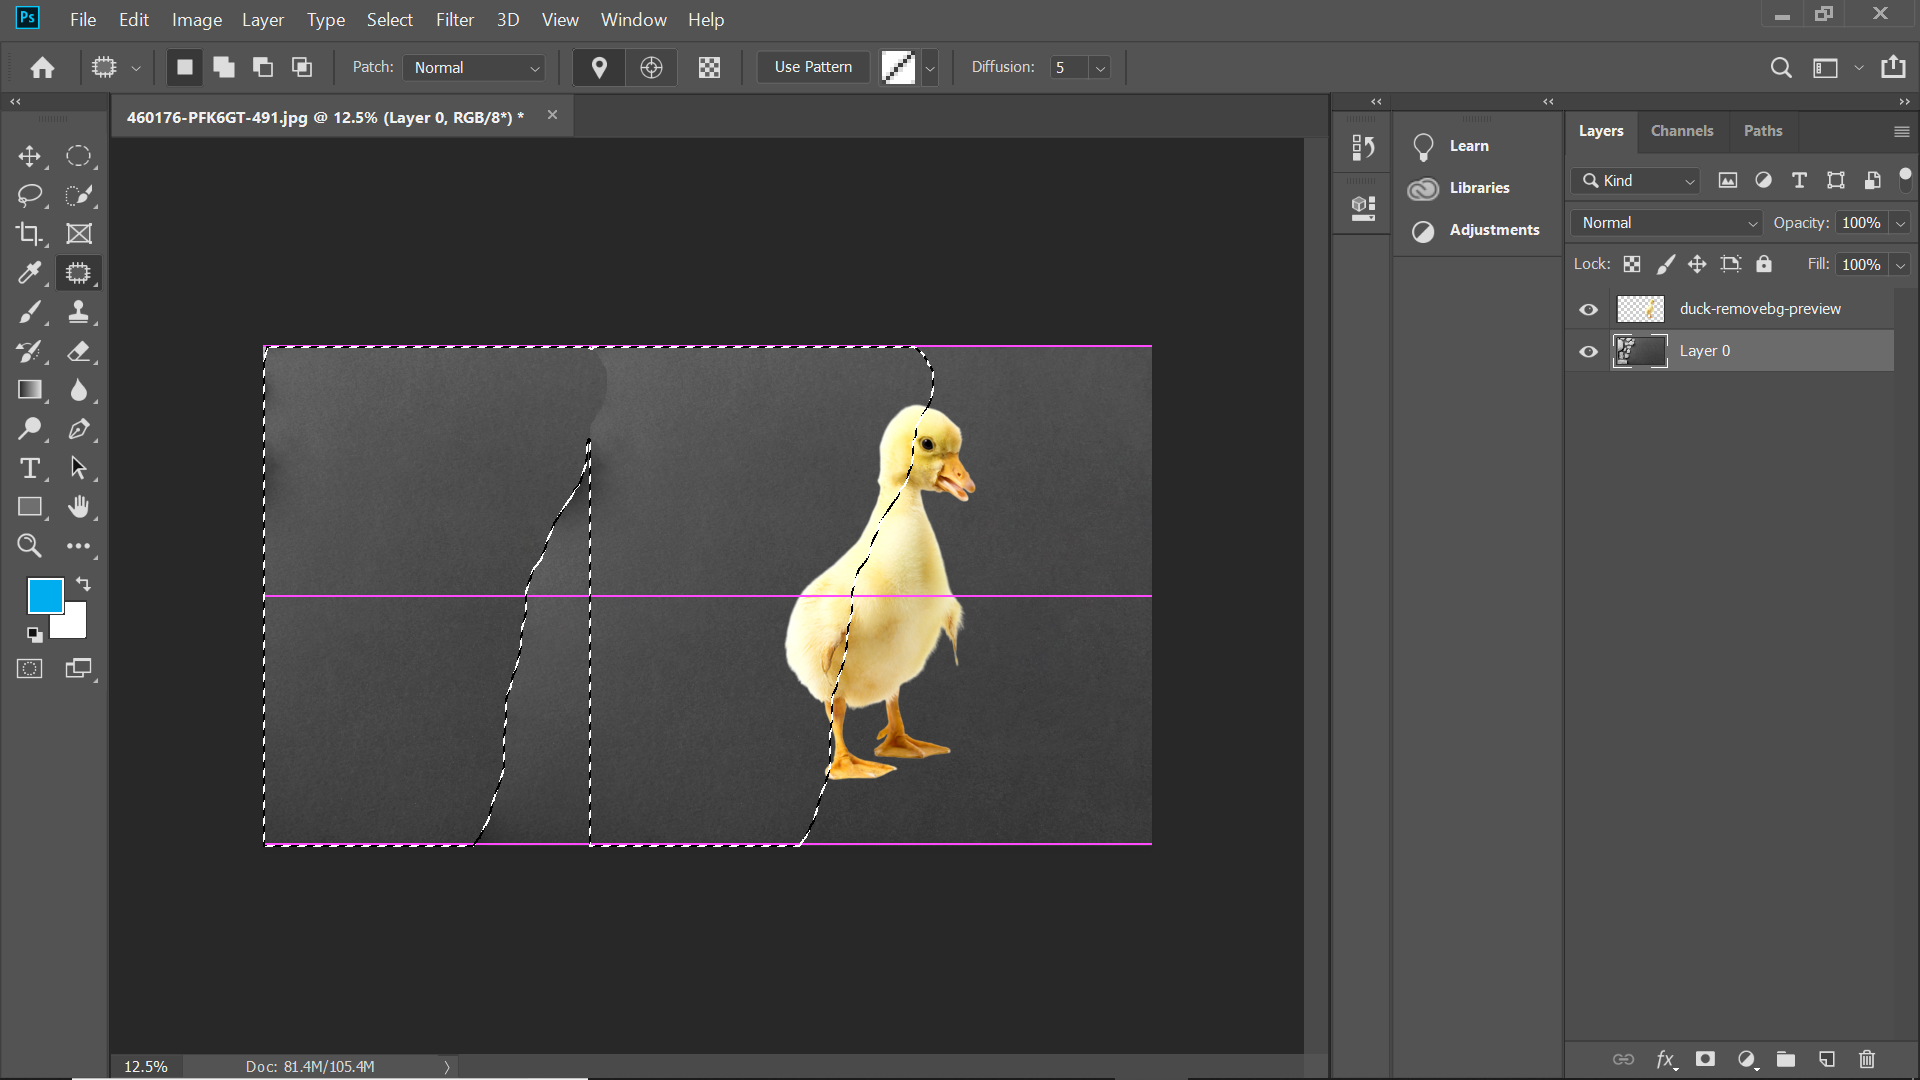
Now you will see that the image part with pebbles has been removed completely.
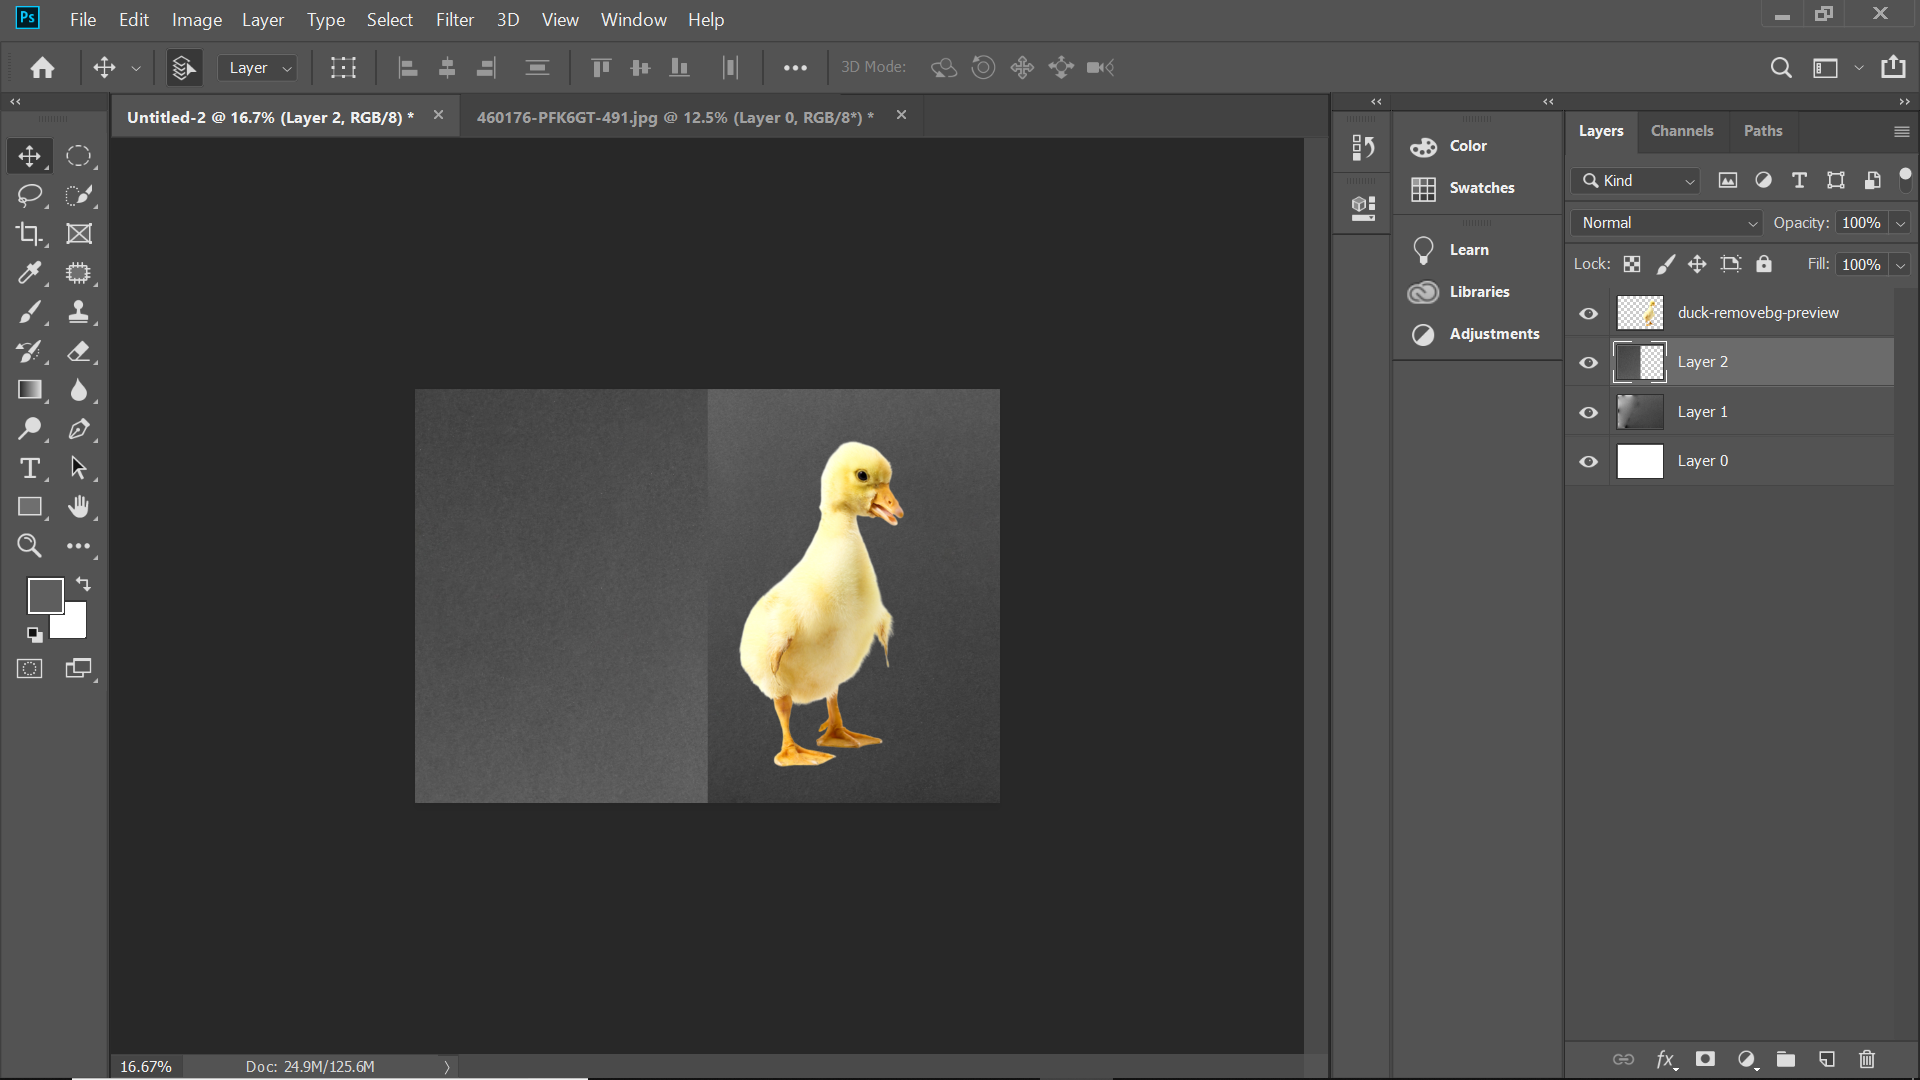
Clone Parts of an Image
Let us see how we can duplicate parts of an image using the patch tool.
In the below example, we have duplicated the red cricket ball and added a new one.
Let’s see the method to do that in a stepwise manner
Step 1: Make a selection around the cricket ball
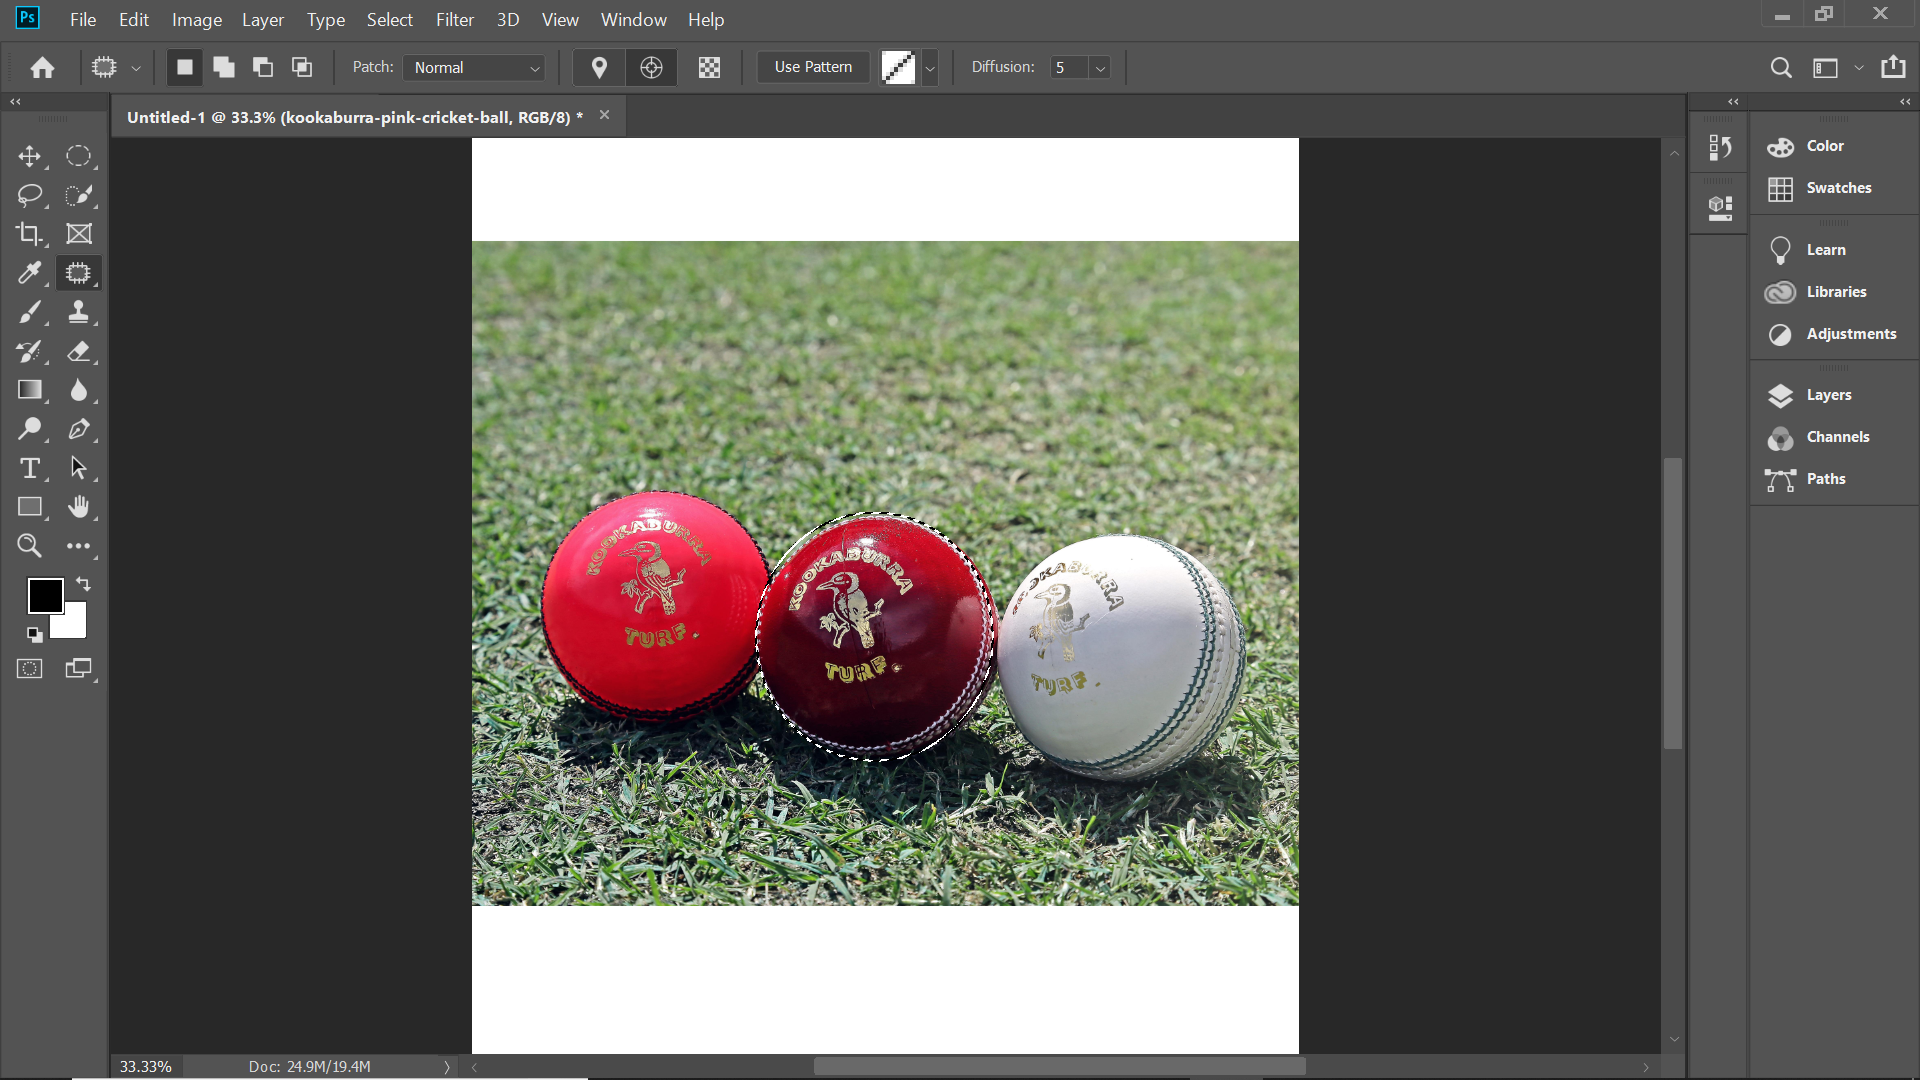
Step 2: From the options bar, select destination
Step 3: Using the patch tool, move the selection over the position.
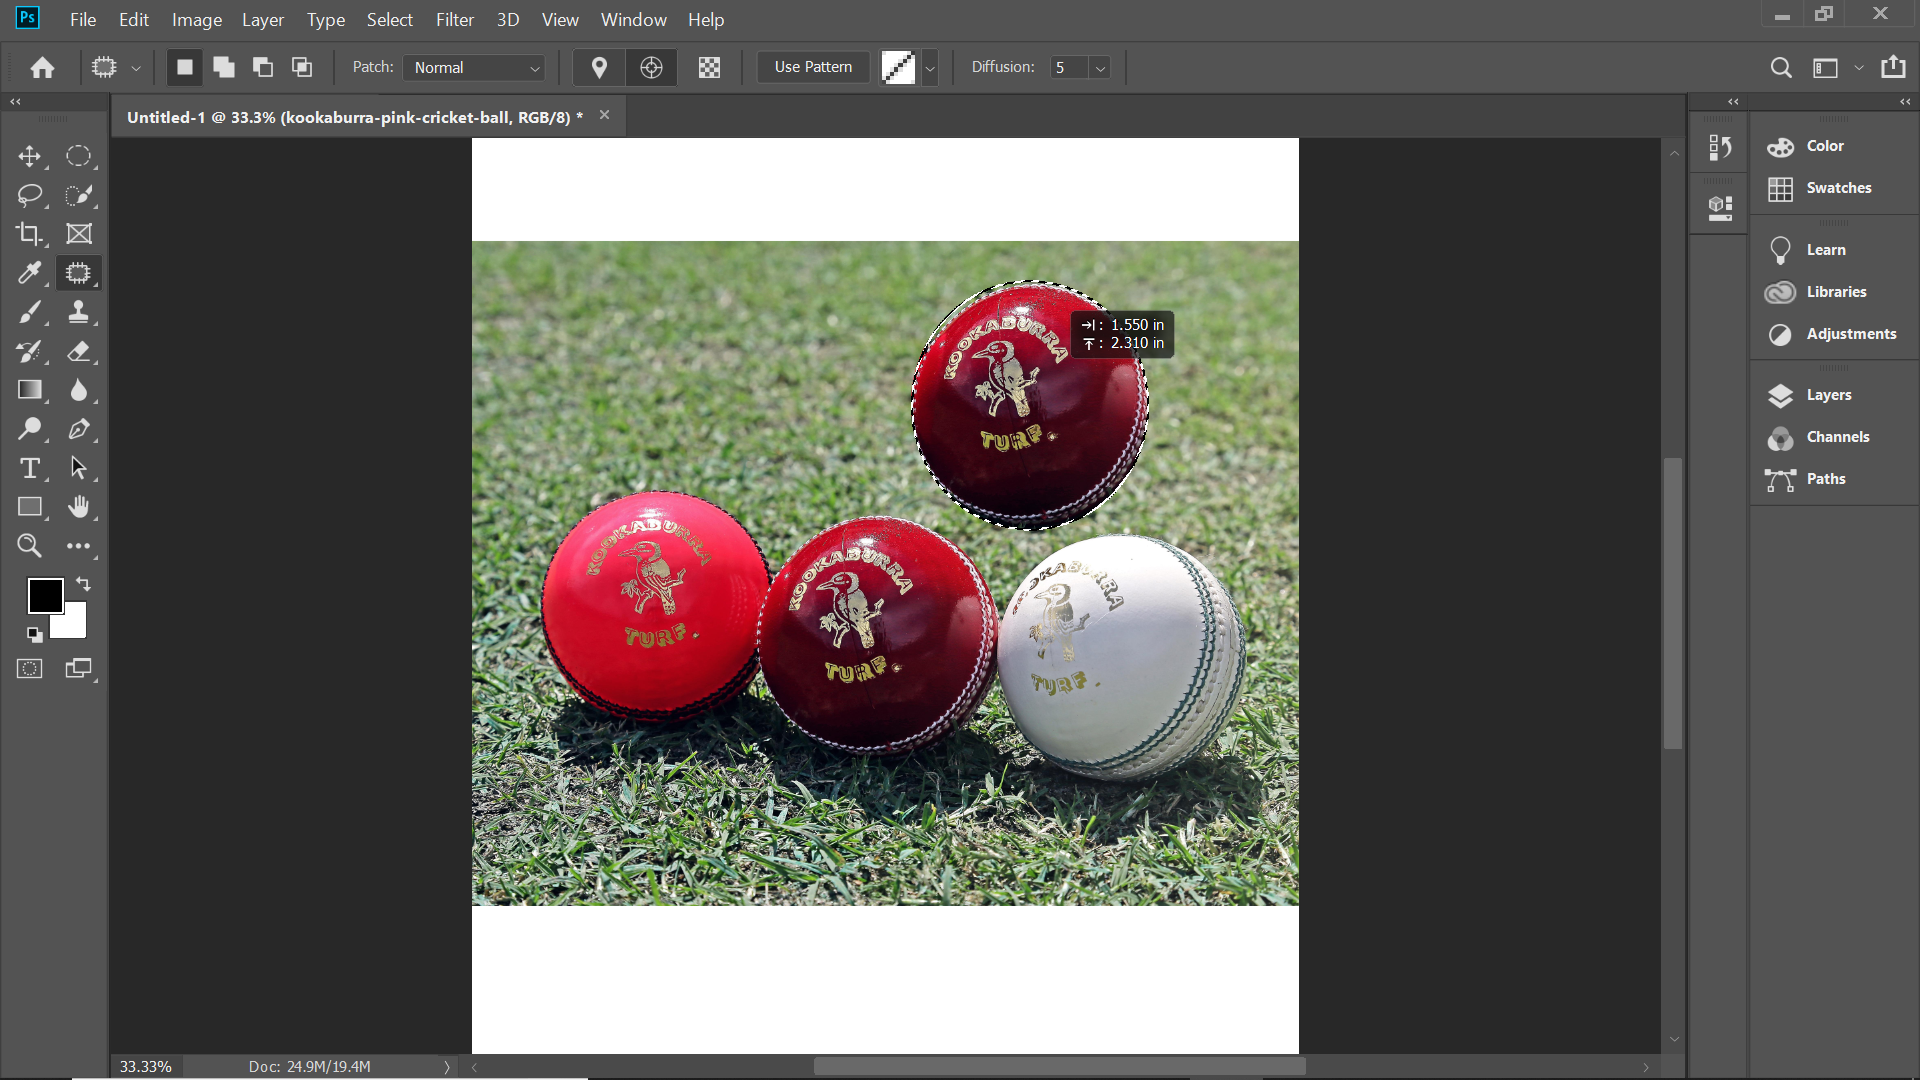
Select the destination radio button to clone or copy a particular field. With the help of the patch, the tool copy the image. But the edges might get pixelated. There is a better method with superior results. After selecting, hit Ctrl + Alt + T in Windows and Cmd + Alt + T on a Mac. This activates the free transform tool. After that, move the selection into a new place. To make it work, click on the tick box, or you can press the enter key. You will still notice the selection tool as the dotted line is visible. Now you have to move the mouse over the selected area, then move the area slightly and release the cursor. This will make the surrounding pixels to blend better.
Patch Tool in Content-Aware Mode

Another method of using the free transform tool with the destination mode active on the patch tool. The patch tool can be used in normal as well as content-aware mode. The former is great for general photo editing when you work on images with sharp contrast or with edges. However, the later outshine when it comes to close edge clean up. For using the patch tool in the content-aware mode, you have to navigate to the Options bar. From there, you have the option to change from normal to content-aware mode. Also, note that for working on an empty layer, ensure to check “sample all layers”. You also can choose between various range options that you can select based on your blending requirements.
Conclusion
The patch tool is an effective tool in Photoshop used to restore damaged images to their original condition. You can also clone things from the images as per your needs. Once mastered, it is a very easy method for working on images. Irrespective of the area of a photo, you can work on large or small parts. Provided you have some area as a source in the image. I hope you have found this article helpful in understanding a new tool in Photoshop.
Recommended Articles
This is a guide to Patch Tool in Photoshop. Here we discussed the basic concept, how does Patch Tool work in Photoshop and its Steps with Screenshots. You can also go through our other suggested articles to learn more –

