Updated August 25, 2023
Introduction to Photoshop Color Picker
Color Picker in Photoshop is a panel with a wide range of colors and modes of color such as Hue, saturation, CMYK, and from this panel, you can choose a color for your selected object in this software. This panel also has different options through which you can make a unique form of any specific color for different objects and images of this software. You can save that color for your future use by noting its code or saving it in swatches tabs of Photoshop. So let us discuss how we can do all these things to get knowledge about this topic.
How to Use Color Picker in Photoshop?
We can use a color picker in Photoshop for selecting the color for any object or image during our work. We can easily understand different terms of this feature or say tool of this software through an example. So let us get introduced to it, but before starting, we must look at the working screen of this software to better understand this topic.
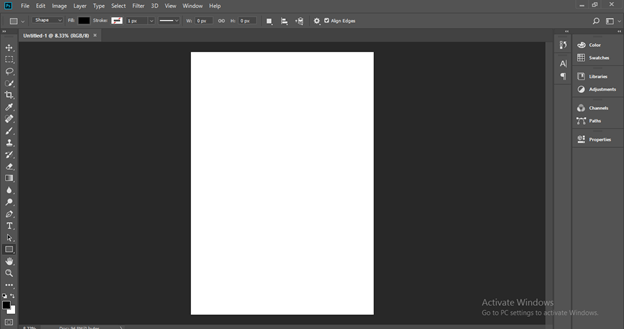
At the top of the working screen, the Menu bar has several menus such as File, Edit, Image, Layer, and some other important menus. Below this menu bar, we have a Property bar of active tool or active image of document area for making the different types of changes in their parameters during our work. Below this property bar, the working screen is divided into three sections such on at the left side, we have the Tool panel, which has the number of tools; at the center, we have the document area in which we can see our current working, on the right side we have some panel for managing our work such as Layer panel, Color panel, and some others.
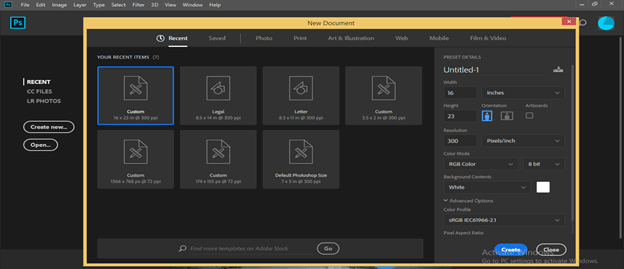
Now let us create a new document. For creating a new document, click on the Create New button on the welcome screen of this software. A New Document box will be open. Choose your desired size of document from presets, or enter the document’s size according to you.
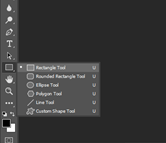
Now let us have a rectangular tool for making rectangular shapes from the tool panel of this software, or you can press the U button as a shortcut key.
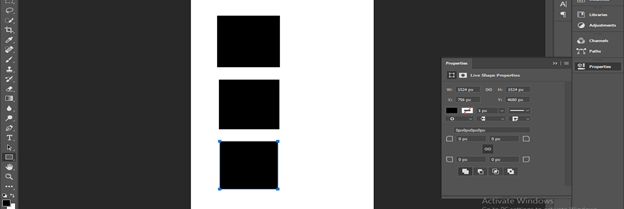
Now make multiple rectangles with any color like this.
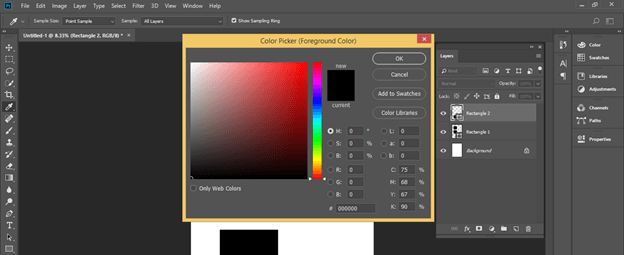
Now go to the bottom of the tool panel and click on the foreground color box.
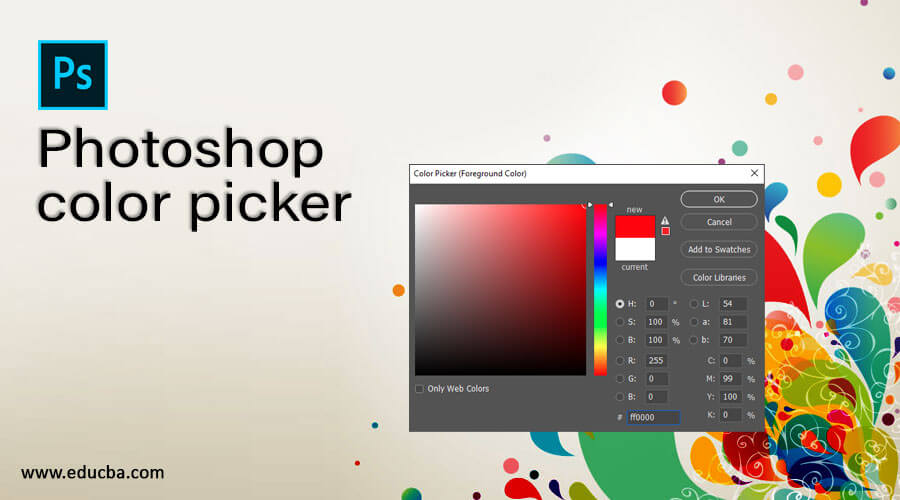
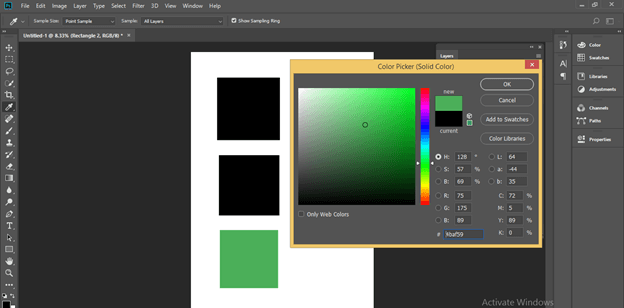
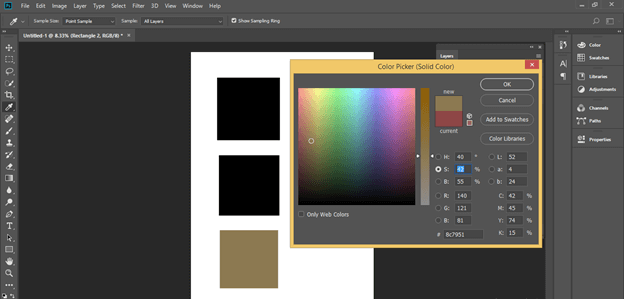
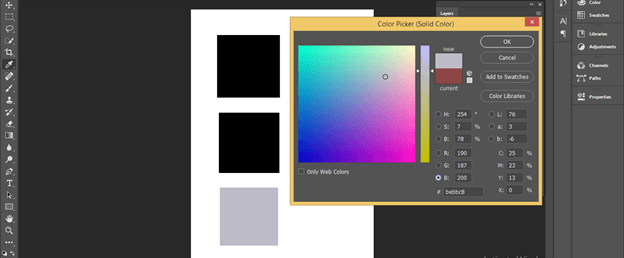
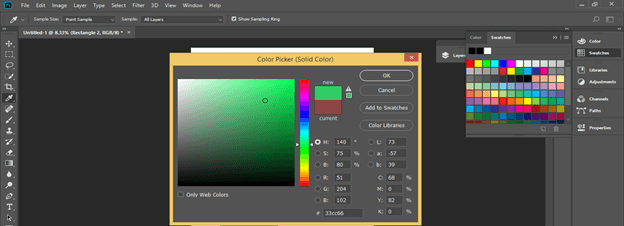
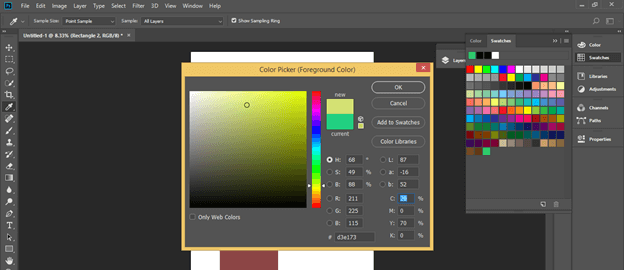
Once you make a click, a Color Picker dialog box will be open like this.
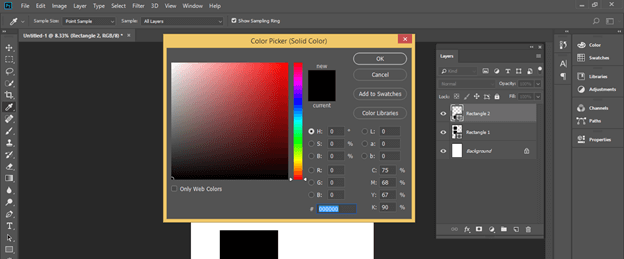
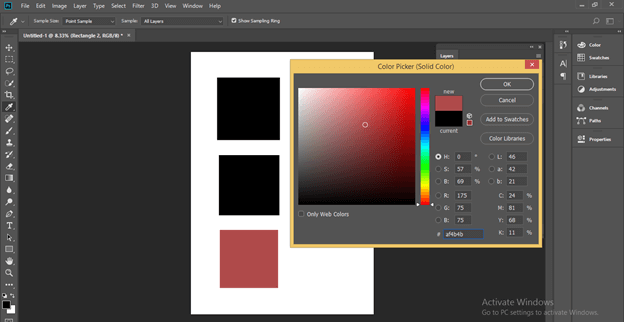
If you want to change the color of any rectangle shape we have drawn, select it and go to the layer panel, then double-click on the icon of that layer. Once you can make a double click Color Picker dialog box will again open.
In the color picker box, we have a square color box with a range of selected colors from light to dark mode. You can move this circular cursor to change color intensity on this box. You can see the preview of color on your selected object.
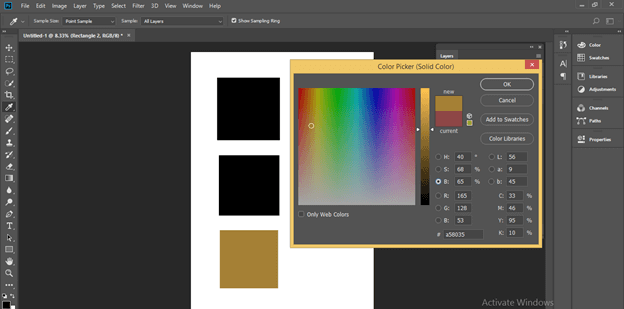
If you want to jump on other colors, then move the slider of this box’s vertical scale, which is next to the color range square box.
Next to this vertical scale, we have two boxes that show your previous selected color and your new chosen color.
If you want to select the previous color again, just click on that color box.
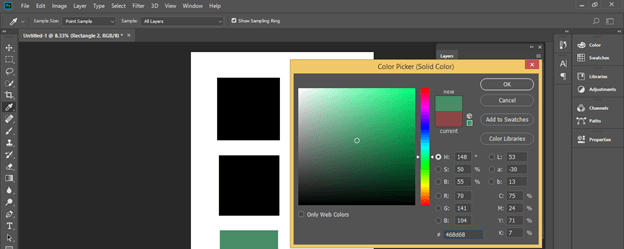
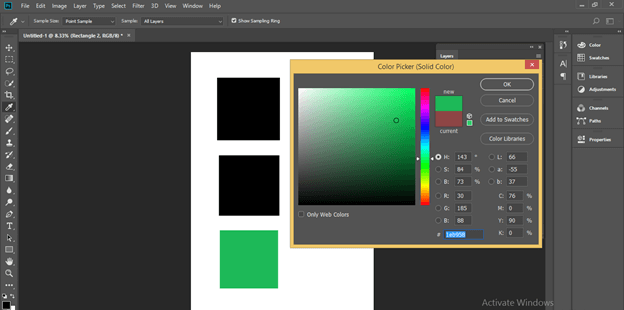
You can change the percentage of the Hue option between 0 to 100 % for making variations in colors.
If you want to make the variation in the color based on Saturation, then click on the radio button of the Saturation option for selecting it. Then change the percentage of it between 0 to 100 %. You can enter the value of the percentage manually or use sliders and picker circles for that.
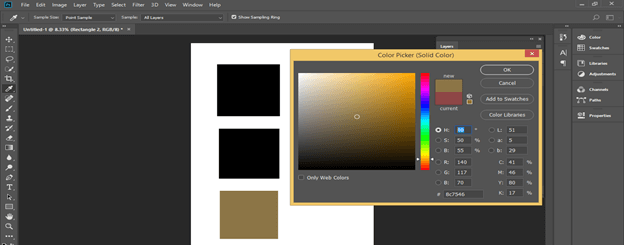
For increasing or decreasing the brightness of your selected color, click on the radio button of the Brightness option for selecting it. Then change its percentage between 0 to 100%.
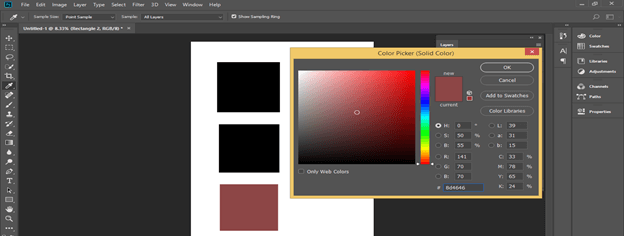
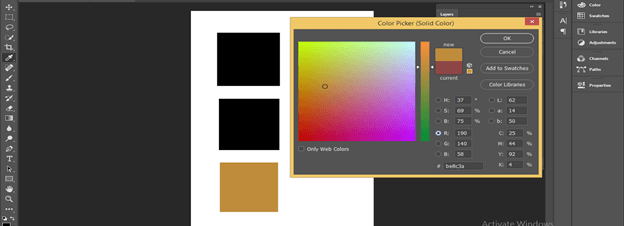
For managing the ratio of red tone in your selected color, choose the Red option by clicking on the radio button. Then change its value from 0 to 255.
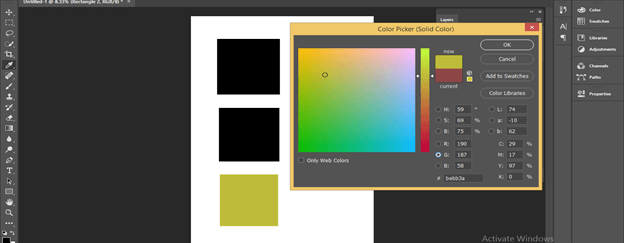
Do the same for managing green tone by selecting the green option.
Again you can do the same thing for a blue tone also.
This shows the code of your selected color. Every color has its unique color code, which you can use for getting that color again and again in your future use.
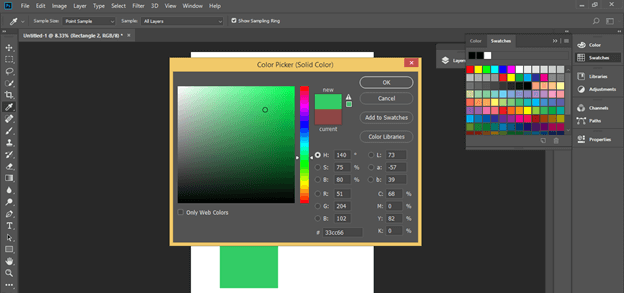
If you want to save your selected color for future use and don’t want to remember its code, there is another easy way. Just choose your desired color from the color picker box using different parameters that we discuss above, then click on Add to Swatches button of this box.
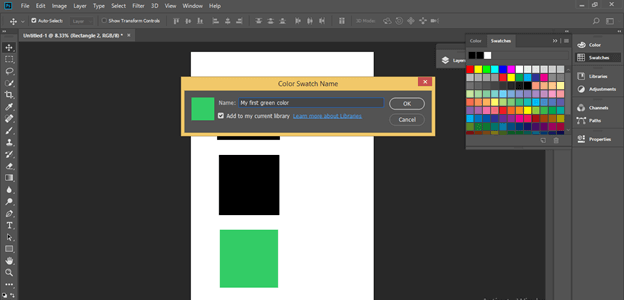
Once you make click on this box, a Color Swatch box will open for naming it. Name your selected color according to you, then click on the Ok button of this box.
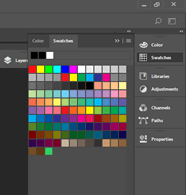
Your desired color will add in the swatches tab of this software in the list of other colors of the swatch.
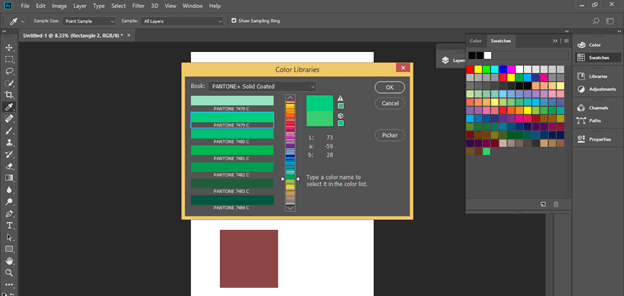
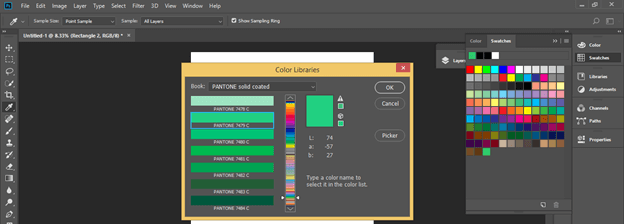
For choosing different variations of your selected color, click on the Color Libraries button of this dialog box.
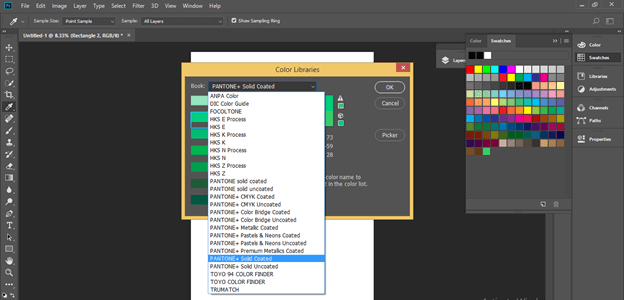
Once you click on it, a Color Libraries box will be open like this. We have an also here vertical slider scale and different variations of our selected color in the form of a different horizontal scale.
You can choose any option from this list to check the color variation of that option.
Once you are done, click on the Picker button of this dialog box to go back to the first screen of the color picker dialog box.
You can also manage the percentage of CMYK color mode from these options for making a change in the CMYK color range.
In this way, you can use a color picker in Photoshop.
Conclusion
Now, after this article, you can understand what Color Picker is in Photoshop and how you can handle different parameters of the dialog box of a color picker for getting your desired color. You can develop good skills in selecting color by practicing on it.
Recommended Articles
This is a guide to Photoshop color picker. Here we discuss How to Use Color Picker in Photoshop and how you can handle different dialog box parameters. You may also have a look at the following articles to learn more –
