Introduction to Photoshop Mixer Brush Tool
Photoshop Mixer Brush Tool comes with a plethora of features and effects like options to create beautiful textures and 3D effects, mix the background color. We can pick the background images as a brush tip that makes them stand out from the rest of the other brush tools offered in Photoshop. It also features a detailed mention of how to use the Photoshop mixer brush tool- all these will come in handy to create a drastic and awe-inspiring result once mastered completely by the user.
Using the Photoshop Mixer Brush Tool
The steps below for using the photoshop mixer brush tool are explained in detail,
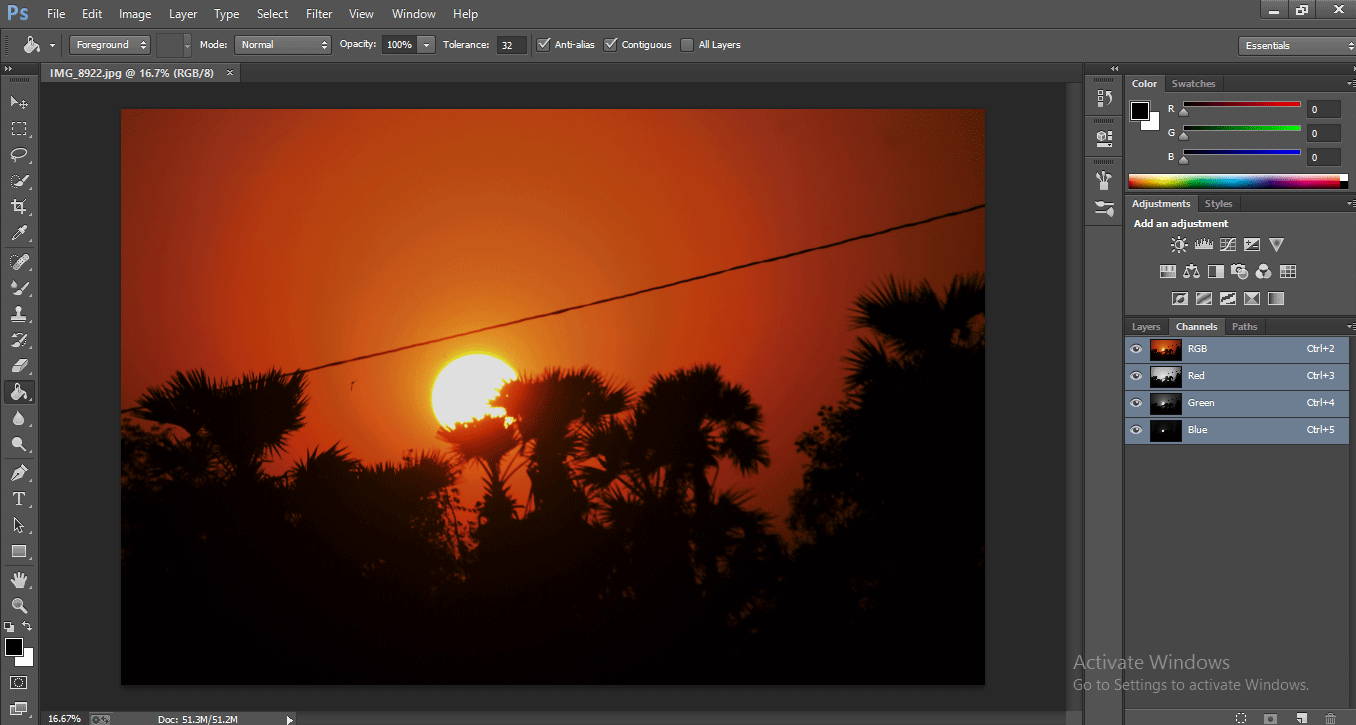
Step 1: Open an image in photoshop. We can open from file and click on open, or we can use CTRL + O.
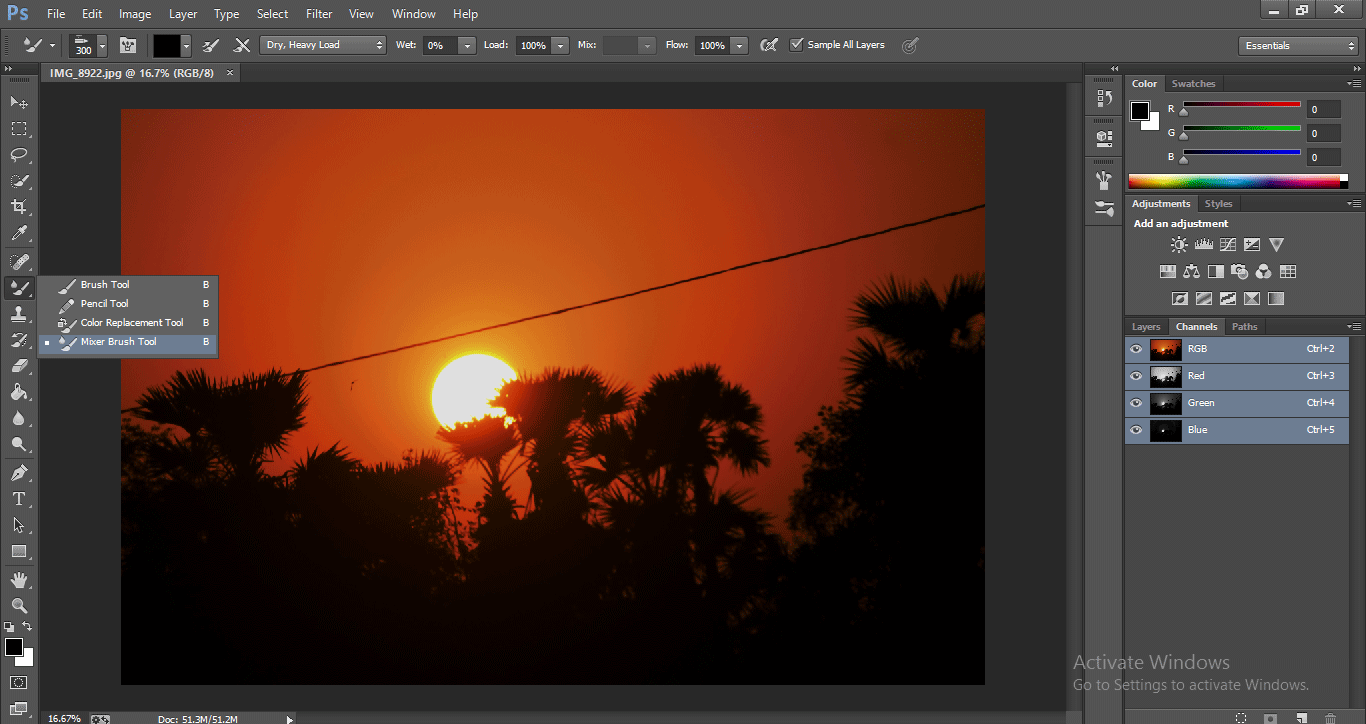
Step 2: Select the mixed brush tool from the toolbar; by holding the brush tool, we can get three bush options fourth option is the mixed brush tool, and we can use B as a shortcut for this tool.
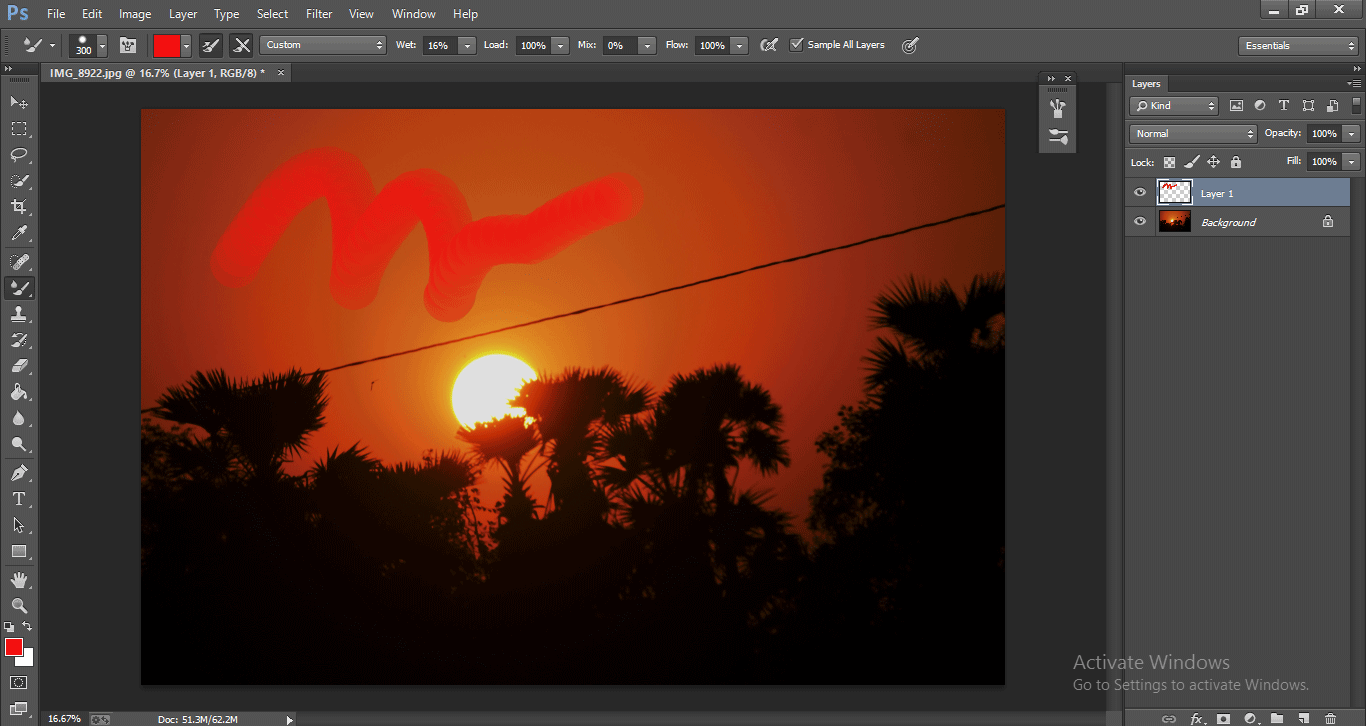
Step 3: We can control the size of the brush by clicking on these two ‘ [ ] ‘ keys.
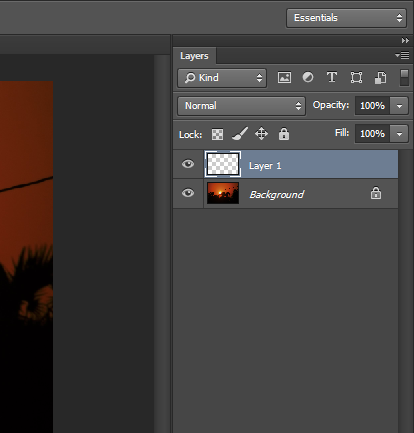
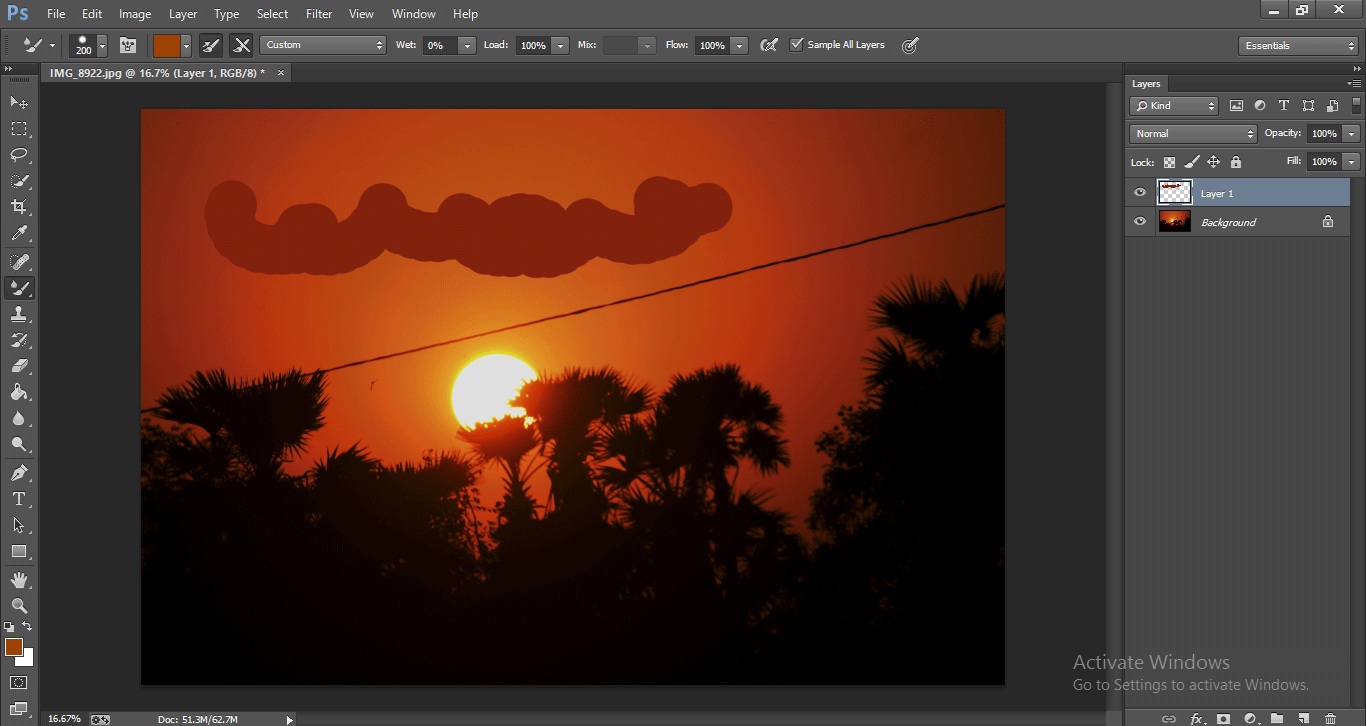
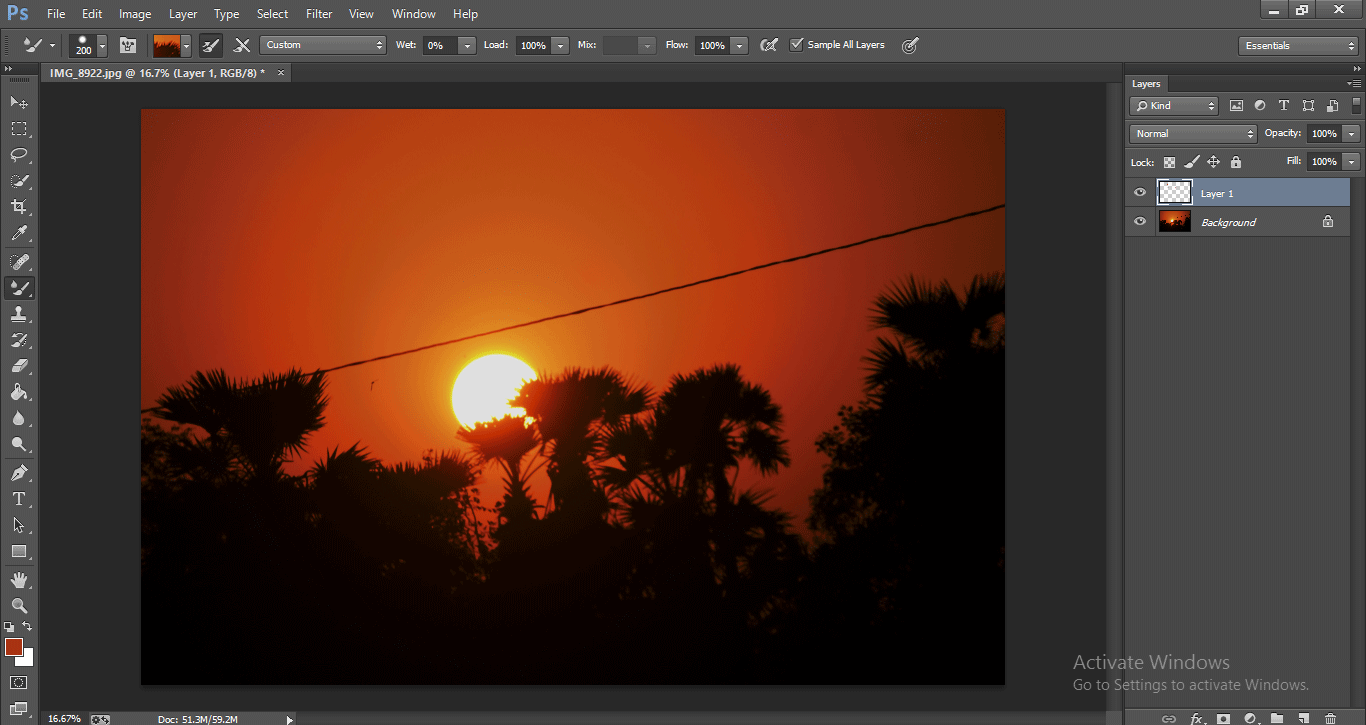
Step 4: Create a new layer; we are going to paint it in a new layer.
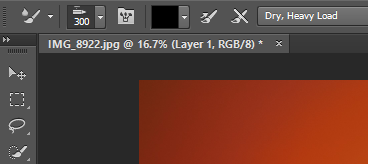
Step 5: Here is the current option for brush loading.
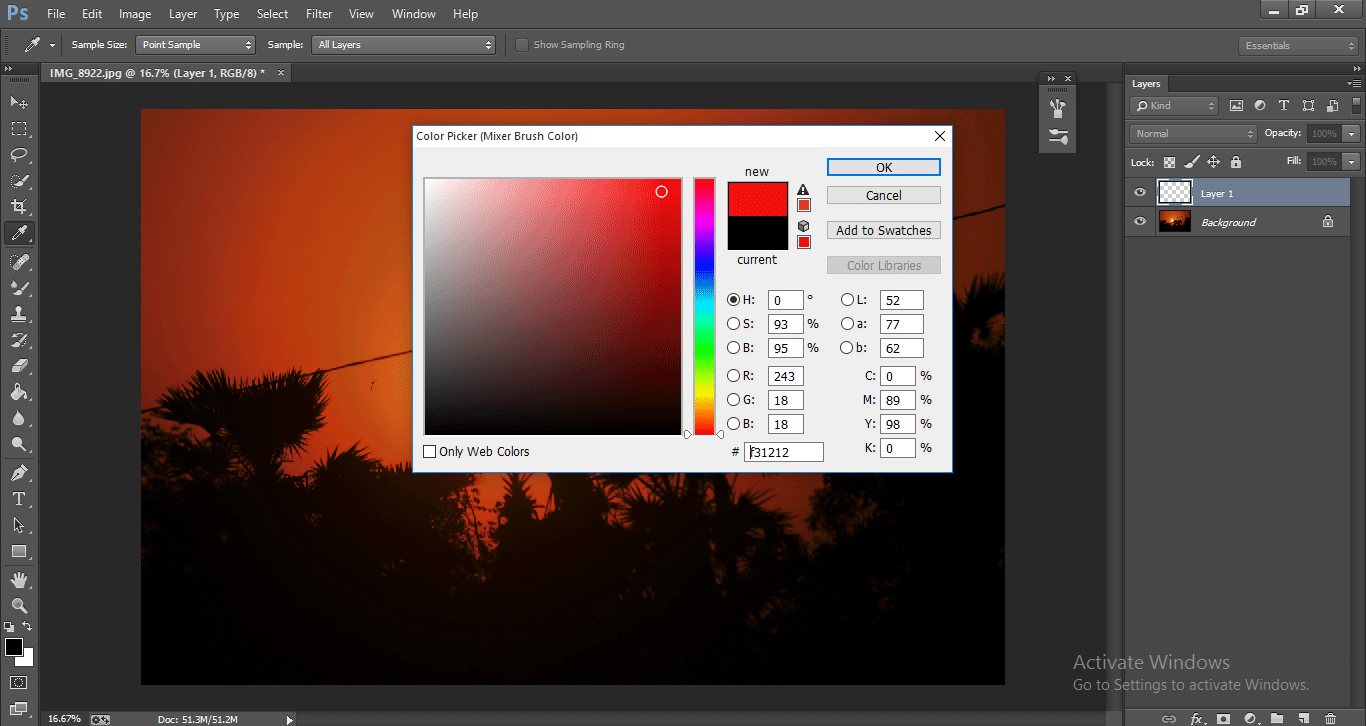
We select the color for our brush from here.
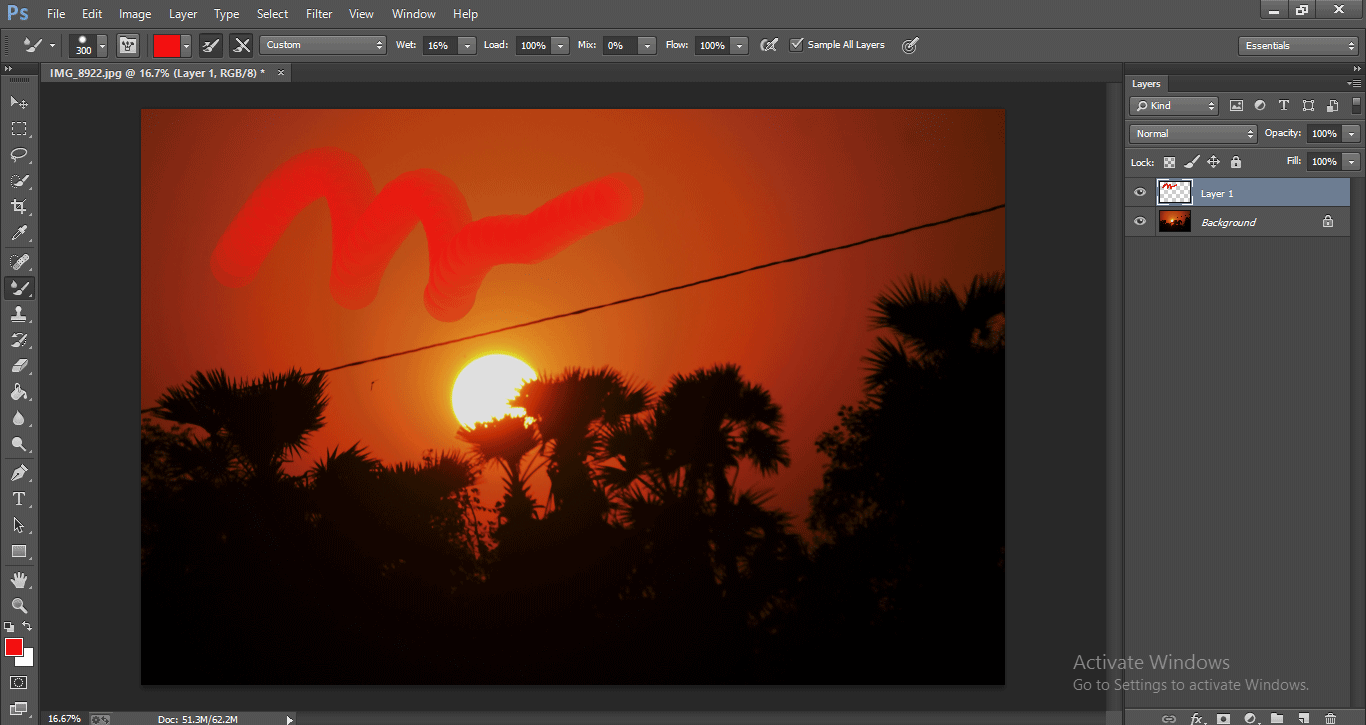
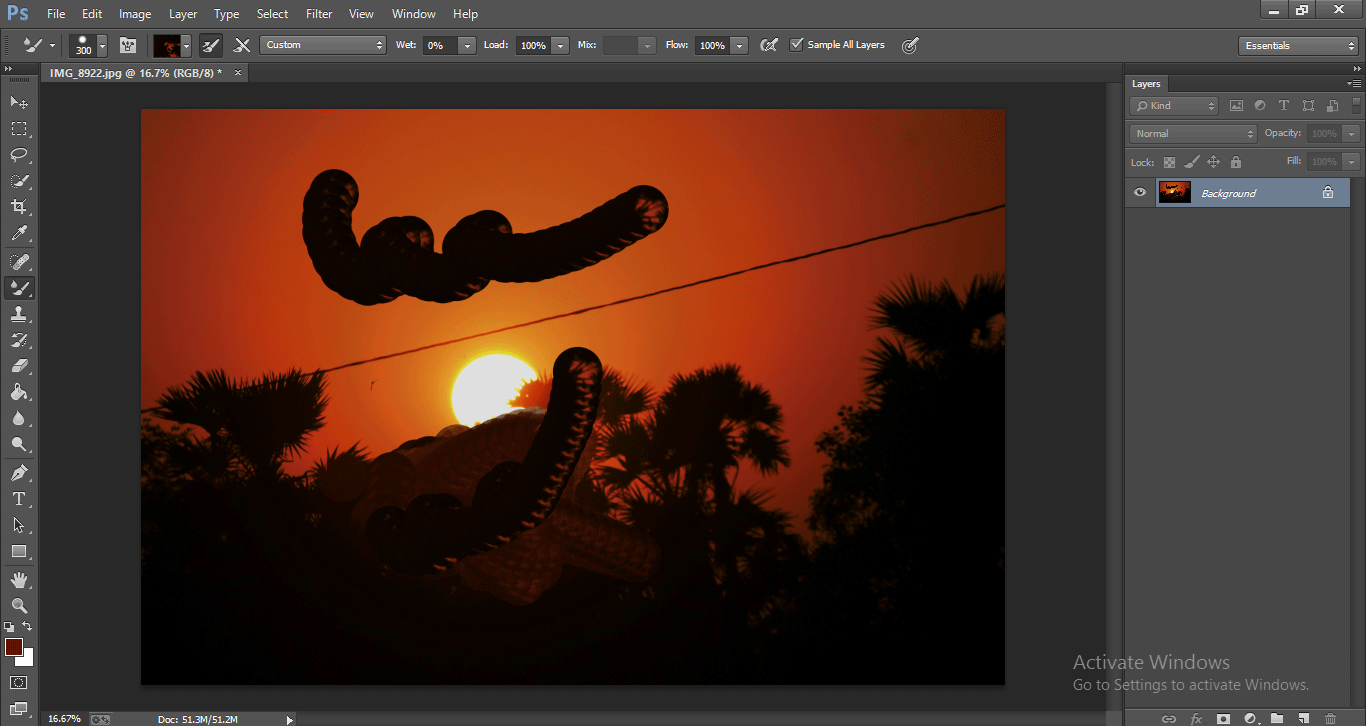
Step 6: We’re going to paint with the brush here, but it’s moving too slowly than a regular brush.
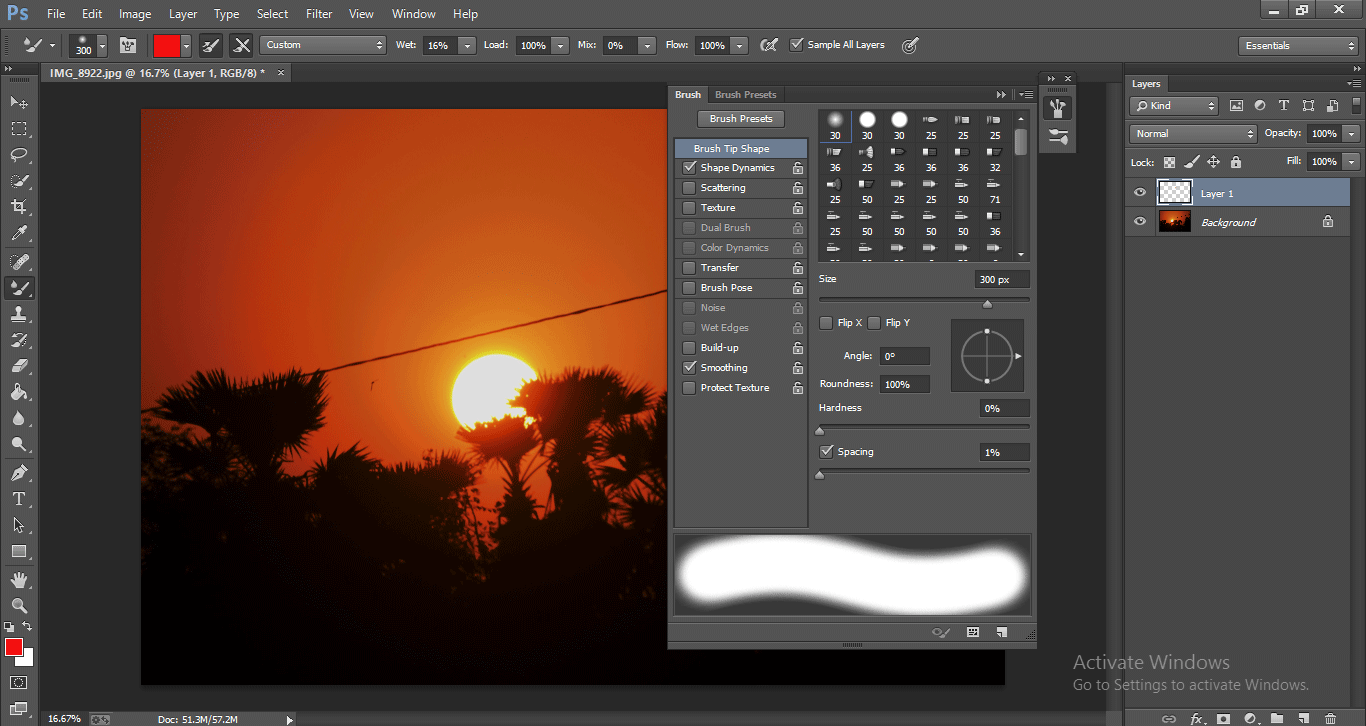
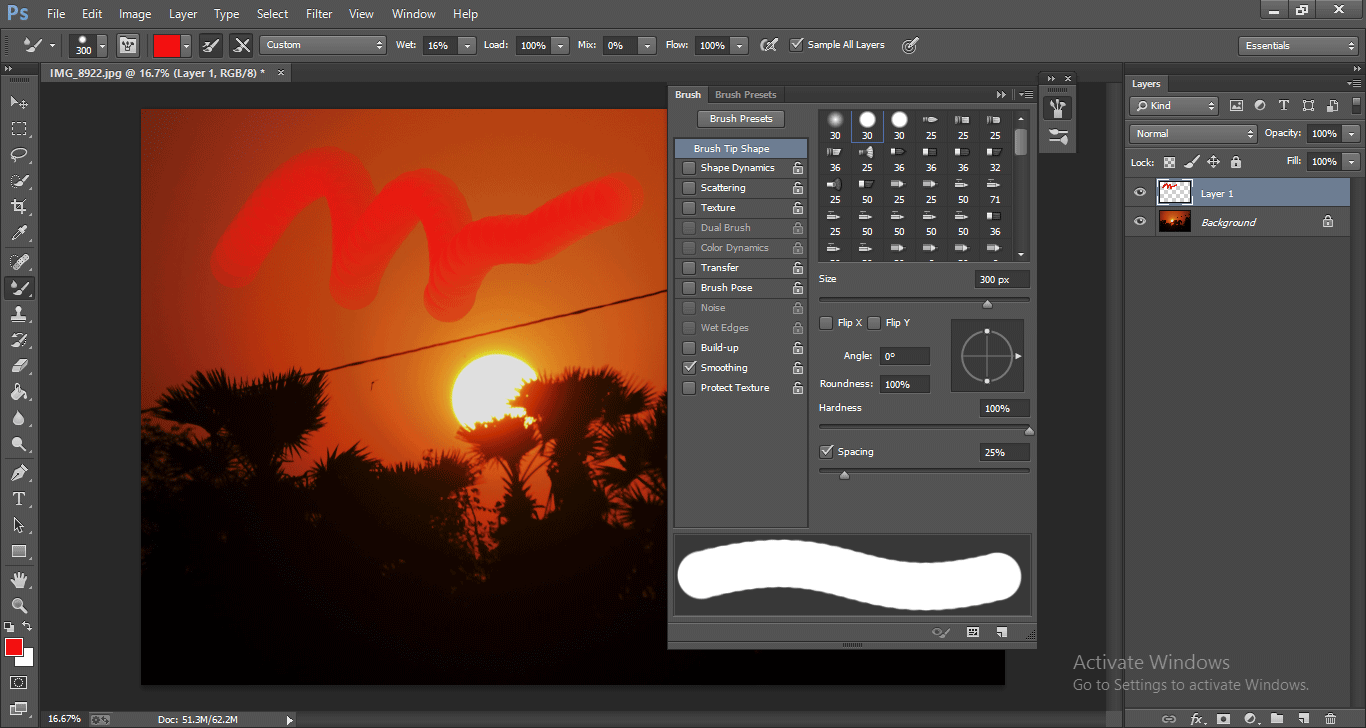
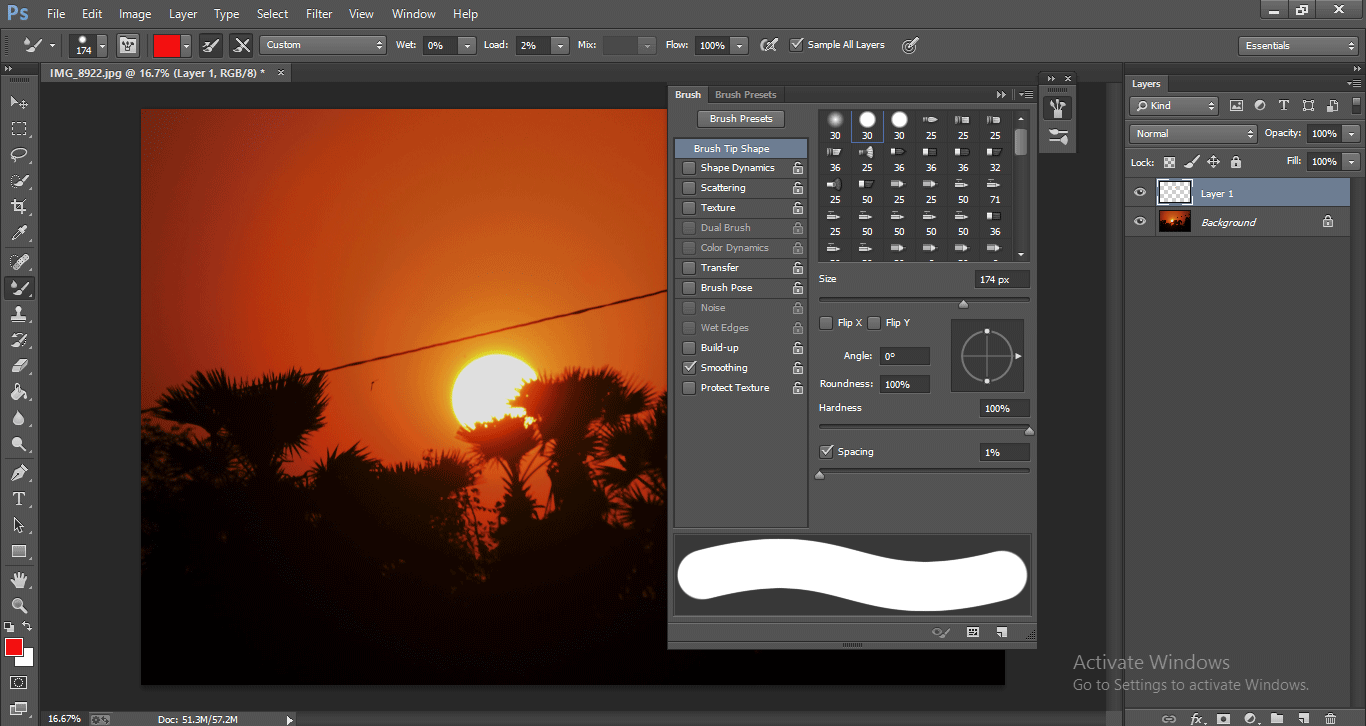
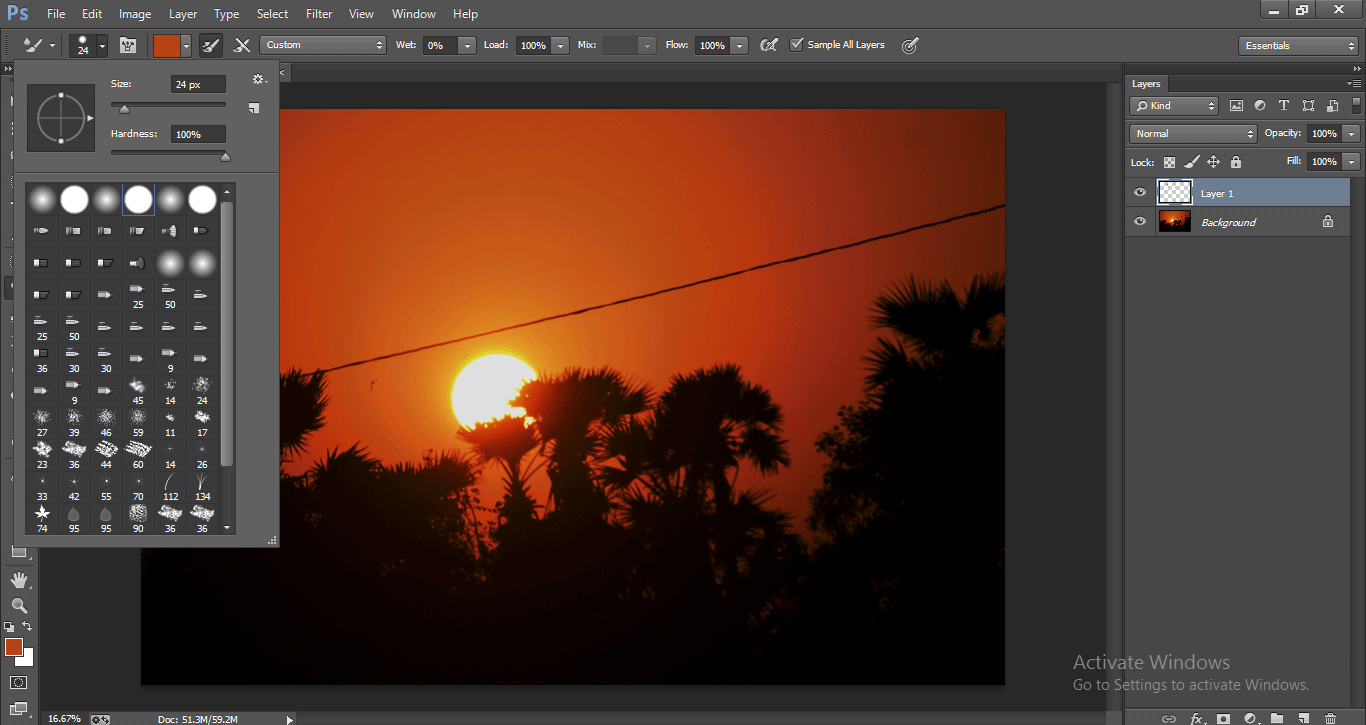
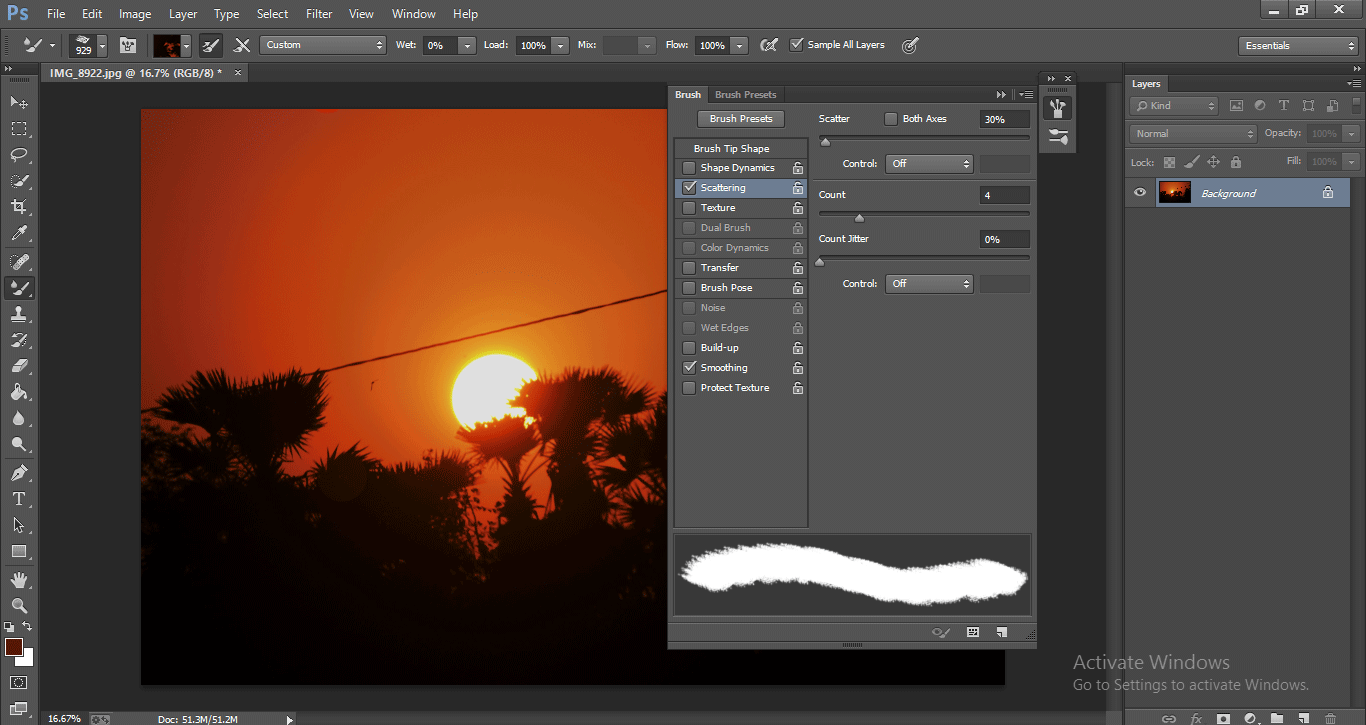
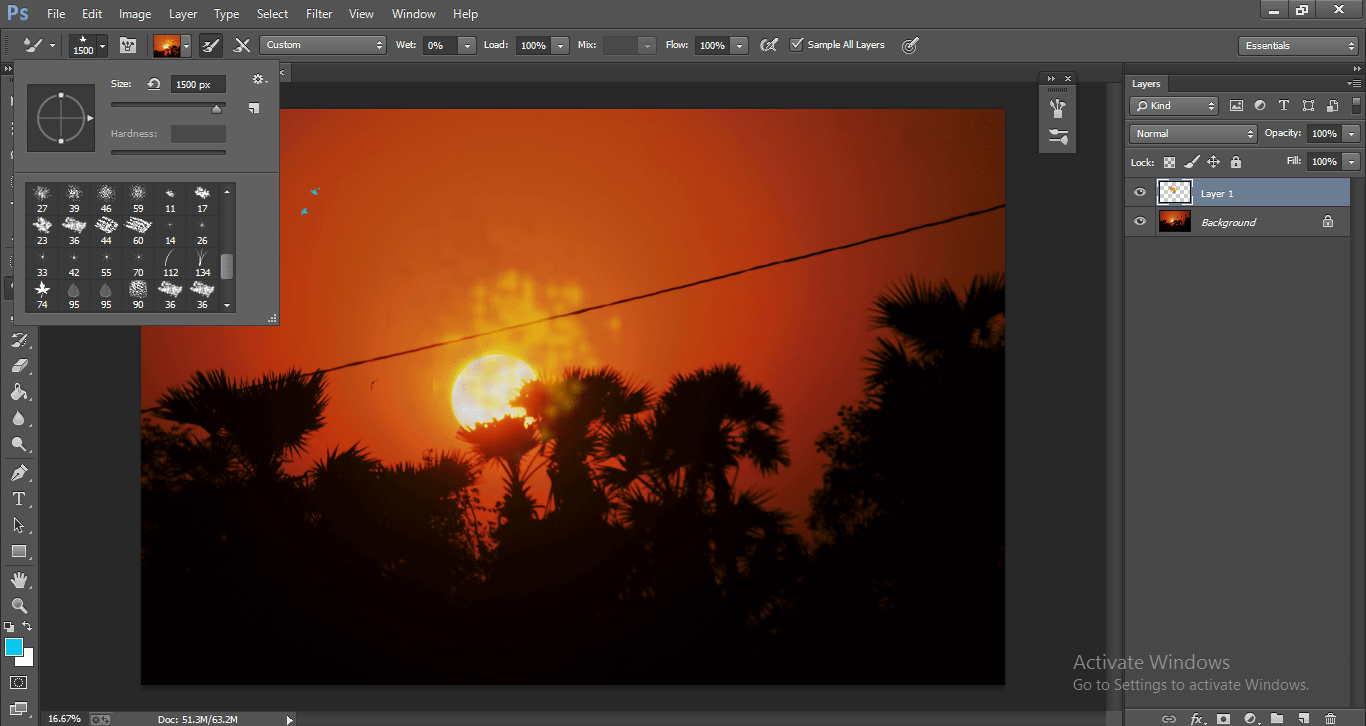
Step 7: Here is an option to control the mixed brush tool. Toggle the brush panel.
When we select that option, we will get a menu and brush controlling options.
Step 8: We need to disable the shape dynamics option.
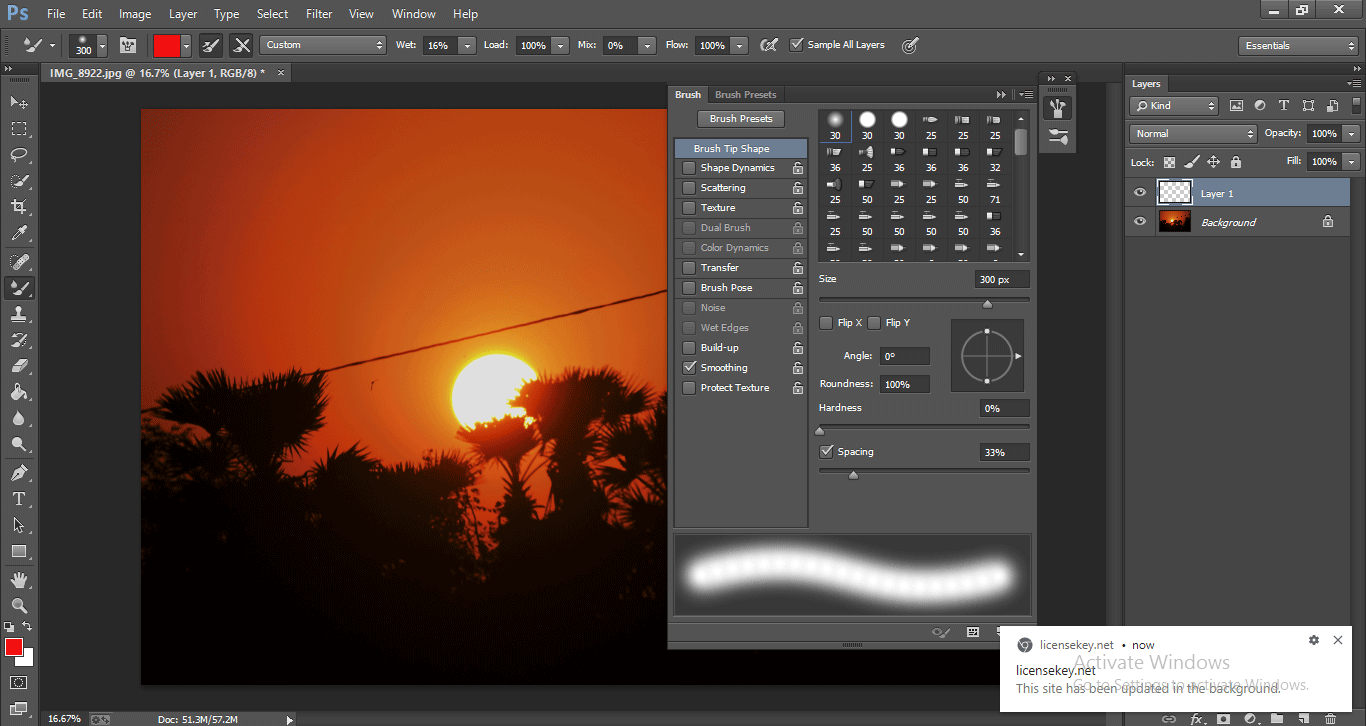
Then select the option brush tip shape and decrease the spacing.
If we control both of these options, the brush will move faster than before.
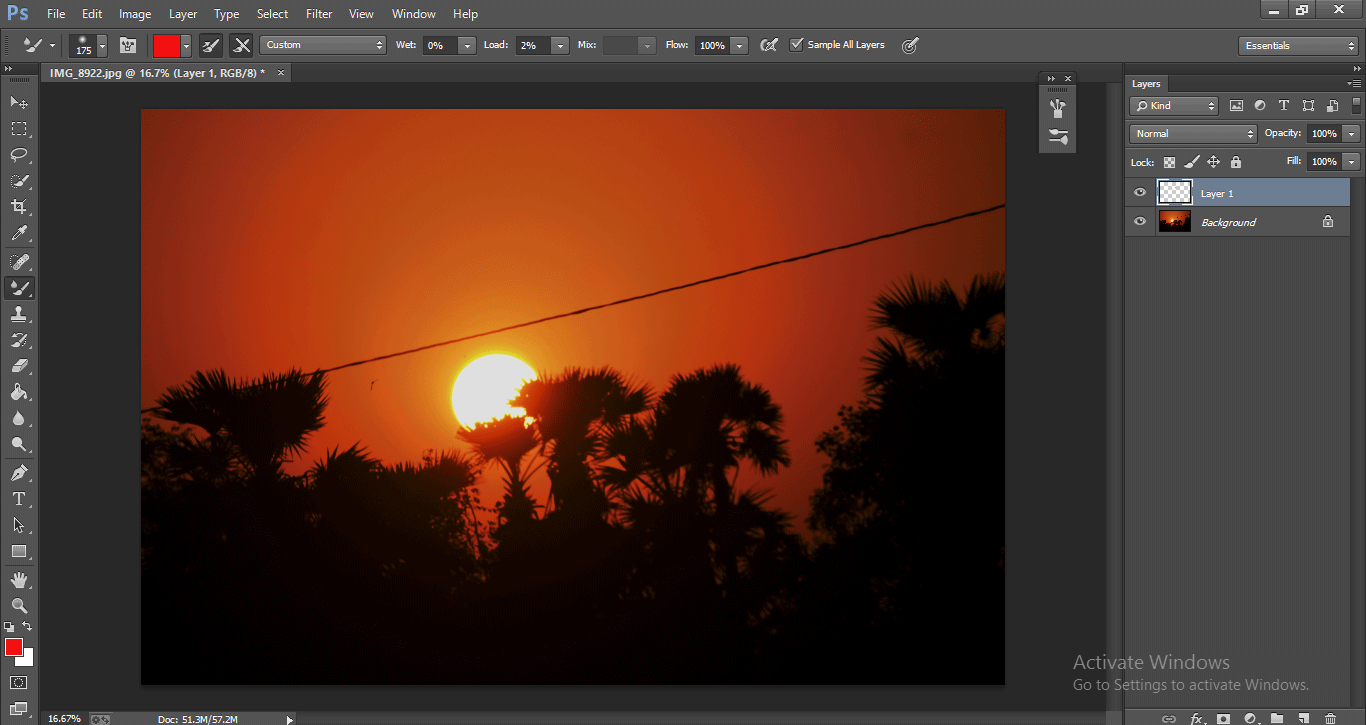
Step 9: Now, let’s see about the load brush tool,
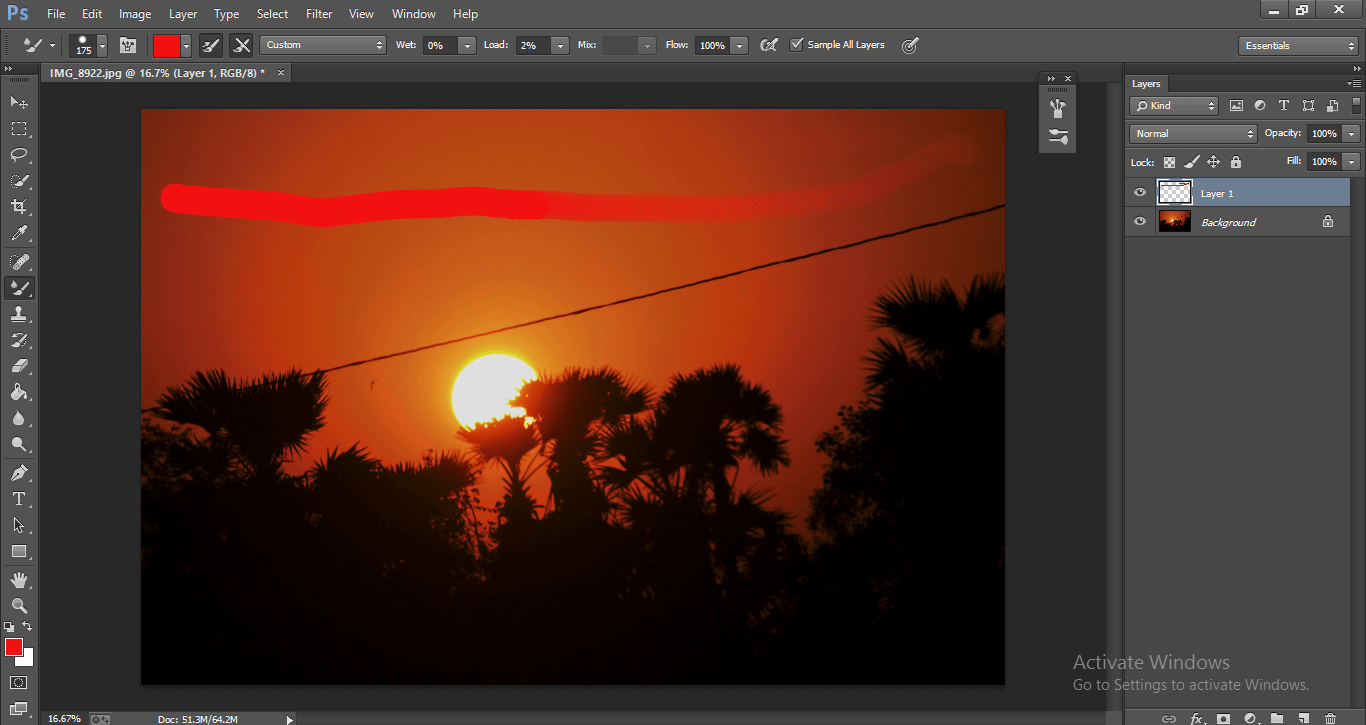
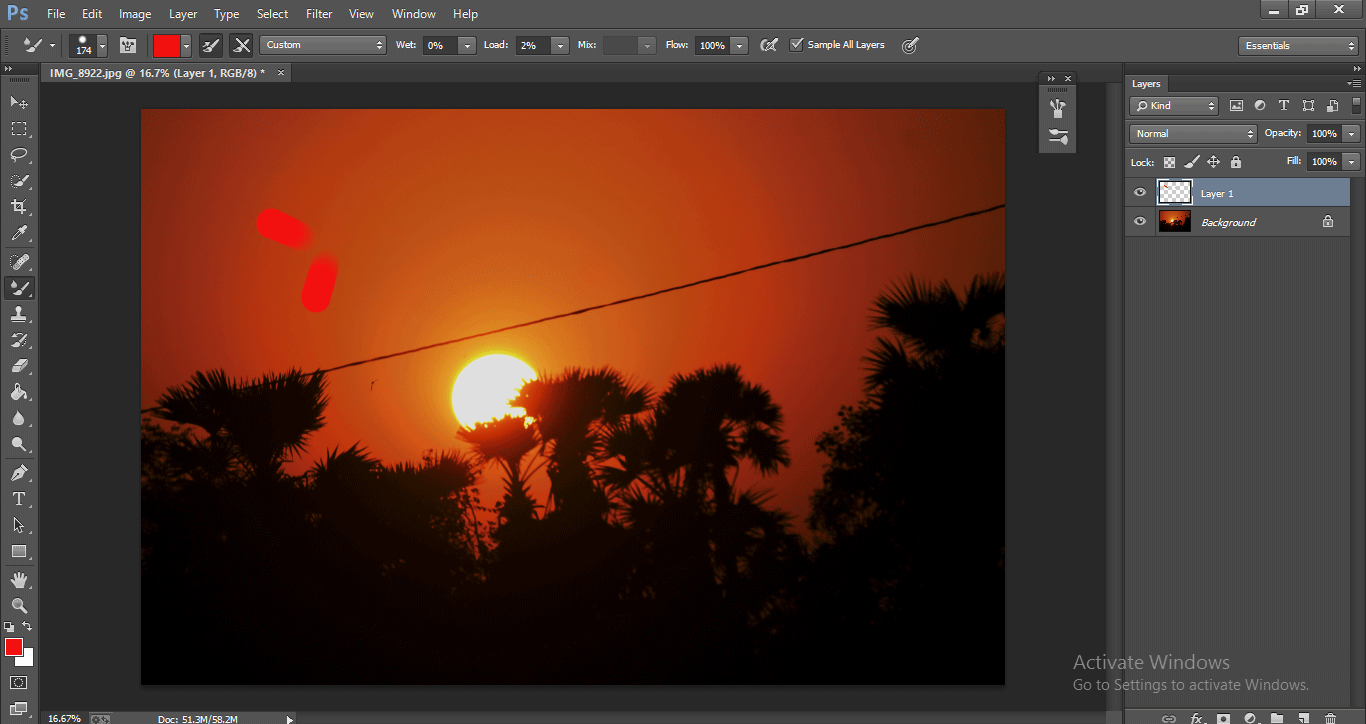
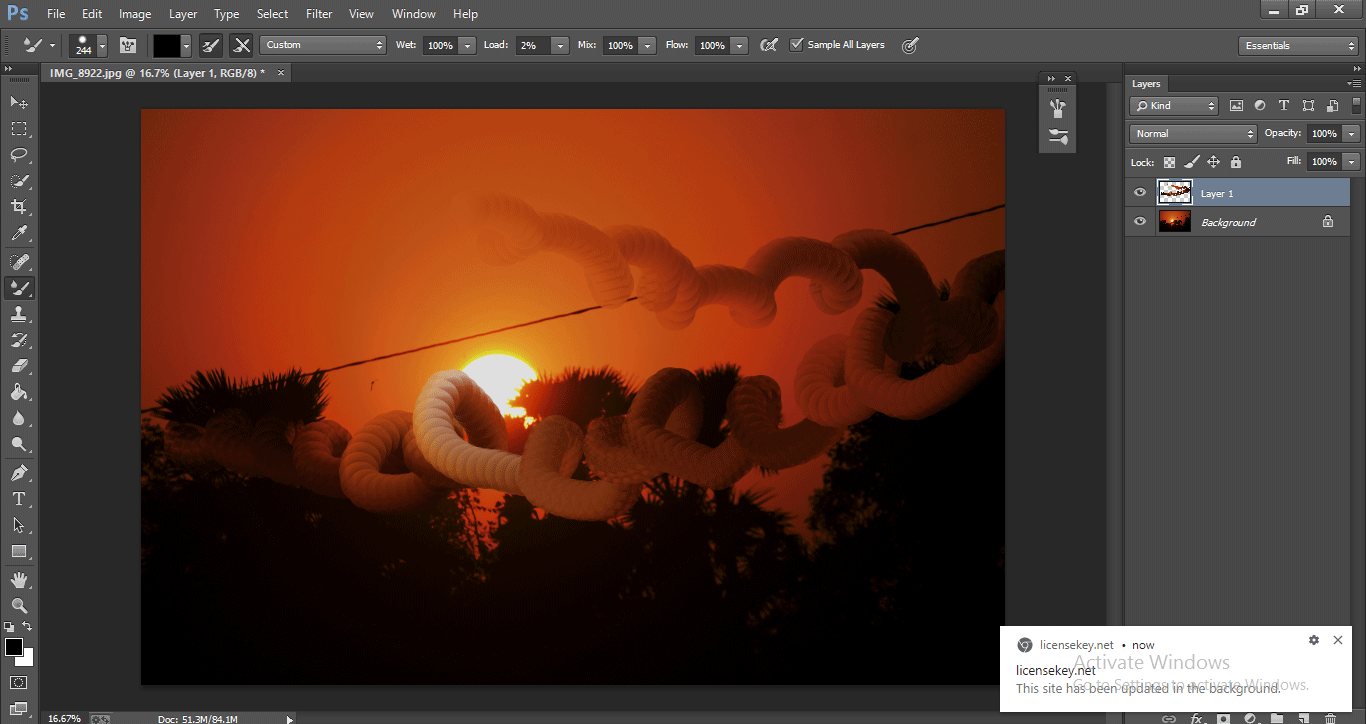
We can load a color to the brush with this option. Here I’m loading 2%. Let’s paint with this.
Here, if we look at the image above, we can find that the paint is slowly draining, So how much we load as much as we’re able to paint.
Step 10: Toggle the brush panel and decrease the brush spacing to 1.
Step 11: We can only paint a small line because we’re increasing the brush’s tip space, and we’ve only got a 2% load in the brush.
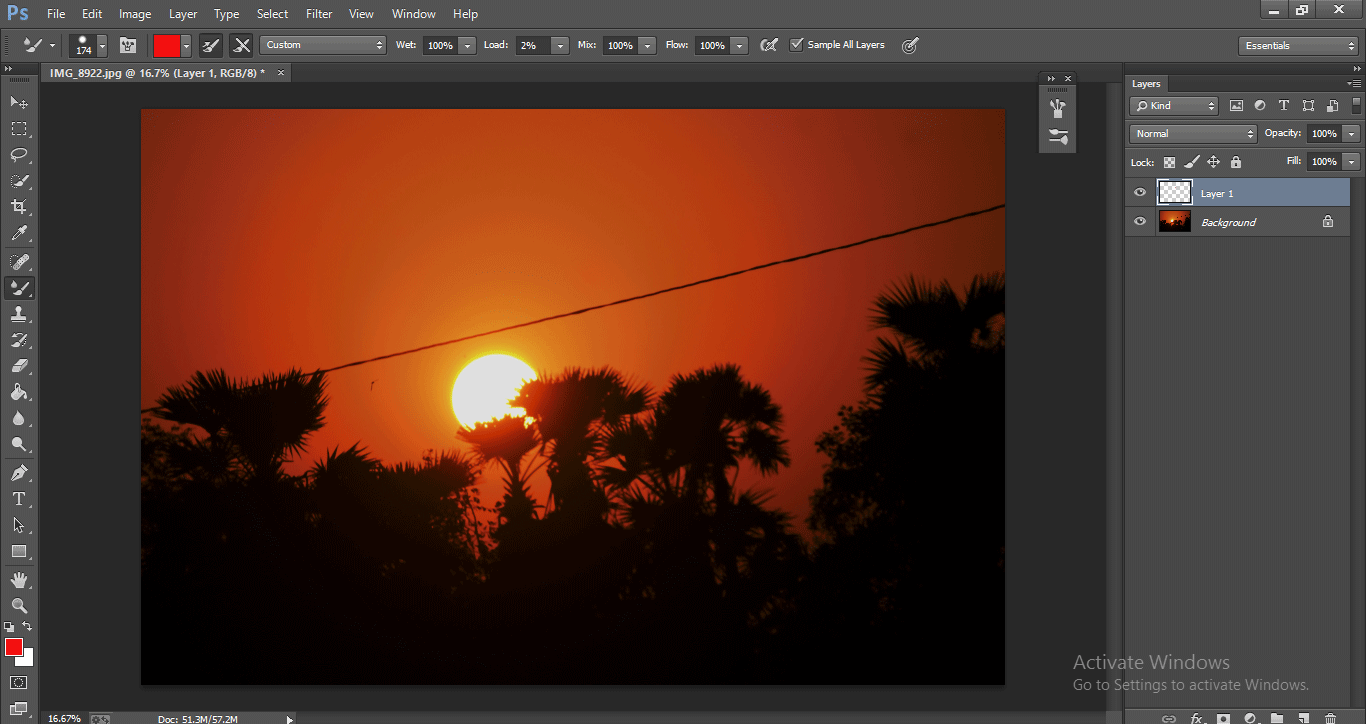
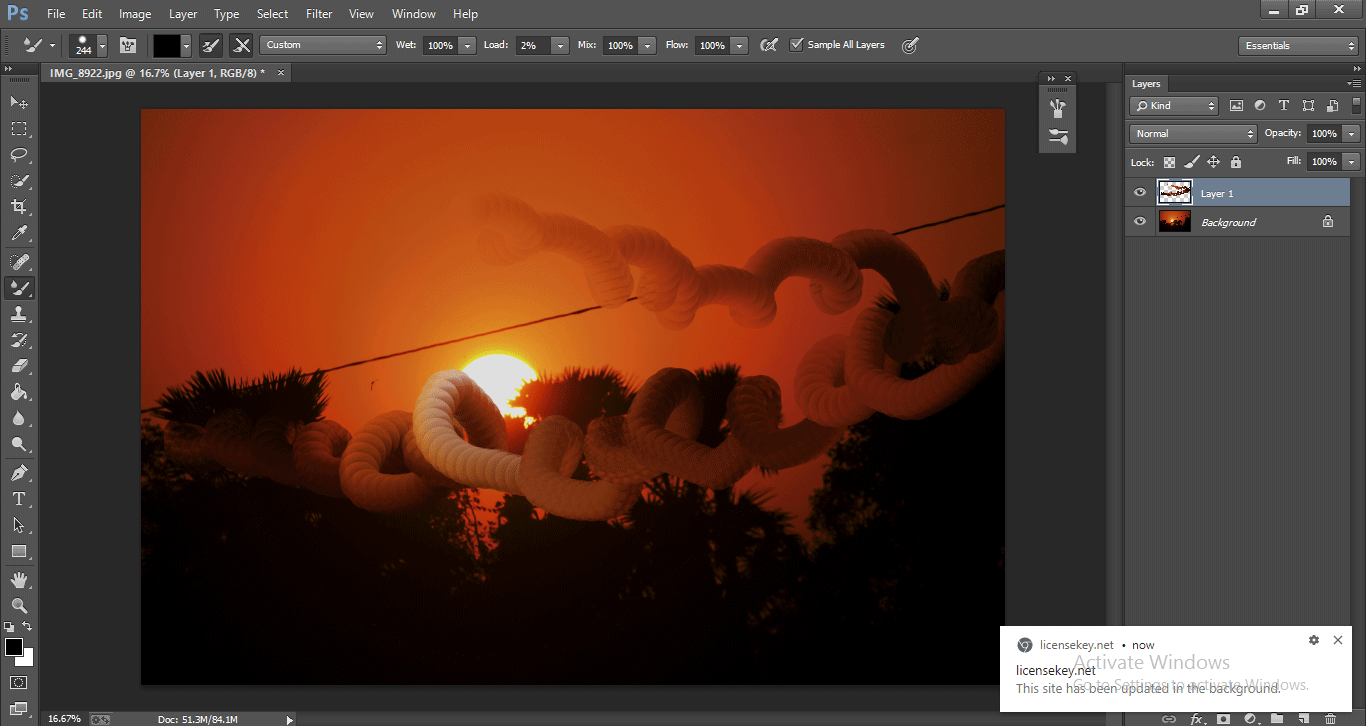
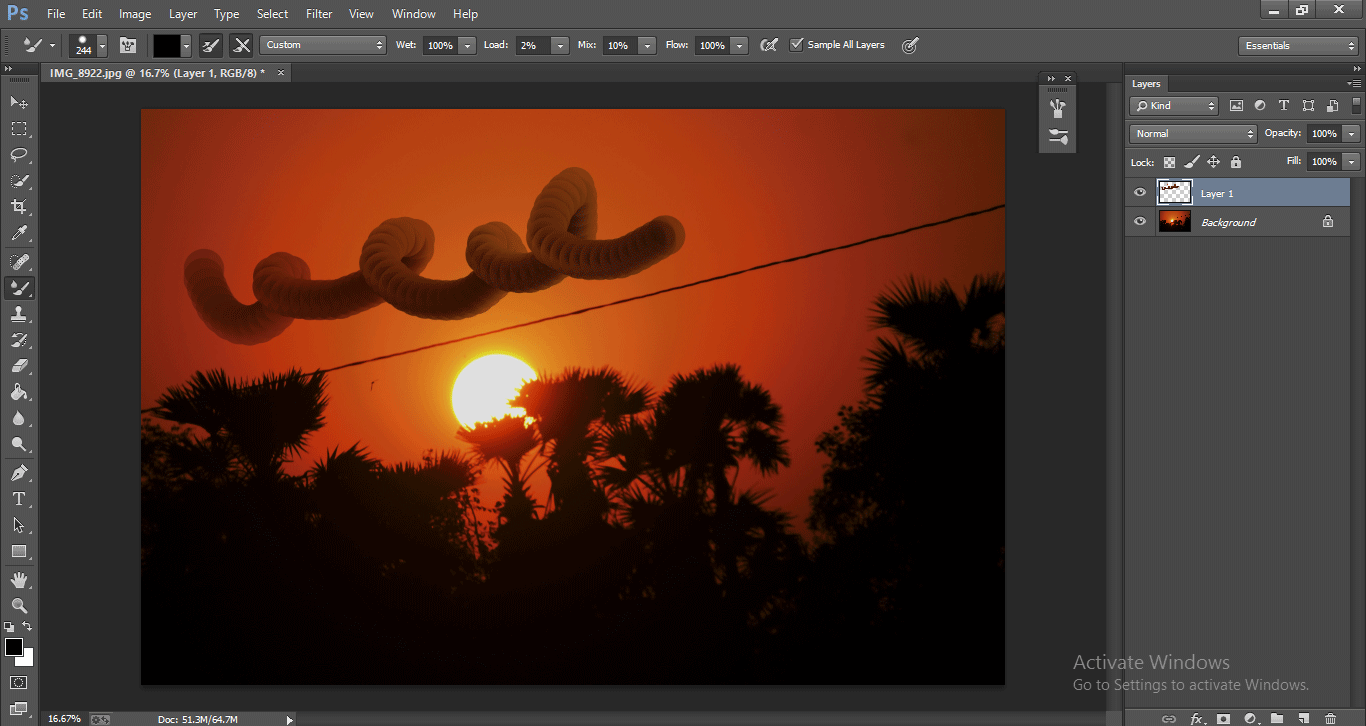
Step 12: Now, let’s try with a wet option; at 100, we will give wet, and when we give wet, it will ask for a mix option; we give mix 100 as well.
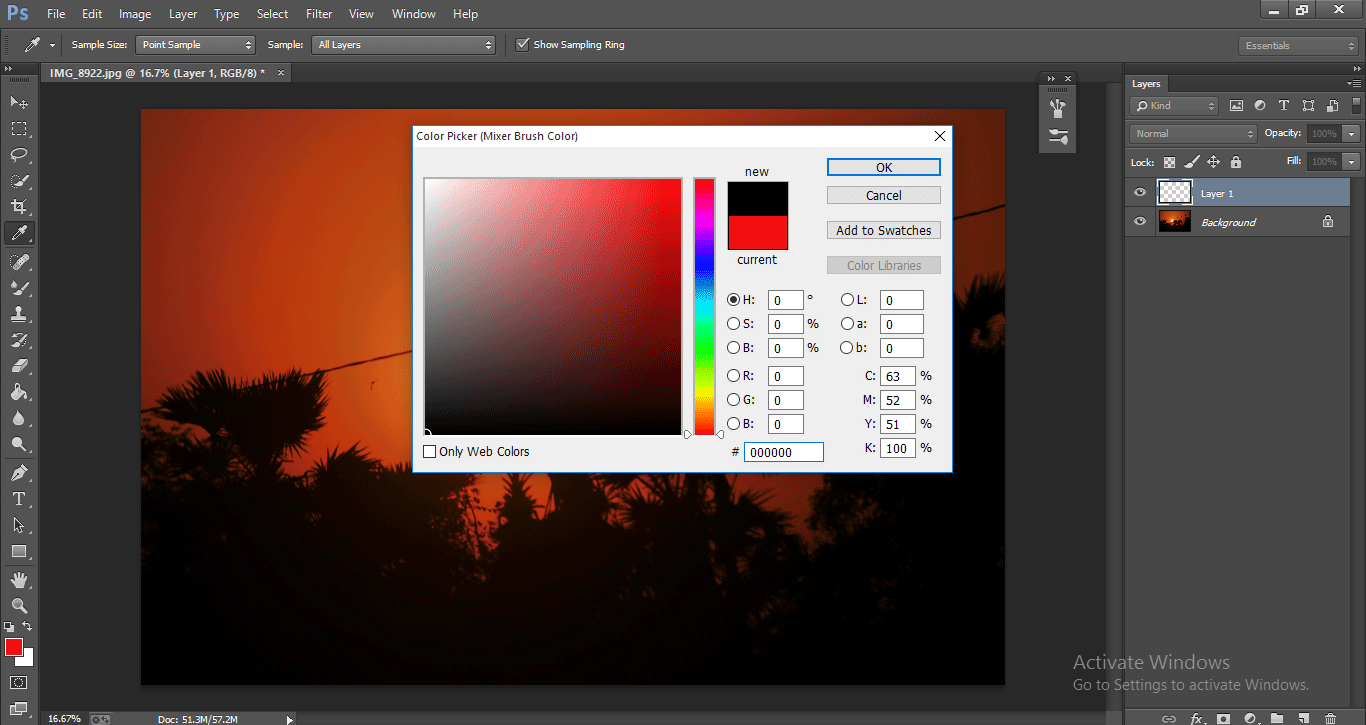
We can change the color option to black.
Step 13: We see how the paint in the above image, if we paint it, will take the background image color to the paint; it will give little 3D depth with the brush.
Step 14: We’ve given a 100% mix that makes the brush take background for paint.
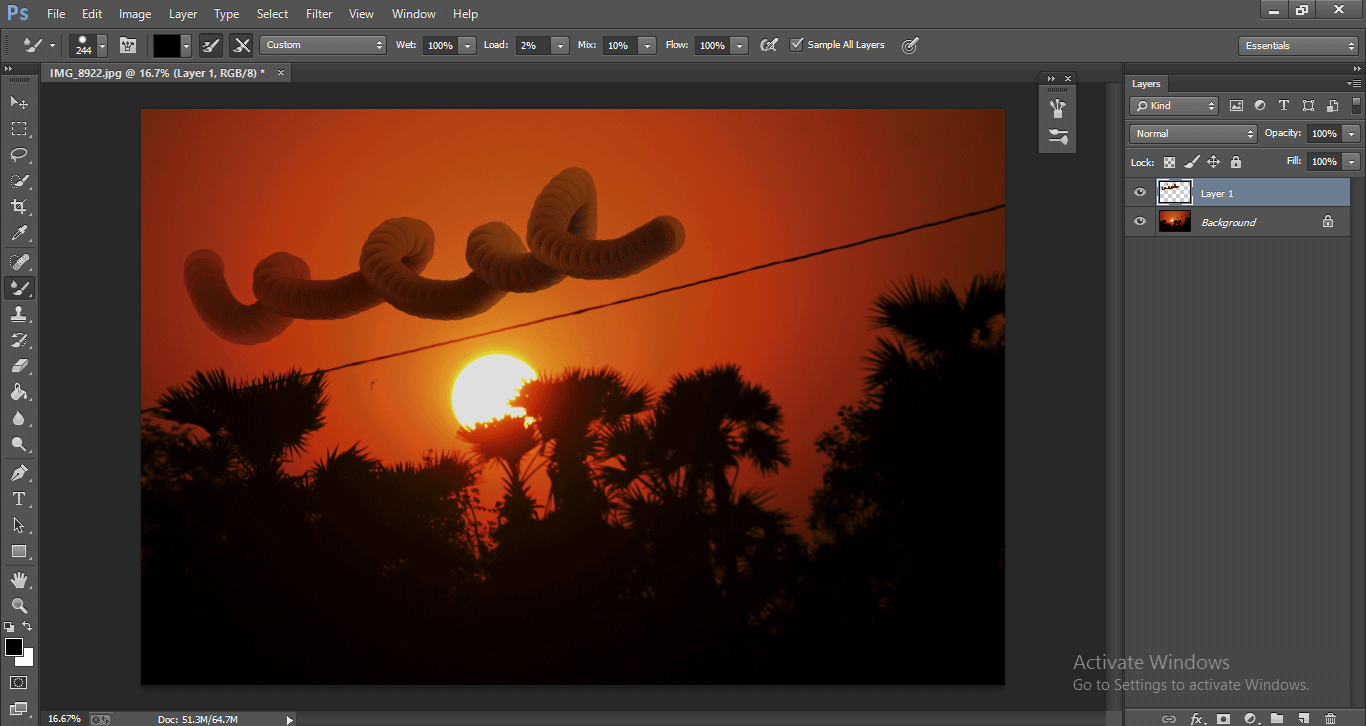
Let’s change the value of the mix now; I’ve given 10%.
We can now see that the brush used to paint the color we select and mix background a little bit.
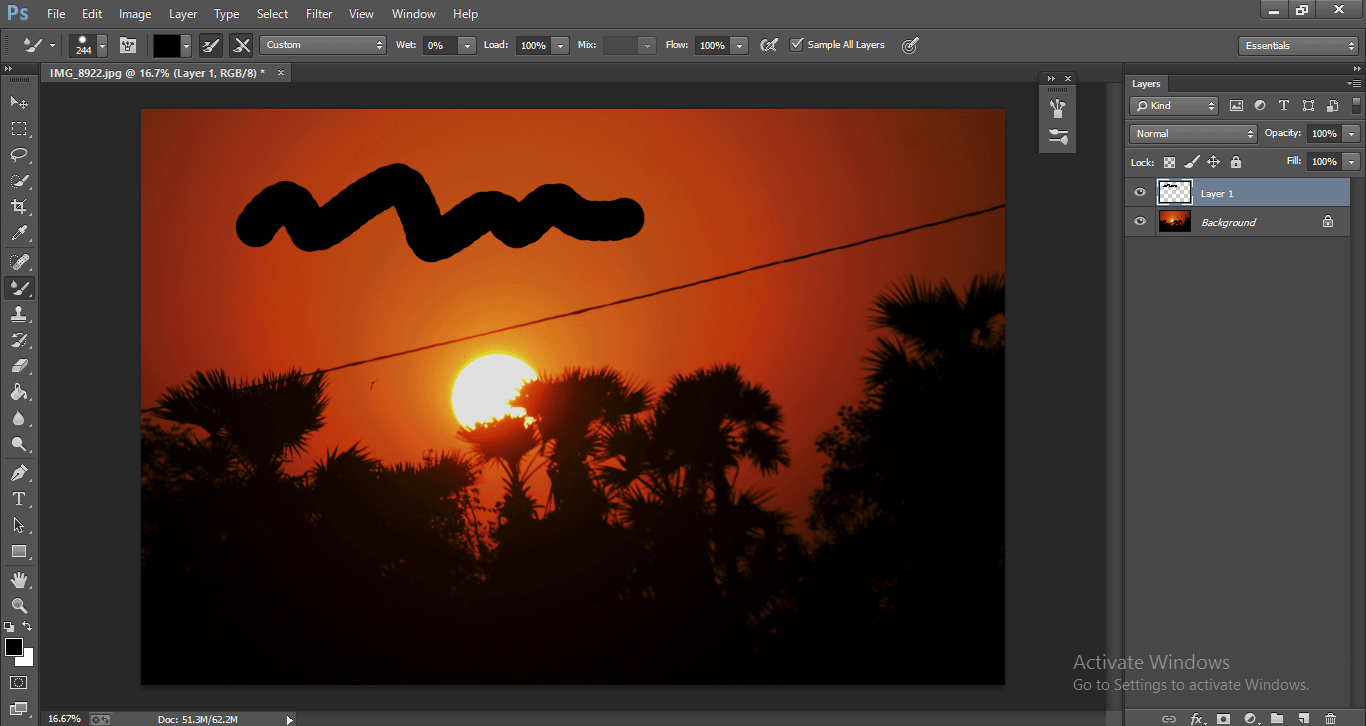
Step 15: Now, let’s do a change, give wet 0% and mix value as 100%; if we paint in these values, the paint will be very normal.
Step 16: We have an interesting option here, just hold the ALT key and go to a certain point and click on the color; then the brush will observe that color, and if we paint, it will paint with a particular color.
It will be painted with the color which we select by holding ALT,
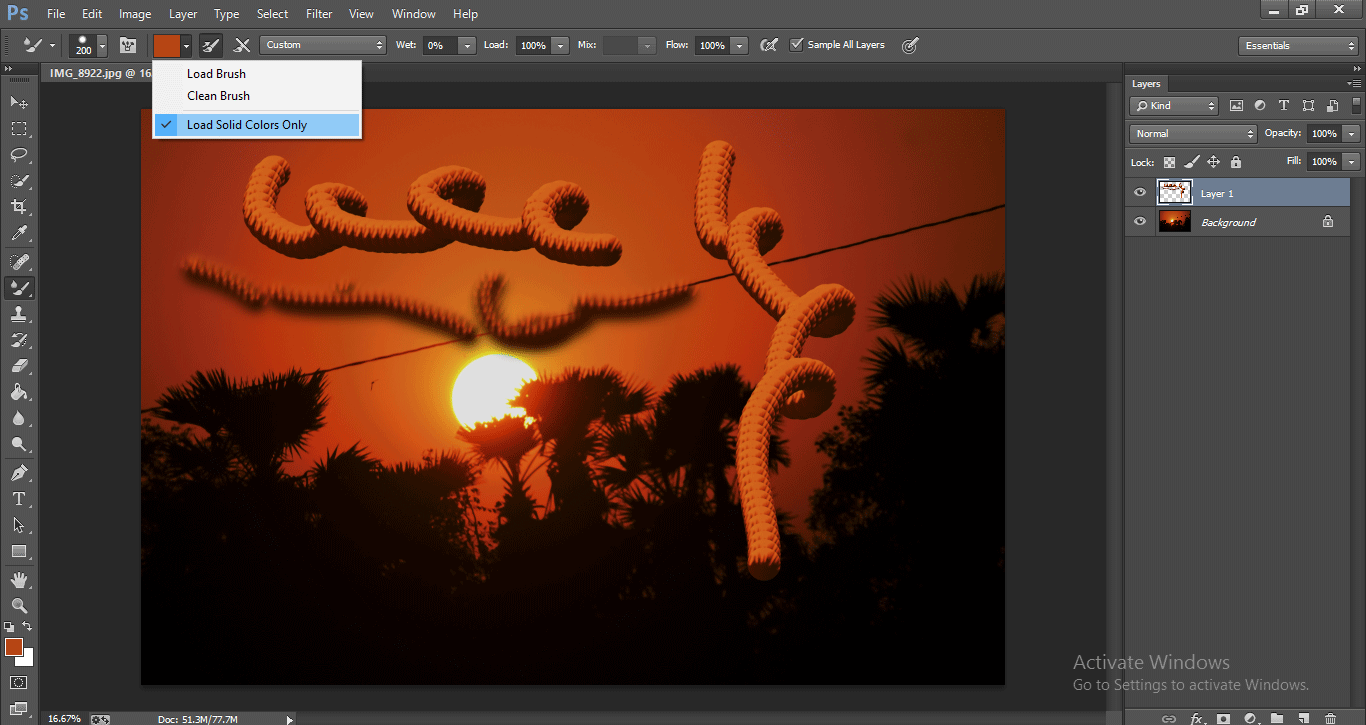
Step 17: Now, we are going to try another method with this option. Just disable the load solid colors only.
When we active this option, we can only select and paint the solid colors. But when we disable this option and hold Alt, it can capture the picture of the position we click with Alt.
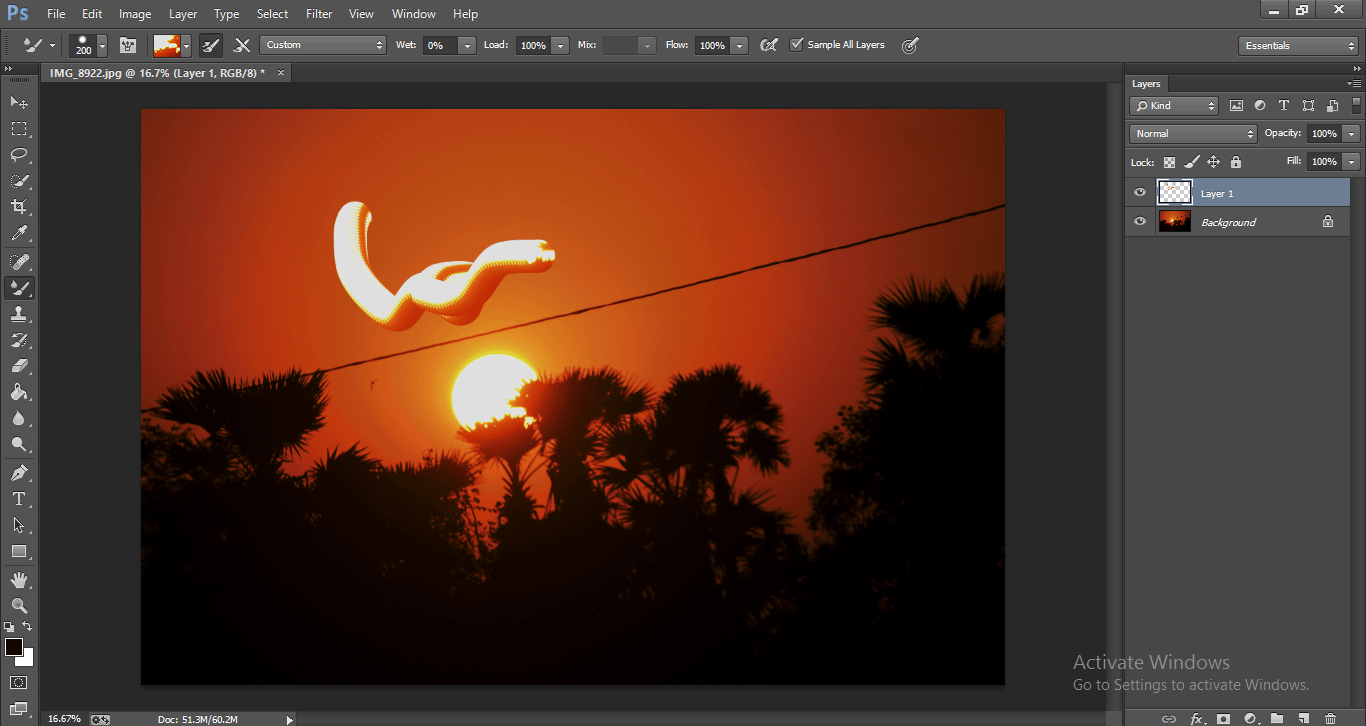
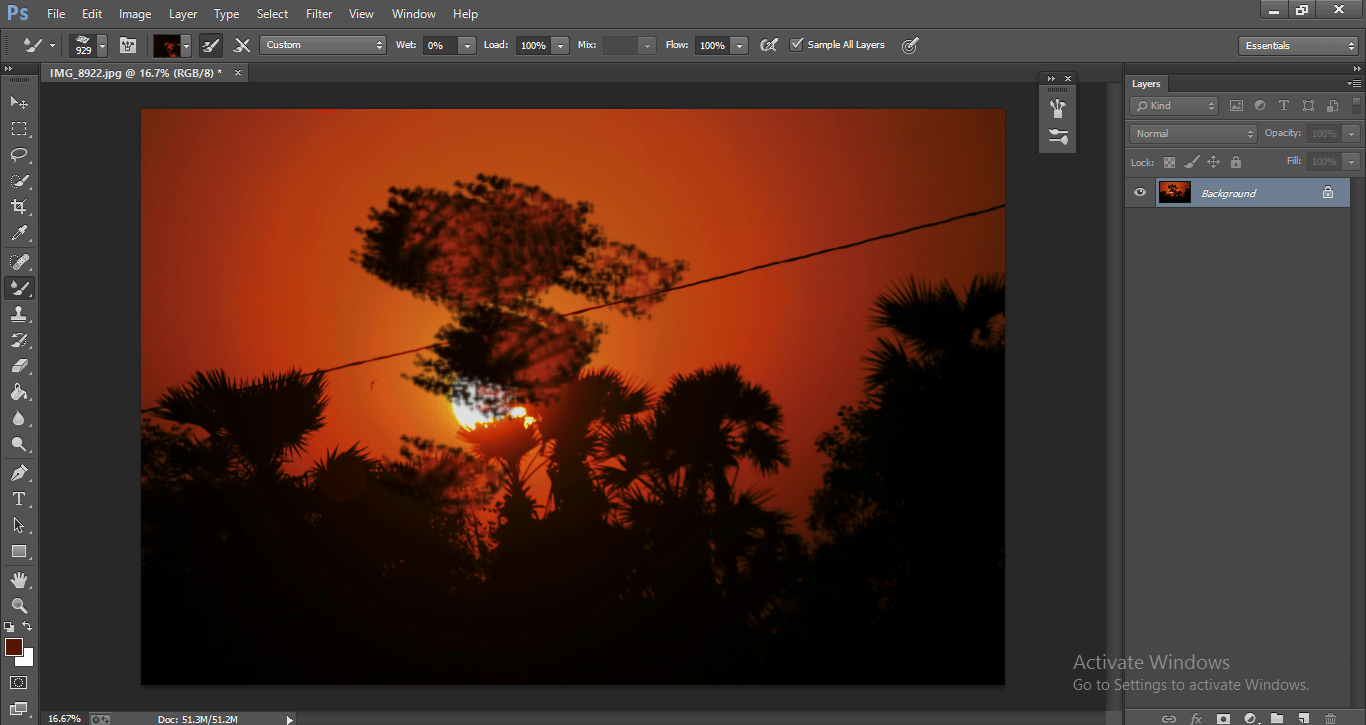
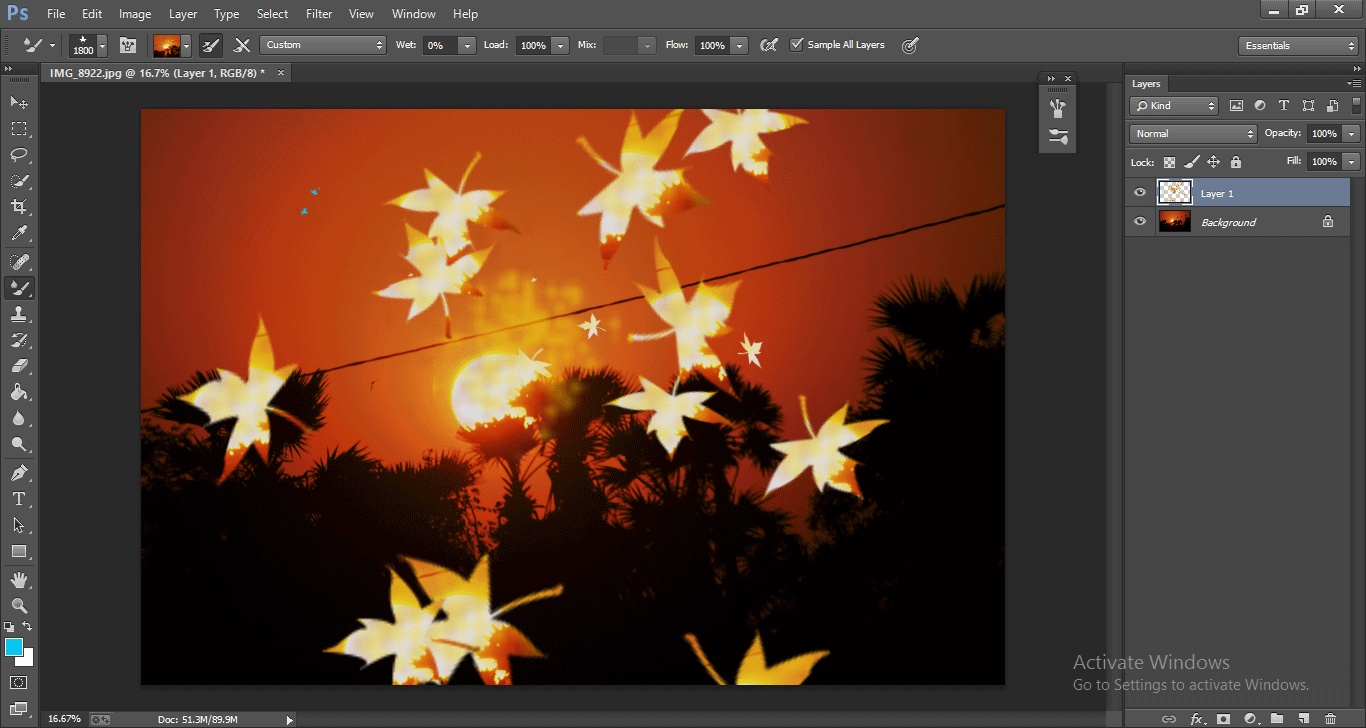
Here I click on a tree, and we can see the tip of the brush is changed like a leaf symbol.
Step 18: In previous, we paint with a solid color, but now we are going to pain with that new brush tip.
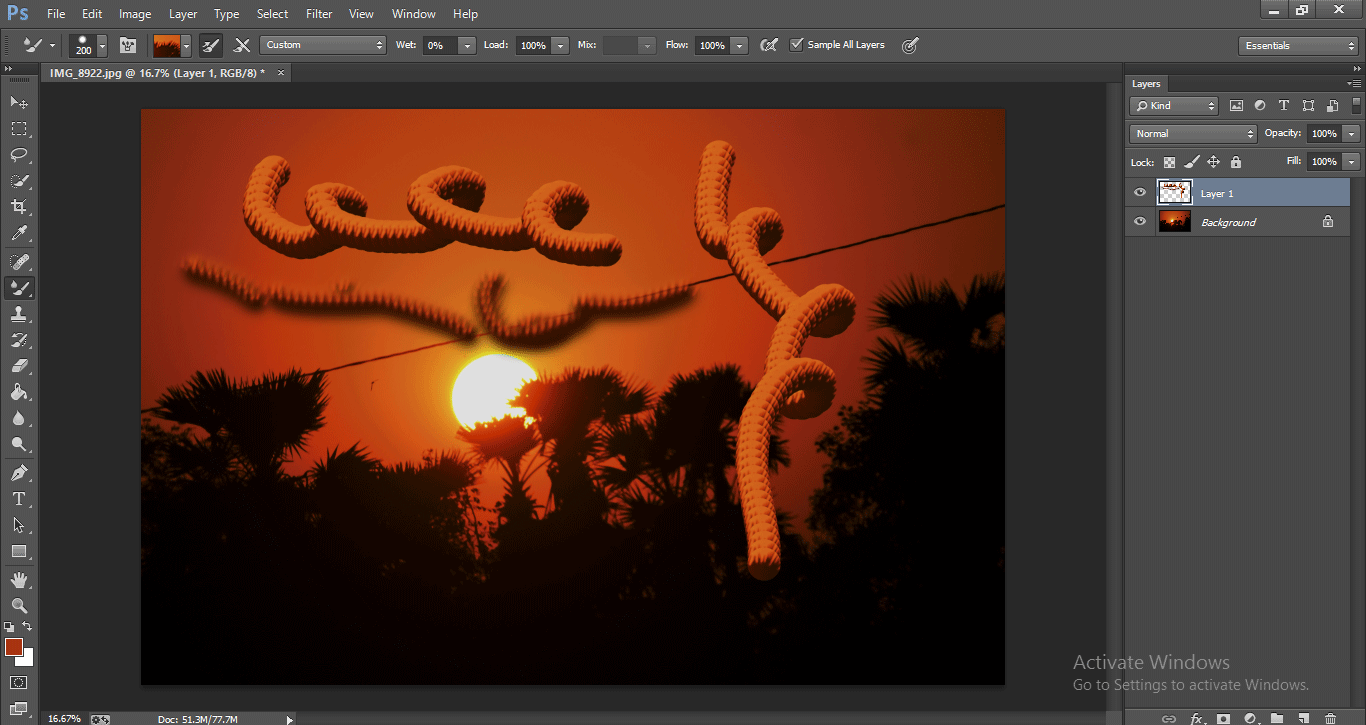
Did you see that? It was so interesting pain; finishing is so smooth.
The stroke and the blend were awesome, keeping all the inner line together and gives a 3Dimensional look to the paint; it was amazing, the painting style looks different, and we get a 3D depth with this option.
Step 19: We can change the brushes here; we have some brush options.
Select another brush from the menu.
Step 20: We can try painting with a new brush.
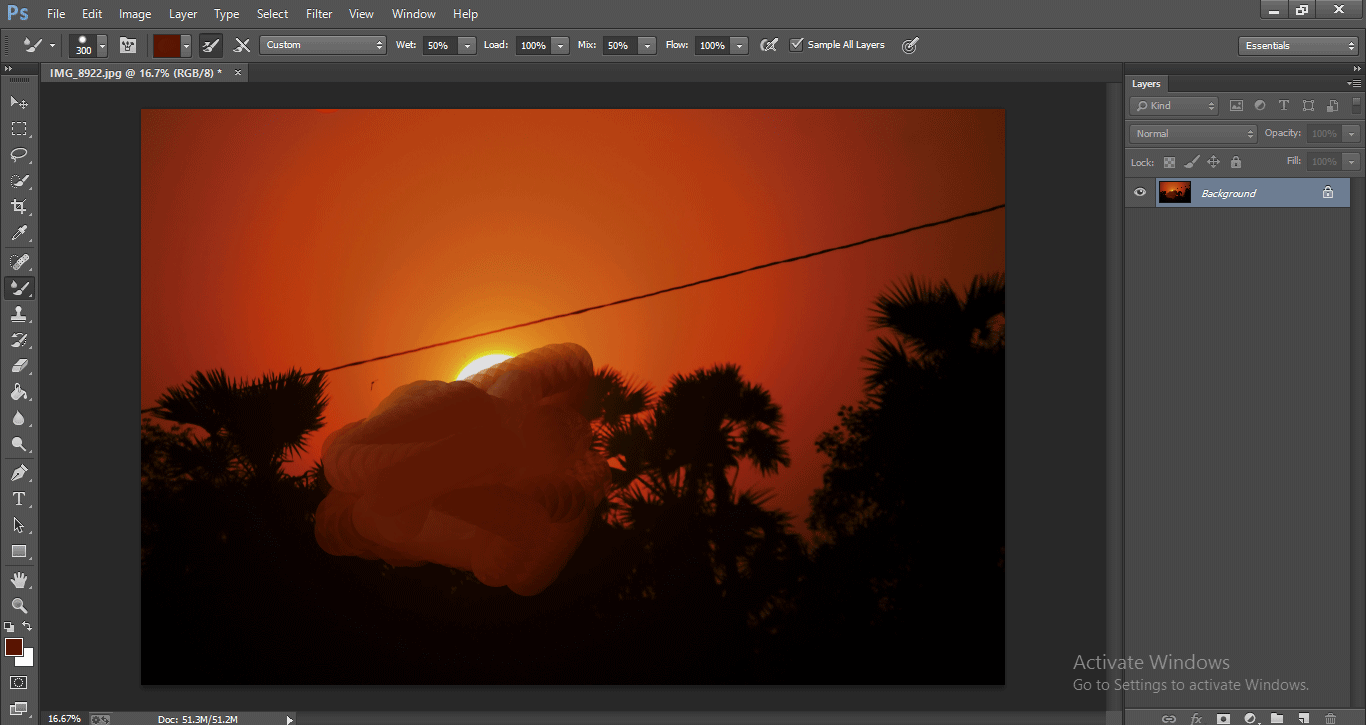
Step 21: Now, we can mix the background with our brush’s help, just change the values of wet and mix; give 50 and 50 values in both options. Now paint it by dragging; we can see that mixing background.
Step 22: If we give wet as 0 %, we can get awesome effect original brush shade.
Step 23: Select a new brush and go to the scattering option to increase the count value.
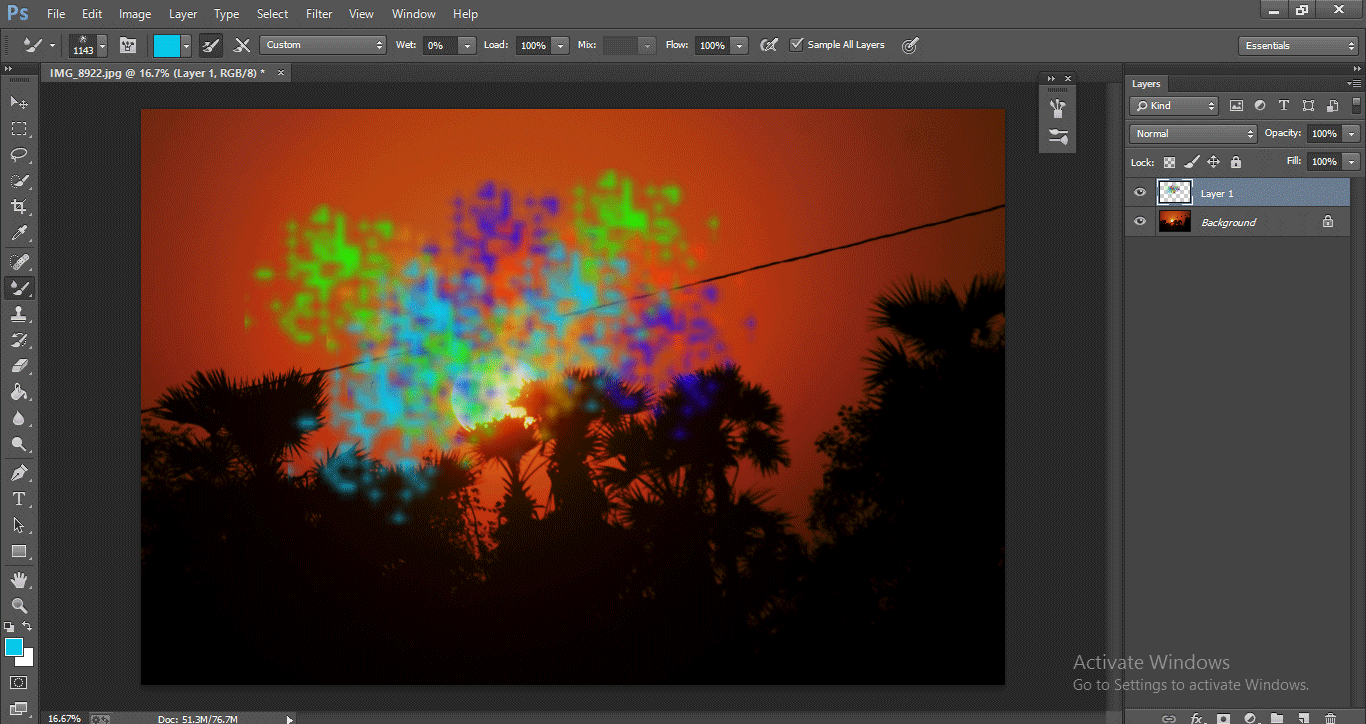
Step 24: If we pain, we can get a different painting now.
We can get the paint symbols with the option; we can different paint symbols with these options,
Step 25: By changing the color, we can create different beautiful symbols with this brush.
We can build a beautiful texture using this brush tool.
Step 26: Here, we can try with a new brush tool, select a brush that looks like a leaf, and click it will paint three symbols.
Step 27: Now, just click on a random place to get a beautiful symbol on the image.
We discussed a mixed brush tool in this process, we imported a picture, and we paint with different brushes and shades.
Recommended Articles
This is a guide to Photoshop Mixer Brush Tool. Here we discuss the introduction along with steps to use the photoshop mixer brush tool. You may also look at the following articles to learn more-
