Importance of a Product Demo Video
Creating demo videos for your product is crucial for effective marketing. These videos offer a clear and engaging way to showcase your product’s features, applications, and advantages. Building trust with your audience makes it simpler for them to understand and value the benefits of your product.
Why a Good Quality Product Demo Video Matters?
Have you ever watched a product demo video that seemed to drag on forever, like a never-ending Monday morning meeting? We have all experienced that. Making an interesting product demo video is not easy. But what if you can? Imagine if your product demo could be as exciting as a surprising twist in a popular book.
In this article, we will see the key steps to making a product demo video that captures interest. Picture a video that goes beyond just displaying features and tells an exciting story about your product. We will cover everything, from easy video editing tools to adding interactive elements that involve your audience and make them feel connected to the experience.
If you want to make your product stand out and create an interesting video on YouTube, you are in the right spot. No more boring demos – let’s turn them into exciting, impactful videos that people will remember. Ready to get started?
Table of Contents
Key Highlights
- Product demo videos are essential for engaging customers and conveying your product’s value.
- Their success hinges on careful pre-production planning for a focused and coherent final video.
- You don’t need advanced skills or expensive tools; Final Cut alternatives make professional editing accessible.
- You can incorporate customer testimonials and clear demonstrations to boost credibility and persuasion.
- You can analyze metrics like viewer engagement and conversions to gauge video effectiveness and make informed decisions for future strategies.
Steps to Create a Compelling Product Demo Video
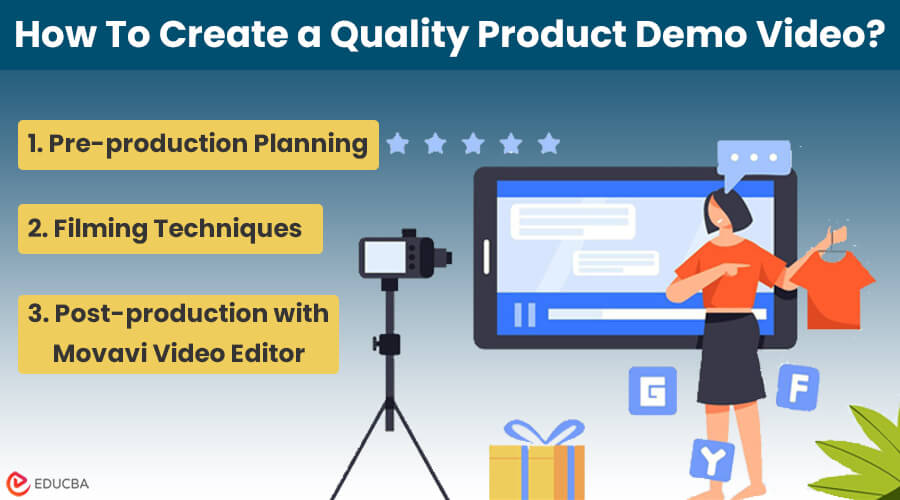
Creating a compelling demo video involves a detailed and strategic process, including pre-production planning, filming techniques, and post-production editing. Here’s an in-depth guide to each step:
Step 1: Pre-production Planning
In the “Pre-production” phase, you are laying the foundation for your video. This step is key for a great demo video, where thoughtful planning sets the stage for success.
- Know Your Audience: First, figure out your target audience. Understand what they like, what bothers them, and what they want in the product. This info guides how your video should feel and look. Use tools like SWOT analysis to simplify this.
- Create a Script: Your script is like the plan for your video. It should talk about your product’s main features, why it is good, and how it solves problems. Keep the language simple, avoid using complex words or jargon, and draw inspiration from explainer videos. Ensure the script is short but tells people why your product is great.
- Plan Your Shots: Think about the best ways to showcase your product visually. Consider different angles and situations to show the product and how to demonstrate its features effectively. Drawing a storyboard can be a handy way to picture the sequence of shots.
Step 2: Filming Techniques
Filming Techniques stage is crucial for bringing your product’s unique story to life through well-crafted visuals and expert filming methods.
- Use Good Lighting: Proper lighting is necessary for making your video look professional. Finding the right balance is key – not too dark or too bright. The goal is to highlight your product’s best features, whether for a YouTube launch or an interactive showcase.
- Pick the Right Angle: The angle at which you show your product says a lot. It guides your audience on where to focus and what emotions to feel. It is crucial, especially for software or tech products, where functionality needs a clear demonstration. Think of your camera angle as a spotlight in a theater, putting the focus on the star – your product.
- Show Real-life Examples: Including real-life examples in your product demo adds context and relatability. It transforms your product from a static object into a dynamic solution for real-world issues. Demonstrating how the product works in everyday situations makes your content more interesting and boosts its advertising potential.
Step 3: Post-production with Movavi Video Editor
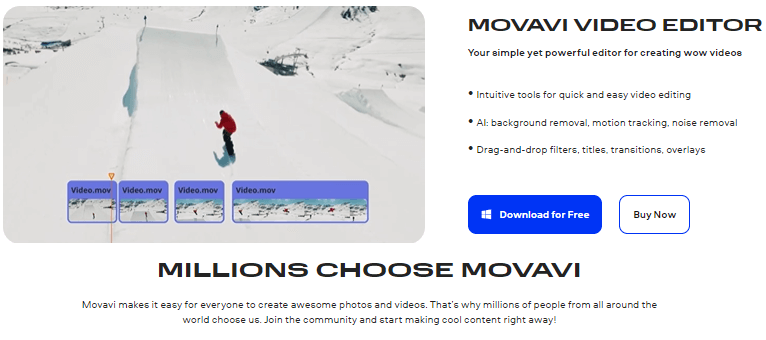
Image Source: Movavi
After shooting your video, it’s time to refine it using post-production tools like video editor by Movavi.
- Edit Your Footage: In Movavi, review your video, pick out the best parts, and cut out anything unnecessary. It is not just about removing unwanted bits – think of it like piecing together a puzzle. Each clip should seamlessly contribute to telling the complete story of your product.
- Add Effects and Transitions: Use effects to enhance your product presentation, but keep it simple. Smooth transitions maintain the video’s flow, making it easy for viewers to follow. Effects should subtly highlight your product’s key features without overshadowing the main focus – your product.
- Add Audio: A clear voiceover guides your audience through your product’s features. Carefully choose background music that sets the right tone without stealing the spotlight. The goal is a balanced mix of audio and visuals, creating a compelling story about your product.
Additional Tips for Enhancing Your Product Demo Video
1. Keep Your Brand Low-key
Instead of putting your brand all over the place in your demo video, use subtle brand elements like a unique color scheme or a specific graphic style. This way, you reinforce brand recognition without overwhelming the product demo.
2. Highlight Small but Important Features
Show off the little details in your software or product that improve the user experience. These small interactions might be overlooked, but showcasing them can help your audience see your product’s complexity and attention to detail.
3. Show Your Product in Different Situations
Instead of just demonstrating your product in a standard way, try putting it in different relatable contexts. It makes your video more interesting and helps viewers imagine how your product fits into their lives. Moreover, consider also streaming your videos live through a DASH player to make your video more interesting and help viewers imagine how your product fits into their lives.
4. Make it Easy to Watch Without Sound
Many people watch videos without sound, especially on their phones. Make sure your product demo works just as well with or without audio. Use captions, on-screen text, and clear visuals to convey your message even in silent mode.
Follow these steps carefully to make a product demo video that effectively highlights your product, delights your audience, and convinces them.
Final Thoughts
Making a great product demo video takes time and effort, but it’s worth it. Connect with your audience, use tools like Movavi Video Editor, and add creative elements to create a video showing your product well. A good demo video informs, engages, and convinces, potentially giving your business the boost it needs.
Frequently Asked Questions (FAQs)
Q1. How long should a product demo video be?
Answer: It’s best to keep it short, preferably under 3 minutes, to keep viewers interested.
Q2. Can product demo videos improve SEO?
Answer: Yes, having videos with good tags, especially on platforms like YouTube, can boost your website’s SEO.
Q3. Do I need a professional to create a demo video?
Answer: While professionals can help, tools like Movavi Video Editor allow you to make high-quality videos in-house.
Q4. Should I include a call-to-action in my demo video?
Answer: Definitely. Adding a clear call-to-action guides viewers on what to do next, increasing the chances of them taking action.


