Updated April 1, 2023
Introduction to React Native Splash Screen
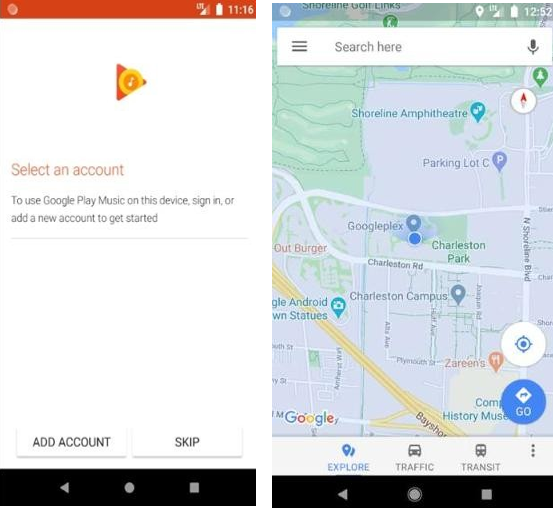
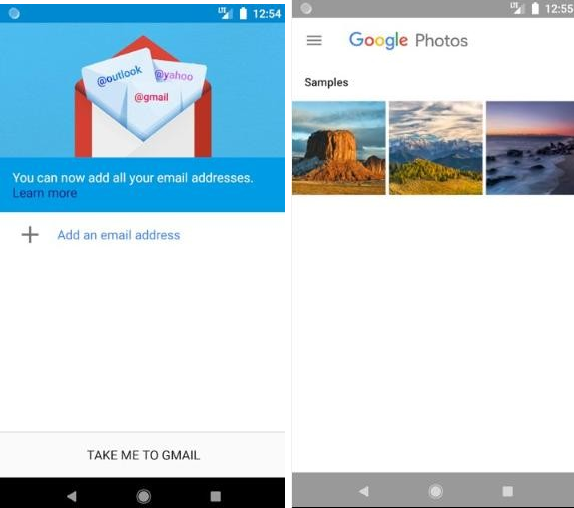
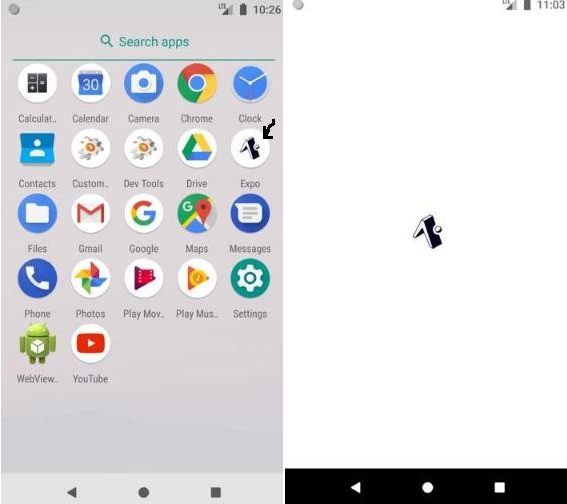
Splash Screen can be defined as a graphical control element that consists of a window that consists of the current version of the software, a logo, and an image. A splash screen is majorly seen when a particular program or a game is launching and it is even used when an application or website need essential information before it get started. A splash page can be said as an introduction on an application or a website. The Splash Screen automatically gets hidden after few seconds from the display screen and will appear again when the application will start again. The below images shows where can find splash screens in day to day life. These are the examples of Google Play Music, Google Maps, Gmail, Google Photos.
Syntax of Installing
Below is the syntax to install:
Using Yarn
yarn add react-native-splash-screenUsing NPM
npm install react-native-splash-screenSyntax of importing components
import { StyleSheet, Platform, TouchableOpacity, Image, View, Text, Alert } from 'react-native';How to Create Splash Screen in React Native?
Below are still learn to create Splash Screen with examples:
1. Simple logo image in iOS platform
Code:
import React, { Component } from 'react';
import { StyleSheet, Platform, TouchableOpacity, Image, View, Text, Alert
} from 'react-native';
export default class Myapp extends Component<{}>
{
constructor(){ super(); this.state={ isVisible : true,
}
}
Hide_Splash_Screen=()=>{ this.setState({
isVisible : false
});
}
componentDidMount(){ var that = this;
setTimeout(function(){ that.Hide_Splash_Screen();
}, 5000);
}
render()
{
let Splash_Screen = (
<View style={styles.SplashScreen_RootView}>
<View style={styles.SplashScreen_ChildView}>
<Image source={{uri:'https://static.javatpoint.com/tutorial/react- native/images/react-native-tutorial.png'}}
style={{width:'100%', height: '100%', resizeMode:
'contain'}} />
</View>
</View> )
return(
<View style = { styles.MainContainer }>
<Text style={{textAlign: 'center',width: '100%'
,backgroundColor: '#fc8bef'}}> Example of Simple Splash Screen</Text>
{
(this.state.isVisible === true) ? Splash_Screen : null
}
</View>
);
}
}
const styles = StyleSheet.create(
{
MainContainer:
{
flex: 1,
justifyContent: 'center',
alignItems: 'center',
paddingTop: ( Platform.OS === 'ios' ) ? 20 : 0
},
SplashScreen_RootView:
{
justifyContent: 'center',
flex:1,
margin: 10,
position: 'absolute', width: '100%',
height: '100%',
},
SplashScreen_ChildView:
{
justifyContent: 'center', alignItems: 'center', backgroundColor: '#fcf52b', flex:1,
},
});
Output:
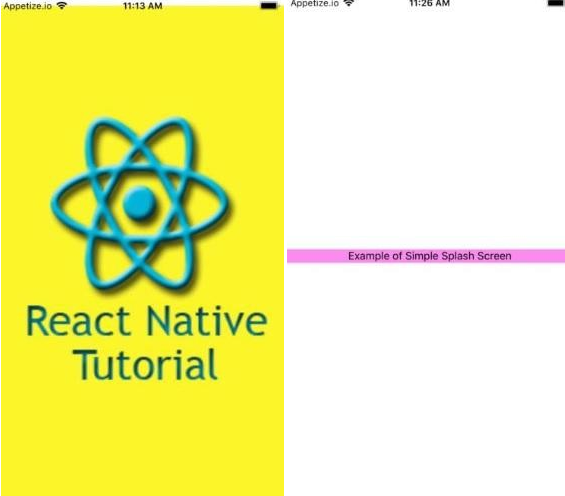
Explanation: Here in Image 1 and Image 2 we can see the output of the above code and how Splash Screen works in React Native. The React Native Logo splashes a new page. This is the most simple example to understand Splash Screen, i.e. text appears.
2. Animated Splash Screen
Code:
import React, { Component } from 'react';
import {View, Image, Text } from 'react-native';
export default class App extends Component { constructor() {
super(); this.state = {
animating: false, align: 'center', alignsecond: false,
};
setTimeout( () =>
this.setState({ align: 'flex-start' }, function() { this.setState({
alignsecond: true,
});
}), 3000
);
}
render() { return (
<View
style={{ flex: 1,
alignItems: 'center', flexDirection: 'row', justifyContent: this.state.align, marginHorizontal: 40,
}}>
<Image
source={{ uri:
'https://raw.githubusercontent.com/AboutReact/sampleresource/master/react_l ogo.png',
}}
style={{ width: 100, height: 100 }}
/>
{!this.state.alignsecond ? null : (
<View style={{ margin: 10 }}>
<Text
style={{ color: '#092c96', fontSize: 25, fontWeight: 'bold'
}}>
Welcome to React Native Mobile Application
</Text>
</View>
)}
</View>
);
}
}
Output:
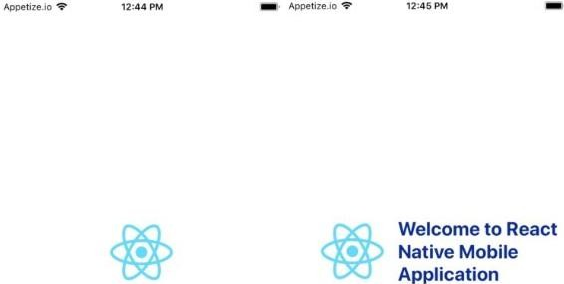
Explanation: Here in Image 1 and Image 2 we can see a slight animation in which the logo comes first and then comes the text.
3. Splash screen of app uploading
Code:
import React from 'react';
import { View, Text } from 'react-native';
class SplashScreen extends React.Component { performTimeConsumingTask = async() => {
return new Promise((resolve) => setTimeout(
() => { resolve('result') }, 2000
)
)
}
async componentDidMount() {
const data = await this.performTimeConsumingTask();
if (data !== null) { this.props.navigation.navigate('App');
}
}
render() { return (
<View style={styles.viewStyles}>
<Text style={styles.textStyles}> Welcome to the application
</Text>
</View>
);
}
}
const styles = { viewStyles: {
flex: 1,
alignItems: 'center', justifyContent: 'center', backgroundColor: '#79ff26'
},
textStyles: {
color: '#ff4824', fontSize: 50, fontWeight: 'italic'
}
}
export default SplashScreen;
Outputs:
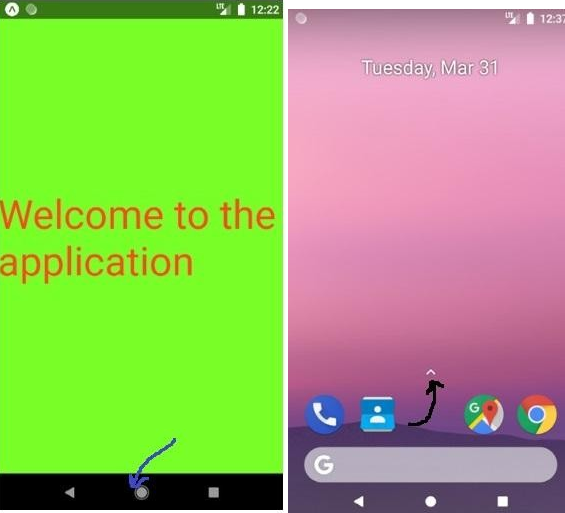
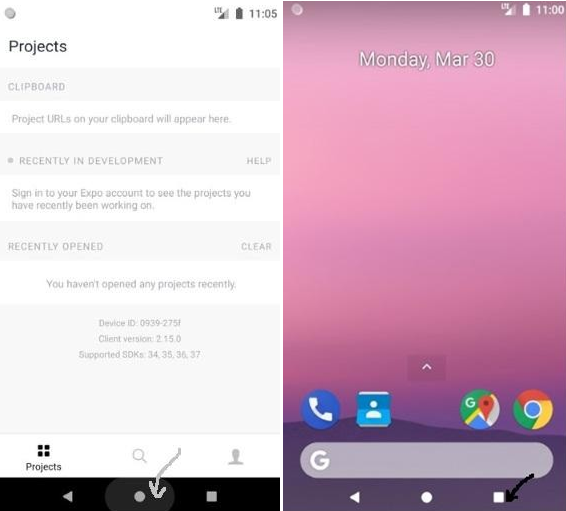
Explanation: All the 7 four images below shows how splash screen arrives and disappear in the particular mobile application.
4. Simple Splash Screen with a Simple image in Android platform
Code:
import React, { Component } from 'react';
import { StyleSheet, Platform, TouchableOpacity, Image, View, Text, Alert
} from 'react-native';
export default class Myapp extends Component<{}>
{
constructor(){ super(); this.state={ isVisible : true,
}
}
Hide_Splash_Screen=()=>{
this.setState({ isVisible : false
});
}
componentDidMount(){ var that = this;
setTimeout(function(){ that.Hide_Splash_Screen();
}, 5000);
}
render()
{
let Splash_Screen = (
<View style={styles.SplashScreen_RootView}>
<View style={styles.SplashScreen_ChildView}>
<Image source={{uri:'https://raw.githubusercontent.com/AboutReact/sampleresource/m aster/react_logo.png'}}
style={{width:'100%', height: '100%', resizeMode:
'contain'}} />
</View>
</View> )
return(
<View style = { styles.MainContainer }>
<Text style={{textAlign: 'center',width: '100%'
,backgroundColor: '#36fffc'}}> The screen came earlier shows a Splash Screen</Text>
{
(this.state.isVisible === true) ? Splash_Screen : null
}
</View>
);
}
}
const styles = StyleSheet.create(
{
MainContainer:
{
flex: 1,
justifyContent: 'center', alignItems: 'center',
paddingTop: ( Platform.OS === 'android' ) ? 10 : 0
},
SplashScreen_RootView:
{
justifyContent: 'center', flex:1,
margin: 20,
position: 'absolute', width: '100%',
height: '100%',
},
SplashScreen_ChildView:
{
ustifyContent: 'center', alignItems: 'center', backgroundColor: '#c2ff29',
flex:1,
},
});
Output:
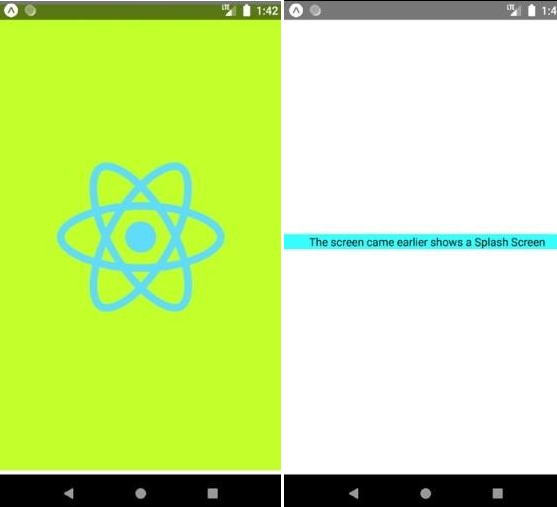
Explanation: Both Image 1 and Image 2 below show how splash screen arrives before actual content in the particular android mobile application.
Conclusion
In our daily life, we open multiple applications day in day out. We see some information, some picture or some commands displayed when we open up an application and in this article we have explained you how it works and how to create them according to our requirements. These are called Splash Screen and it is also very much important for every application, so that the application can have a good interaction with the user. In this article, we came across different examples of Splash Screen like Simple Splash Screen in logo image, Animated Splash Screen in React Native, Splash Screen on Application Uploading, Splash Screen on android Mobile Application which can give you some good idea about Splash Screen in React Native.
Recommended Articles
This is a guide to React Native Splash Screen. Here we discuss an introduction, syntax and how to create Splash Screen in React Native along with code implementation. You can also go through our other related articles to learn more –
