Updated May 31, 2023
Introduction to React Native Tab Bar
Whenever we open up a website or an application, we start looking for the information we want from it and there come the tabs for our rescue. Tabs are an essential part of any application or website. Tabs help us as a user to search for information quickly on any app or a website. For Example, if you are looking for some support from the app and if the tabs wouldn’t have been there it would take a lot of time to search for the help section but because of the tabs all of the information or tools are conveniently categorized in the different tabs and we can easily find the information. It supports creation of Tabs just like React, we can easily categorize the different parts of the app and put it in the different tabs which make the app more interactive to the user. In this article, we will go through some of the examples of how to create Tab bars to React Native.
Syntax
import { TabView, SceneMap } from 'react-native-tab-view';
<TabView
navigationState={{ index, routes }} onIndexChange={setIndex} renderScene={SceneMap({
first: FirstRoute, second: SecondRoute,
})}
/>
Examples to Implement React Native Tab Bar
Below are the examples mentioned:
1. Tab Bar using Material UI
Components to build up:
- demo.js
- index.html
- index.js
Demo.js
import React from "react";
import PropTypes from "prop-types";
import { withStyles } from "@material-ui/core/styles";
import AppBar from "@material-ui/core/AppBar";
import Tabs from "@material-ui/core/Tabs";
import Tab from "@material-ui/core/Tab";
import Typography from "@material-ui/core/Typography";
function TabContainer(props) { return (
<Typography component="div" style={{ padding: 7 * 4 }}>
{props.children}
</Typography>
);
}
TabContainer.propTypes = {
children: PropTypes.node.isRequired
};
const styles = theme => ({ root: {
flexGrow: 1,
backgroundColor: theme.palette.background.paper, margin: 0
}
});
class ScrollableTabsButtonAuto extends React.Component { state = {
value: 0
};
handleChange = (event, value) => {
this.setState({ value });
};
render() {
const { classes } = this.props; const { value } = this.state;
return (
<div className={classes.root}>
<AppBar position="static" color="default">
<Tabs
value={value} onChange={this.handleChange} indicatorColor="secondary" textColor="secondary"
centered
>
<Tab label="Free Tutorials" />
<Tab label="Certification Courses" />
<Tab label="Careers" />
<Tab label="Corporate Training" />
<Tab label="Blog" />
<Tab label="About Us" />
<Tab label="Contact Us" />
<Tab label="Reviews" />
</Tabs>
</AppBar>
{value === 0 &&
<TabContainer>https://www.educba.com/tutorials/?source=menu</TabContainer>}
{value === 1 &&
<TabContainer>https://www.educba.com/courses/?source=menu</TabContainer>}
{value === 2 &&
<TabContainer>https://www.educba.com/careers/</TabContainer>}
{value === 3 &&
<TabContainer>https://www.educba.com/blog/?source=footer</TabContainer>}
{value === 4 && <TabContainer>https://www.educba.com/about- us/?source=footer</TabContainer>}
{value === 5 && <TabContainer>https://www.educba.com/contact- us/?source=footer</TabContainer>}
{value === 6 &&
<TabContainer>https://www.educba.com/reviews/?source=footer</TabContainer>}
</div>
);
}
}
ScrollableTabsButtonAuto.propTypes = { classes: PropTypes.object.isRequired
};
export default withStyles(styles)(ScrollableTabsButtonAuto);
index.html
<body>
<link rel="stylesheet" href="https://fonts.googleapis.com/css?family=Roboto:300,400,500" />
<link rel="stylesheet" href="https://fonts.googleapis.com/icon?family=Material+Icons" />
<div id="root"></div>
</body>
index.js
import React from 'react';
import { render } from 'react-dom'; import Demo from './demo';
const rootElement = document.querySelector('#root'); if (rootElement) {
render(<Demo />, rootElement);
Output:
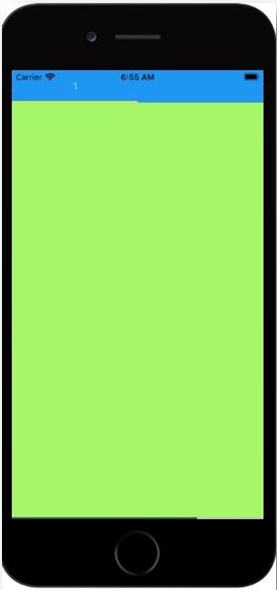
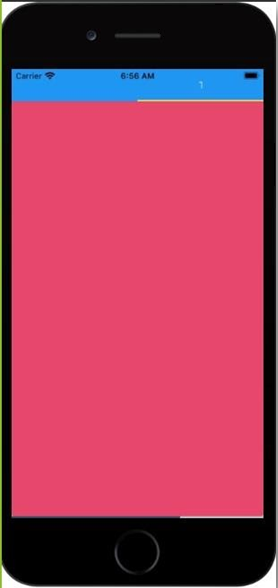
2. React Native Tab Bar with Tab View
Components to build up:
App.js
import * as React from 'react'; import { View
, StyleSheet
, Dimensions
, Text } from 'react-native'; import { TabView
, TabBar
, SceneMap } from 'react-native-tab-view';
const FirstRoute = () => (
<View style={[styles.scene, { backgroundColor: '#a5f765' }]} />
);
const SecondRoute = () => (
<View style={[styles.scene, { backgroundColor: '#e6476c' }]} />
);
function renderLabel({ route, focused, color }) {
return <Text style={{ color }}>{focused ? route.title : ' '}</Text>;
}
const initialLayout = { width: Dimensions.get('window').width };
export default function App() {
const [index, setIndex] = React.useState(0); const [routes] = React.useState([
{ key: 'first', title: 'Tab First' },
{ key: 'second', title: 'Tab Second' },
]);
const renderScene = SceneMap({ first: FirstRoute,
second: SecondRoute,
});
return (
<TabView
navigationState={{ index, routes }}
renderScene={renderScene}
onIndexChange={setIndex}
initialLayout={initialLayout}
renderTabBar={props => <TabBar {...props} renderLabel={renderLabel}
/>}
/>
);
}
const styles = StyleSheet.create({ scene: {
flex: 2,
},
});
Output:
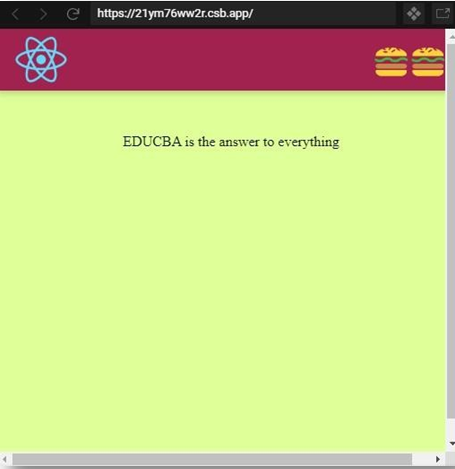
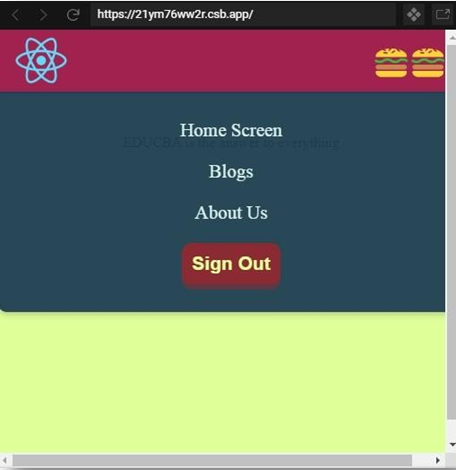
3. React Native Tab Bar with Animation
Components inside src folder:
- assets folder
- components folder
- index.js
- style.css
Components inside assets folder:
- logo.png
Components inside components folder:
- header.css
- header.js
logo.png
header.css
.Header { position: fixed; top: 1;
max-height: 71px; width: 101vw;
display: grid;
grid-template-areas: "logo nav";
background-color: #a1224e;
box-shadow: 0 3px 7px 0 rgba(14, 9, 9, 0.2);
}
.Logo {
grid-area: logo; height: 69px;
}
.Nav {
display: grid; grid-area: nav;
grid-template-columns: repeat(3, auto); align-items: center;
justify-items: center;
}
.Nav a {
color: #d8f0eb; font-size: 21px; font-weight: 501; transition: 0.6s;
text-decoration: none;
}
.Nav a:hover { transform: scale(1.1);
}
.Nav button { padding: 11px; outline: none; border: none; font-size: 21px; color: #dfff99;
font-weight: 601;
background-color: rgba(240, 13, 13, 0.5);
box-shadow: 0px 6px 0px 0px rgba(255, 10, 10, 0.25); border-radius: 11px;
cursor: pointer; transition: 71ms;
}
.Nav button:active { transform: translateY(4px);
box-shadow: 0px 2px 0px 0px rgba(175, 4, 4, 0.25);
}
.Burger { display: none;
grid-area: burger; margin: 0 21px 0 0;
padding: 0; justify-self: end; font-size: 41px; border: none; background: none; outline: none; transition: 0.2s;
}
.Burger:active { transform: scale(1.3);
}
@media (max-width: 701px) {
.Header {
grid-template-areas: "logo burger" "nav nav";
}
.Nav {
grid-template-rows: repeat(3, auto); grid-template-columns: none;
grid-row-gap: 21px;
padding: 31px 0 31px;
background: rgba(31, 61, 83, 0.95);
box-shadow: 0 3px 7px 0 rgba(15, 14, 14, 0.2); border-bottom-left-radius: 11px;
border-bottom-right-radius: 11px;
}
.Burger {
display: inline;
}
}
.NavAnimation-enter { opacity: 0;
transform: scale(0.5);
}
.NavAnimation-enter-active { opacity: 1;
transform: translateX(0);
transition: opacity 351ms, transform 351ms;
}
.NavAnimation-exit
{ opacity: 1;
}
.NavAnimation-exit-active { opacity: 0;
transform: scale(0.4);
transition: opacity 351ms, transform 351ms;
Header.js
import React, { useState
, useEffect } from "react"; import "./Header.css";
import { CSSTransition } from "react-transition-group";
export default function Header() {
const [isNavVisible, setNavVisibility] = useState(false); const [isSmallScreen, setIsSmallScreen] = useState(false);
useEffect(() => {
const mediaQuery = window.matchMedia("(max-width: 700px)"); mediaQuery.addListener(handleMediaQueryChange); handleMediaQueryChange(mediaQuery);
return () => { mediaQuery.removeListener(handleMediaQueryChange);
};
}, []);
const handleMediaQueryChange = mediaQuery => { if (mediaQuery.matches) {
setIsSmallScreen(true);
} else {
setIsSmallScreen(false);
}
};
const toggleNav = () => { setNavVisibility(!isNavVisible);
};
return (
<header className="Header">
<img src={require("../assets/logo.png")} className="Logo" alt="logo"
/>
<CSSTransition
in={!isSmallScreen || isNavVisible} timeout={350} classNames="NavAnimation" unmountOnExit
>
<nav className="Nav">
<a href="/">Home Screen</a>
<a href="/">Blogs</a>
<a href="/">About Us</a>
<button>Sign Out</button>
</nav>
</CSSTransition>
<button onClick={toggleNav} className="Burger">
</button>
</header>
);
}
index.js
import React from 'react';
import ReactDOM from 'react-dom'; import './styles.css';
import Header from './components/Header';
function App() { return (
<div className='App'>
<Header />
<div className='Content'>
<p>EDUCBA is the answer to everything</p>
</div>
</div>
);
}
const rootElement = document.getElementById("root"); ReactDOM.render(<App />, rootElement);
style.css
body {
font-family: 'Times New Roman', Times, serif; margin: 0;
padding: 0;
}
.App {
height: 101vh; width: 101vw;
background-color: #dfff99;
}
.App .Content { padding-top: 101px; text-align: center;
}
Output:
Conclusion
On the basis of the above article, we understood how to create Tab Bars according to our requirements and to make the application more interactive and easy to use for the user. We have discussed three examples of different types of Tab Bars above which can help you understand the same. I hope this article will help you in understanding the same in a simpler way.
Recommended Articles
This is a guide to React Native Tab Bar. Here we discuss an introduction, syntax, and examples along with programming code and output. You can also go through our other related articles to learn more –

