Updated March 8, 2023

Introduction to Redshift add column
Redshift add column is used to add new column to the existing table, using add column function we can add a new column to the existing table. At the time of adding a new column, we need to specify the datatype of the column which we are adding into the table. Also, we need to specify the name of the column which we are adding, the name and datatype of the column is an important parameter while adding the column into the table in redshift. At the time of defining datatype also need to define the size of the column.
Syntax of Redshift add column
Given below is the syntax of add column in redshift:
Alter table name_of_schema.name_of_table add name_of_column datatype (size of the column);
Parameter description syntax of add column in redshift:
- Alter table: This function is used in redshift to alter the table, we can add the column or we can also delete the column using alter table command in redshift. Alter table is important while we are adding or dropping columns in redshift.
- Name of schema: This is defined as the schema name which we are using while adding a new column for the particular table. To use the table from specified schema we need to use schema name before the table name in redshift.
- Table name: This is defined as a table name that we are using while adding a new column. Table name is an important parameter while adding the column in redshift.
- Name of column: This is defined as the column name which we are using while adding a new column into the table.
- Datatype of the column: At the time of adding a new column to the table in redshift we need to define datatype of the specified column. We can define datatype as per the data which was we have inserted into the column.
- Size of the column: We need to define size of the column at the time of adding a new column in redshift. We can define size of the column as per the data that we are inserting into the column.
How to add column in Redshift?
At the time of adding new column to the table, we are using below data type for the new column. As per data we are defining datatype for the column.
- Integer
- Bigint
- Smallint
- Real
- Decimal
- Double precision
- Char
- Boolean
- Varchar
- Timestamp
- Date
We can also define the constraint to the column at the time of adding. We can define null or not null constraint to the column at the time of adding into the table. At the time of adding new column into the table, the new column is added at the last position from all the columns.
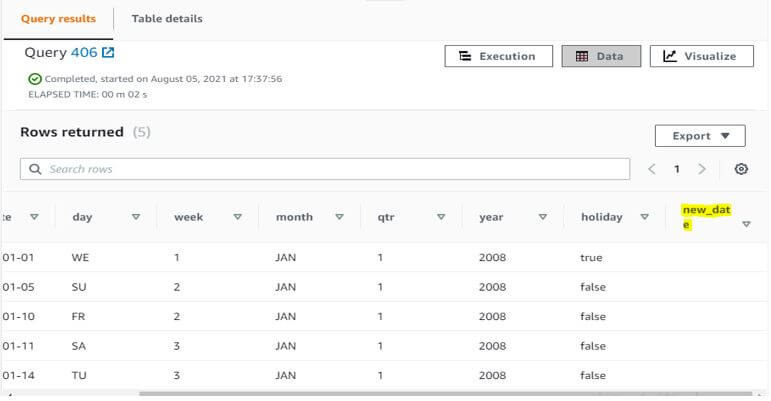
Below example shows that while adding new column into the table in redshift it will added at last position.
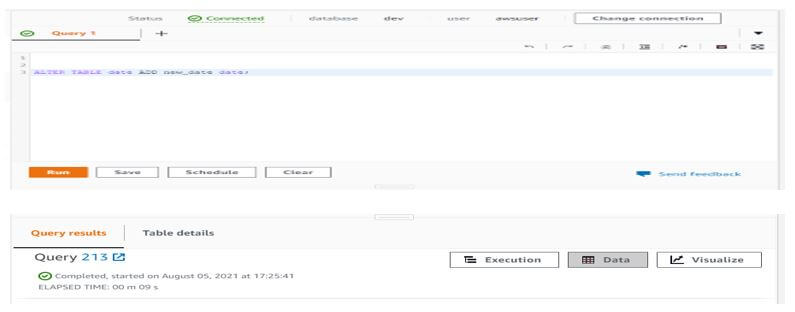
In the below example we can see that we have added column name as new_date and defined datatype as date. The below query is executed successfully and given the success message, means column is added in date table.
Code:
ALTER TABLE date ADD new_date date;
Output:
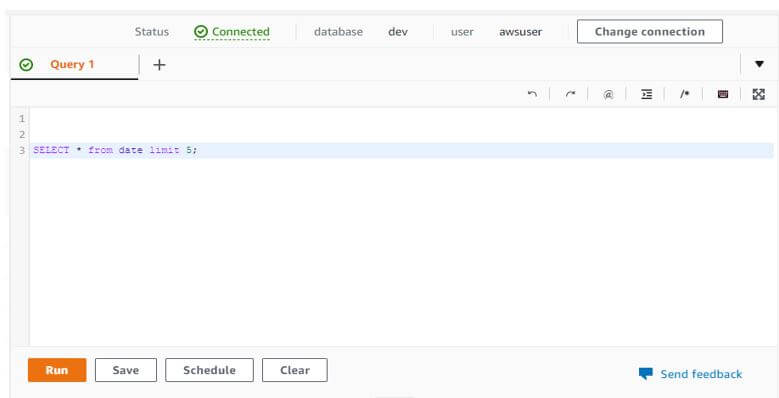
But in the below snapshot we can see that column is added at the last position from all columns. We can see that column name as new_column in the last position.
Code:
SELECT * from date limit 5;
Output:
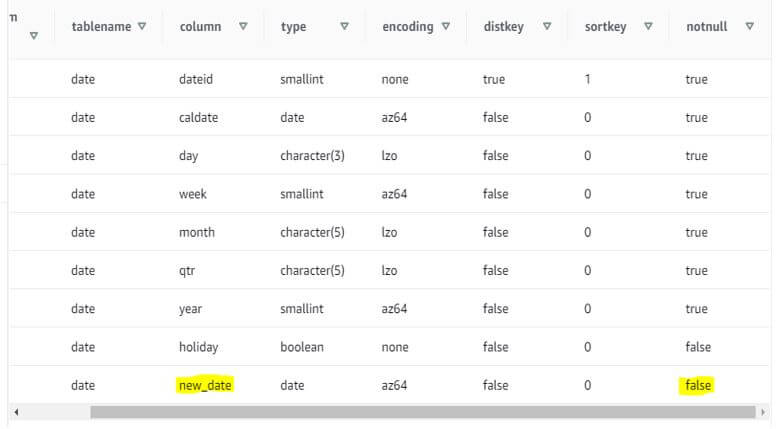
We can also add the column into the table by using GUI tool like RazorSQL, using this tool we have options available like add new column into the table. If suppose we have not define any constraint at the time of adding new column in redshift. It will automatically take the default constraint to the newly added column.
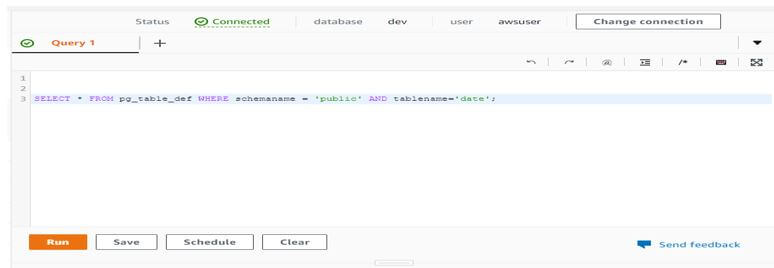
In the below example we can see that we have not used any constraints at the time of adding new_date column into date table, so by default, it will taking as null constraints to the new_date column.
Code:
SELECT * FROM pg_table_def WHERE schemaname = 'public' AND tablename = 'date';
Output:
Examples of Redshift add column
Given below are the examples mentioned:
Example #1
Add new column into the table in redshift.
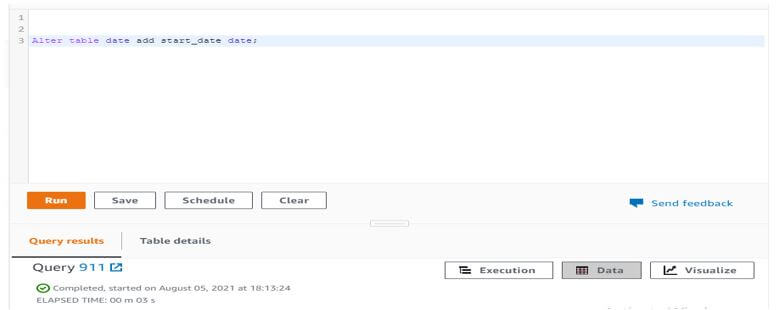
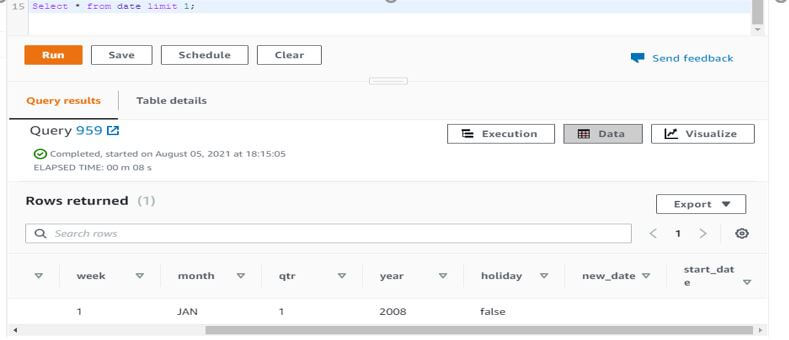
The below example shows that add new column into the table are as follows. We are adding new column name as start_date into the date table.
Code:
Alter table date add start_date date;

Select * from date limit 1;
Output:
Example #2
Add column by using null constraints.
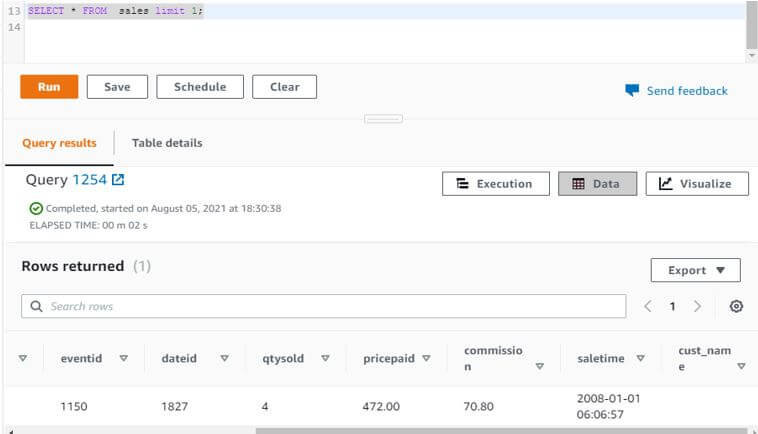
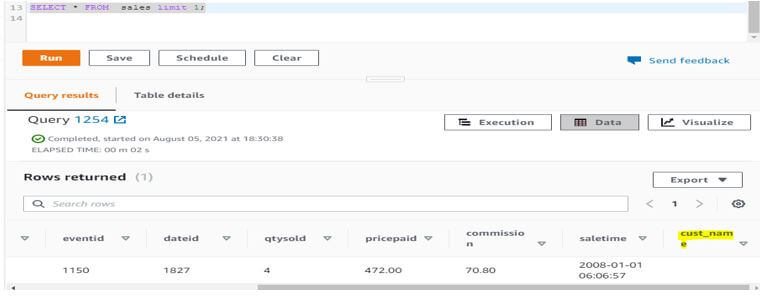
- Below example shows that add column by using null constraints. We have added the column name as cust_name to sales table.
- We have defined the varchar datatype to the cust_name column and also defined null constraints to the cust_name column.
Code:
Alter table sales add cust_name varchar null;

SELECT * FROM sales limit 1;
Output:
Example #3
Add column into the table and defined column data type size.
- The below example shows that add column into the table and defined column data type size to the column.
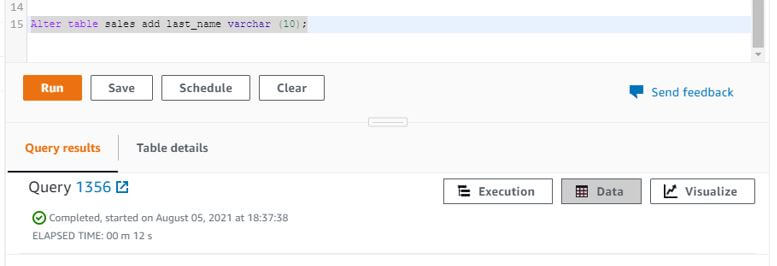
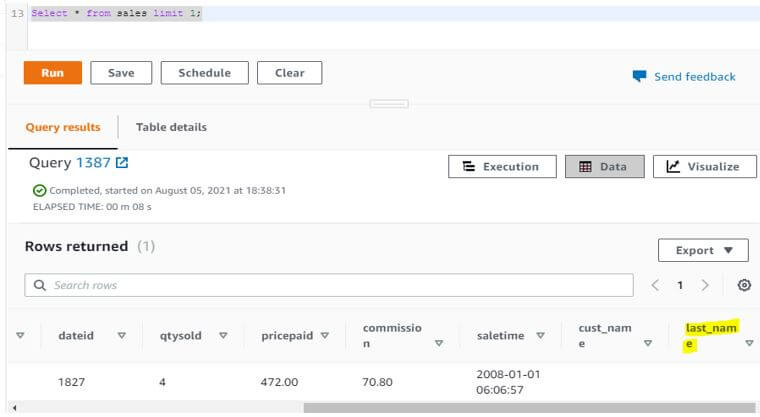
- In the below example, we have added last_name column into the sales table and defined the datatype as varchar. Also we have defined column data type size as 10, means we can add up to 10 characters into this column.
Code:
Alter table sales add last_name varchar (10);

Select * from sales limit 1;
Output:
Example #4
Add column to the table and define data type as integer.
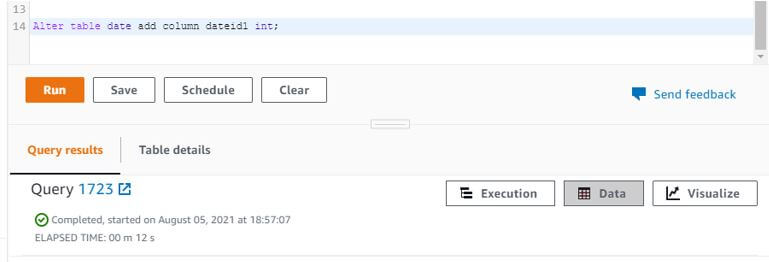
- The below example shows that add column to the table and defined data type as integer to the column.
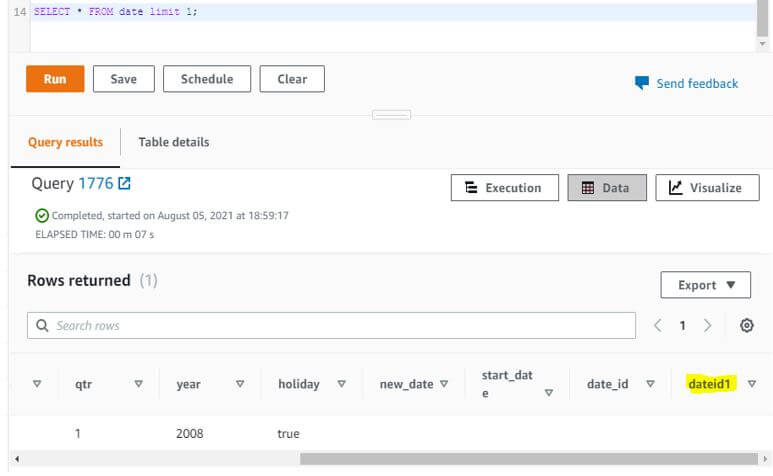
- We have added column name as dateid1 into the date table.
Code:
Alter table date add column dateid1 int;

SELECT * FROM date limit 1;
Output:
Conclusion
We can add column in the existing table by using alter table command. We can define any datatype to the column at the time of adding new column into the table. After adding new column into the table it will added to last position.
Recommended Articles
This is a guide to Redshift add the column. Here we discuss the introduction, how to add column in Redshift? and examples respectively. You may also have a look at the following articles to learn more –
