Updated May 15, 2023

Introduction to Redshift temp Table
Redshift temp table is the table created in the Amazon Redshift database or data warehouse for temporary purpose. The table which is created for temporary purposes can be alive only for the current session inside which it is created. Between the duration of the session of redshift instance, you can create your temporary table which can be useful in any other query or procedure only till the session is alive. Once the session ends, the data that is kept inside the temporary table gets discarded and cannot be accessed further. There are three ways in which we can create a temporary table in Amazon redshift.
In this article, we will learn about what are temp tables, how they can be created, syntax of all the three methods used for creating temp table, and examples demonstrating the creation of the same.
How temp tables work in redshift?
Temp tables are also referred as temporary tables which are created inside the session. This tables work same as normal tables in redshift which store the data in tabular row-column format and data inside it can be manipulated, inserted, updated, and even removed. However, you should note that the only thing that is different for temp tables is that this tables are alive and can be used only for a limited amount of time which is restricted to the duration of current session. Once the session is over, the data inside the table is discarded and the table is no more existing in our memory.
Syntax:
There are three ways by using which we can create a temp table in redshift. This are the use of hash symbol (#) before the name of the temporary table, specifying the keyword TEMP before the name of the table, and specifying the TEMPORARY keyword before the name of the table. The syntax of all the three methods is as given below –
Method 1
The use of hash symbol for creating a temporary table can be done by using the below syntax –
CREATE TABLE #name of the table (name of the columns along with their data types);
The name of the table can be any valid table name which you want your temporary table to be called. You can specify the names of columns and also what type of values will be stored in it inside the parenthesis.
Method 2
We can create a temporary table in redshift by simply prefixing the name of the table in create table command with a keyword temp. The syntax of creating the temporary table by using this method is as shown below –
CREATE TABLE TEMP name of the table (name of the columns along with their data types);
Where all the remaining parameters and the terminologies have the same meaning as mentioned for method 1.
Method 3
We can create a temporary table in redshift by simply prefixing the name of the table in create table command with a keyword temporary. The syntax of creating the temporary table by using this method is as shown below –
CREATE TABLE TEMPORARY name of the table (name of the columns along with their data types);
Where all the remaining parameters and the terminologies have the same meaning as mentioned for method 1 in Amazon redshift.
Points to Remember
There are certain things that you should keep in mind while using the temp tables in Amazon redshift which are listed here –
- The tables that are created for temporary purpose cannot be visible to the other sessions or users as it will be only available in current session where it is created and used by only that user or users having access to that session and table.• The data which is stored in tabular format inside the temp tables is not recoverable which means that once the session ends, the redshift system will internally drop the temporary table making it inaccessible further to anyone anywhere.
- The name of the schema in which the table is created cannot be specified as user is not allowed to see it and it is set internally by redshift as all the temporary tables are created in a specific schema of redshift.
Examples
Let us try to create one temporary table named Educba_writers that contain 5 columns in it namely first_name, last_name, no_of_articles, experience_in_writing, joining_date respectively. We will now see an example of how we can create this temporary table in a particular session by using all three syntaxes. The queries that will be formed by using each of the method is as specified below –
Example #1
CREATE TABLE # Educba_writers

(first_name varchar (20),

last_name varchar (20),

no_of_articles integer (10),

experience_in_writing integer (10),

joining_date date);
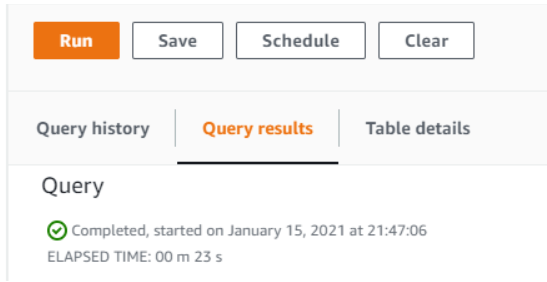
The output of executing above command in Amazon redshift gives the following result –
Example #2
CREATE TABLE TEMP Educba_articles

(article_name varchar (20),

Topic varchar (20),

no_of_words integer (10),

time_for_writing integer (10),

submission_date date);
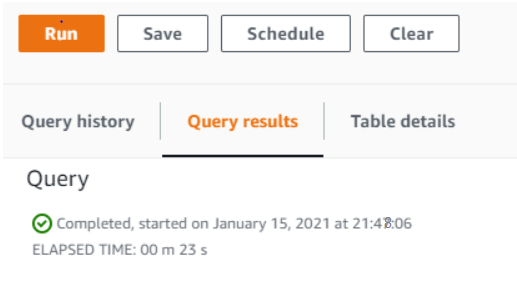
The output of executing above command in Amazon redshift gives the following result –
Example #3
CREATE TABLE TEMPORARY Educba_subjects

(subject_name varchar (20),

Branch varchar (20),

no_of_topics integer (10),

available_MCQ integer (10),

publish_date date);
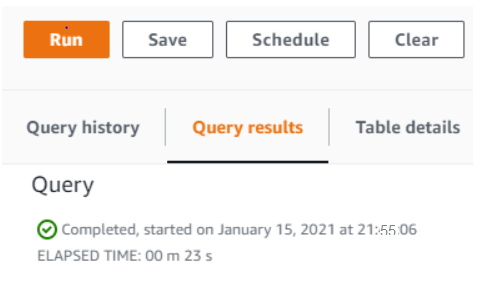
The output of executing above command in Amazon redshift gives the following result –
Further, you can insert the data in the temporary tables in the same way as you do for permanent tables in Amazon redshift by using INSERT SQL query. But the difference lies in accessing the values of the temporary table as compared to permanent one. In case of permanent tables, it is required to mention the name of the schema whose contents are to be accessed while in case of temporary tables there is no schema mentioned while retrieving data. For example, if we fire the following command then it will retrieve the contents of the temporary table that we created named Educba_writers.
SELECT * FROM Educba_writers;
Whose output is as shown below –
Conclusion
The temp table can be created in amazon redshift by following any one of the three syntaxes mentioned above. However, we should consider some points while creating the same which are discussed above.
Recommended Articles
This is a guide to Redshift temp Table. Here we discuss the Introduction, How temp tables work in redshift? and examples for better understanding. You may also have a look at the following articles to learn more –


