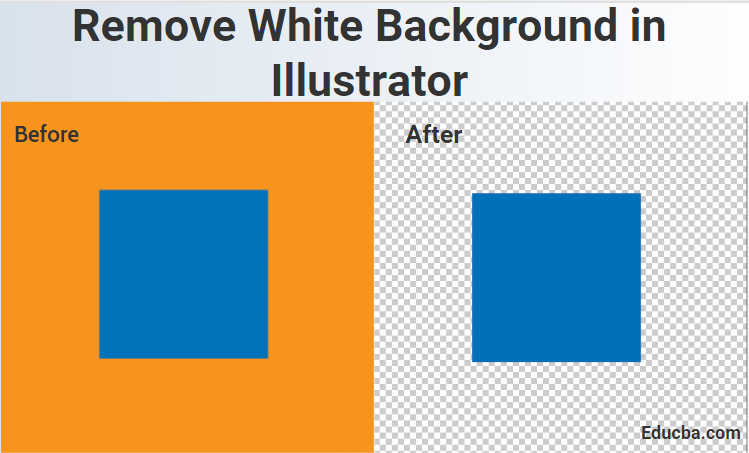
How to Remove White Background in Illustrator?
Adobe Illustrator is an effective vector graphics designing software used by professionals around the world. While working on a project in an illustrator, you might need to remove the white background from the image. While trying to remove the white bg, you might have found it difficult or messy to get the desired outcome. Whatever may be the work you are doing, be it working on photos for websites or creating a background artwork, below are some steps using which you can easily remove the white background from your image. Learn a new method to remove unwanted backgrounds from your creatives and save them appropriately into your storage.
Steps to Remove White Background in Illustrator
Here are the steps to know how to remove White Background in Illustrator.
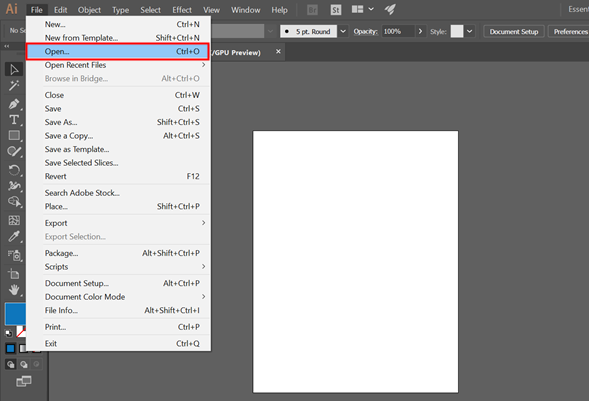
Step 1: Go to File, click on the Open tab, and choose the image you want to work on.
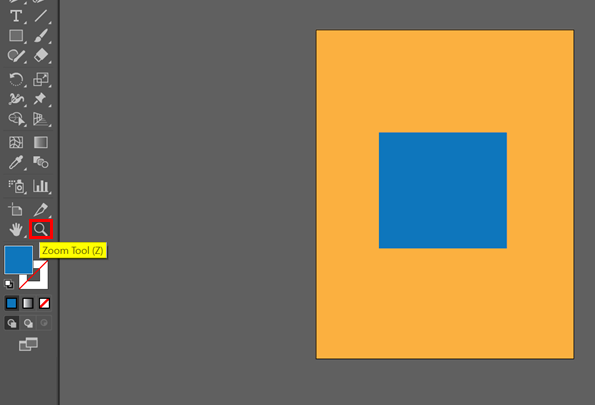
Step 2: Once the image is loaded into the artboard, carefully examine the image components. To erase the white background from the image, you need to draw an outline around the parts of the photo you need to retain. Here zoom tool can come to a great help as it offers precise controls over the pen tool placement. The shortcut key to activate the zoom tool is Z, or you can choose it from the toolbar. You can use the keys Ctrl + Space (Windows) or Cmd + Space (Mac) to zoom in.
Step 3: Use the pen tool to outline the image. For that, the shortcut key is P. Anchor points will be created based on your click points around the image. It will form a series of connecting lines until you close the entire shape outline. Later you can also manipulate the shape by hovering over the anchor points and fine-tune the outline. The pen tool is available in the toolbar in the form of a fountain pen icon.
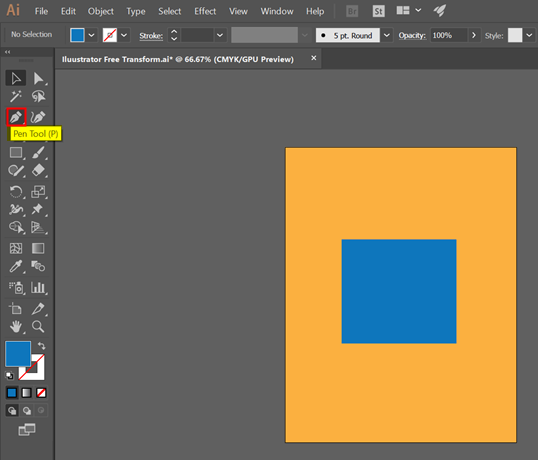
Step 4: Click on the edge of the foreground object to create the first anchor point.
Start by dropping the anchor point on the fine edge of the foreground image. This will form the foundation of your white background, removing work. This method aims to wrap the required foreground object area using the outline frame formed by the anchor points. Try to place the anchor points as closely as possible to the foreground image without any unwanted extra spaces.
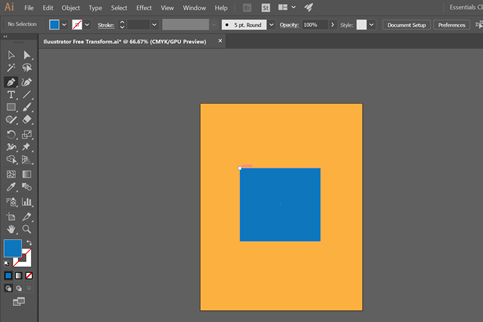
Step 5: You have to cautiously place the anchor points hugging the edge of the foreground image. This process should be repeated until you reach the point where you have started with. The final anchor point should merge with the starting anchor so that you can close the created outline. During this process, the spacebar can also come in handy. It can be used to move the screen area with your mouse while you are zoomed in. A hand symbol is displayed, which can be used to drag the screen around in any direction as you wish. Therefore, you can finish creating the anchor points without breaking the flow and continuity of the task.
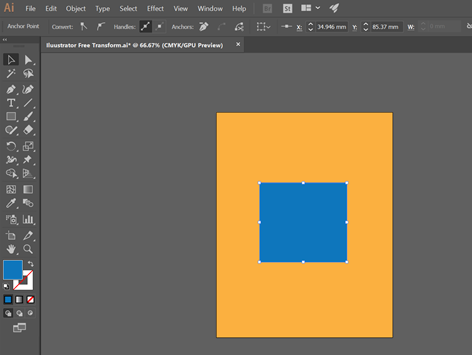
Step 6: When you are done with creating the outline, you will notice a dotted outline appearing around the image.
Step 7: Now, pick the select tool to show all the objects. The area you outlined in the image will now be considered as an individual object. Hence you will be able to see selection outlines – a blue rectangle around the object.
Step 8: While clicking the objects, hold the shift key to select both the foreground as well as background objects simultaneously.
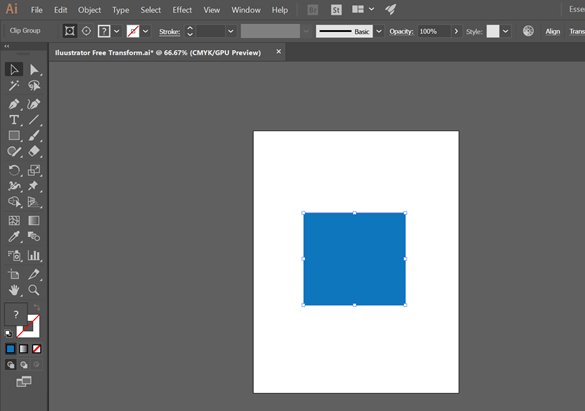
Step 9: Using the shortcut key control + click, or just simply right-clicking the foreground object, choose the option “make clipping mask”. This makes the background image completely white, as shown in the below image. As a result, the foreground image created using the outline is visually stood out. Once this stage is reached, removing the white background becomes very easy.

Step 10: Remove the white background to make it transparent. Now, if you require saving the image without any background, hit the Y key on your keyboard to activate the magic wand tool (It can also be found in the toolbar options). Now simply click on the white background area on the artboard. Then press the delete key to remove the unwanted white background from the image.
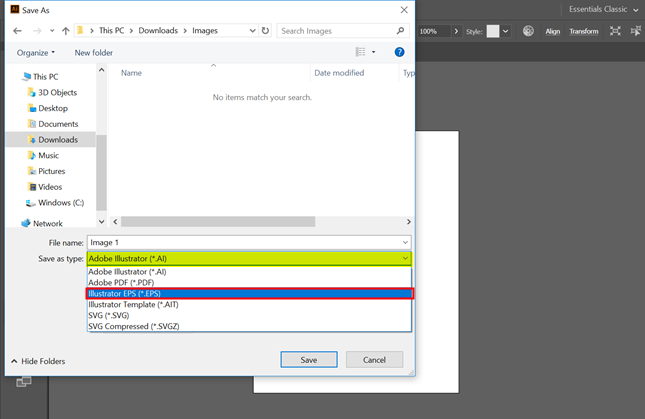
Step 11: Save your image.EPS for use in page layout or design software.
If your project requires the images to be used for later works, it is better to save the image in.EPS format. Numerous design software and application recognize EPS format, which makes working on the created files easy for the future needs. All you have to do is go to File > Save as > select Illustrator EPS as the file format. Finally, give a suitable name and save the image. Even if the background is transparent, the properties will be retained in this format.
Step 12: Save your image as.PNG for the web. Next comes the part of saving the image. For that, you need to save the image in a PNG format. They render high-quality images while supporting transparent backgrounds. It is best for photos as it supports up to 16 million colors.
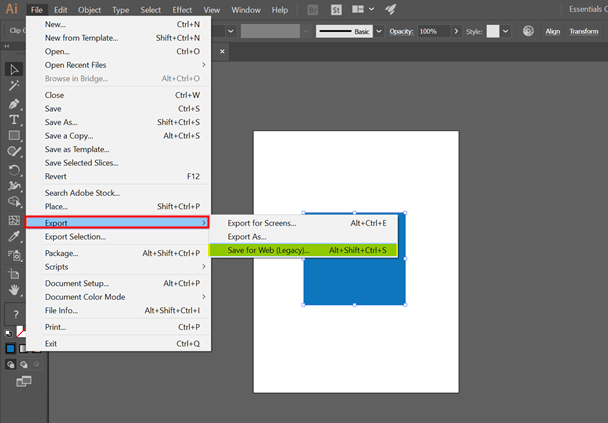
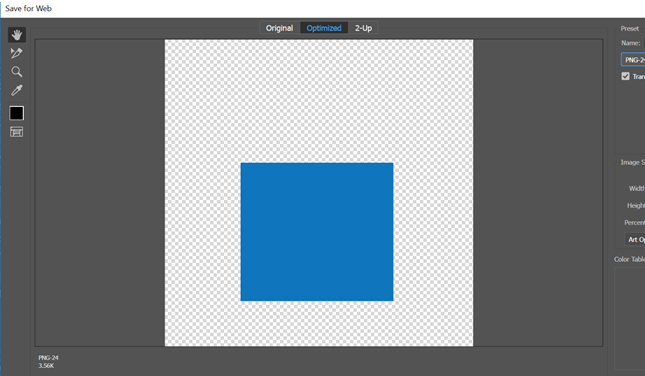
Step 13: From the File menu, go to save for web option or use the shortcut key Alt + Ctrl + Shift + S. From there, you will see a box with a lot of options and settings, as seen in the above image. Make your format selection as PNG 24. Now check in the transparency option. Finally, give the location for the image to be saved on the hard drive.
Conclusion
After going through the above article, you will learn how to remove the white background from your image while working in Adobe illustrator. You will save a lot of time and will appreciate this technique once you grasp this method to remove the white background from your image. Practice these easy and simple steps in Illustrator to painlessly remove the unnecessary background from your image.
Recommended Articles
This is a guide on Remove White Background in Illustrator. Here we discuss the steps of how to use Remove White Background in Illustrator. You may also look at the following articles to learn more –

