Updated May 29, 2023
Excel Ribbon (Table of Contents)
What is Excel Ribbon?
A ribbon or ribbon panel combines all tabs except the File tab. The ribbon Panel shows the commands we need to complete a work. It is a part of the Excel Window. It contains several task-specific controls that are grouped under various command tabs. Additionally, the Ribbon panel provides instant access to the Excel help system, allowing us to search for information easily. The Ribbon Panel also provides screen tips. A descriptive text, a screen tip, is displayed when we position the mouse pointer on a command in the Ribbon Panel.
There are four main elements in MS Excel.
- File Tab
- Quick Access Toolbar
- Ribbon
- Status Bar
- Formula Bar
- Task Pane
Components of Ribbon in Excel
The following tabs appear on the Ribbon Panel:
- Home
- Insert
- Page Layout
- Formulas
- Data
- Review
- View
1. Home Tab
The Home tab helps perform clipboard operations, such as cut, copy, paste, and basic text and cell formatting. The Home tab includes the following groups:
- Clipboard
- Font
- Alignment
- Number
- Styles
- Cells
- Editing
2. Insert Tab
The Insert tab helps us to insert objects such as a table, chart, illustrations, text, and hyperlinks in a worksheet. The Insert Tab includes the following groups:
- Tables
- Illustrations
- Apps
- Charts
- Report
- Sparklines
- Filters
- Links
- Text
- Symbols
3. Page Layout Tab
The Page Layout tab helps us specify page settings, layout, orientation, margins, and other related options such as themes and gridlines. The Page Layout tab includes the following groups:
- Themes
- Page Setup
- Scale to Fit
- Sheet Options
- Arrange
4. Formulas Tab
The Formula tab helps in working easily with formulas and functions. The Formula tab includes the following groups:
- Function Library
- Defined Names
- Formula Auditing
- Calculation
5. Data Tab
The Data tab helps in data-related tasks, such as setting up connections with external data sources and importing data for use within Excel worksheets. The Data tab includes the following groups:
- Get External Data
- Connections
- Sort & Filter
- Data Tools
- Outline
6. Review Tab
The Review tab helps in accessing tools that can be used for reviewing an Excel worksheet. It also enables you to insert comments, ensure that the language used in the worksheet is correct, convert text to a different language, and share your workbook and worksheets.
The Review tab includes the following groups:
- Proofing
- Language
- Comments
- Changes
- Share
7. View Tab
The View tab allows you to view a worksheet in different views. In addition, it provides options to show or hide the elements of a worksheet window, Such as rulers or gridlines.
The View tab includes the following groups:
- Workbook Views
- Show
- Zoom
- Window
- Macros
Examples of Ribbon in Excel
Let’s understand how to use Ribbon in Excel with some examples.
Example #1 – Add Developer Tab
There are 2 ways in which we can add the Developer tab.
Step 1: Right-click on Ribbon Panel.
Step 2: Click on the ‘Customize the Ribbon’ option
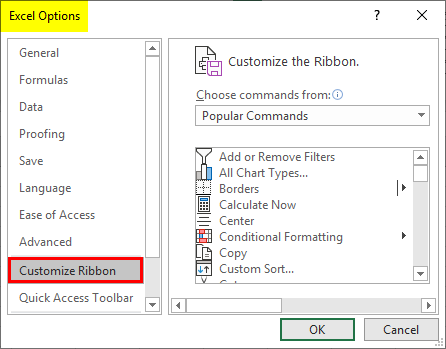
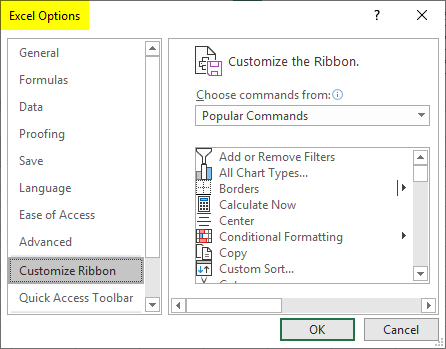
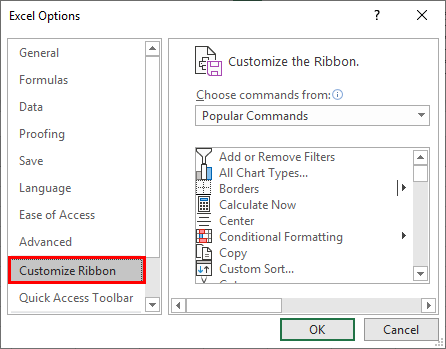
Step 3: A dialog box named ‘Excel options’ will appear, and click on the ‘Customize Ribbon’ menu option.
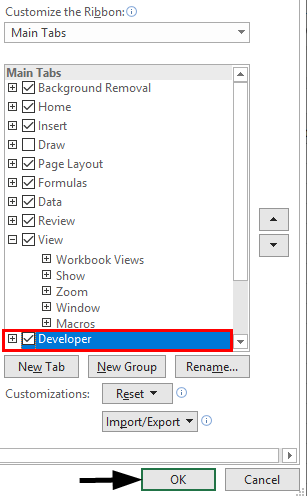
Step 4: On the right pane, select the Developer Tab and Click on the OK check-in box.
Step 5: The developer tab will appear in the Ribbon Panel.
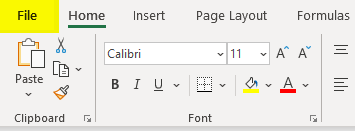
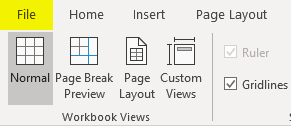
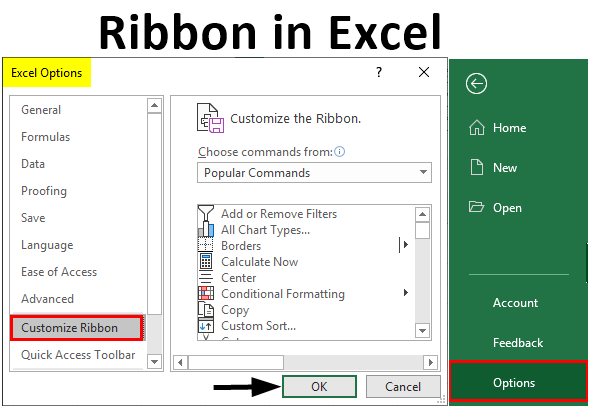
Step 6: Click on the File tab.
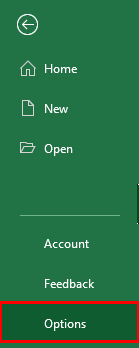
Step 7: A backstage view will appear. Click on Options.
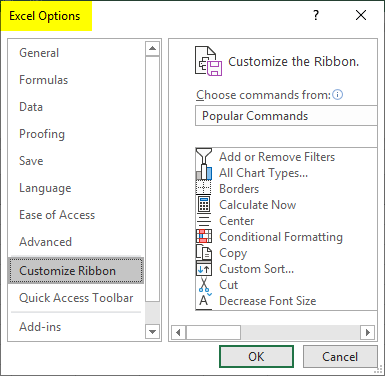
Step 8: A dialog box named ‘Excel Options’ will appear.
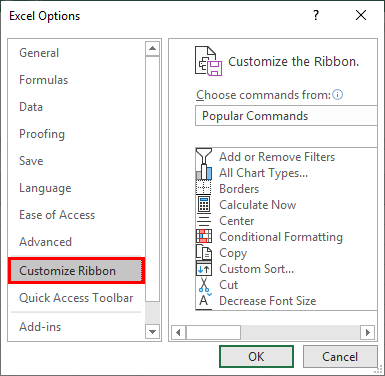
Step 9: Click on the ‘Customize Ribbon’ menu option.
Step 10: On the right pane, select the Developer tab’s check-in box and clickp 11: The developer tab will appear in the Ribbon Panel.
Example #2 – Remove Developer Tab
There are 2 two ways in which we can add the Developer tab:
Step 1: Right-click on Ribbon Panel and click the ‘Customize the Ribbon option.
Step 2: A dialog box named ‘Excel options’ will appear.
Step 3: Click on the ‘Customize Ribbon’ menu option.
Step 4: On the right pane, select the Developer tab’s check-in box and click5: The developer tab will disappear from the Ribbon Panel.
Step 6: Click on File Tab.
Step 7: A backstage view will appear. Click on Options.
Step 8: A dialog box named ‘Excel options’ will appear.
Step 9: Click on the ‘Customize Ribbon’ menu option.
Step 10: On the right pane, select the Developer Tab check-in box and click: The developer tab will disappear in the Ribbon Panel.
Example #3 – Add Customized Tab
We can add a customized tab by using the following steps:
Step 1: Click on File Tab.
Step 2: A backstage view will appear. Click on Options.
Step 3: A dialog box named ‘Excel Options’ will appear.
Step 4: Click on the ‘Customize Ribbon’ menu option.
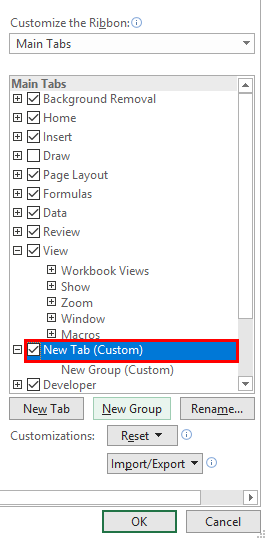
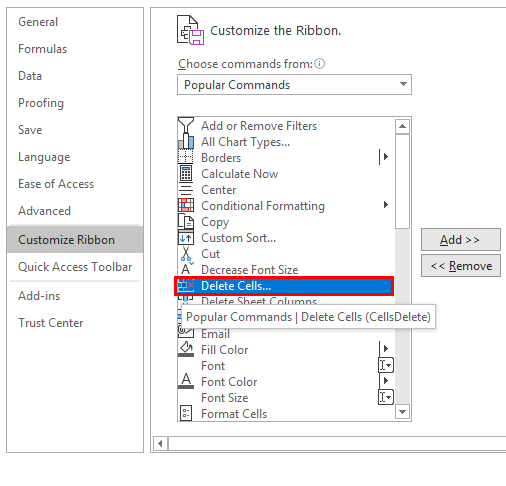
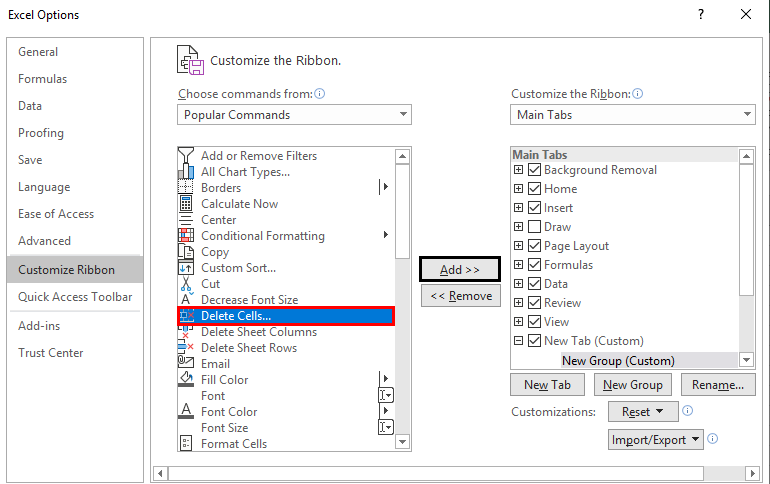
Step 5: Under the right pane, click on New Tab to create a new tab in Ribbon.
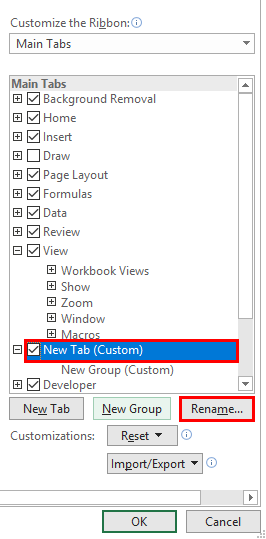
Step 6: We can rename the tab by clicking the Rename option.
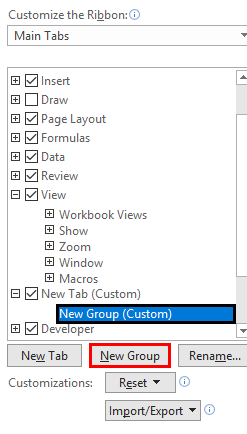
Step 7: We can also create a partition in the Tab by Clicking on the New Group option.
Step 8: We can add the command to different groups by clicking on them on the right pane.
Step 9: We can choose the commands from the list in the left pane.
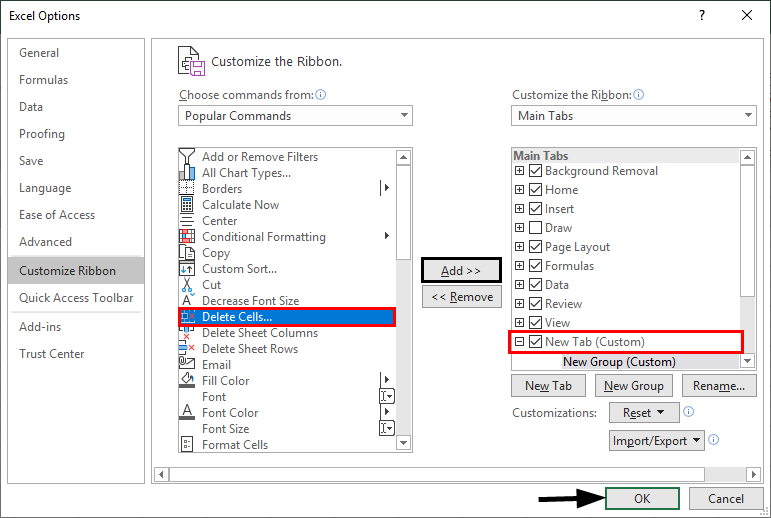
Step 10: Click on Add.
Step 11: On the right pane, select the new Tab and Click on the OK check-in box.
Step 12: The New Tab will appear in the Ribbon Panel.
Things to Remember
- We need to remember the flow. Tab Group Aa.
- For any Information needed on Ribbon, press F1 (Help).
Recommended Articles
This is a guide to Ribbon in Excel. Here we discuss How to use Ribbon in Excel,,,, practical examples,,, and a downloadable Excel template. You can also go through our other suggested articles –


