Introduction to Rotoscoping in After Effects
Rotoscoping as a method by which we can separate any object from video footage or from any image and adjust that separated object with different backgrounds by using different tools of After Effect software. According to you, rotoscoping is a very useful method for making changes in any video footage or in any object of the particular image. So here in this article, we will understand Rotoscoping by example and also learn how to handle its parameters.
How to Use Rotoscoping in After Effects?
We will understand the term Rotoscoping in very simple steps and analyse different Rotoscoping parameters so that there will be no problem happens during your work in After Effect software. Before starting our learning in this article, let us first get introduced to all sections of the user screen of this software so that we can easily understand all the terms throughout this article.
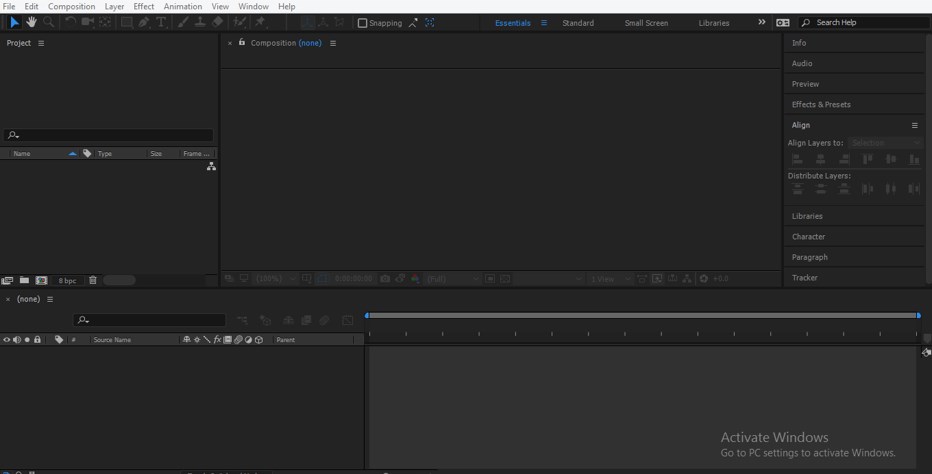
At the top of the working screen, we have Menu bar section for managing different setting of this software, just below this ribbon we have tool panel which has many different tools for handling video editing in this software, just below this toolbar ribbon we have three sections that are Project section which shows you a number of components used in your project, at the center of this section we have Composition window which shows you the active composition of any project, or it works like visual display unit for working on this software, the right corner of this section has a number of parameters for making a different type of setting in your project work, at the bottom end of this software we have two sections that are Layer section which shows the number of layers used in any project work and Timeline section which is used for the setting of the parameter of any animation which we have made in it.
This is a small introduction to this software. Now let us move to our example for learning of Rotoscoping in After Effect software. You can rotoscope any object of video footage or image.
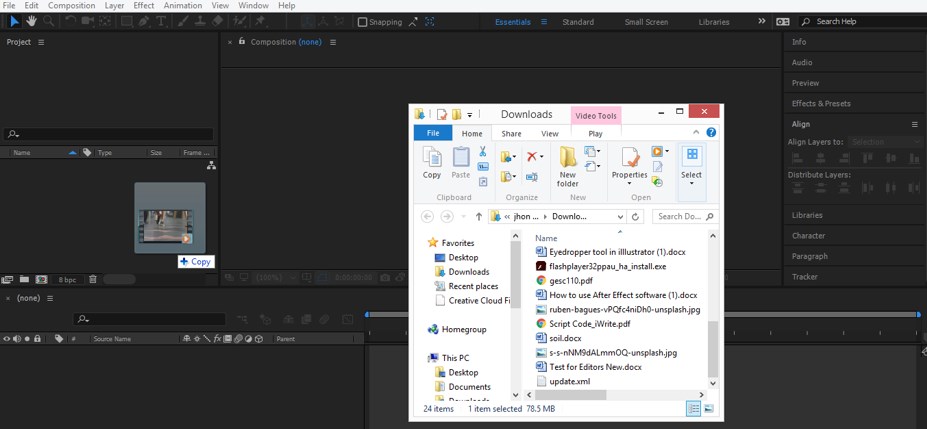
Step 1: Now, take video footage from the folder where you have saved it. For placing it on After Effect software, pick this video footage and drop it in the Project area section.
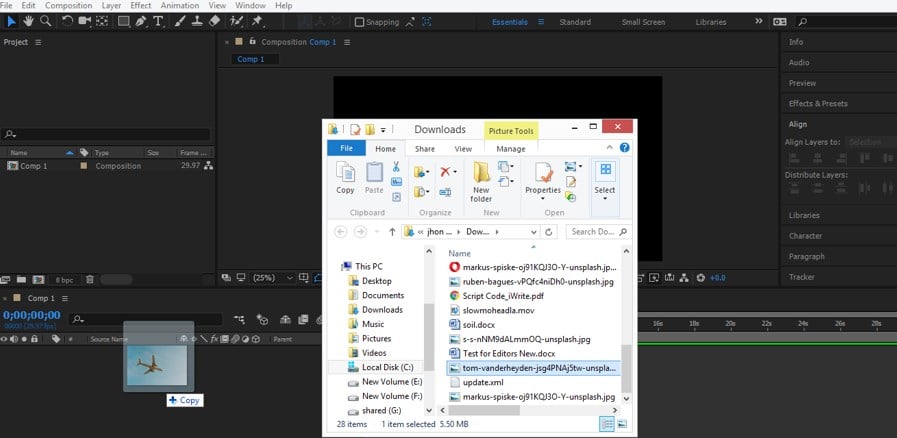
Step 2: Or I will take an image here for our learning. For placing an image in After Effect goes to that folder where you have saved that image and pick it from there, then drop it on the layer section of After Effect software. You can drop any video footage or image in any one of three sections of this software at a time that is Project Section, Composition Window and Layer section.
Step 3: Animate position of this image according to you for applying Rotoscoping on this image, or you can take any object of any video footage.
Step 4: Now take the Pen tool from the Tool Panel of this software which is at the top of the working screen.
Step 5: Now enable the RotoBezier option for perfect snapping with a pen tool for making the selection on our desired object of any video footage or image.
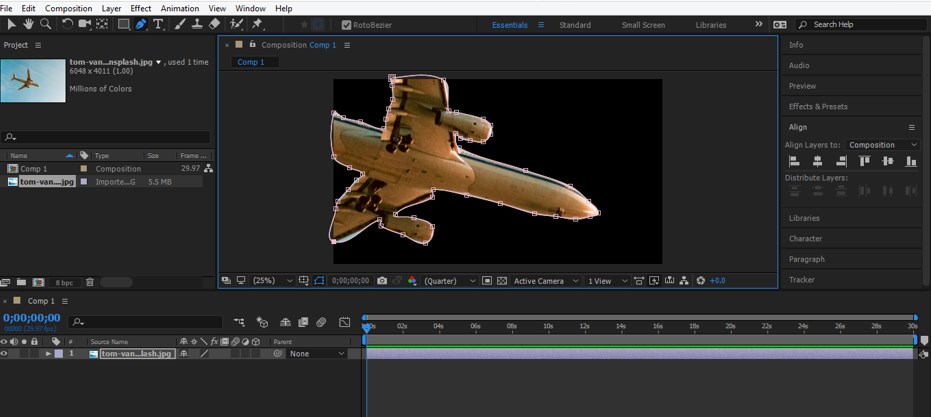
Step 6: Now, make a selection on the desired object of this image that is an airplane with a pen tool like this.
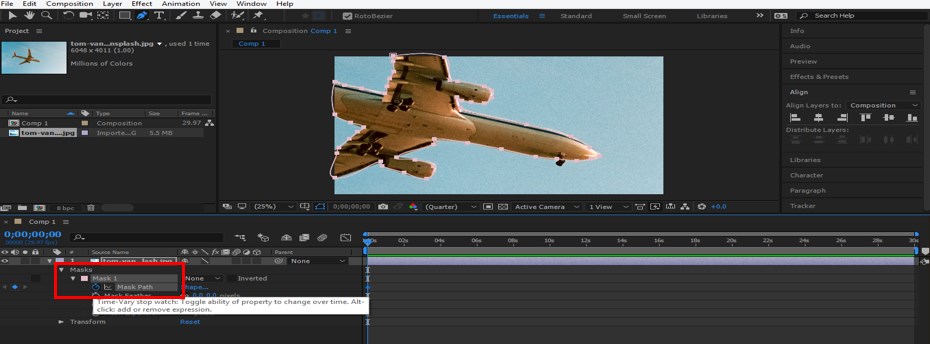
Step 7: Now click on the small arrow button of this layer and again click on the small arrow button of the Mask property of this layer. Now click on the drop-down list of Masks and select the ‘None’ option from here so that we can adjust other positions of this image.
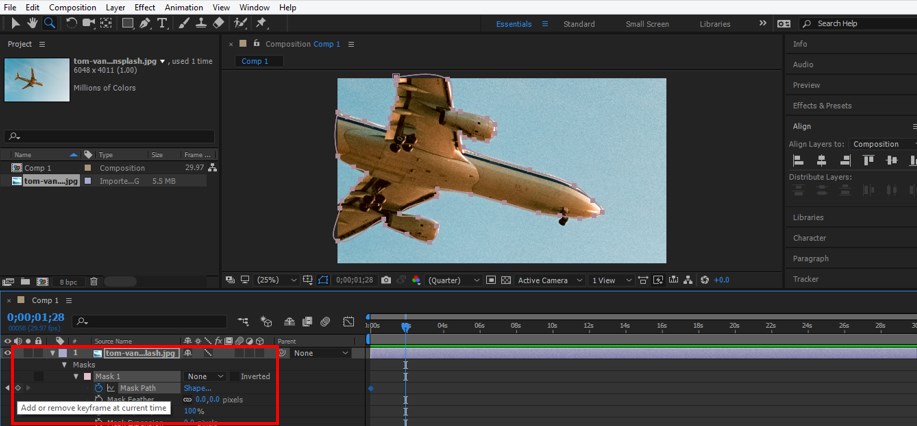
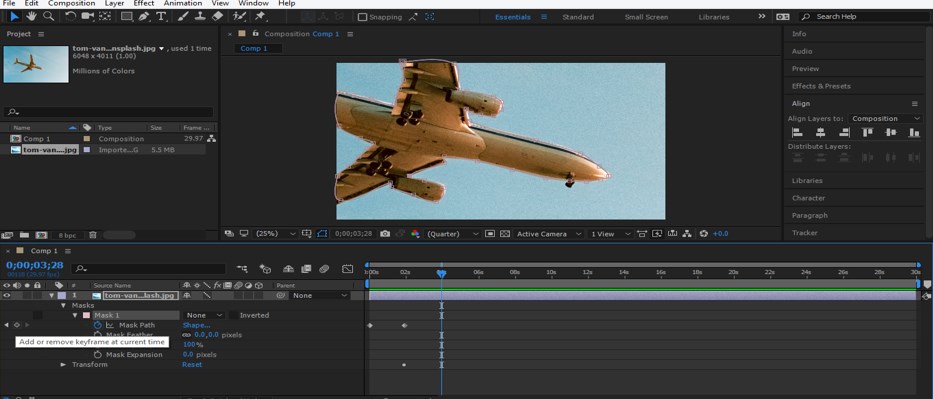
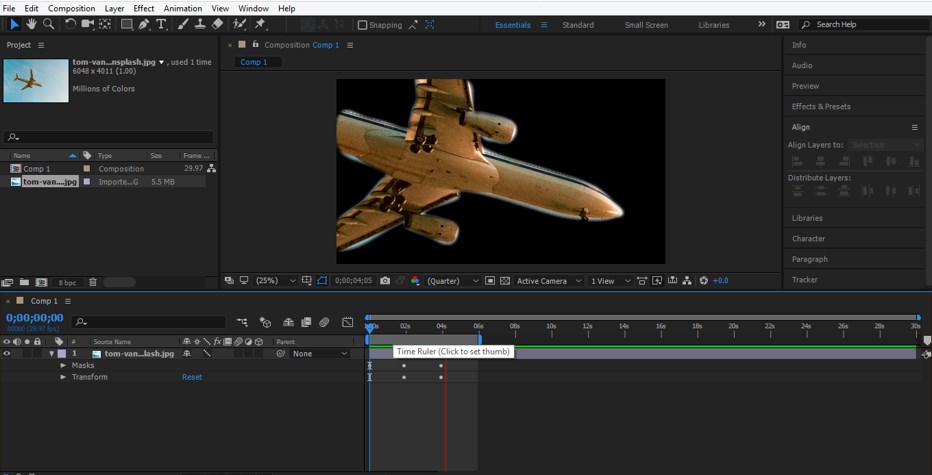
Step 8: Now click on the small arrow button of the Mask 1 property and click on the small clock icon of the Mask Path property for adding a new key on this property of the airplane layer.
Step 9: Now, set the keyframe head at 2 sec on the keyframe section of Timeline. You can take any frame difference according to you.
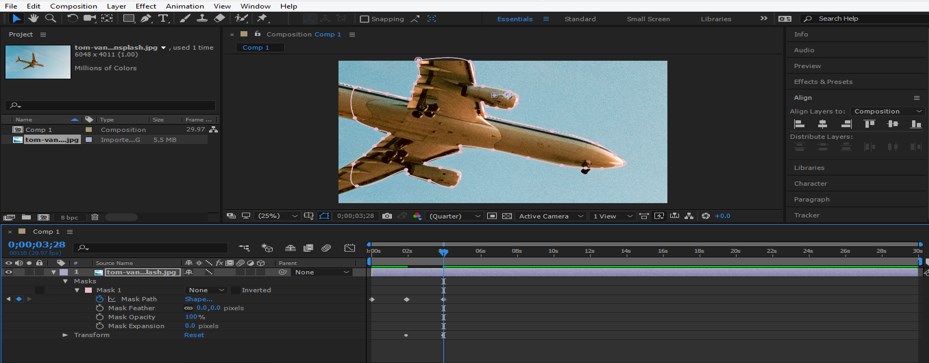
Step 10: Now click on the small key icon of Mask Path for adding a new key at 2 sec on the timeline section and adjust the selection which we made around this airplane shape from where it de shaped with the help of the selection tool.
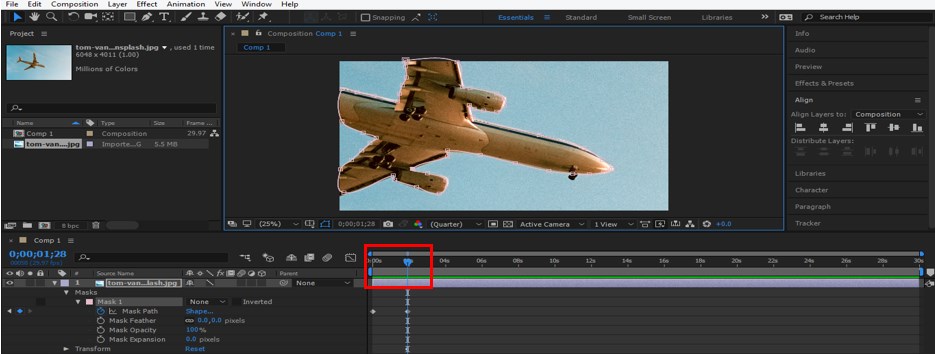
Step 11: Again, repeat the process of setting of key and adjusting of selection. Set the keyframe head at the 4-sec difference.
Step 12: And add a new key in Mask Path by click on a small icon of the keyframe of this property.
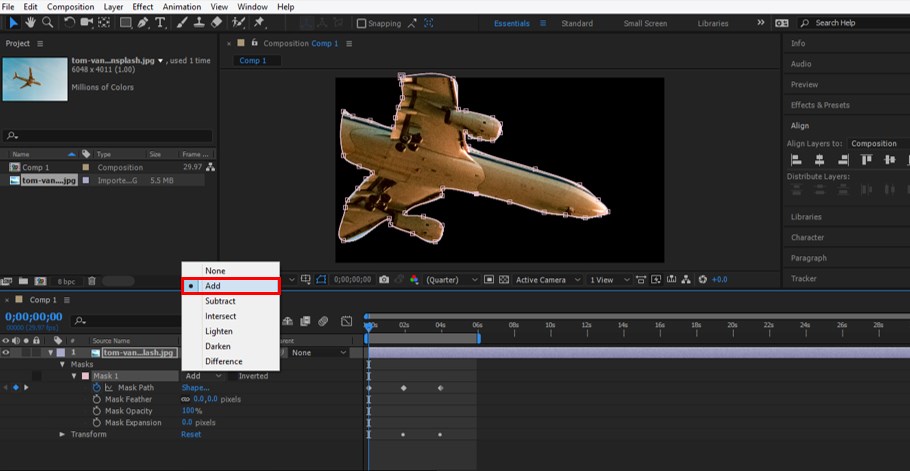
Step 13: Now go to the drop-down list of the Mask 1 option and choose to Add option from here for separating this selected and animated object of this image.
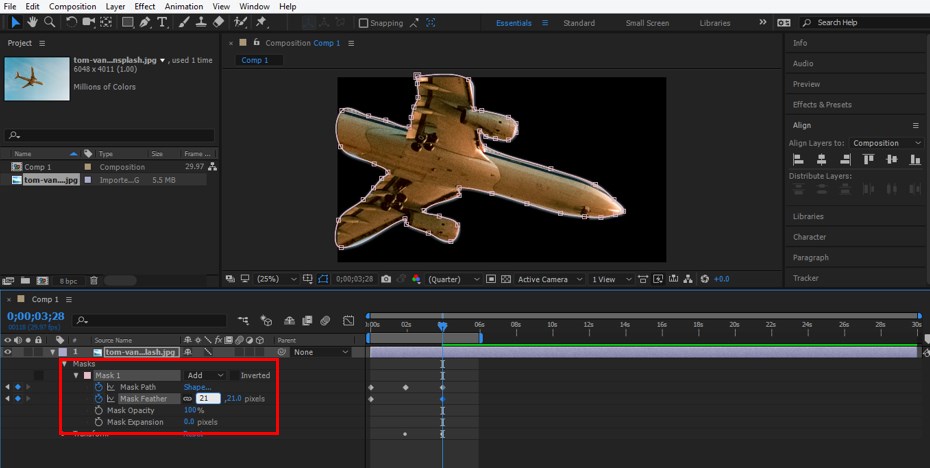
Step 14: Now, set the Feather option up to 21 pixels for adding smoothness in the Roscoping object at each keyframe. You can take the value of Feature according to you, which suits your animation.
Step 15: Now, you can see an aeroplane’s rotoscoping by playing the animation of this image. For playing the animation, press the Space bar of a keyboard as a short cut key of playing of animation in After Effect software, or you can go to the Preview tab of this software which is on the right side of the working section.
- You can also do Rotoscoping by using the Roto Brush Tool. Take Roto Brush Tool from the Tool panel of this software, which is at the top of the working screen as a selection tool and make the selection with it. After selection, you have to follow the same steps as we did previously.
- In this way, you can use Rotoscoping in After Effect software and maintain rotoscoping parameters for making the high-level professional project work in this software.
Conclusion
Now, after this meaning full article, you can understand the term Rotoscoping with respect to After Effect software and can easily handle the parameters of Rotoscoping for getting the best result in your graphics editing work. You can add plus point to your graphics designing by practicing on Rotoscoping.
Recommended Articles
This is a guide to Rotoscoping in After Effects. Here we discuss the Introduction and how to use Rotoscoping in After Effects for graphics editing. You can also go through our other related articles to learn more –
