Updated August 25, 2023

Introduction to Photoshop Ruler Tool
Ruler Tool in Photoshop is like a virtual tape that you can use to have an exact calculation between two shapes or lines, resize or move an object in your document; it contains all the steps for using rulers in Photoshop that consists the nuances like activating the ruler, using rulers from x, y, z-axis, measuring angle, straightening an image, and a lot more for creating design elements that are sharp, precise, consistent and well balanced and helps to create a professional overlook into your results.
How to Use Ruler Tool in Photoshop?
In this tutorial, you will learn how to use the Ruler tool to measure and position an object in Photoshop.
Measuring an Object using the Ruler Tool
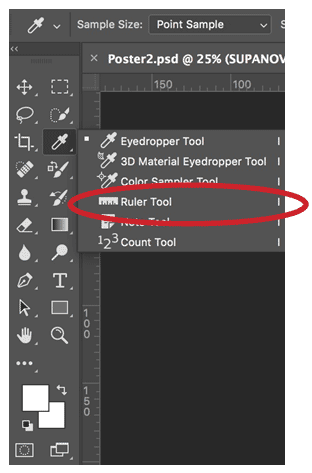
Step 1: To operate this tool, all you require is to select it from the toolbar as shown above or press Shift+I repeatedly until it appears.
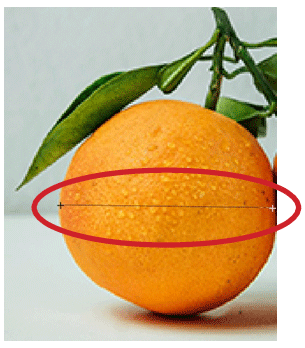
Step 2: Now, to calculate the distance between two ends, all you require to do is click your left mouse and hold it at the start end and then drag your mouse to the end and then let go of your mouse button. For example, we will take an image of an orange and measure it as shown below:
- The result can be seen below. The distance between the two ends is approximately 120 pixels.
When you Utilize the Ruler Tool, the Options Bar provides you with some data that covers the below values.
- X, Y: The X and Y coordinates of the beginning of the line: For example, if you begin at the 1- inch location on the horizontal ruler and the 3-inch location on the vertical ruler, the values of X and Y on the options bar are 1.0 and 3.0, respectively. (You choose the accretions for the X and Y values on the ruler in the preferences of Photoshop.)
- W: This is a distinction between the X ordinate of your start point and the X ordinate of the endpoint. For example, if the endpoint lies 900 pixels from the extreme left and the beginning point lies 800 pixels from the extreme left, W would be 100 (900-800) in that case.
- H: This is a distinction between the Y ordinate of your start point and the Y ordinate of the endpoint. For example, if the endpoint lies 1000 pixels from the extreme left and the beginning point lies 800 pixels from the extreme left, W would be -200 (800-1000) in that case.
- A: The angle of the beginning line or the angle between two lines.
- L1: The complete span of the line. This alternative exhibits the real distance between two ends. In the above example, the value of L1 is 120, which tells us the distance between two ends is 120 pixels. You can also measure the L1 physically by utilizing Pythagoras theorem, Width(W), and Height(H).
- L2: The complete length of the second line. This alternative only operates when we want to measure a second new line along with the first line.
- Straighten Layer: You can also straighten your picture by utilizing the Ruler tool. Simply create a line between the two image layers that you want to align with the Ruler, and then hit the Straighten Layer button available in the options bar.
- Clear: Hit the Clear button to remove your present measurements.
Measuring Angle Using the Ruler Tool
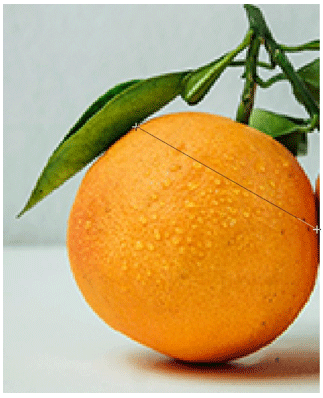
We will use the same example as above:
Step 1: To operate this tool, all you require is to select it from the toolbar as shown above or press Shift+I repeatedly until it appears.
Step 2: Click at a beginning position for the first line and drag it to the last position. Let go of the mouse button to produce the first line.
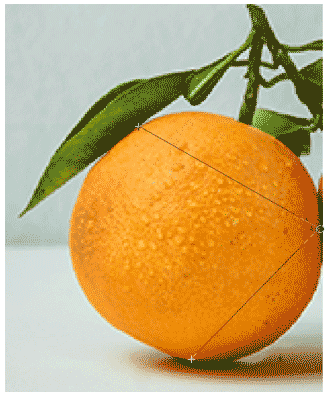
Step 3: Clasp down the Alt key (option key for Mac) and hit the endpoint of the first line that you need to utilize to calculate the angle.
- The resulting angle is 75.2 degrees.
Straightening an Image
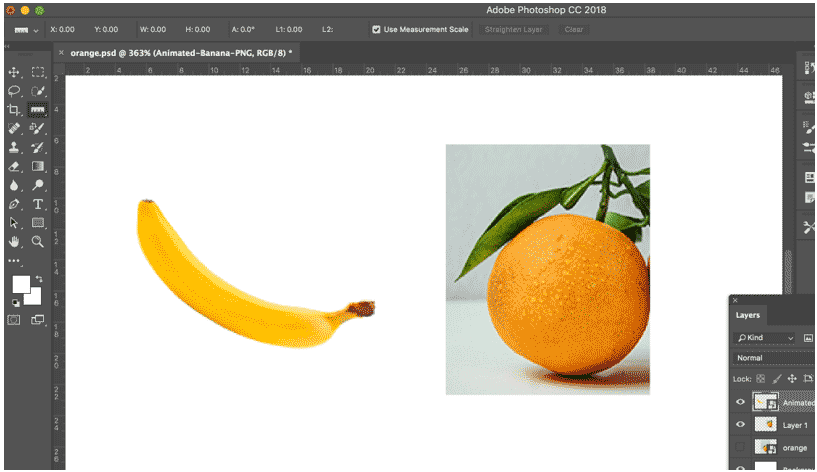
We will use an example of an orange and banana image to showcase this.
Step 1: Place both the images on the dashboard.
Step 2: Select the Ruler tool from the toolbar.
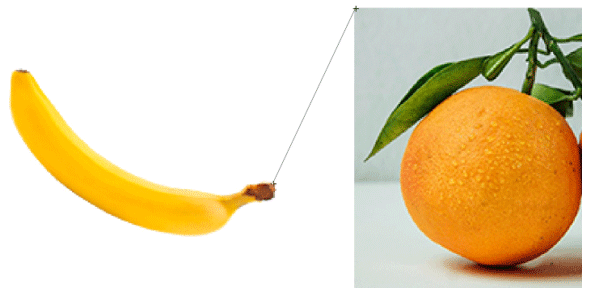
Step 3: Click at a beginning position for the first line and drag it to the last position. Let go of the mouse button to produce the line.
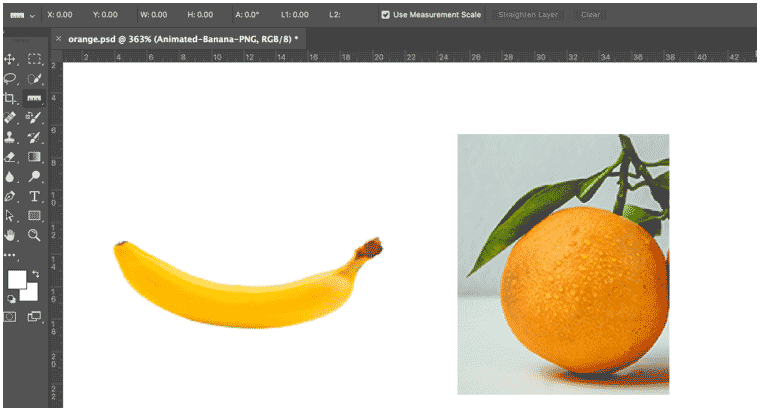
Step 4: After creating the line, click on Straighten Layer in the options bar at the top and straighten the image. You will get the below result.
- The rulers by itself are noticeably adaptable. You can alter their sizes, produce more than one start and endpoints, and seal them so that all fresh points must be positioned along with the calculation markings for exact correctness. There are even horizontal and vertical cursors that accompany motions alongside the screen so that you know every time about your mouse’s precise position along the X and Y axes.
Conclusion
In this way, the Ruler tool can be utilized for contrasting varieties of actions. The Ruler tool is mainly useful when you have to try to find precise distances between two ends to fix pictures. This is mostly true when you are attempting to crop a picture or revolve it a particular number of degrees. So, instead of merely estimating, you can utilize the tool to produce a straight cut that will clip your picture, or you can utilize it to swiftly find an angle that will permit you to turn the picture as per your requirement.
Recommended Articles
This is a guide to Ruler Tool in Photoshop. Here we discuss the uses of the Ruler tool in photoshop in three different forms. You can also go through our other related articles to learn more -`
