Introduction to Shape Builder Tool in Illustrator
Adobe Illustrator is a powerhouse of options and tools stacked with effects and highlights, and the shape builder tool in Illustrator is a significant and valuable tool to learn and get hands-on with for the users as they can make various works of art and vector designs using shapes and patterns without the need of having knowledge with the pen tool and brushes for creating their ideal structures, the Shape Builder Tool is a lot of like the Pathfinder device as the Pathfinder tool offers the user five options, in the Shape Builder tool, there is a path for working.
Shape Builder Tools
The shape builder tool in Illustrator is an important and useful tool to learn and get hands-on with. With this tool in practice, the user can make different artworks and vector graphics using shapes and patterns. The user need not be well versed with the pen tool, and brushes can make use of the Shape Builder tool and create their desired designs. The Shape Builder Tool is much like the Pathfinder tool. While, in the Pathfinder tool, the user gets other five options to choose from, such as intersect, subtract, Add, combine tools. In the Shape Builder tool, we create a path and do as the user requires.
Steps to Use Shape Builder Tool
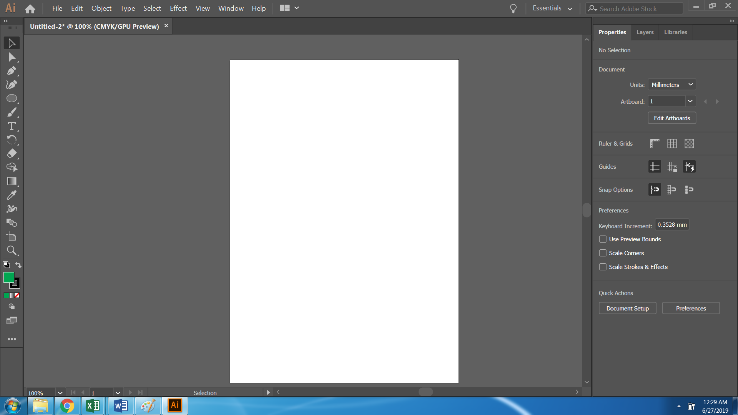
Step 1: Create a new file of A4 size.
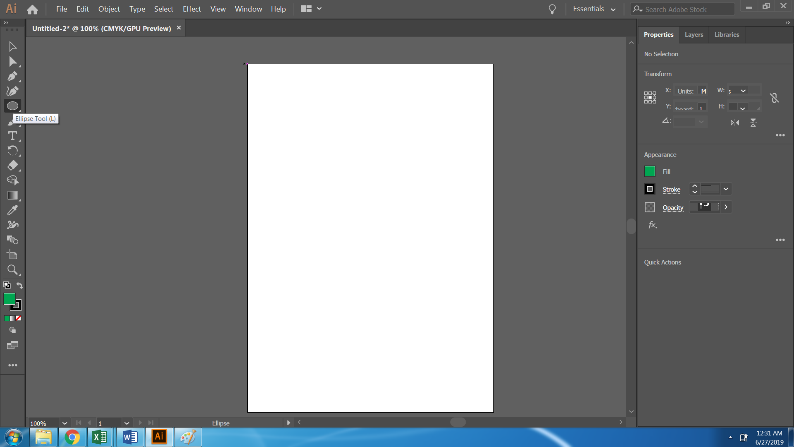
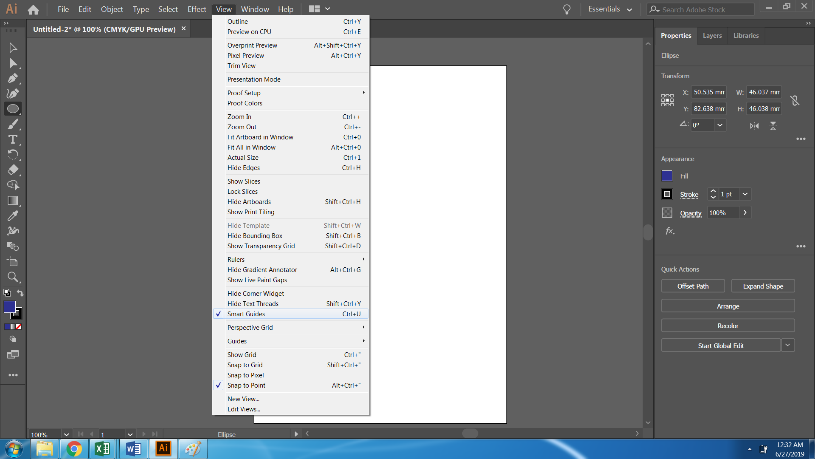
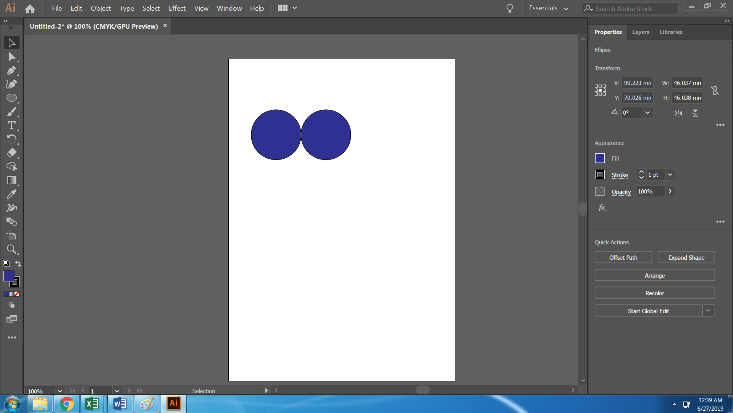
Step 2: Create an Ellipse. Make sure the Snap to point and Smart Guides are turned on.
Step 3: After making an Ellipse, create a Duplicate of the same by Pressing Alt + Mouse Button snapping to the Center.
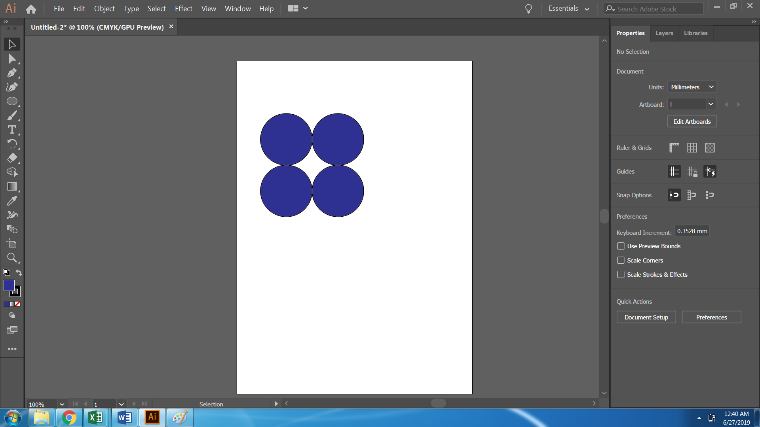
Step 4: Now, we have 2 Ellipses. Select both the Circles and Duplicate both of them and place them beneath the upper two.
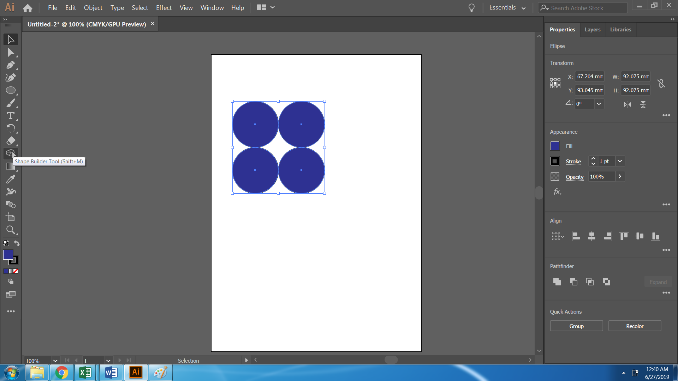
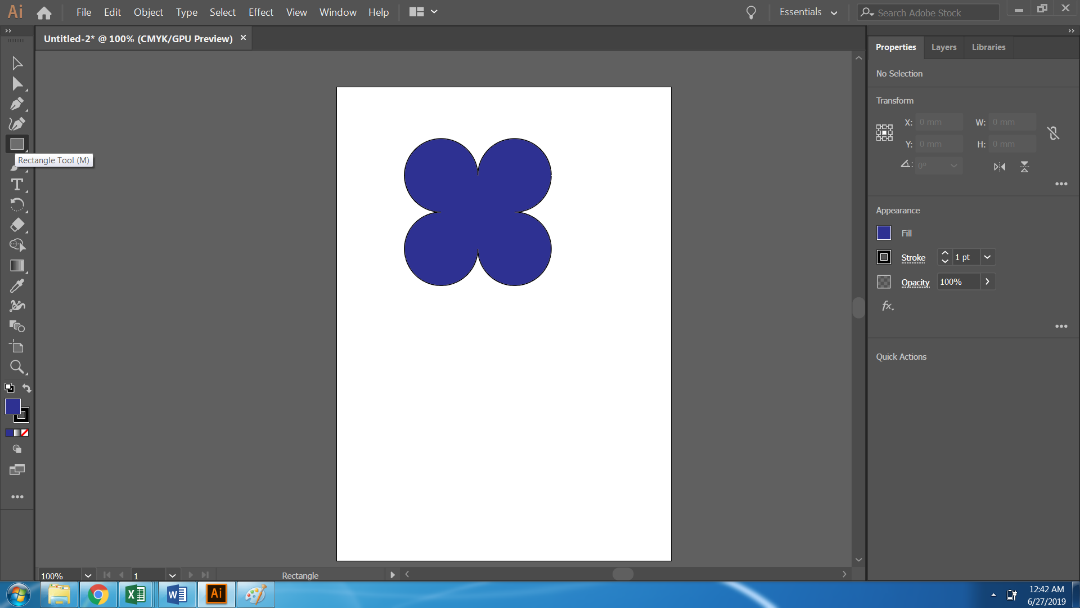
Step 5: Select All four Circles and use the Shape Builder Tool from the Toolbox. As soon as we select the Shape Builder Tool, we create a path to be built.
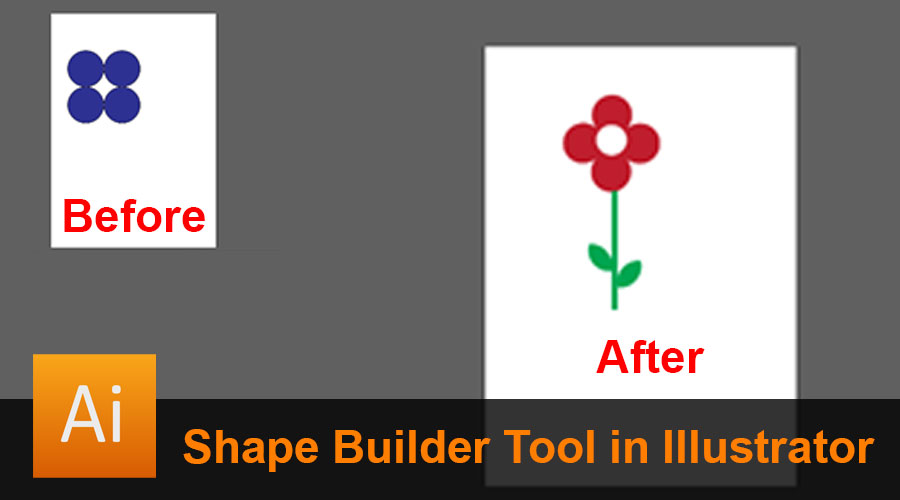
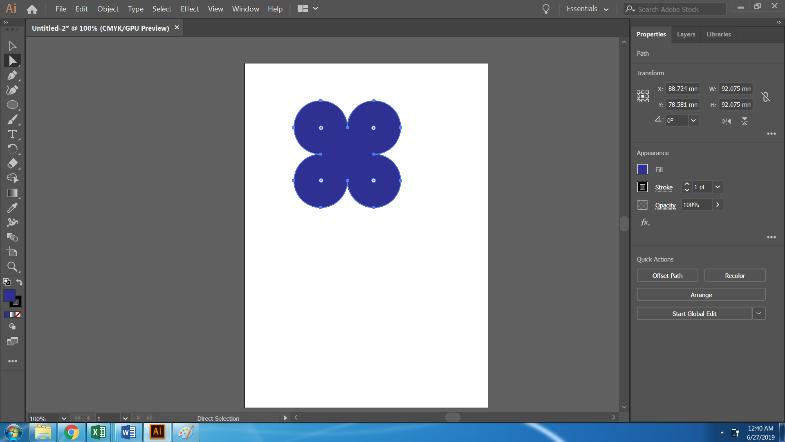
Step 6: The resulted image will look like this.
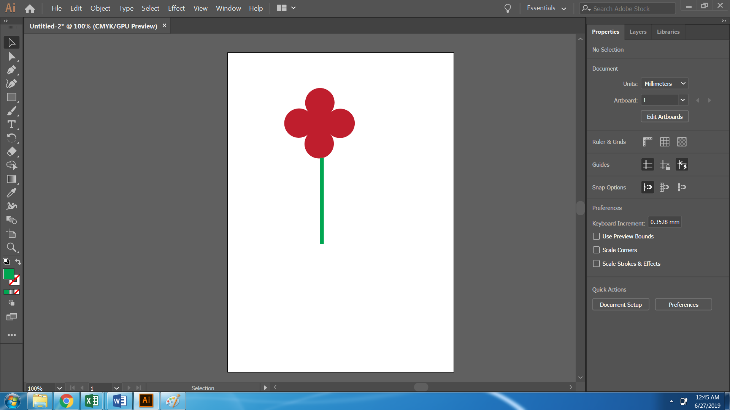
Step 7: Use the Rectangle Tool and create a stem to the already created flower.
Step 8: Now, rotate the flower to form a proper shape and recolor it. Create the stem and Align the center to the flower.
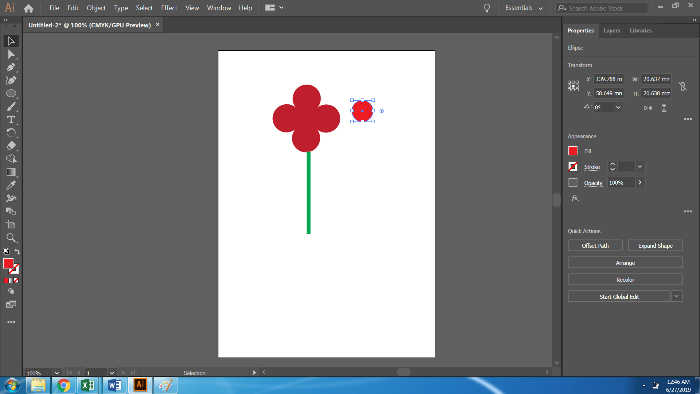
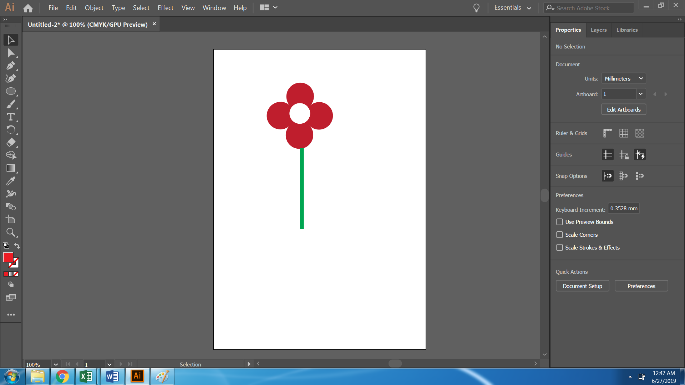
Step 9: Create another Ellipse and place this Ellipse on the center of the Flower. Now, select the flower and the ellipse and with the Shape Builder Tool, click on the Ellipse at the center to create a shape.
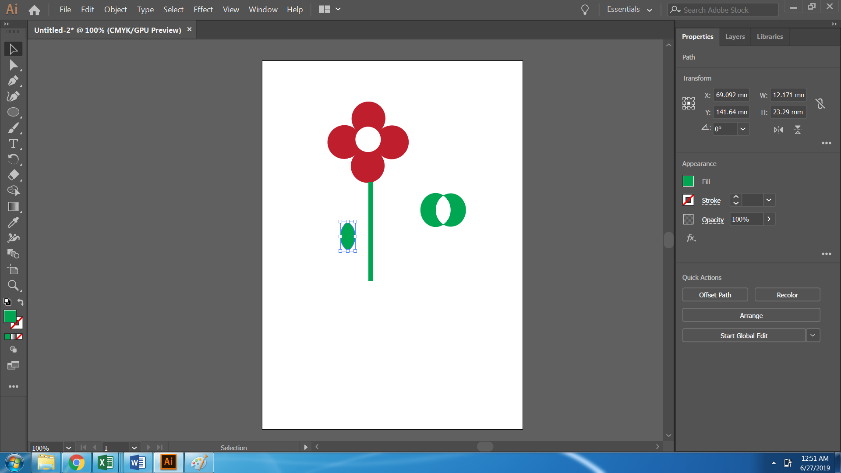
Step 10: Create another ellipse and duplicate the same. With the Shape Builder Tool, click on the intersecting part of both the ellipses. And take out the center part of the shape.
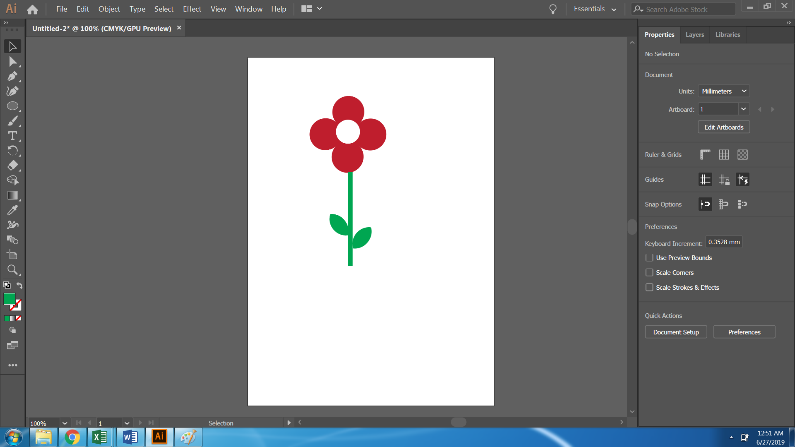
Step 11: Rotate and attach the leaf to the stem. Create a duplicate of the same and attach it to the other side. This Finalizes and creates a Flower with the help of the Shape Builder Tool.
Conclusion
Sometimes, the users find the Shape Builder tool a bit confusing and tricky, but when we practice and use the tool continuously, we find it easy and fun to work with. Likewise, the pathfinder tool can be used in Adobe Illustrator. The shape Builder tool is a fast and simple tool to use for simple artworks made using shapes and lines.
Creating anything using shapes will require a lot of logical thinking and patience. But, still, it is fast and requires less effort compared to creating artwork with Pen tool and brushes. Although the pen tool and brushes are also smooth and easy, creating something with shapes will be fast and require less time.
In the above example, we see how a simple flower is created using just circles and rectangles. Likewise, we create anything using the Shape Builder tool. Graphic designers have a huge benefit from using this tool as it saves a lot of effort and time.
Recommended Articles
This has been a guide to the Shape Builder Tool in Illustrator. Here we discuss the Concept and how to use the Shape Builder Tool in Illustrator. You can also go through our other Suggested Articles to learn more –
