Introduction to Shapes In Illustrator
Illustrator consists of a beneficial set of primary vector sketching tools. Graphic designers most commonly practice drawing using primary forms, such as ellipses and rectangles, so that they can raise a structure; in the same way, you can certainly try similar techniques to sketching with vector forms in Illustrator. You can visualize how you can join simple forms in various ways to produce more difficult ones as an alternative to sketching complex shapes. The primary sketching tools in Illustrator are divided into those that produce open-path vector objects and those that produce closed-path vector objects. In addition to this, these tools are reciprocal in a way where you can define or command definite settings while sketching shapes.
How to draw Shapes in illustrator?
The list of shapes in Illustrator ars as follows:
1. Closed-Path Shape Tool
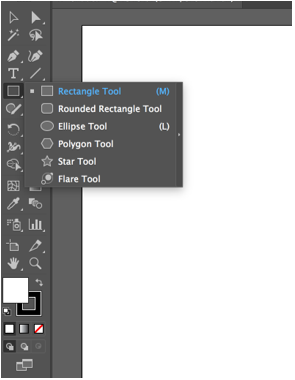
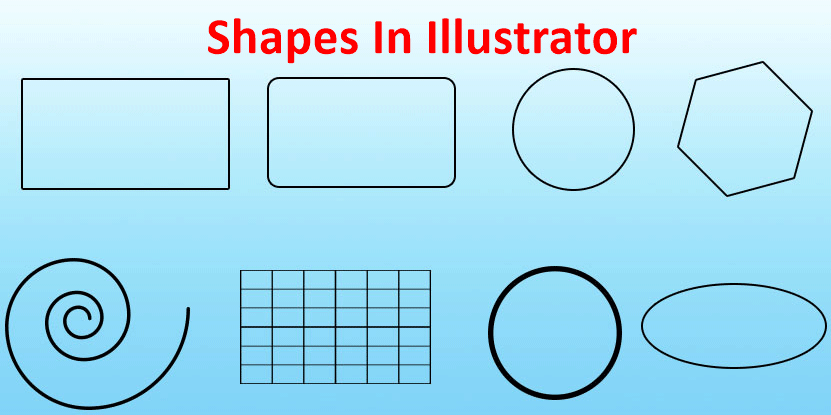
The closed-path tools in Illustrator include the rectangle, rounded rectangle, ellipse, polygon, star tool, and the flare tool, and they are all assembled in the toolbar panel. To produce any shapes, select the required tool, click the artboard, and drag in the outward direction. While dragging the pointer, you can append commands to alter the form interactively.
2. Rectangle Shape Tool
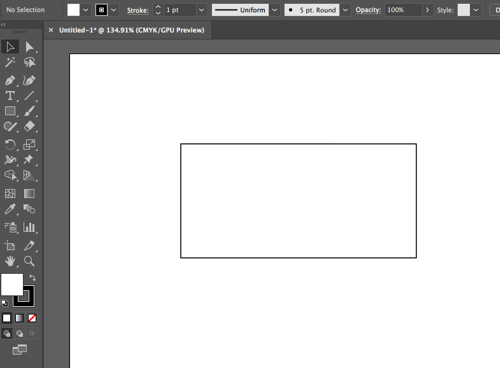
Select the rectangle tool from the toolbar on the left-hand side. Make sure the fill is white color, and the stroke is black color. Click on the artboard and drag outwards.
3. Rounded Rectangle
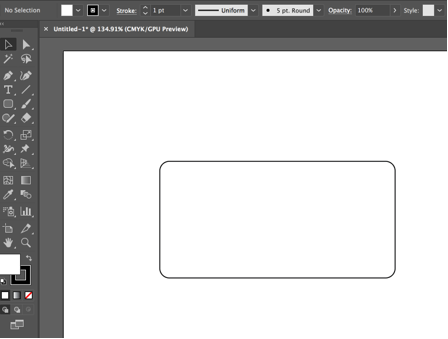
Select the rounded rectangle tool from the toolbar on the left-hand side. Make sure the fill is white color, and the stroke is black color. Click on the artboard and drag outwards.
4. Ellipse Tool
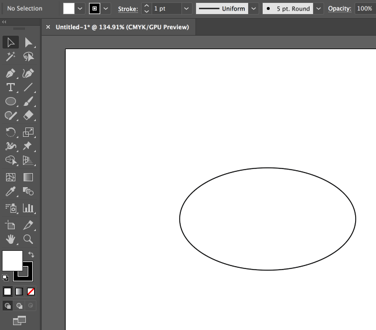
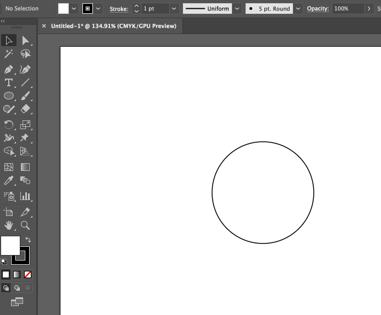
Select the ellipse tool from the toolbar on the left-hand side. Make sure the fill is white color, and the stroke is black color. Click on the artboard and drag outwards. You can draw a circle or ellipse with this tool.
Shape Ellipse:
Shape Circle:
5. Polygon Tool
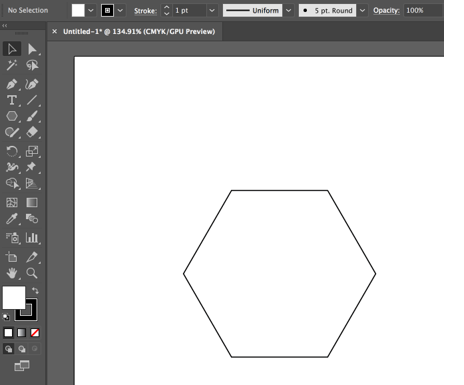
Select the polygon tool from the toolbar on the left-hand side. Make sure the fill is white color, and the stroke is black color. Click on the artboard and drag outwards.
6. Star Tool
Select the star tool from the toolbar on the left-hand side. Make sure the fill is white color, and the stroke is black color. Click on the artboard and drag outwards.
7. Flare Tool
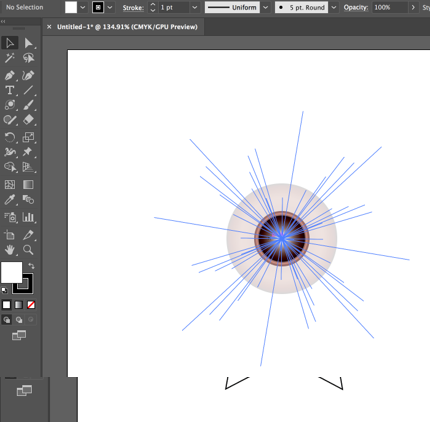
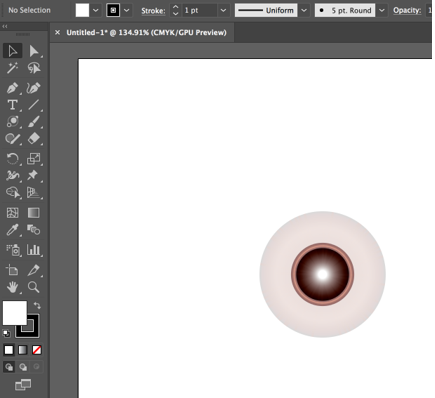
Select the flare tool from the toolbar on the left-hand side. Make sure the fill is white color, and the stroke is black color. Click on the artboard and drag outwards.
8. Open-Path Shape Tool
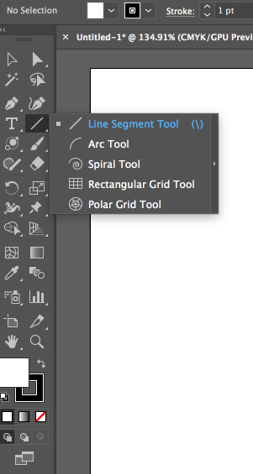
The open-path tool in Illustrator includes the line segment, arc, spiral, rectangular grid, and polar grid tools, and they are all assembled in the toolbar panel. To produce any of these shapes, select the required tool, click the artboard, and drag in the outward direction. While dragging the pointer, you can append commands to alter the form interactively.
9. Line Segment
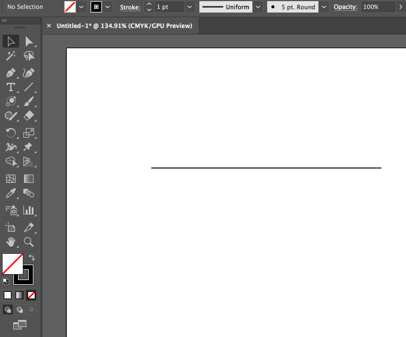
Select the line segment tool from the toolbar on the left-hand side. Make sure the fill is the white color, or no fill and stroke is black color. Click on the artboard and drag outwards.
10. Spiral Tool
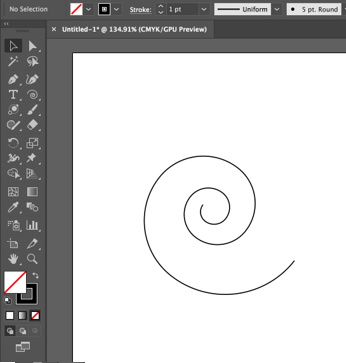
Select the spiral tool from the toolbar on the left-hand side. Make sure the fill is the white color, or no fill and stroke is black color. Click on the artboard and drag outwards.
11. Rectangular Grid Tool
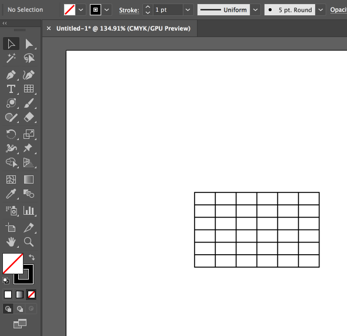
Select the rectangular grid tool from the toolbar on the left-hand side. Make sure the fill is the white color, or no fill and stroke is black color. Click on the artboard and drag outwards.
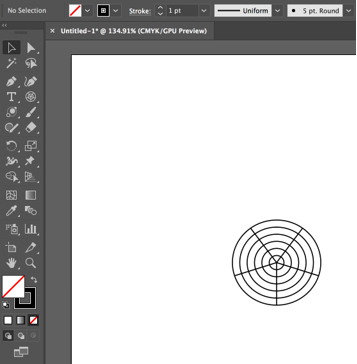
12. Polar Grid Tool
Select the polar grid tool from the toolbar on the left-hand side. Make sure the fill is the white color, or no fill and stroke is black color. Click on the artboard and drag outwards.
Shape Builder Tool
You can create shapes using the shape builder tool. It is simple than ever before to produce compelling and distinctive shapes in Adobe Illustrator. By just clicking and dragging, you can append, bisect or remove a single shape from another. Produce the shapes you want to join, converge them where required, and then choose all of the shapes to be joined.
Example:
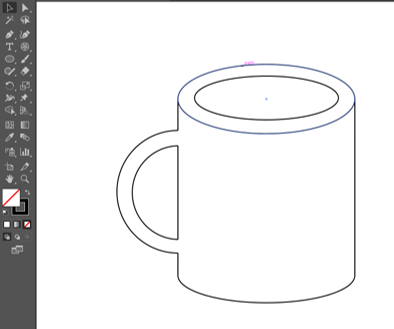
We will draw a cup using the shape builder tool and other shapes like rectangle, ellipses, etc.
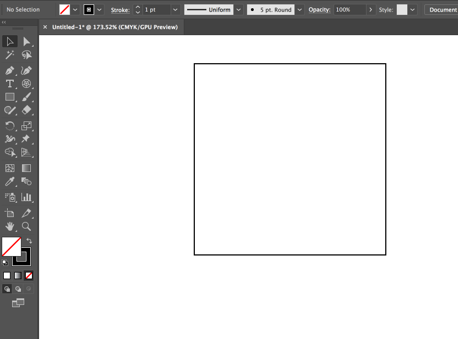
Step 1: First, select the rectangle tool from the toolbar. Make sure the fill is the white color, or no fill and stroke is black color.
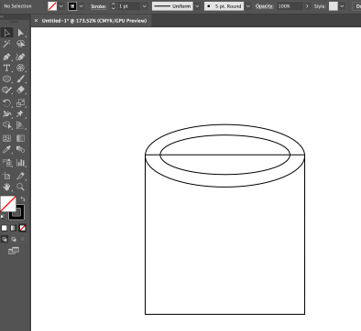
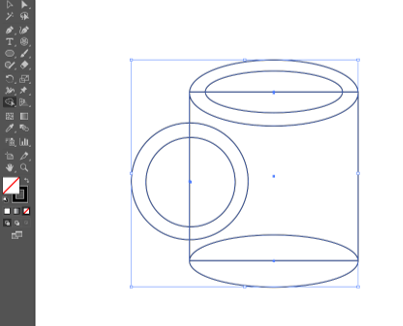
Step 2: Next, draw two ellipses on the top of the rectangle as shown in the below image. You can select the ellipse from the toolbar.
Step 3: Now, draw an ellipse at the bottom part of the rectangle.
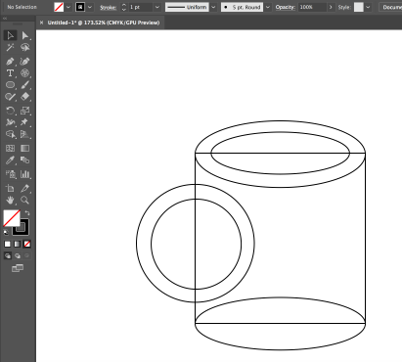
Step 4: Next, draw two circles on the left-hand side of the rectangle.
Step 5: First, select the complete object that we have created using the selection tool from the toolbar, then select the shape builder tool and start removing the segments to create the cup. By default, the tool is set to the merge mode, where it permits you to join regions or paths. To switch to the erase mode, you can hold the alt key (both mac and windows) and remove the unwanted regions or edges.
We have created the Final image of the Cup by using the Shape Builder Tool.
Conclusion
With the help of various shape tools available in Illustrator, you can create many shapes. As per your needs, you can select either the closed-path shape tools or the open-path shape tools. With the shape builder tool, you can cover numerous forms, and when choosing those forms, you can join, eliminate, bisect paths or regions. It functions on easy and complex paths. You can edit, join, and color shapes on your artboard in an intuitive manner.
Recommended Articles
This has been a guide to Shapes in Illustrator. Here we discuss how to create different shapes using the Shape tool in Illustrator and how to use the shape builder tool. You may also look at the following article to learn more –
