Introduction to SketchUp 3D text
SketchUp 3D text is one of the features of this software through which you can create 3D text for 3D models during working on any project. For creating 3D text on a 3D model, this software offers you a 3D text tool, and you can adjust different parameters of text through the parameter panel of the 3D text tool. However, the 3D tool offers by this software lack one feature: you cannot edit text after typed it once, but we have a solution for this problem, and i will tell you about this throughout this article. So let us start our discussion.
How to Create 3D text in SketchUp?
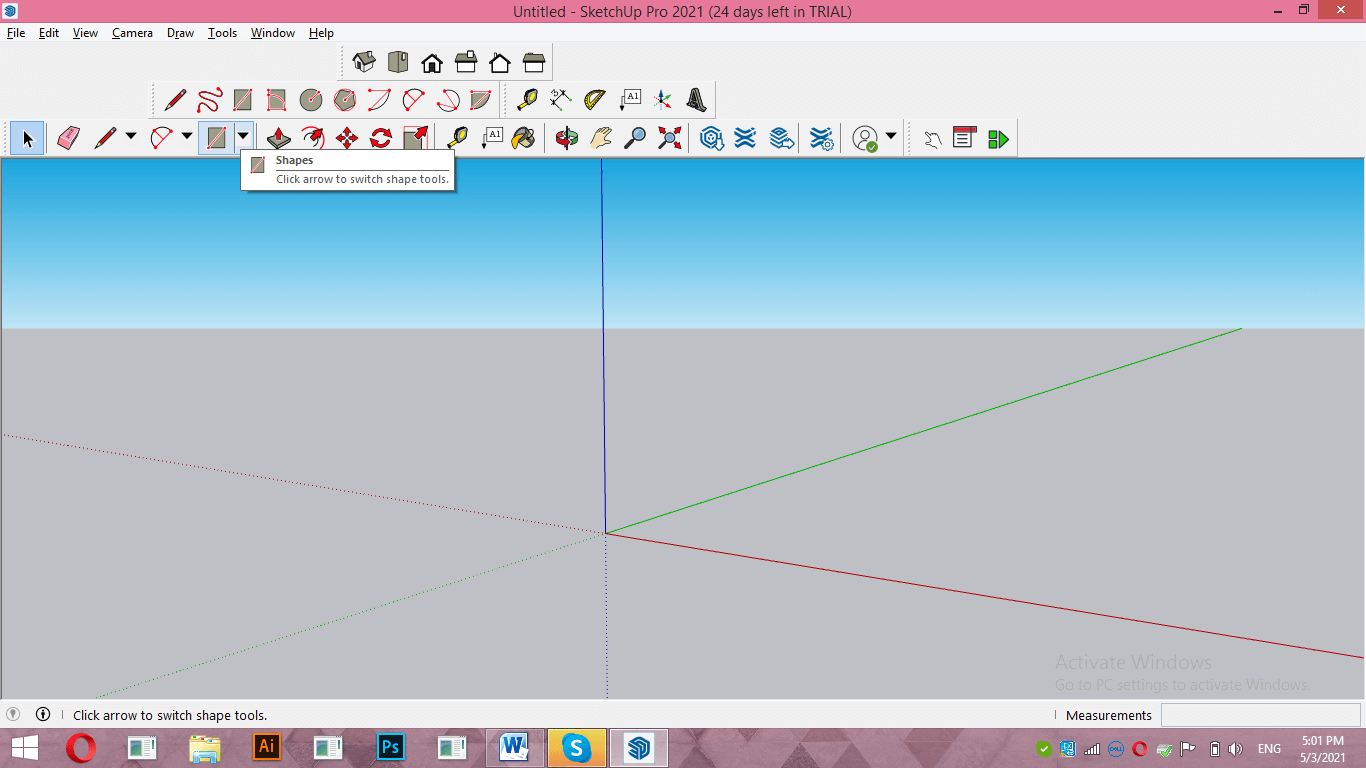
We can create 3D text in SketchUp by going through few simple steps. So in the sequence of these steps, I will first take a shape tool from the tool panel of this software.
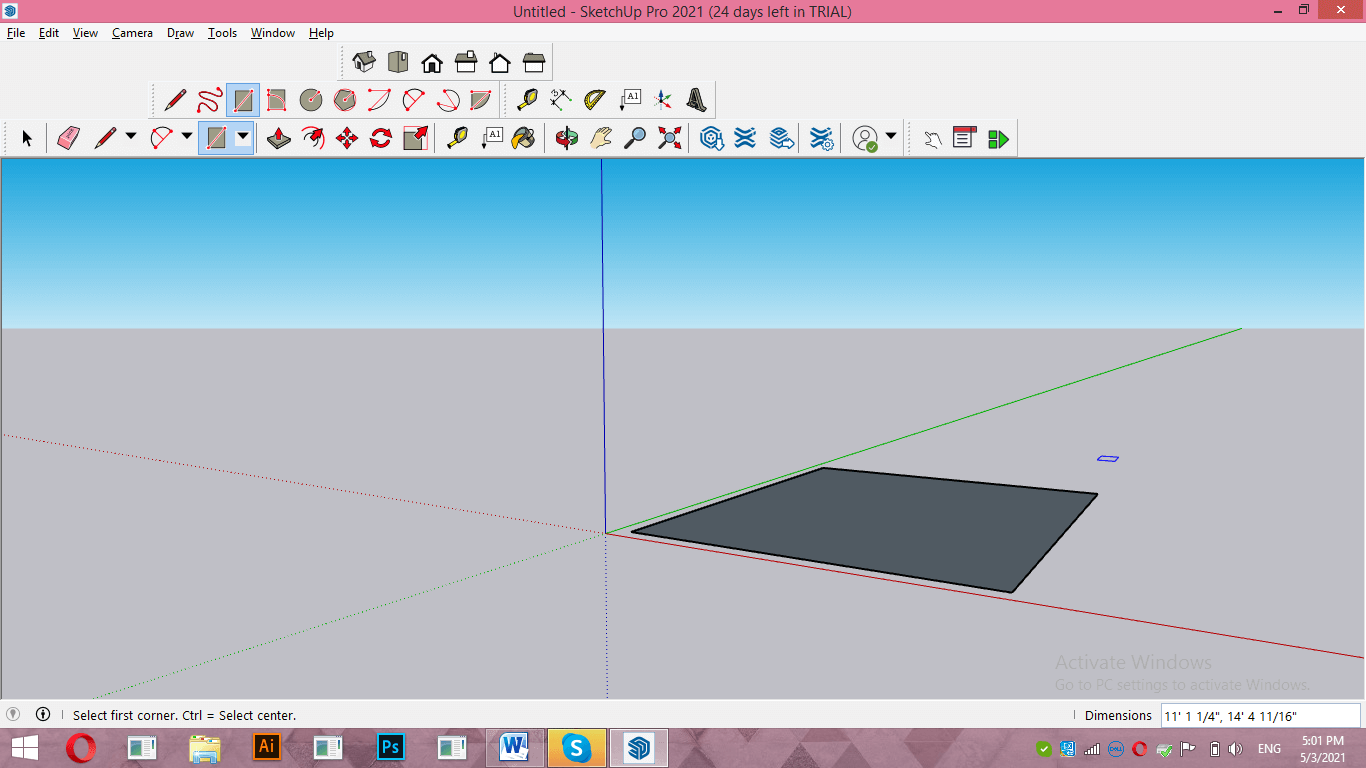
Now I will draw a rectangle like this. I am drawing it freehand (without specific dimensions) for taking it as an example.
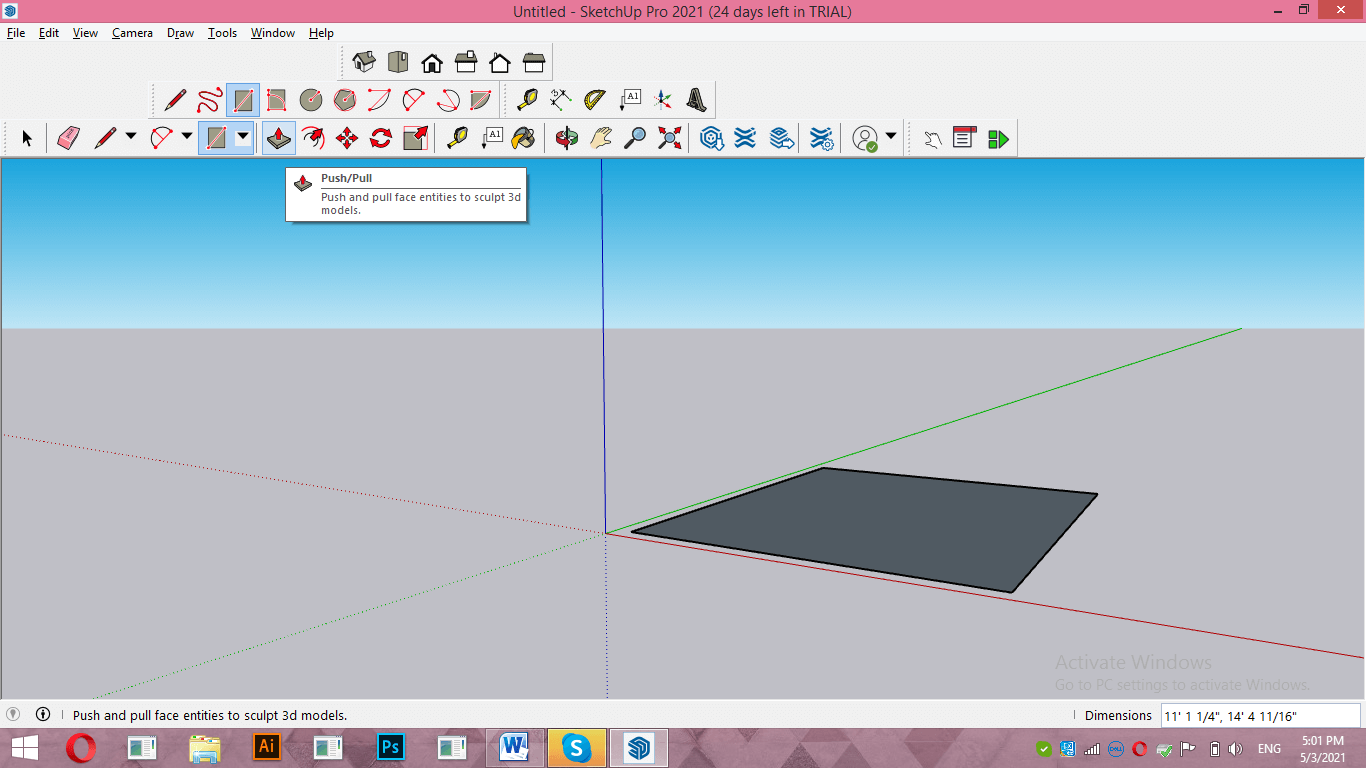
Now again, go to the tool panel and take the Pull/Push tool from here.
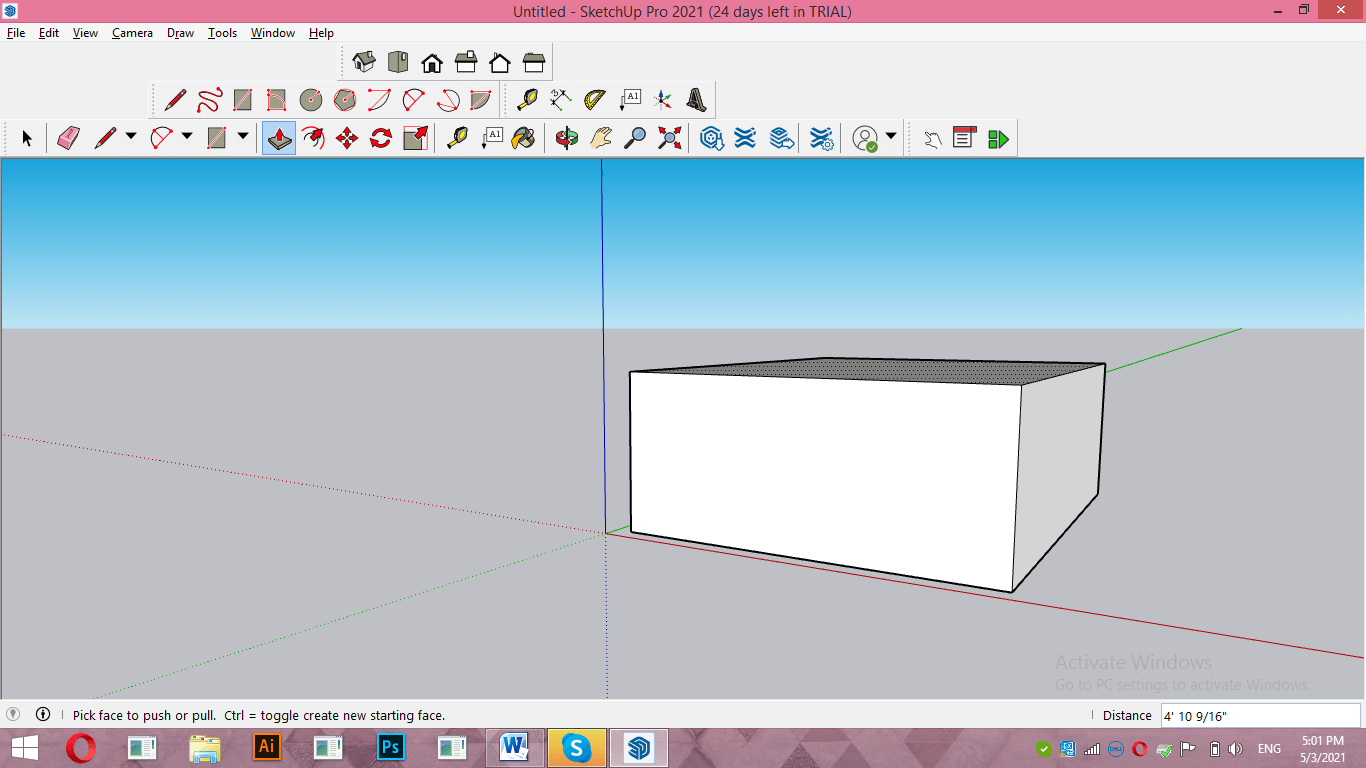
Now I will extrude this rectangle to make a 3D shape from it.
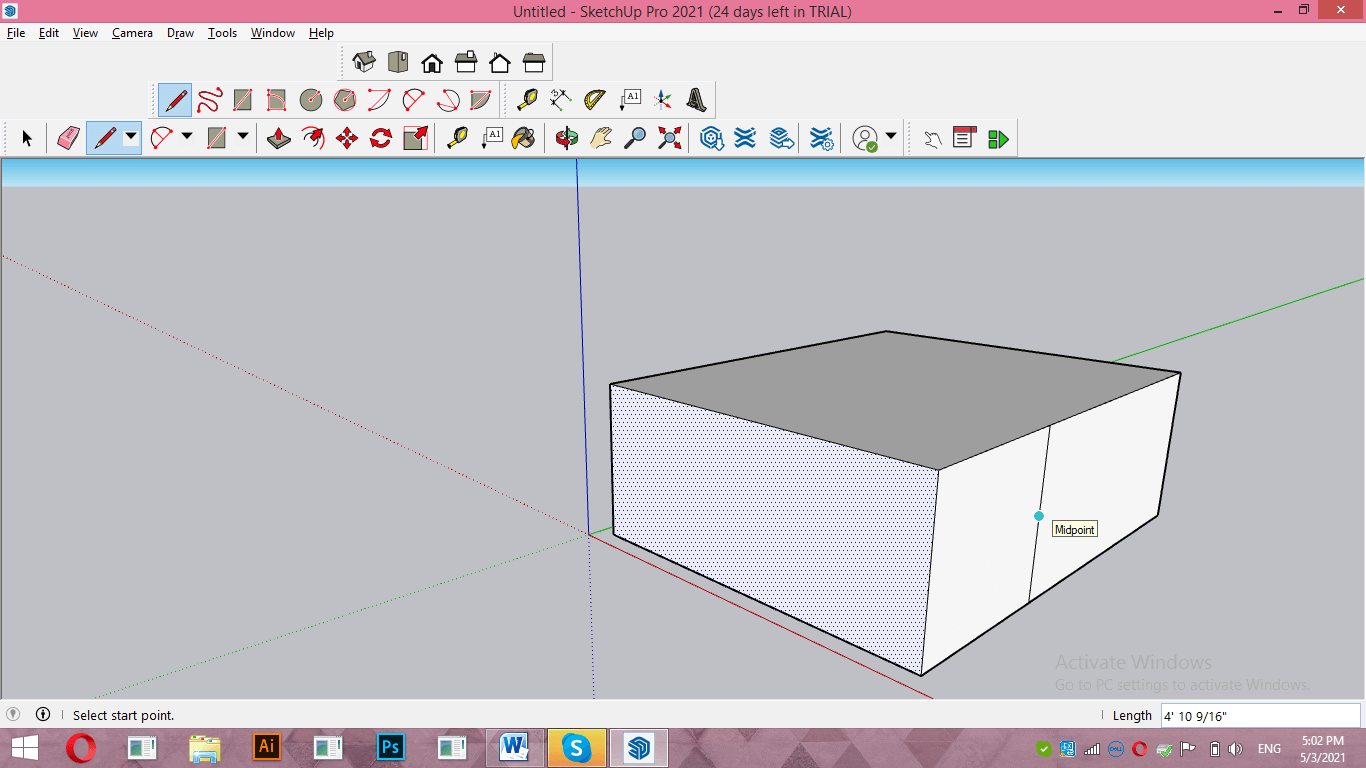
Now take the Pencil tool and draw a line like this.
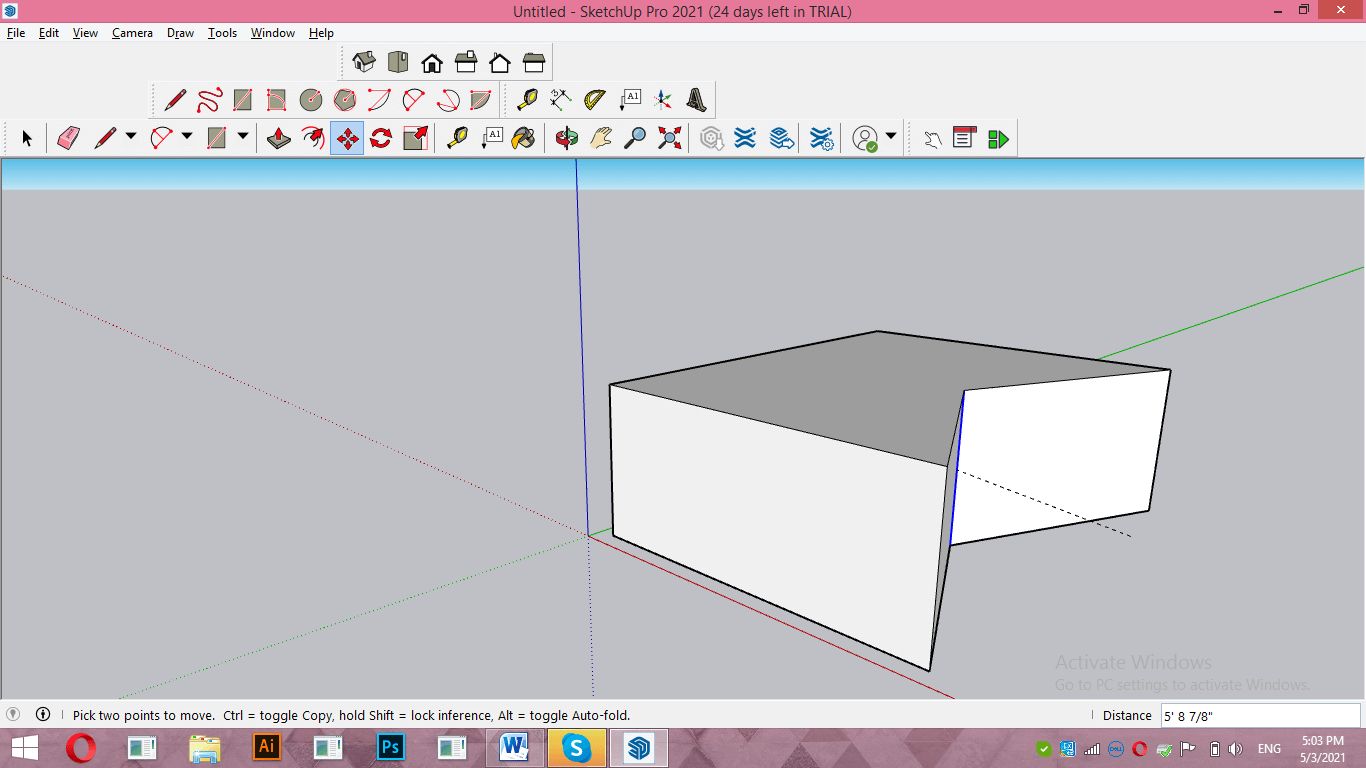
I will select this line with the selected tool, then take the Move tool and move it inside this shape for making a 3D structure like this.
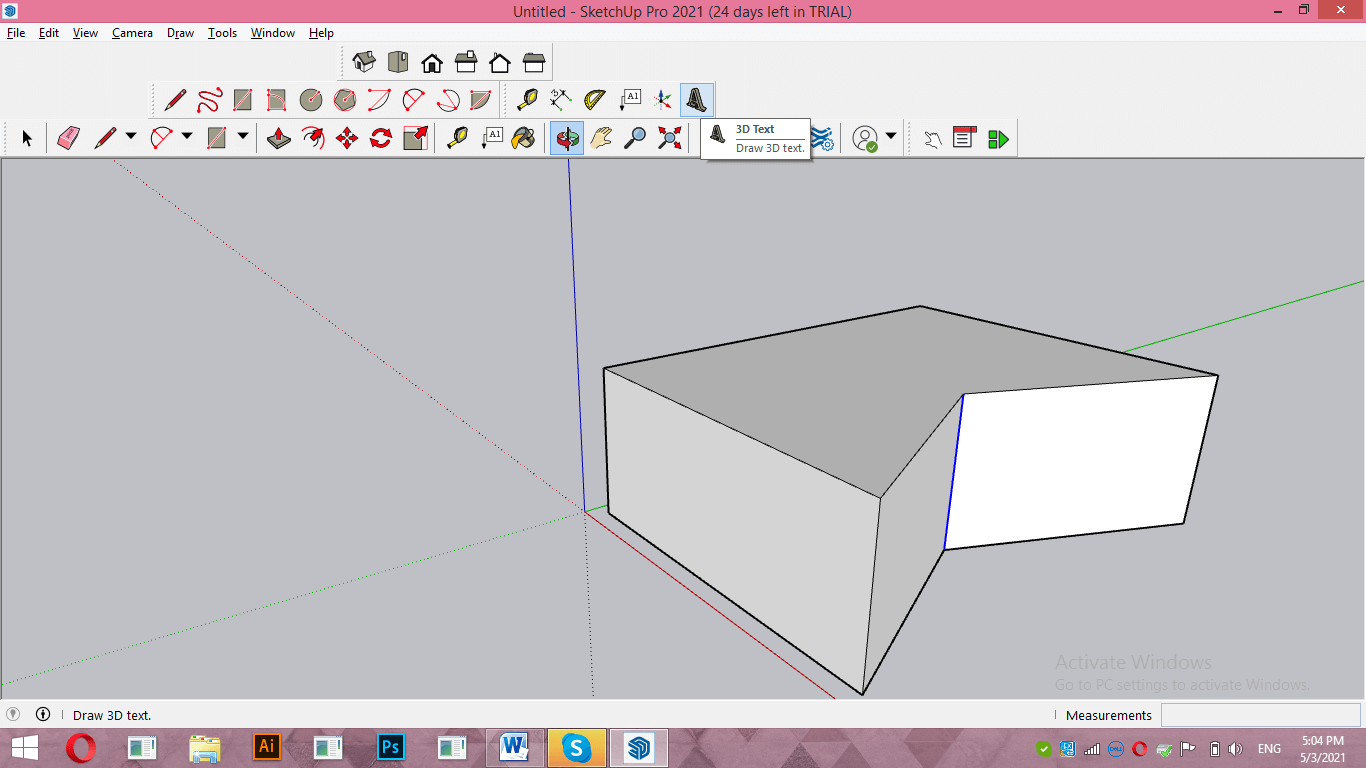
Now let us move to the 3D text tool, and you can find it with this icon. So make it active by clicking on it.
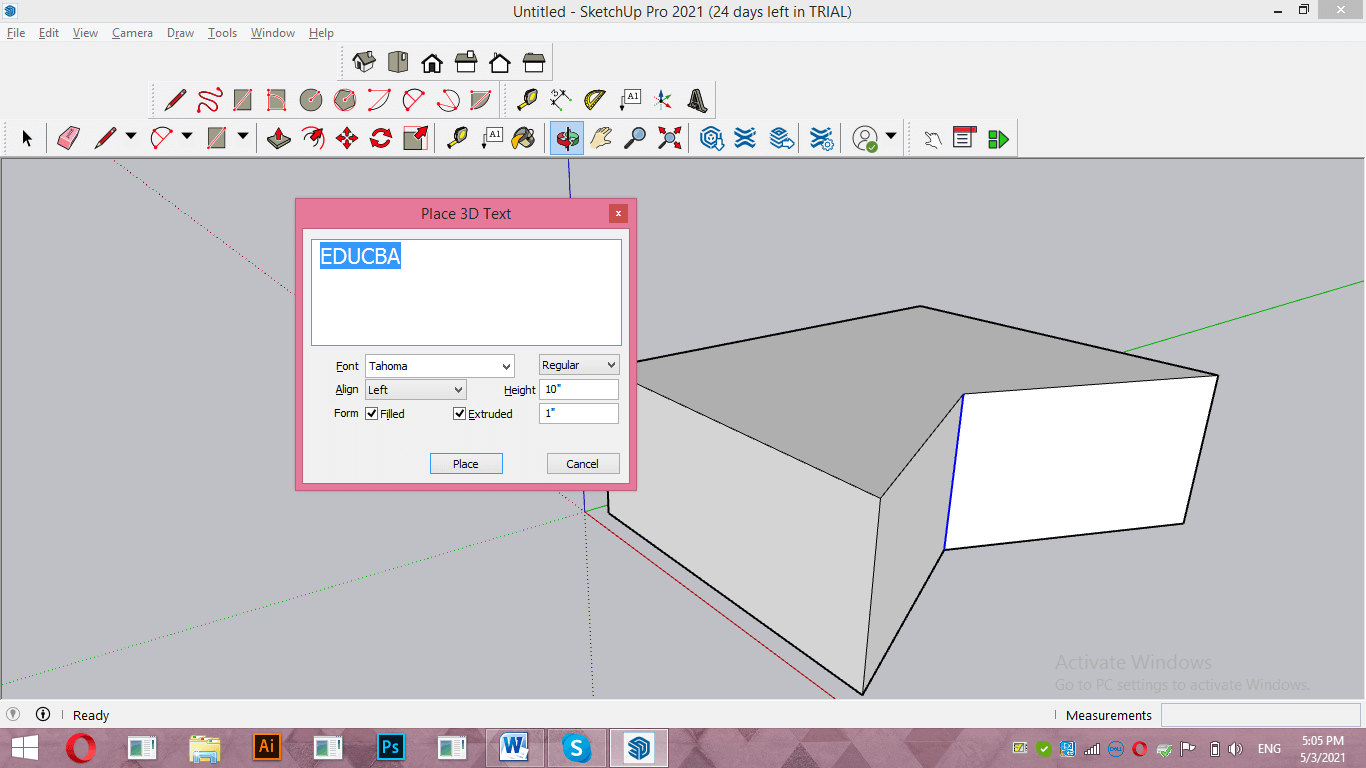
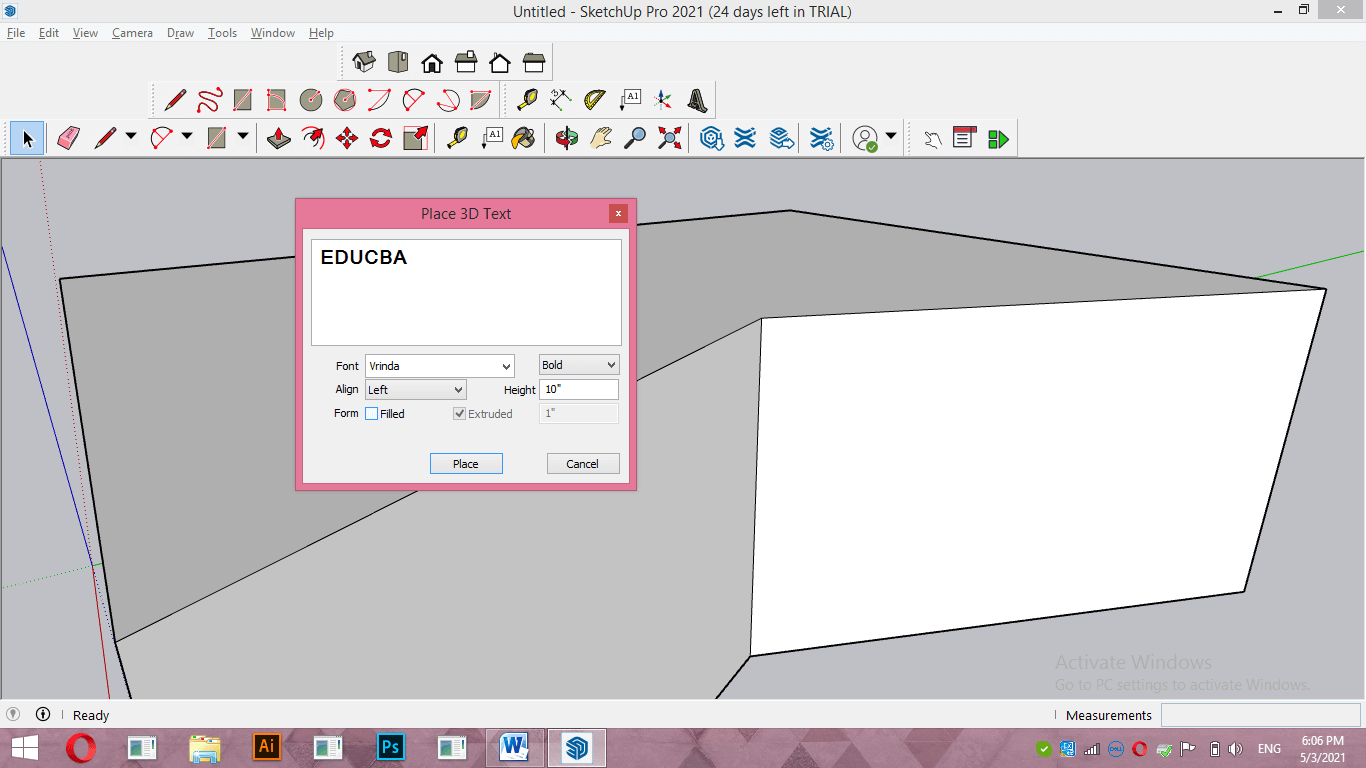
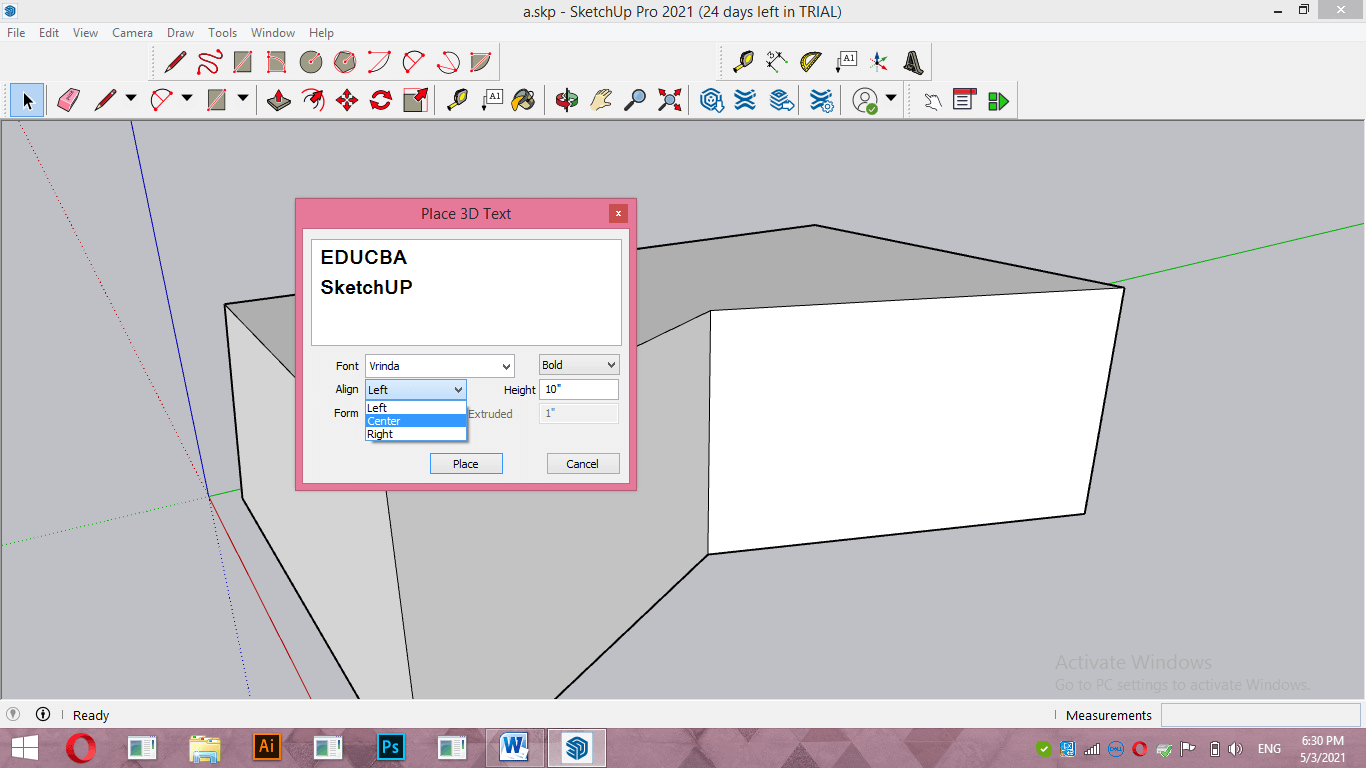
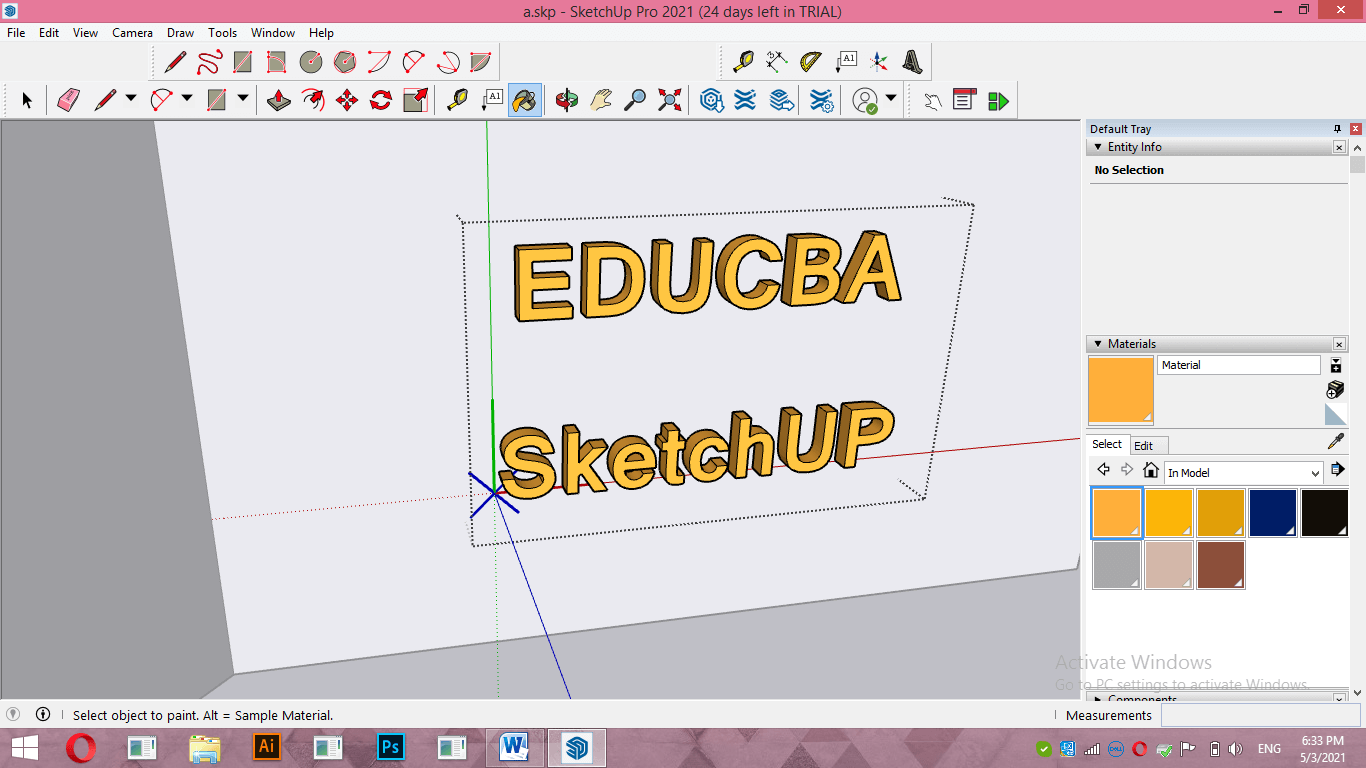
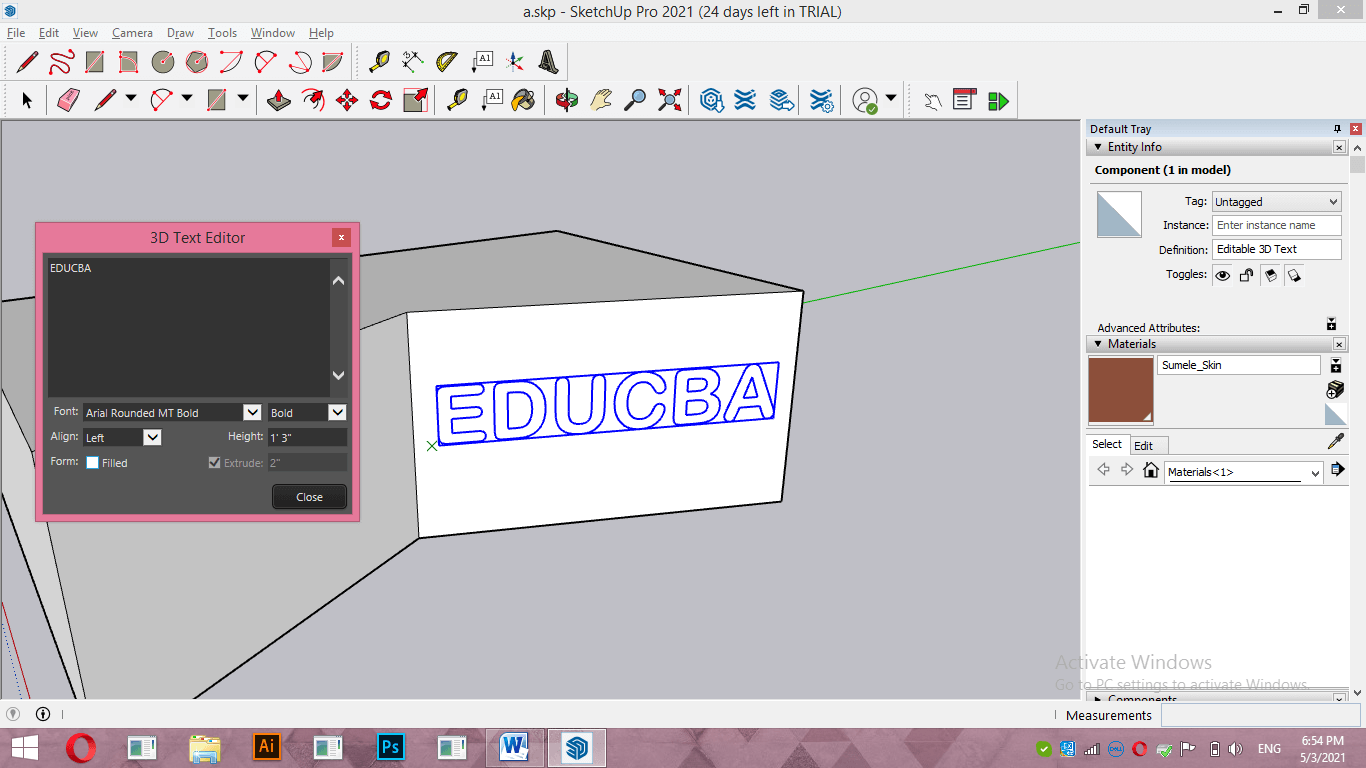
Once you make click this 3D text dialog box will open. Now type your desired text in this box. For example, I will type EDUCBA as my text.
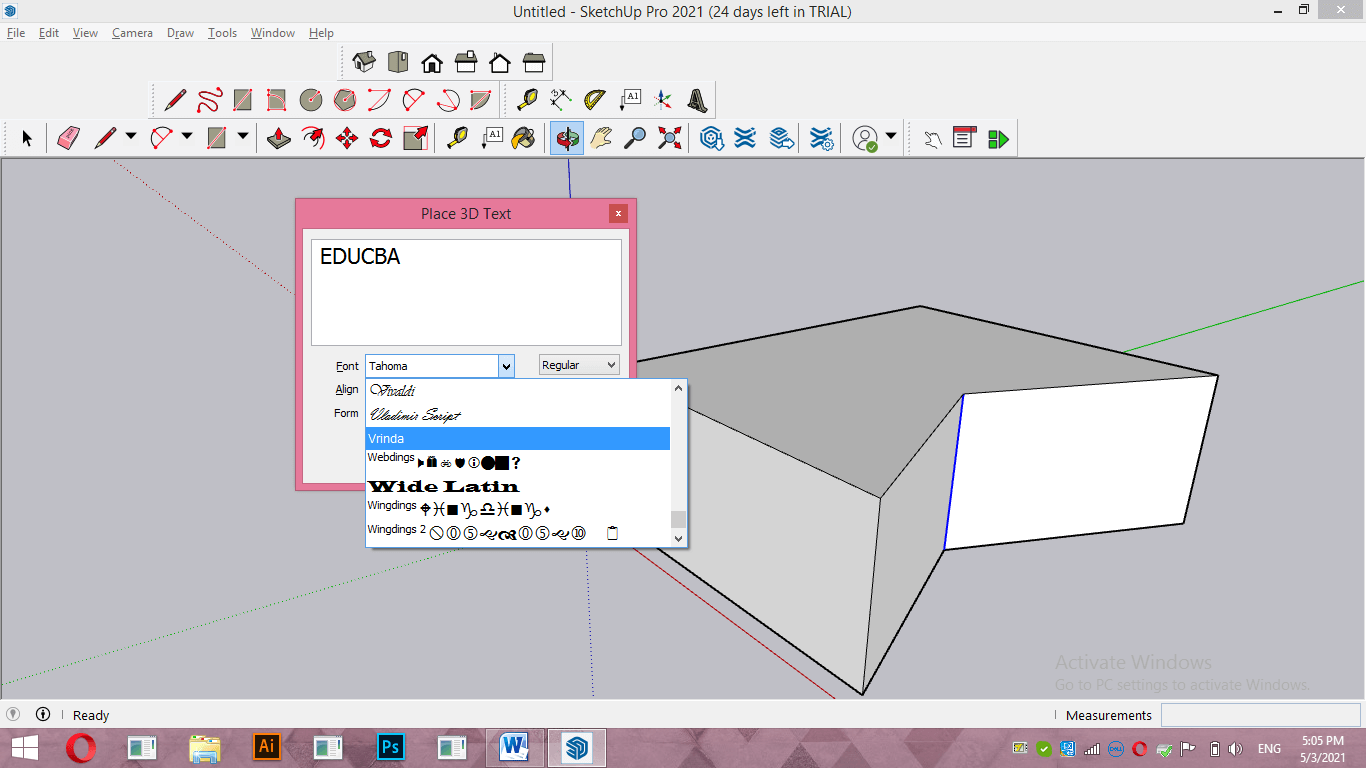
You can choose Typeface for your text from the Font option of this dialog box. For having a list of Typeface make click on the down arrow key of this option.
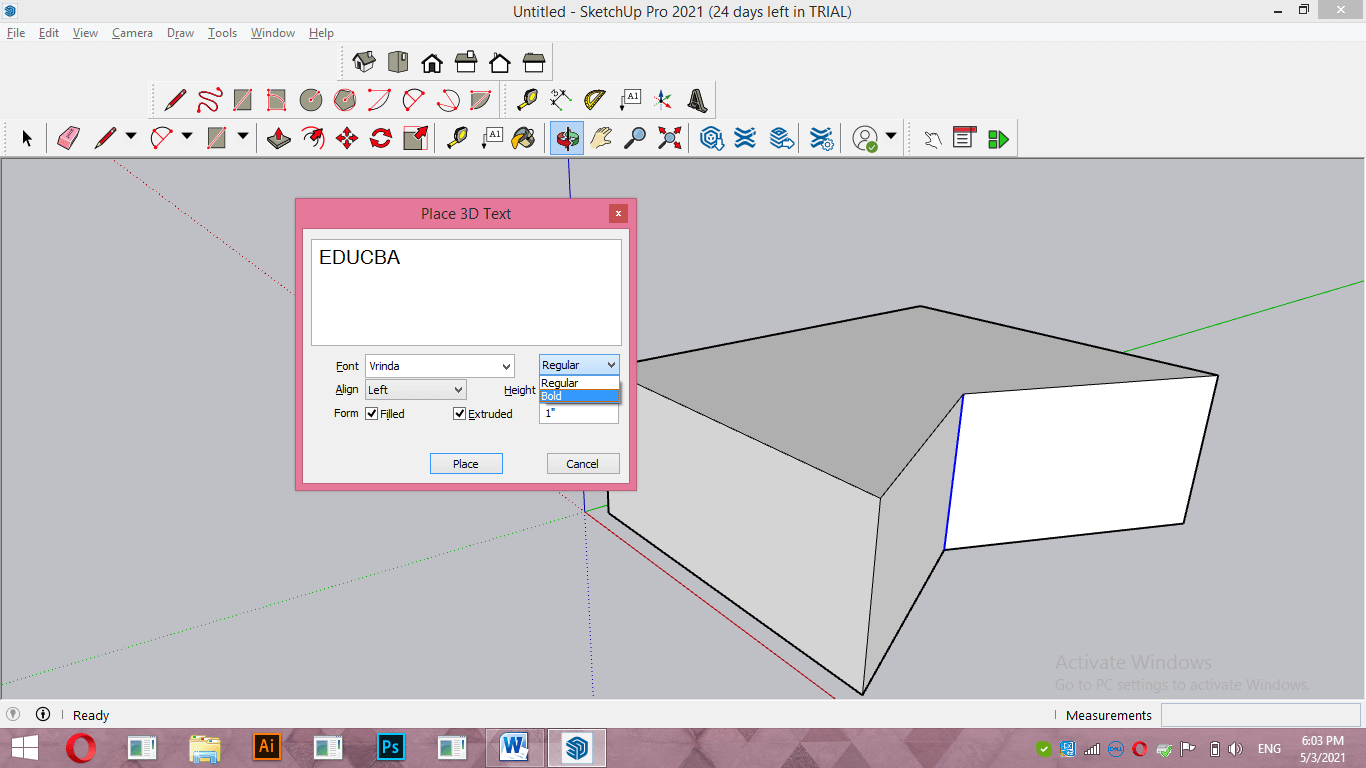
You can also change font style according to options offered by each type face of different font.
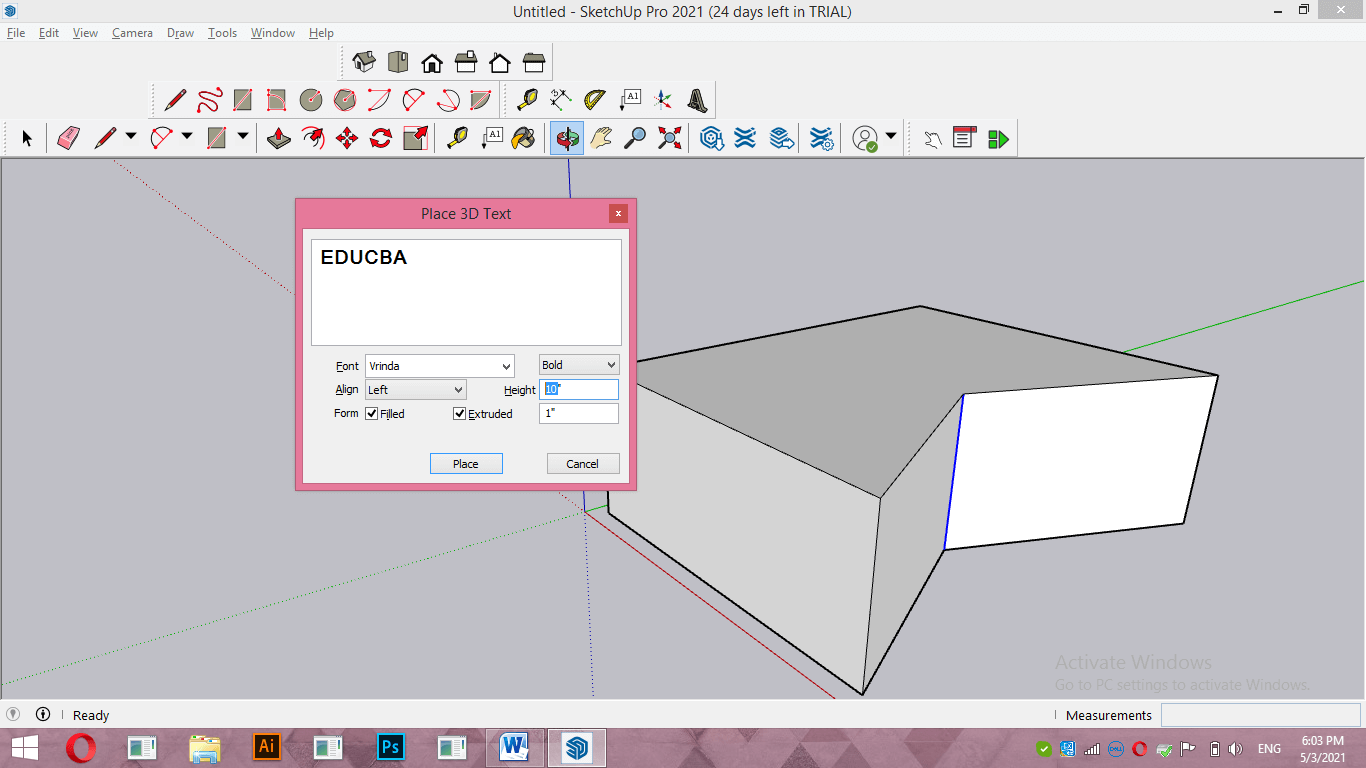
With the Height option, you can give the value of the height of your text.
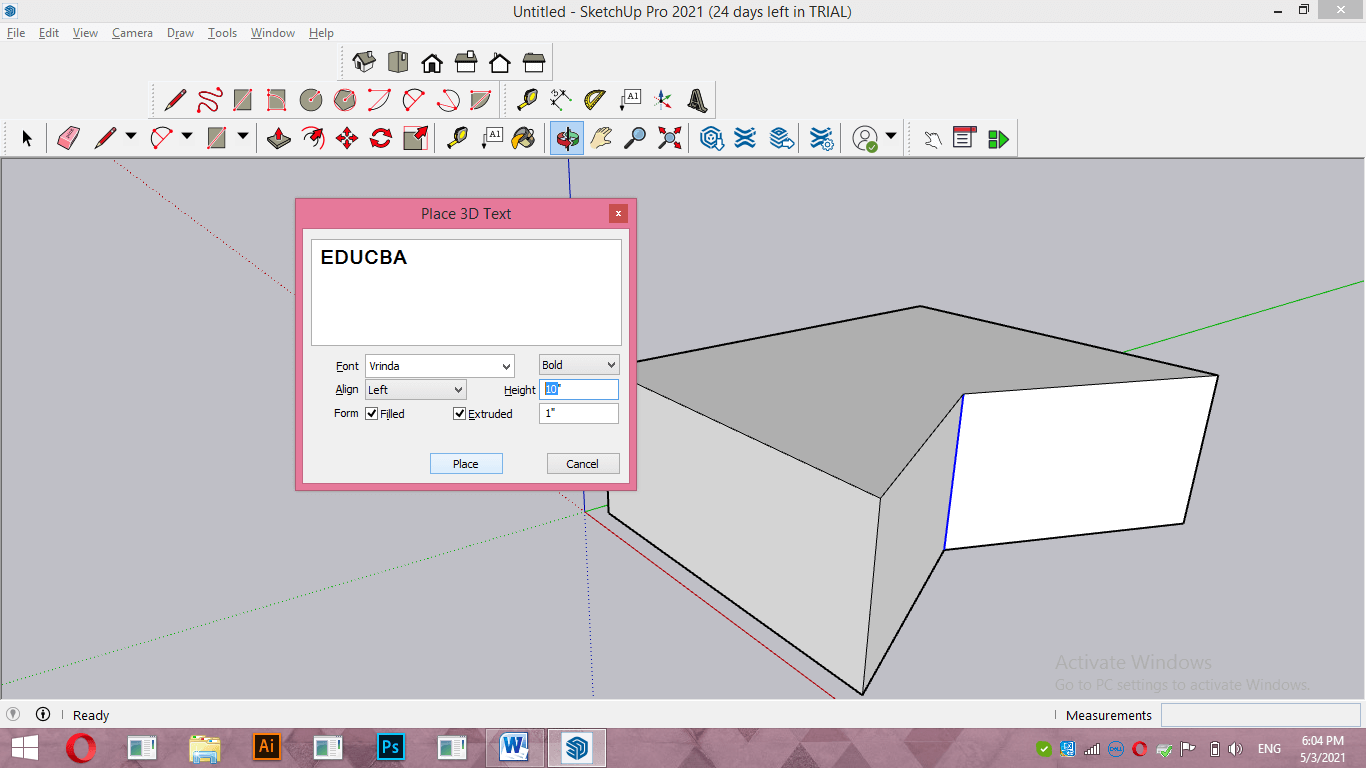
Once you have done settings according to your requirement, click on the Place button of this dialog box.
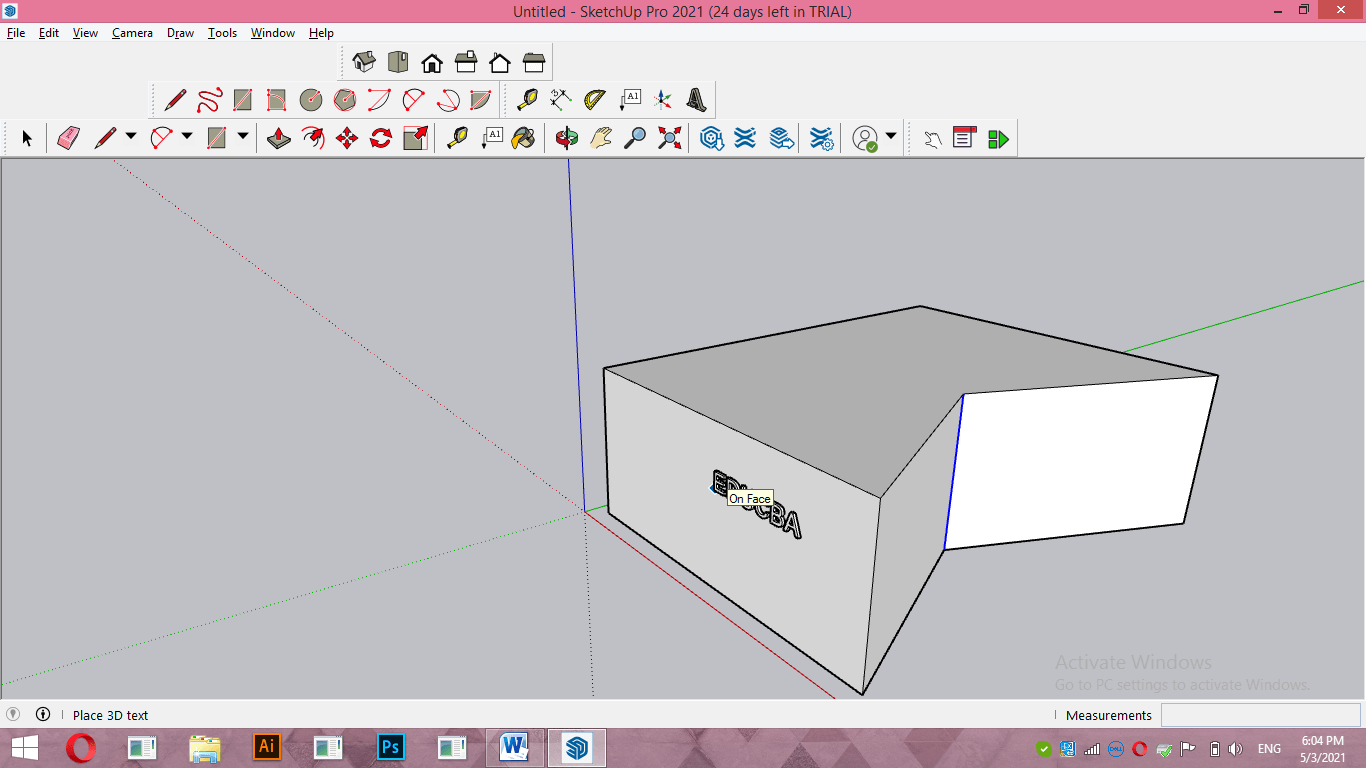
Now you can place your text at your desired face of a 3D object by moving it with the help of a mouse cursor.
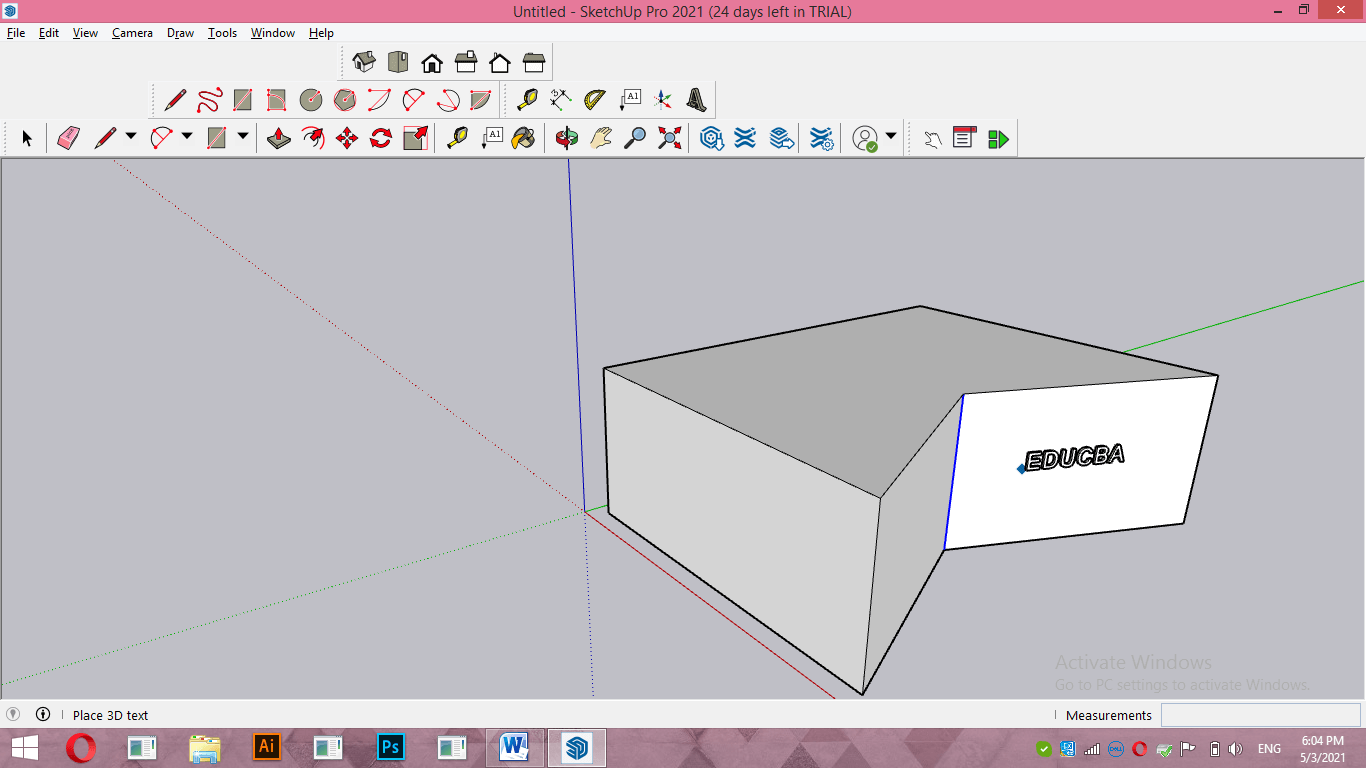
I will place it on the face of a 3D object and make a click to release the mouse cursor.
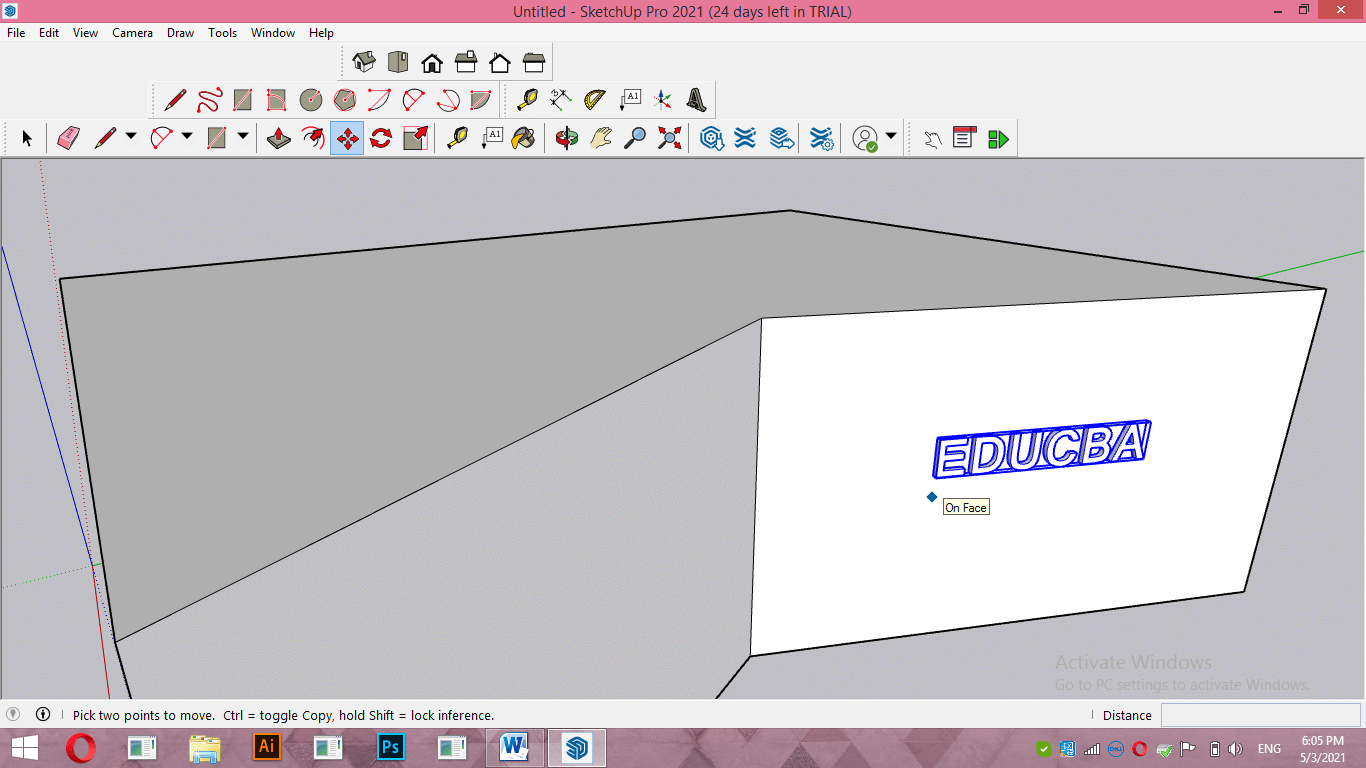
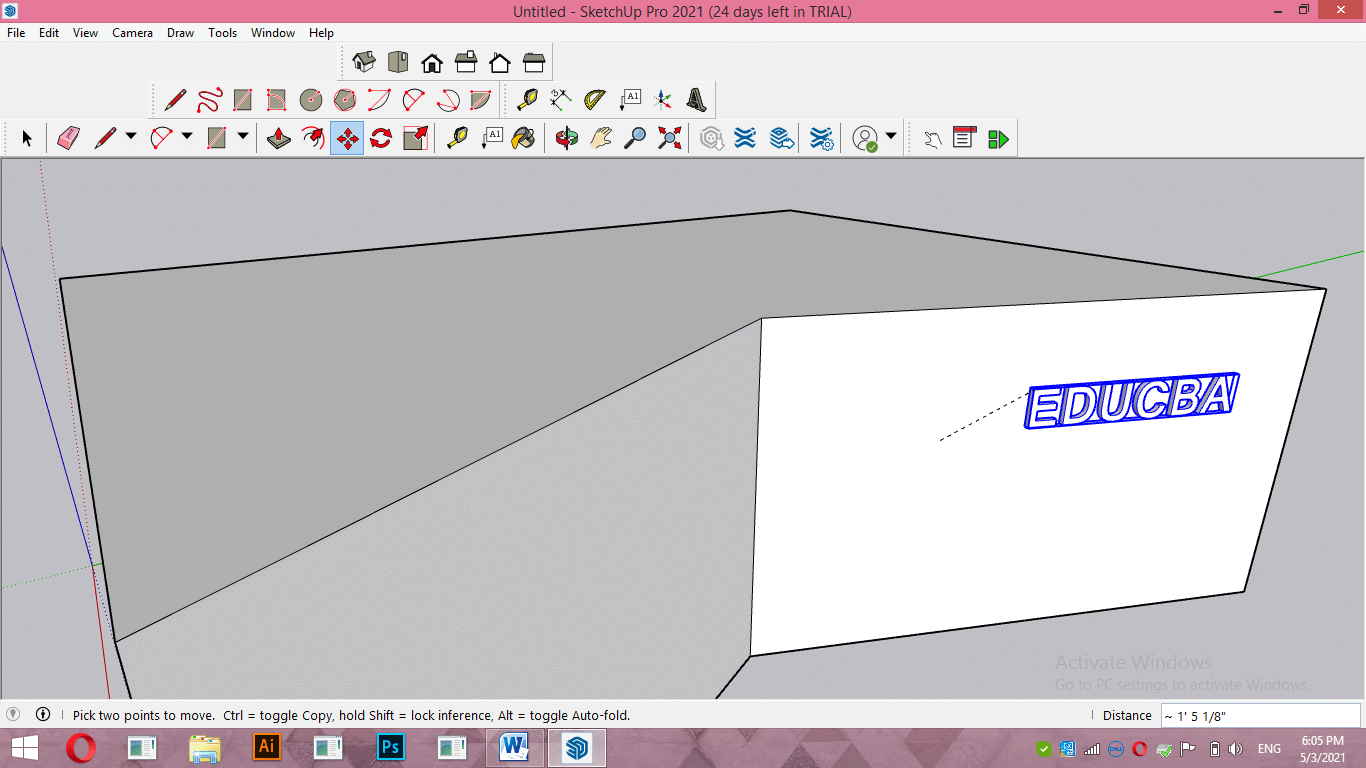
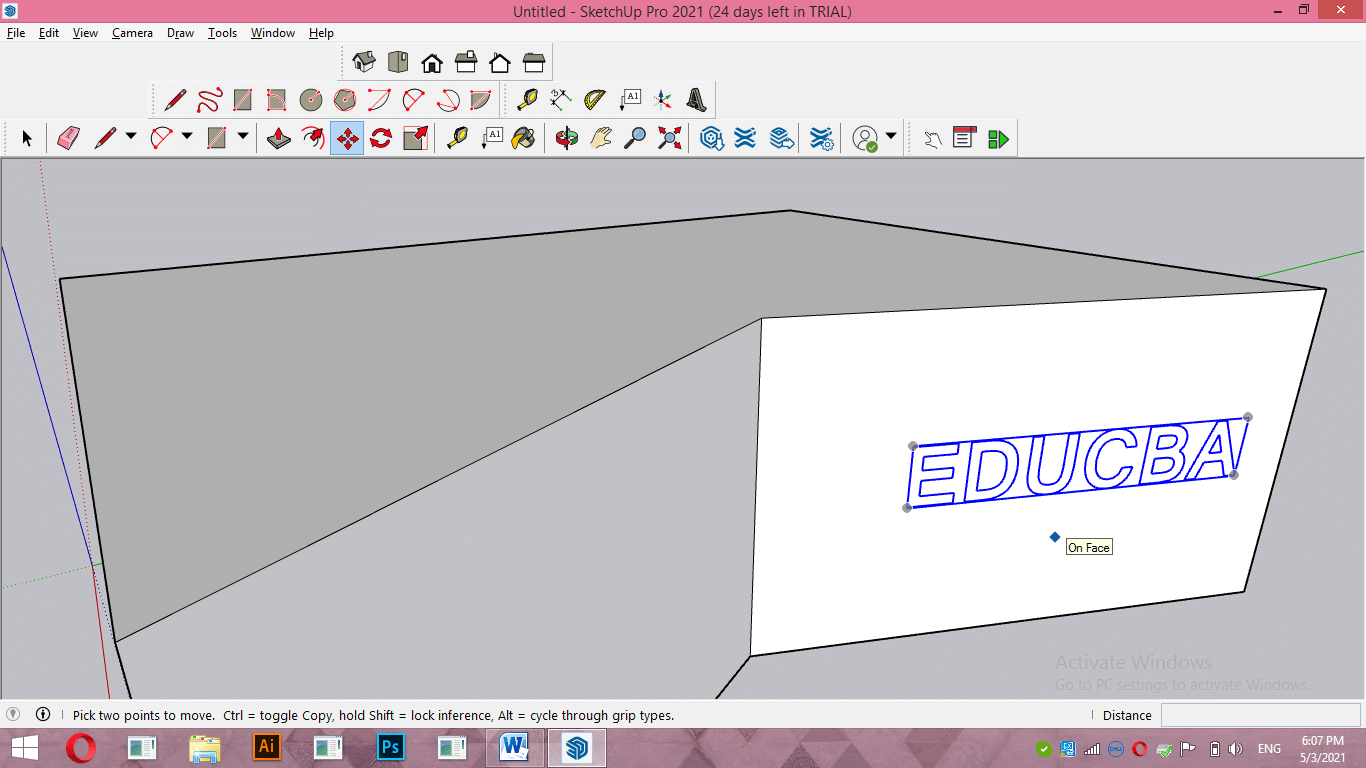
You can move this text on this face anywhere with the help of the Move tool of the tool panel.
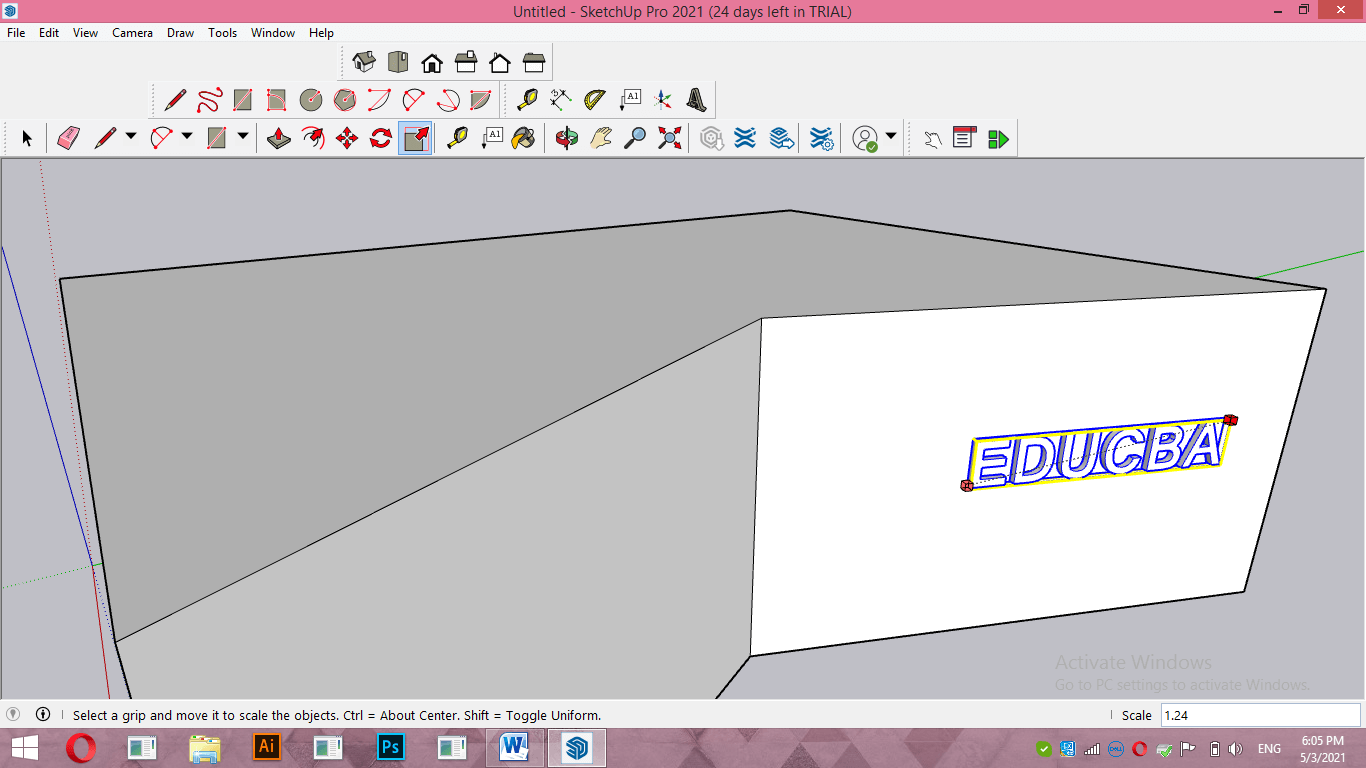
You can also scale it with the help of the Scale tool of the tool panel.
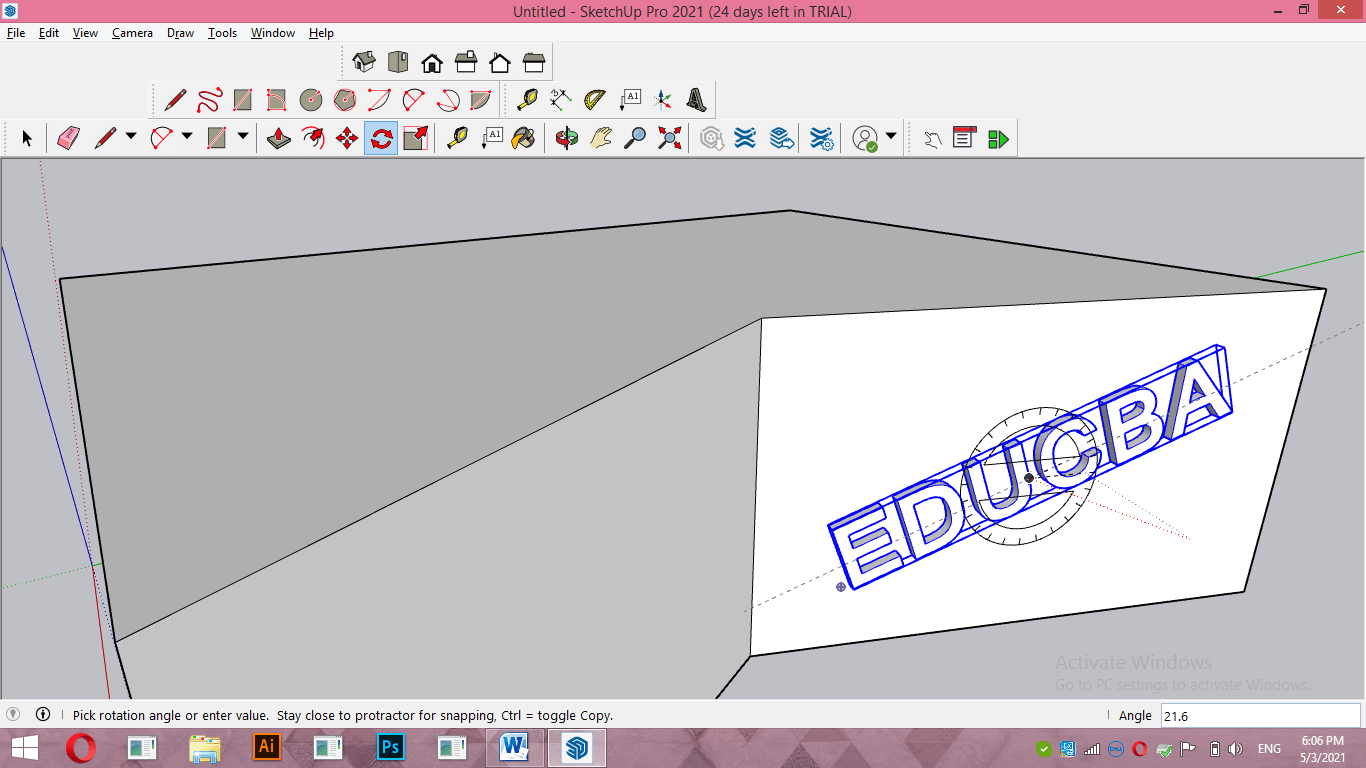
Rotating this text is also possible by using the Rotate tool of this software, but you cannot edit this text anymore, such as you cannot change written text or its other properties.
For making any changes, you have to write your text again from the same 3D text tool. Let us open the 3D text tool again and understand other options for this panel. If you disable the Fill option of this box by making, click on the check box of the fill option.
Then you will have plain text like this without any extruded surface.
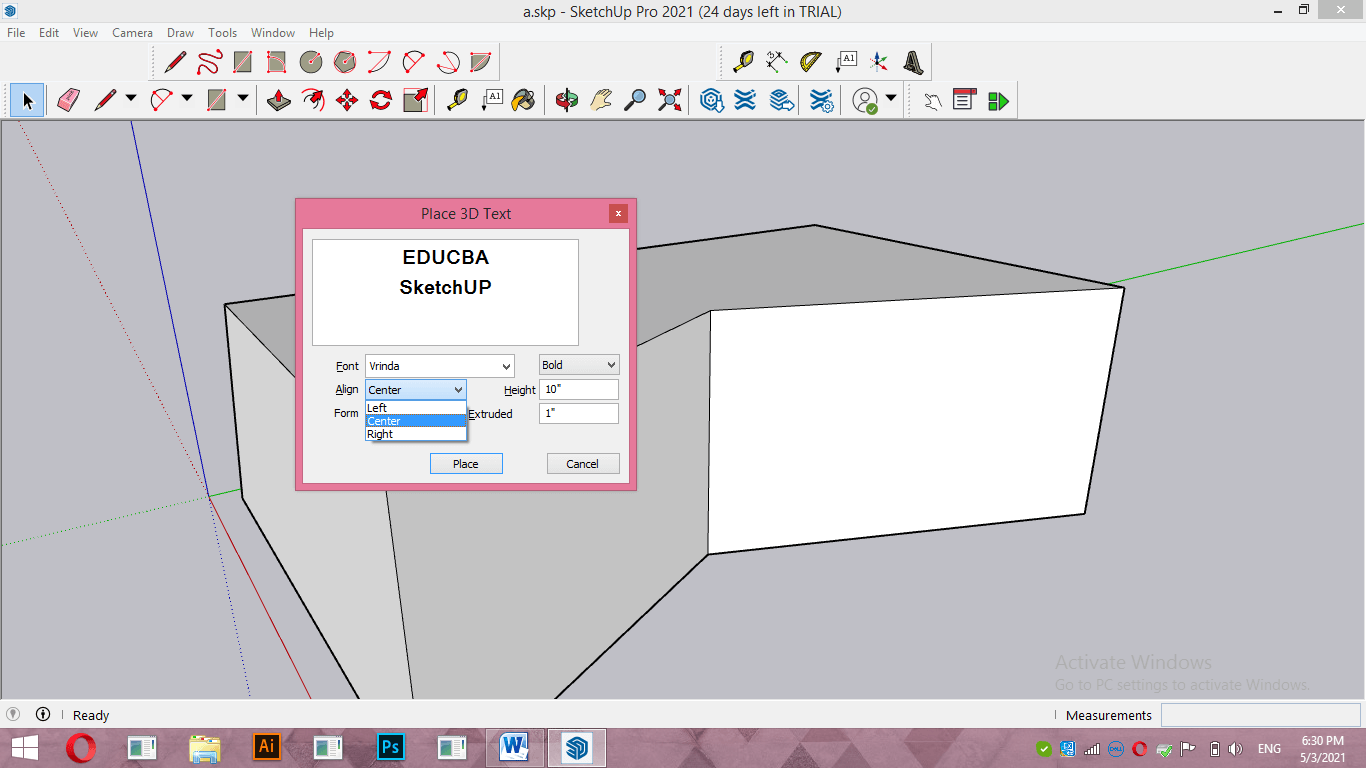
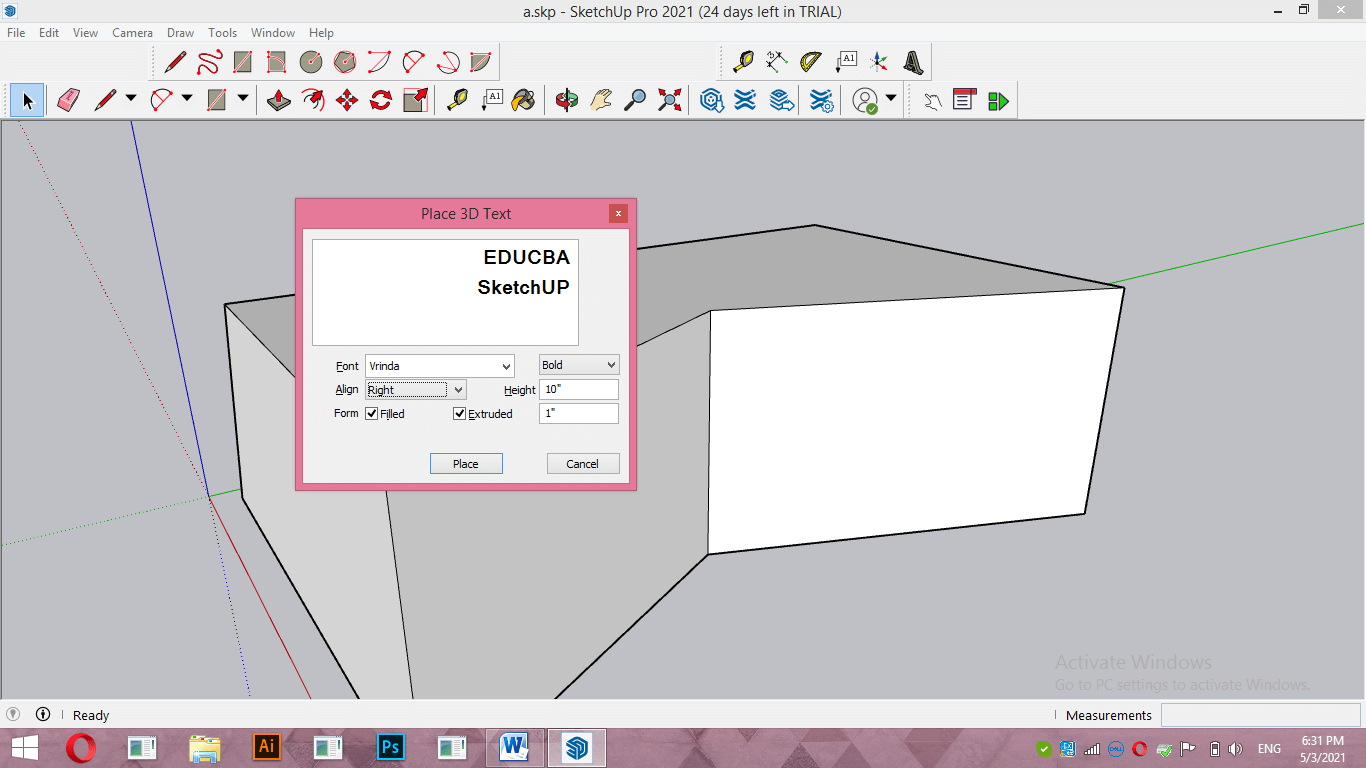
You can align your text if there is text in two lines from the Align option of this dialog box.
By default, the text is Left aligned, but you can align them Center or from Right according to the requirement of your work.
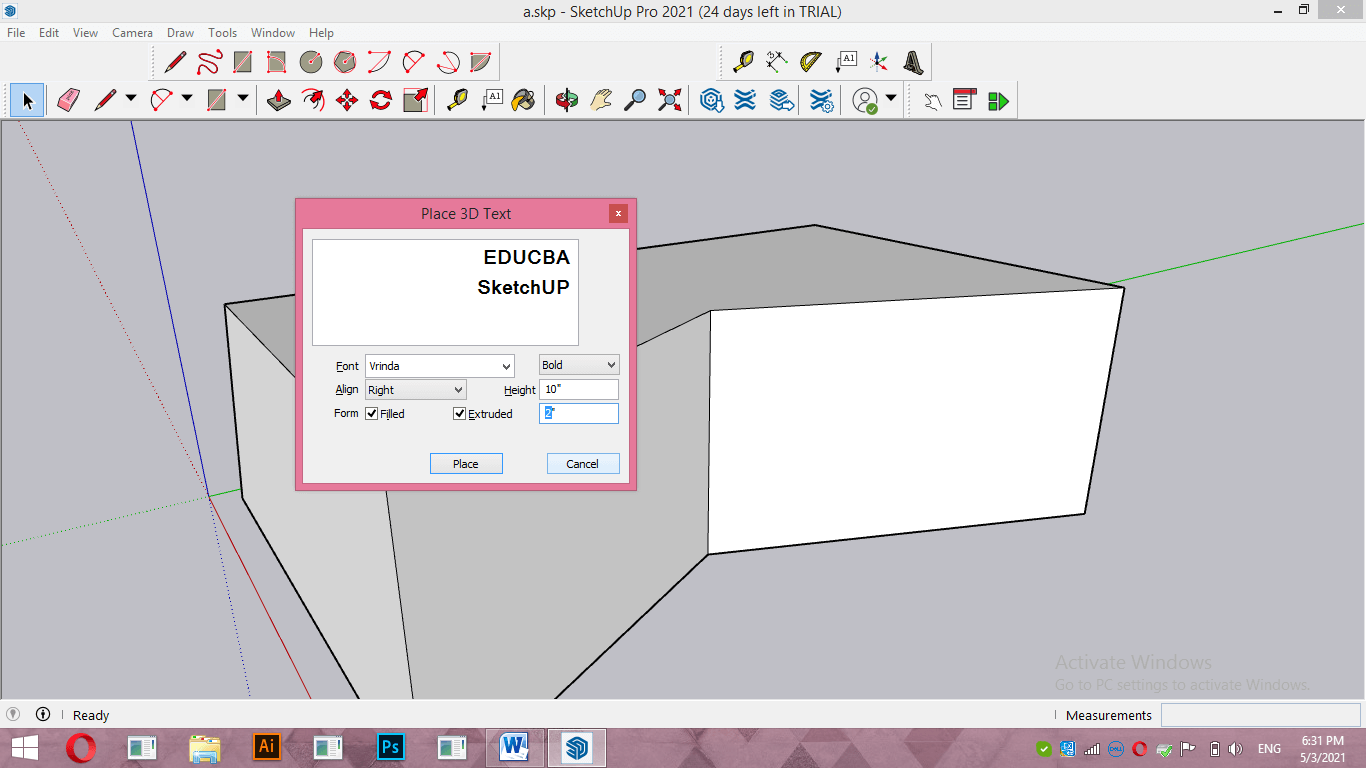
You can also change the extrude value of text from Extrude option of this dialog box.
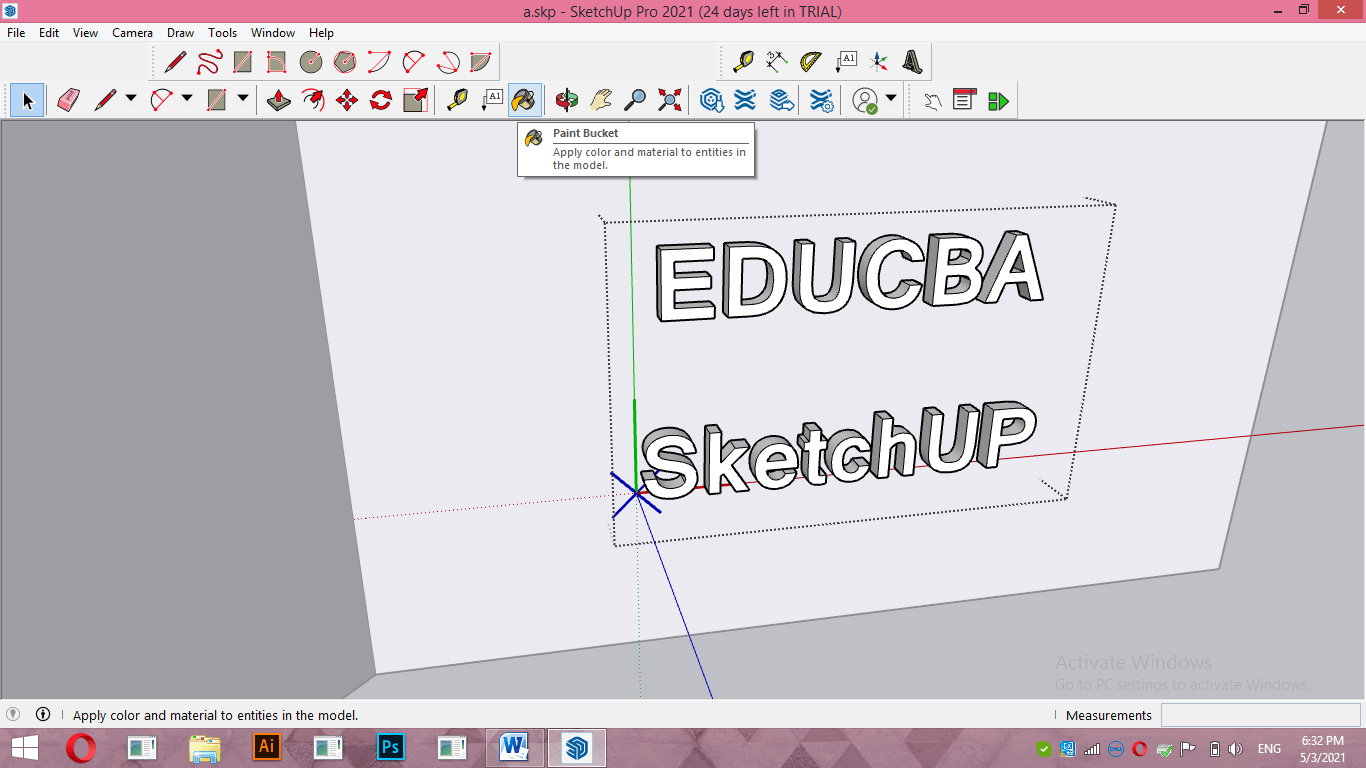
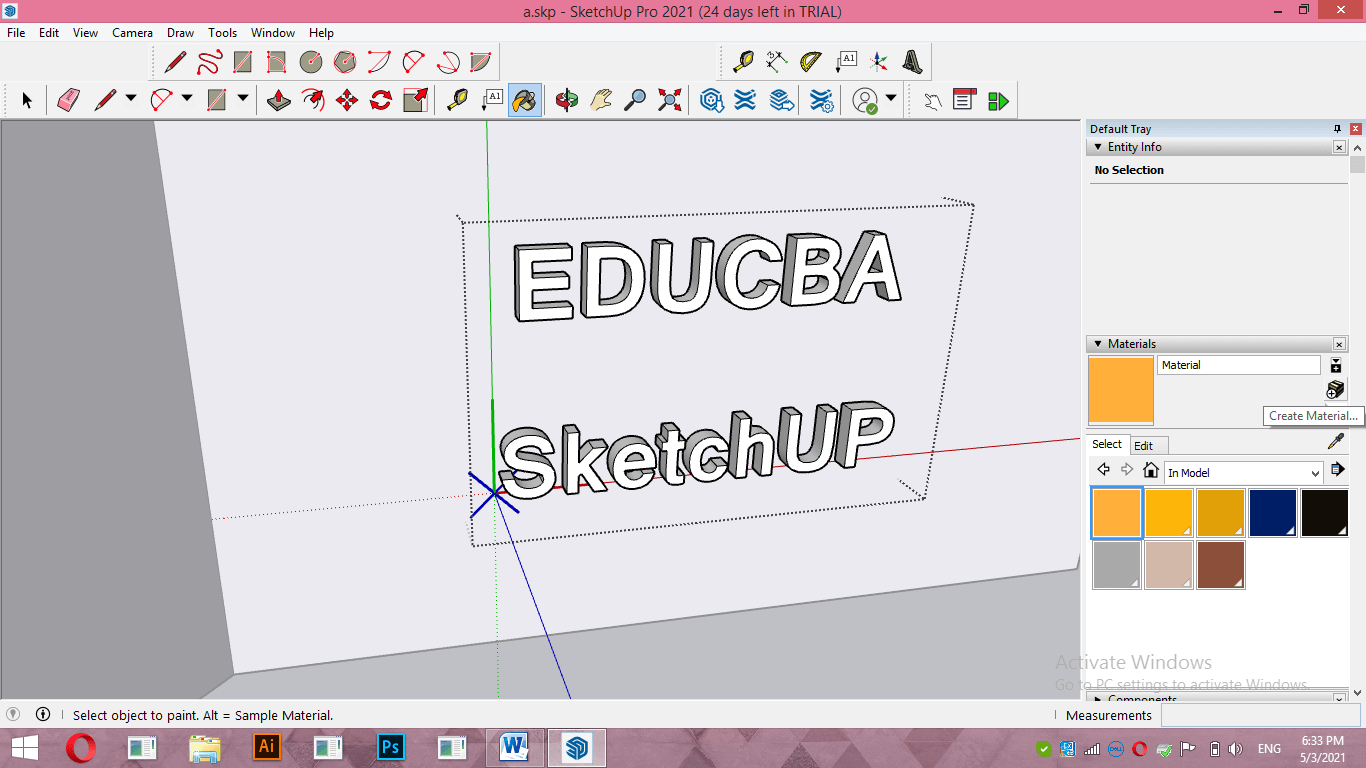
If you want to fill color in this text, double-click on it to isolate it from other components and take the Paint Bucket tool from the tool panel.
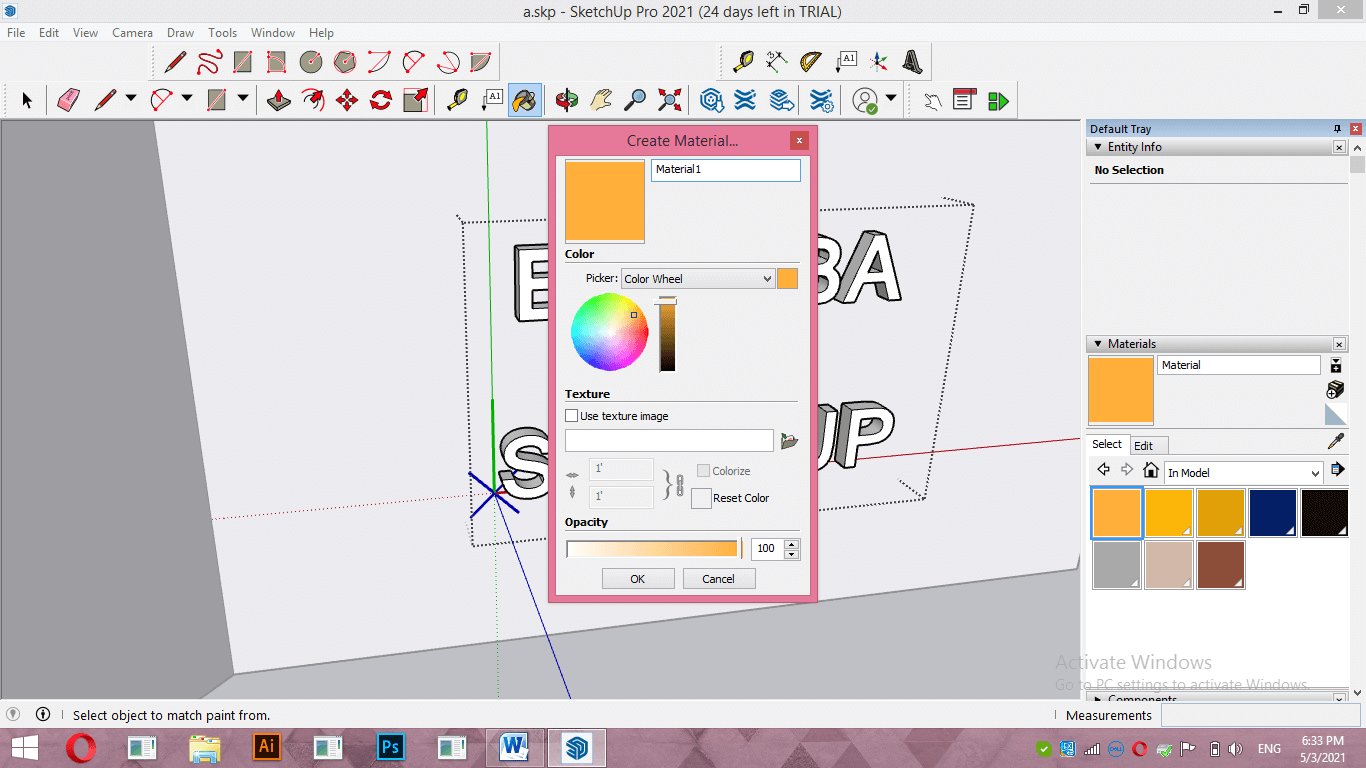
Choose your desired color or material by clicking on the ‘Create Material’ button.
Once you make click on it, a dialog box for creating material will be open like this. Now choose your desired color from the color wheel.
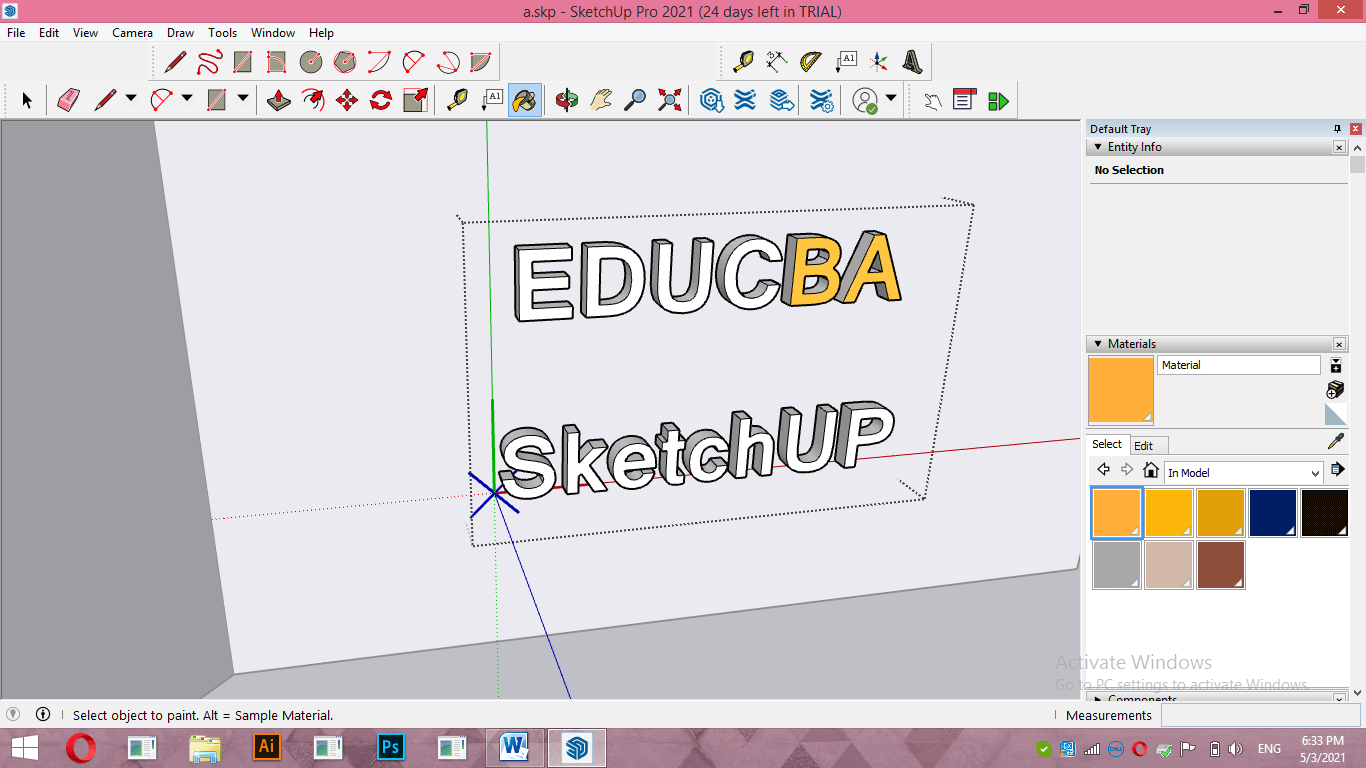
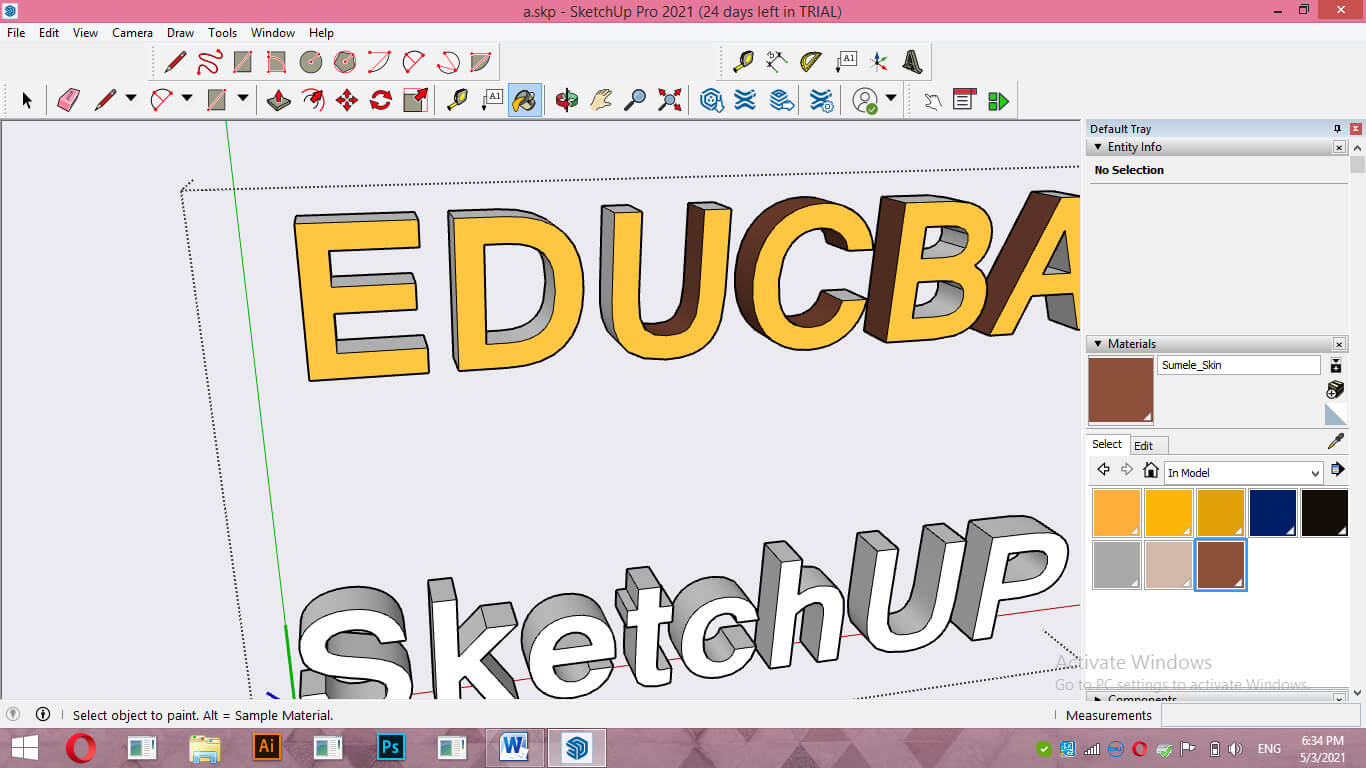
And click with the bucket tool on the face of the letters of this text which you want to fill.
If you make a click by holding the shift key of the keyboard, then it will fill the whole text in just one click with your chosen color.
You can fill in two or more colors on text as per your choice. You just have to fill color one by one at your desired surface of the text.
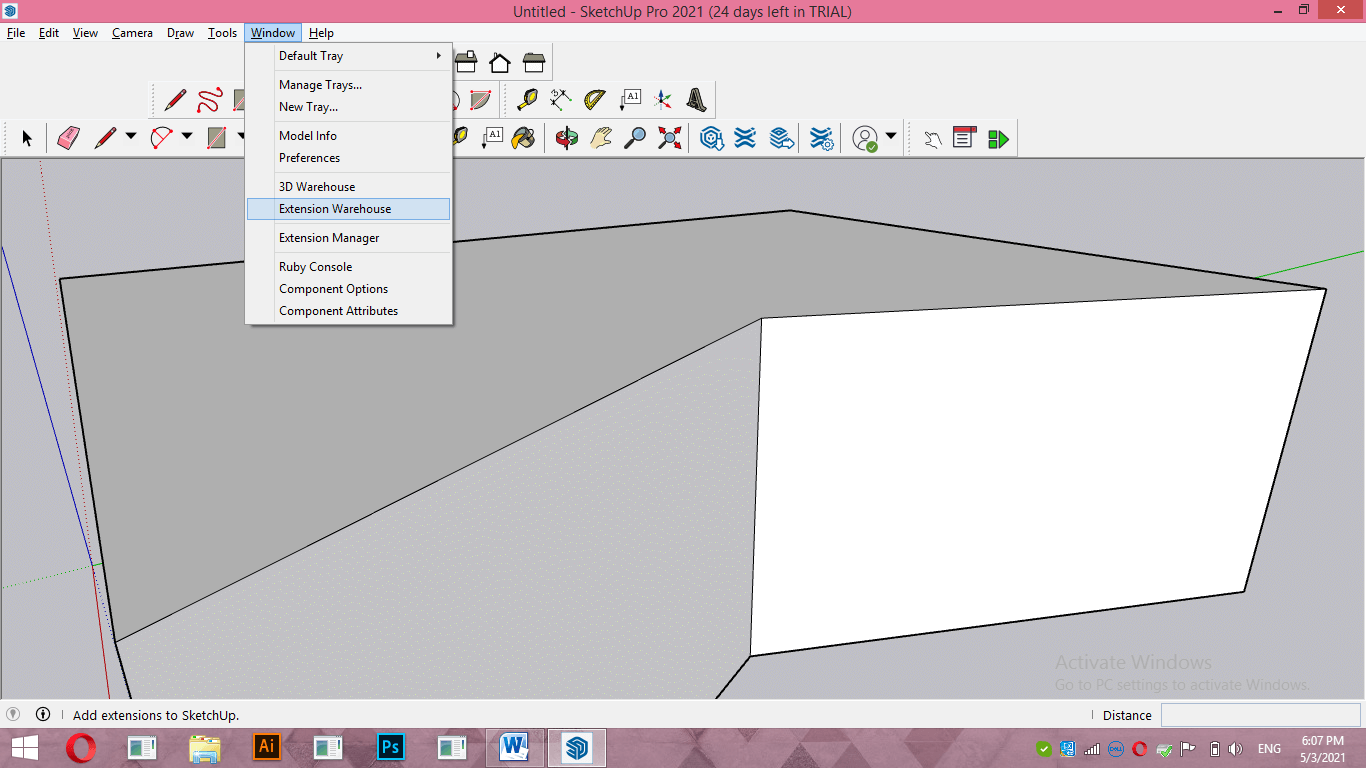
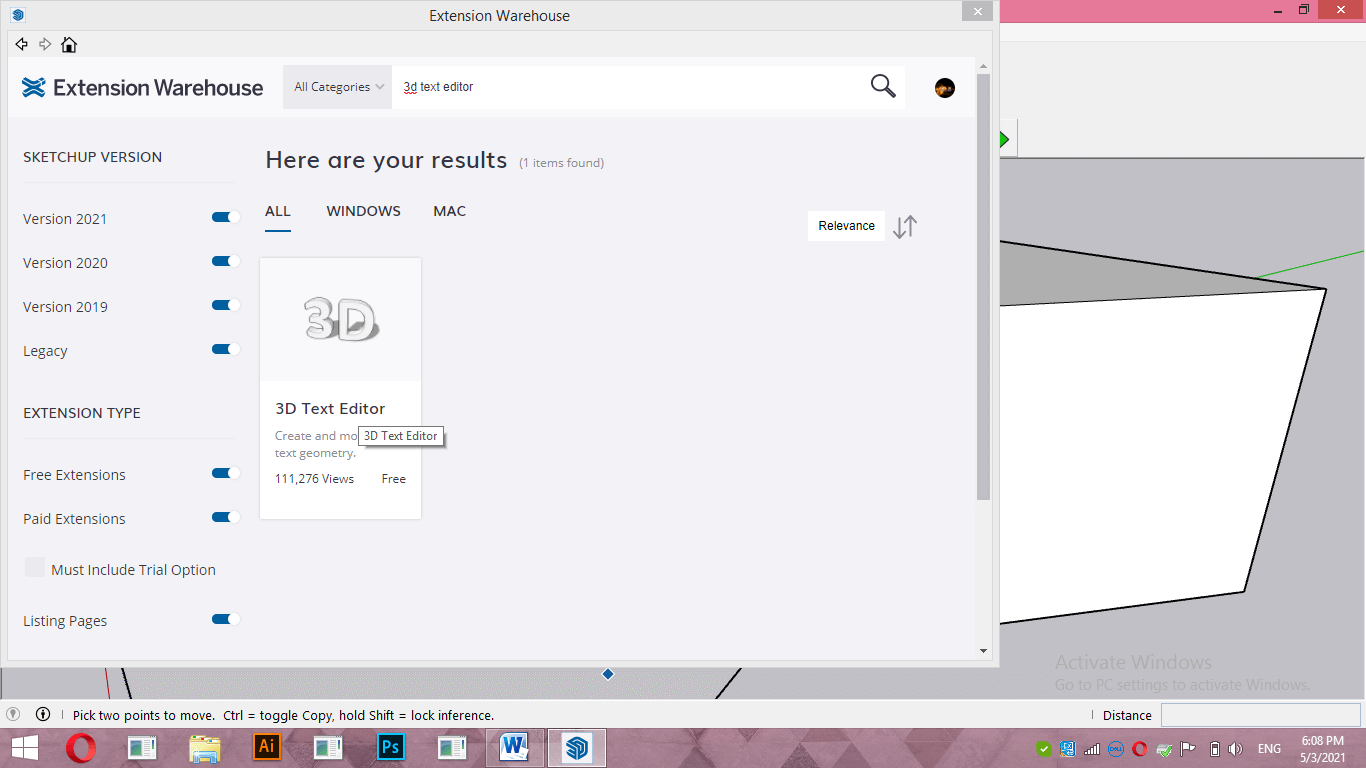
As it told you, this text is not editable, so there is one extension for the solution to this problem. Go to the Window menu of the menu bar and click on the Extension Warehouse option of the drop-down list.
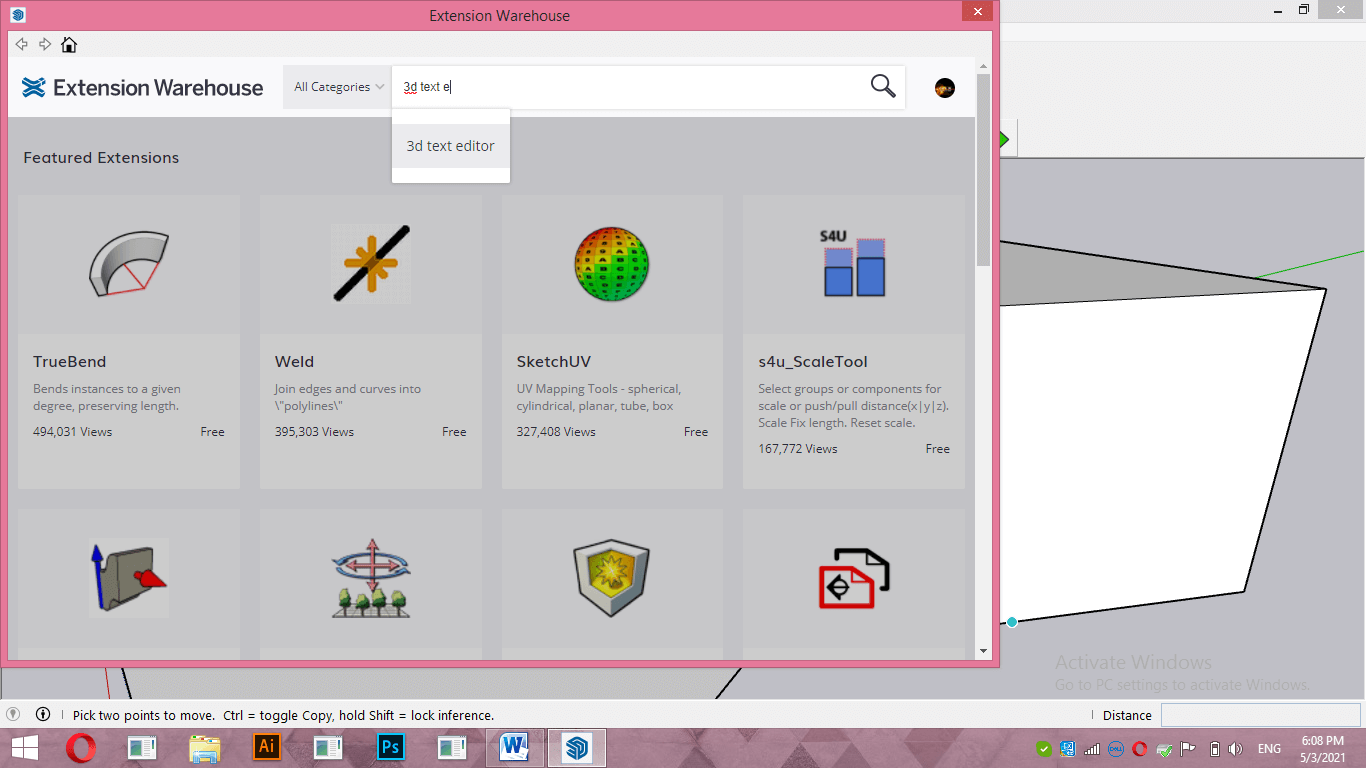
In the dialog box of Extension Warehouse, search for 3D text Editor.
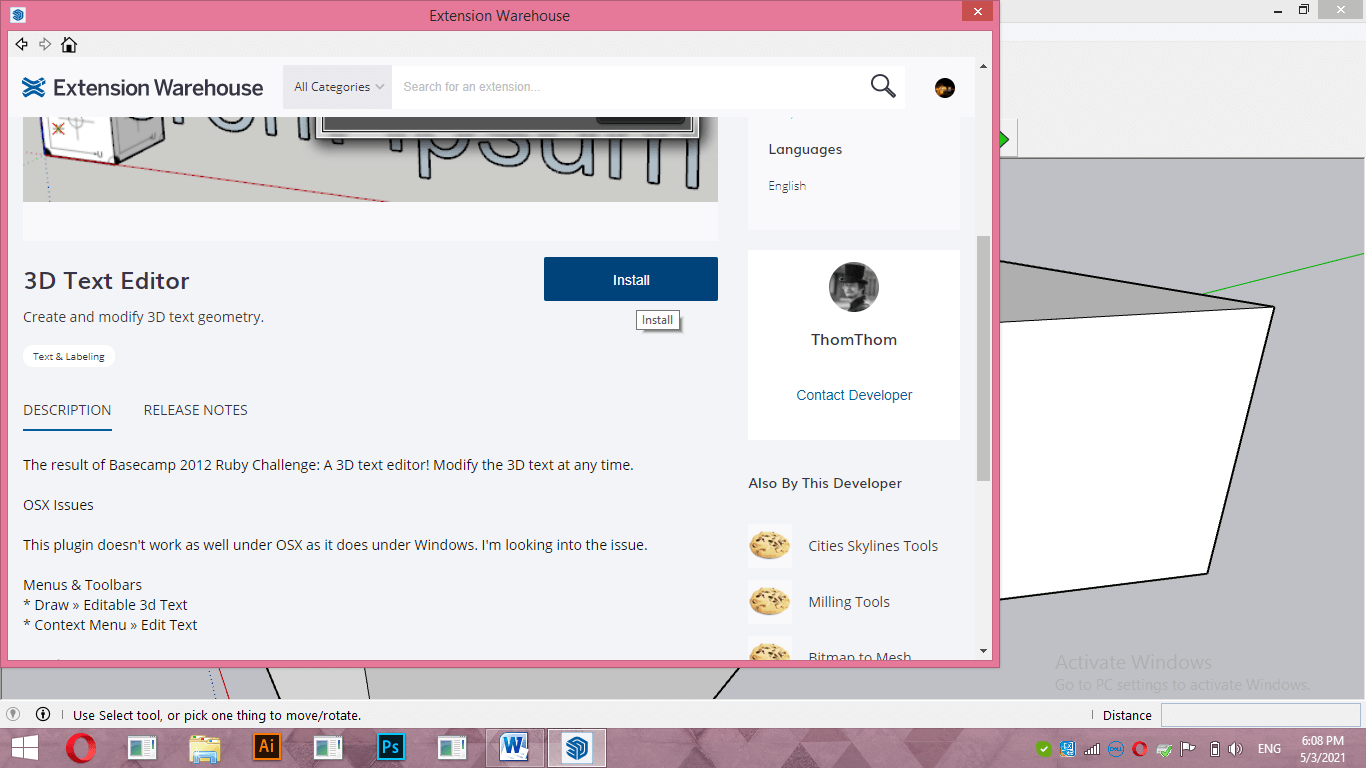
It is free of cost, so you can install it free.
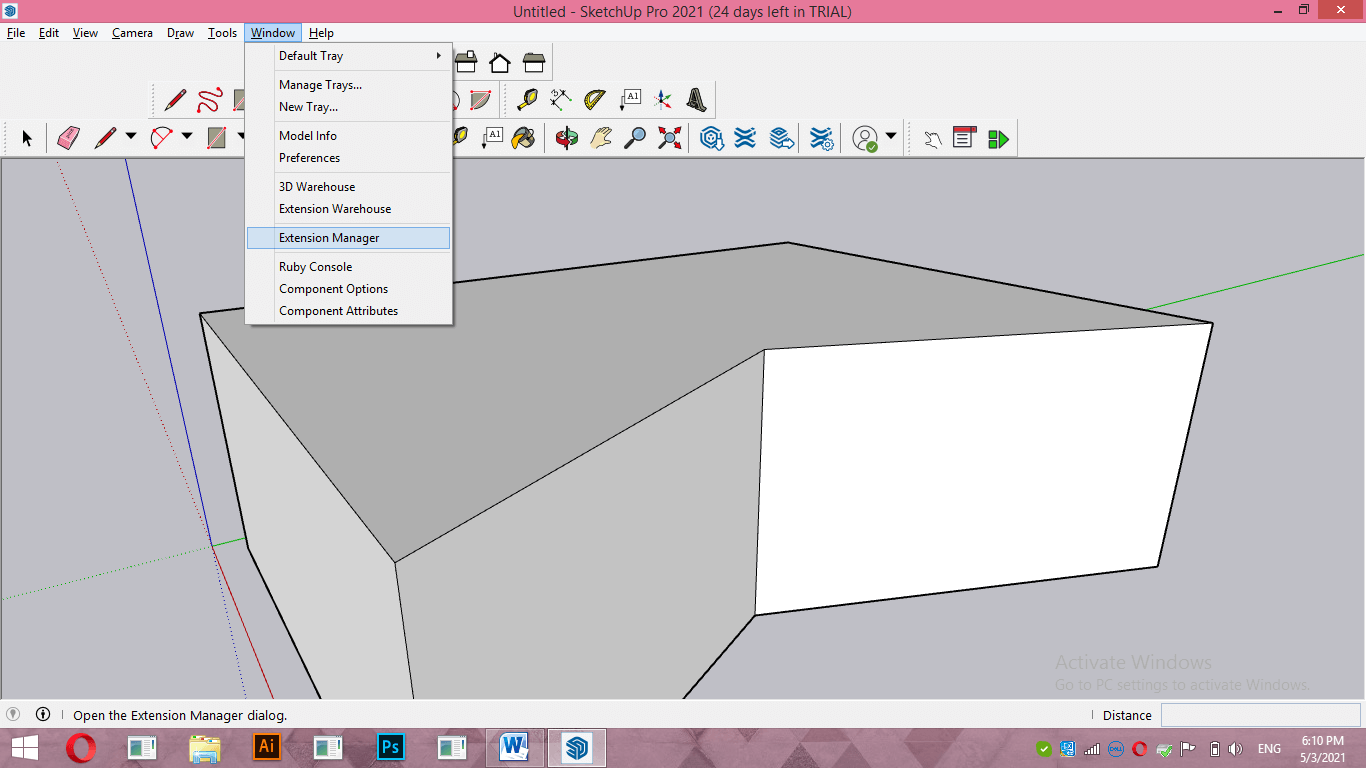
Once you installed it, again go to the Window menu and click on the Extension manager option.
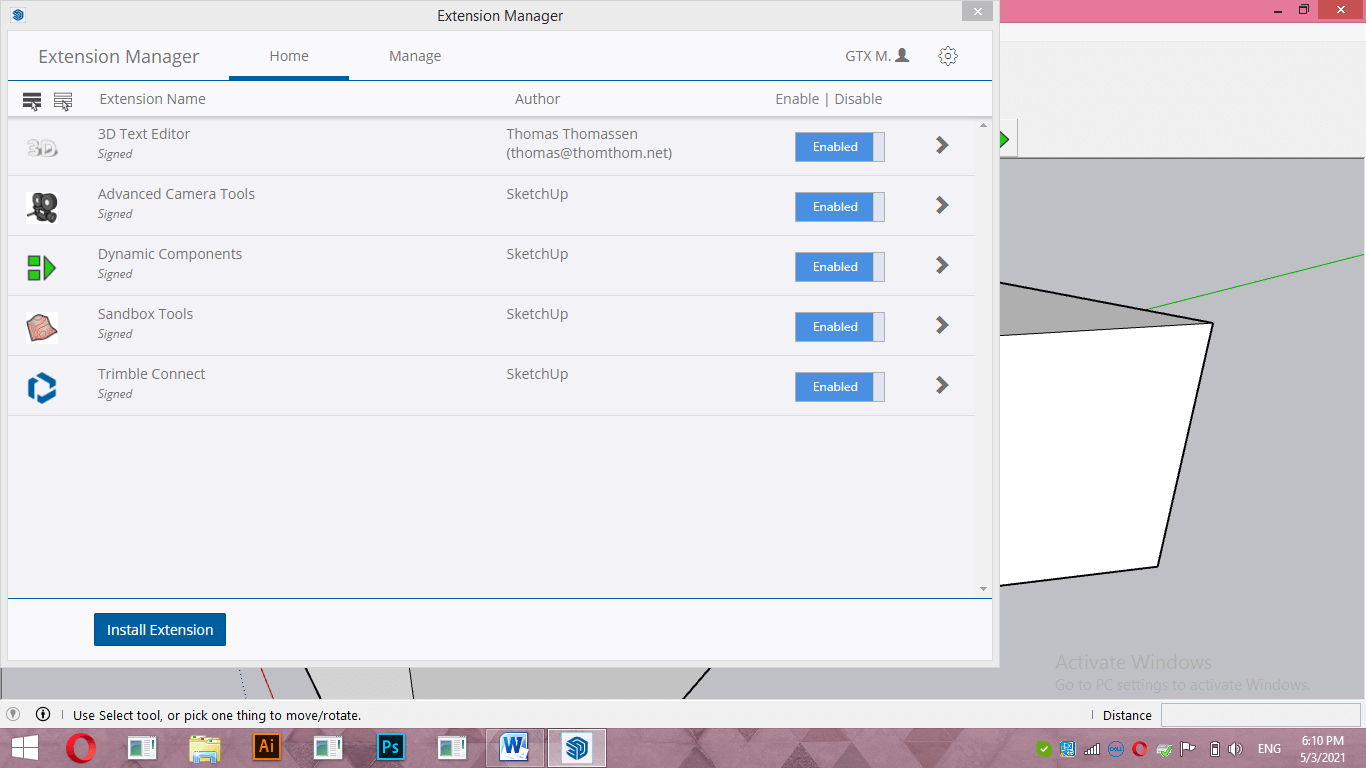
Enable 3D text Editor from here if it is disabled.
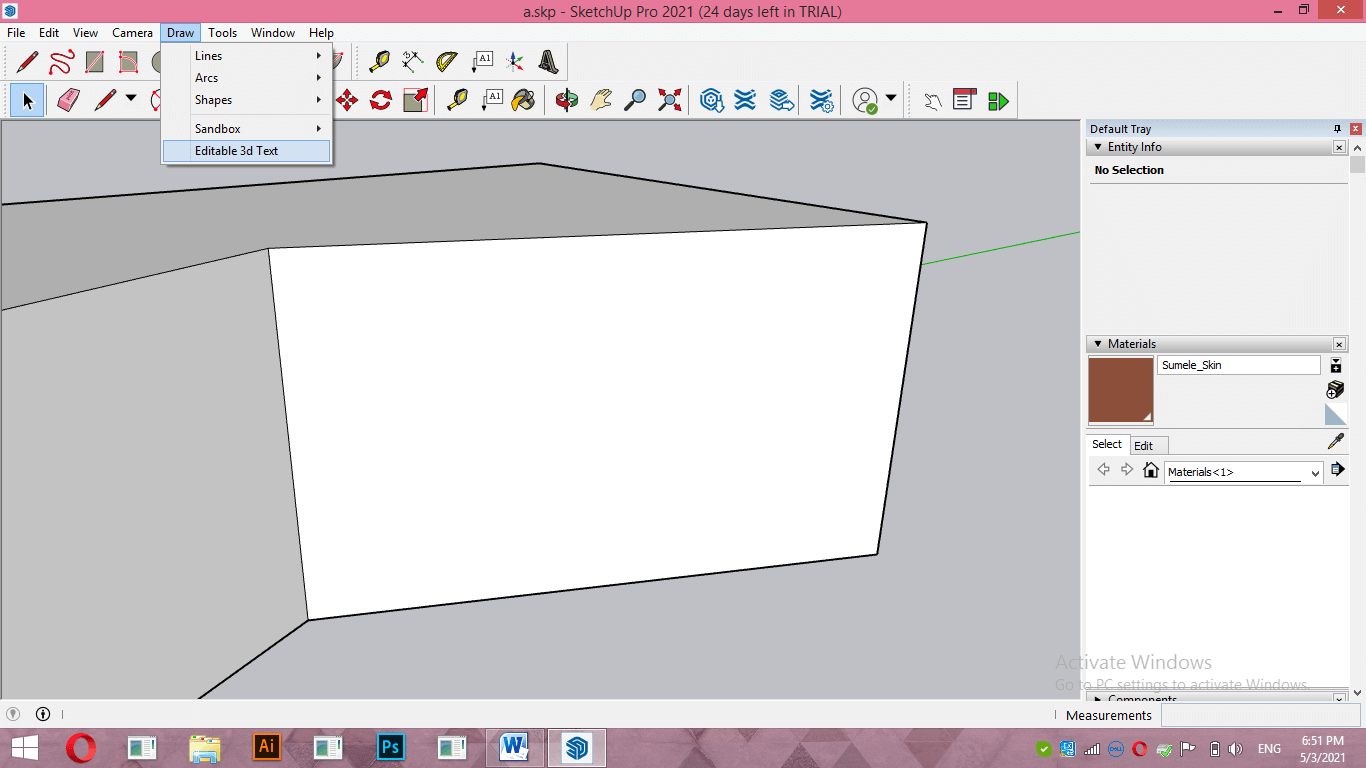
Now you will have 3D text Editor in the Draw menu with ‘Editable 3D text’; click on it.
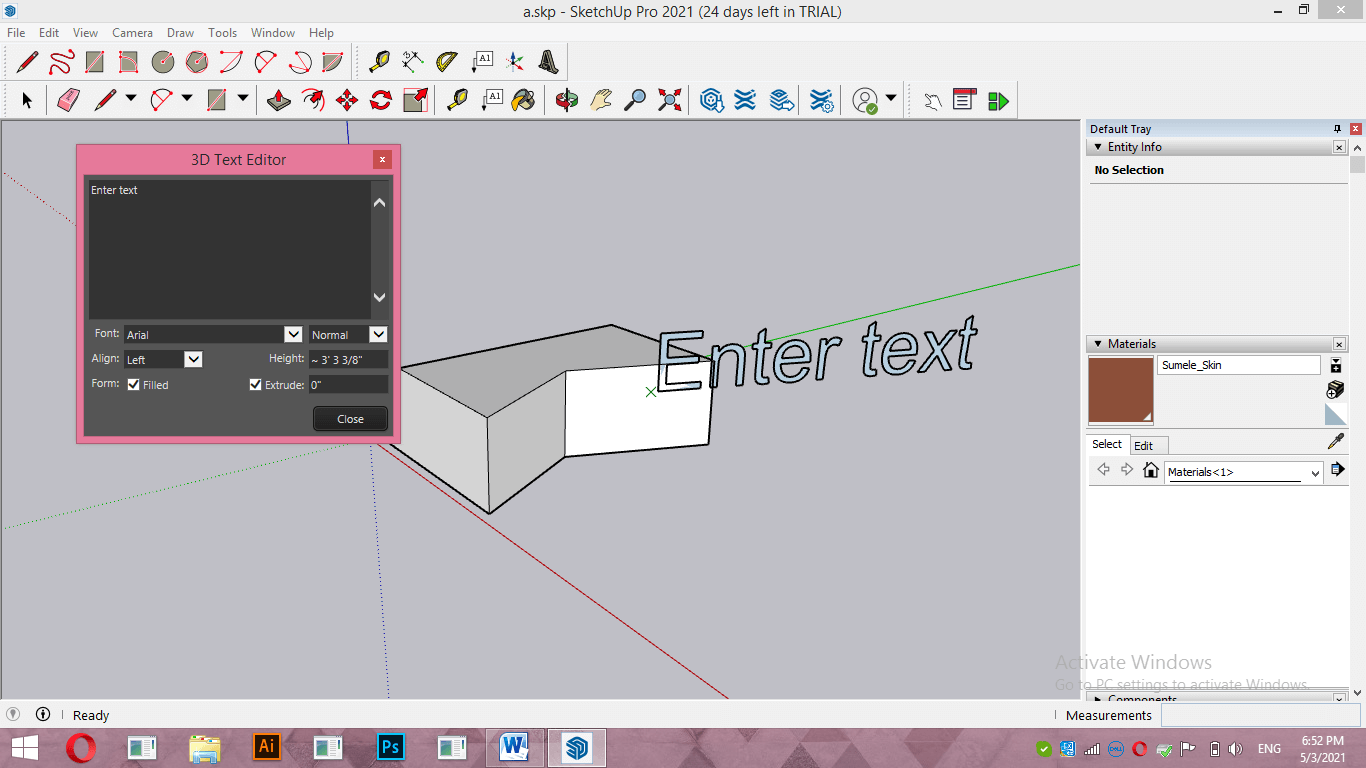
You will have the same text dialog box as we have in the 3D text tool of SketchUp, but with this text editor tool, we can see editing of our text live on 3d models directly.
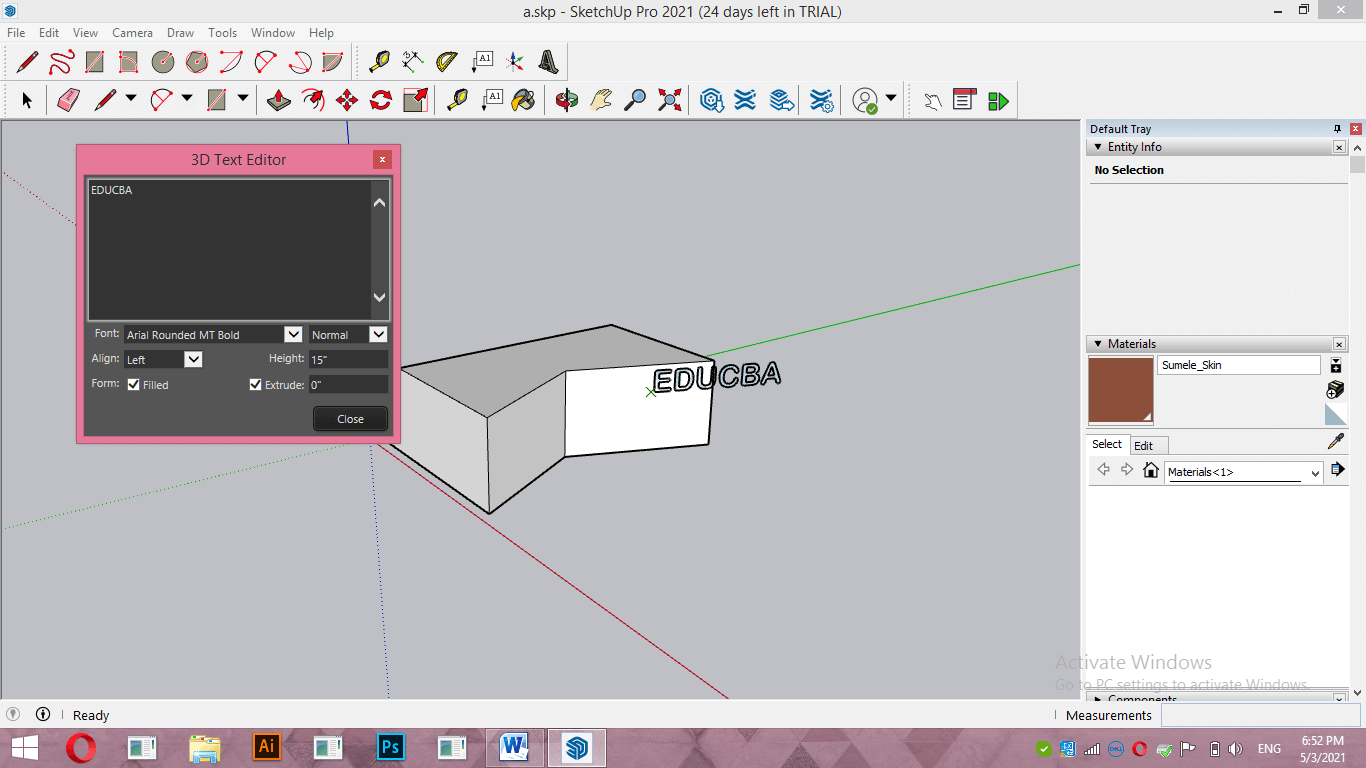
For example, if I type my text EDUCBA, then you can see text on the 3D model also updates automatically. You can play with other settings in the same way as we learn for the 3D text tool.
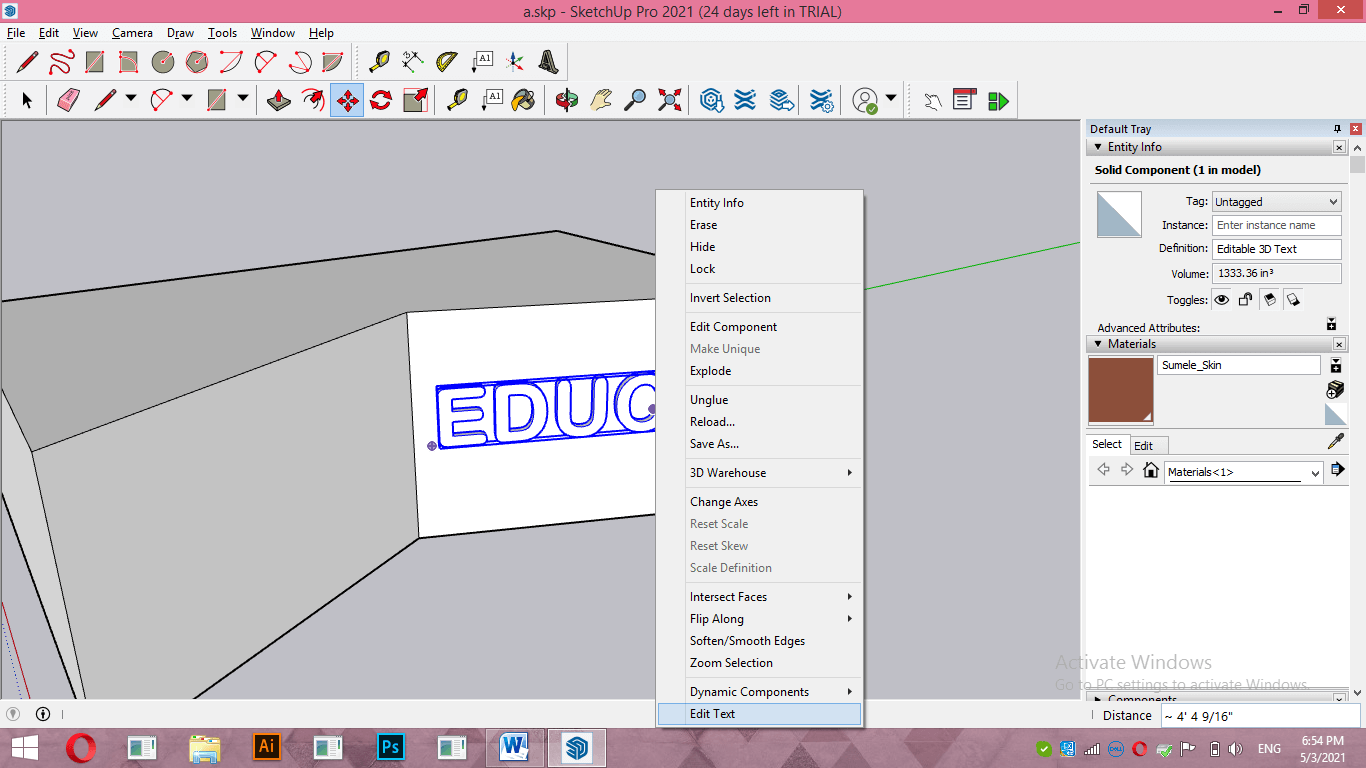
Now, if you closed the 3d text editor panel and want to do any editing in this text, then select this text and make right-click on it. Then, go to the Edit text option of the scroll down list.
And the 3D text Editor box will again open where you can make changes according to your requirement.
Conclusion
By going through this article, you have definitely got lots of information about how to create 3D text in the SketchUp software and learn how to edit text at any point of your work. So now you can create 3D text for any face of 3d model of your project work.
Recommended Articles
This is a guide to SketchUp 3D text. Here we have discussed how to create 3D text in SketchUp for 3D models during working on any project using some steps. You may also have a look at the following articles to learn more –
