Introduction to SketchUp Array
SketchUp Array is a technique in this software through which you can rotate any object or component of your model around a particular axis for making multiple copies of that component. You can also rotate that component around any other object which is in your designed model. We can do an array in SketchUp software by doing some adjustments through different tools of the tool panel. It also needs some parametrical adjustment for getting our desired result for any particular component. We will understand Array by using a rotate tool of the tool panel and make some changes in rotation angle according to required copies of the array component. So let us have a good discussion on this topic.
How to Use Array in SketchUp?
You can create an array of any component of this software while working on any project by just following a few simple but exciting steps. So let me tell you what these steps get are involves in this process.
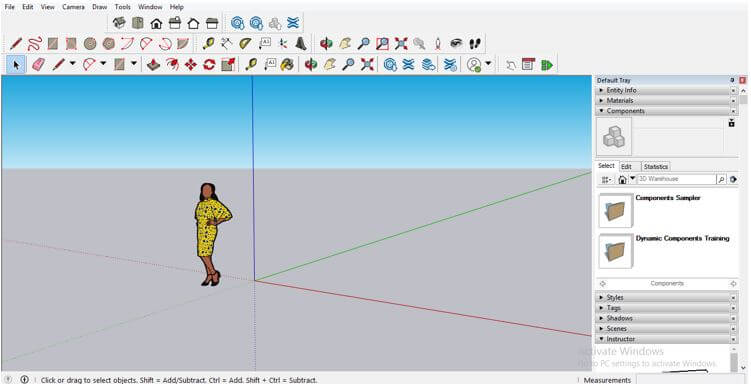
Before it starts to tell you about this command/features of this software, I would like to tell you about some sections of the User interface of this software to understand my wording throughout this article. So at the top of the User interface, there is a Menu bar with a number of sub-menus through which we can do a number of settings and adjustments in this software. Below this menu bar, you can find a toolbar/tool panel that you can adjust according to you. Then, at the center of this user interface, we have our working window on which we can see our work. On the left side of this window, there is some bar such as Materials bar, components bar, and so on, and these bars accomplish different types of work in this software.
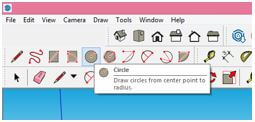
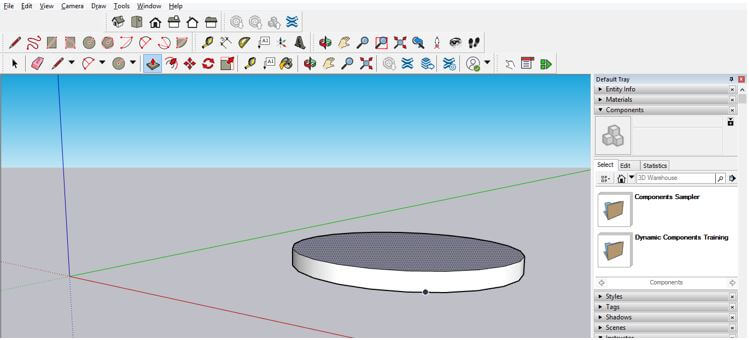
Now let us understand Array in this software, and for that, I will create a circular object. You can understand it as a circular center table. So for that, take the circle tool from the tool panel, or you can press C as a shortcut key of this tool.
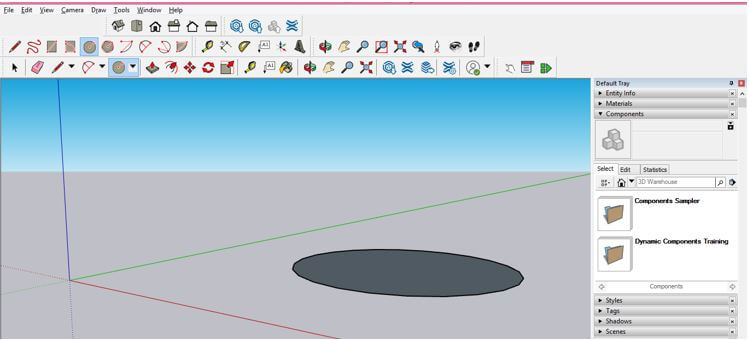
Now draw a circle like this. I have drawn it freehand that means with no particular dimension. You can draw it with a specific dimension.
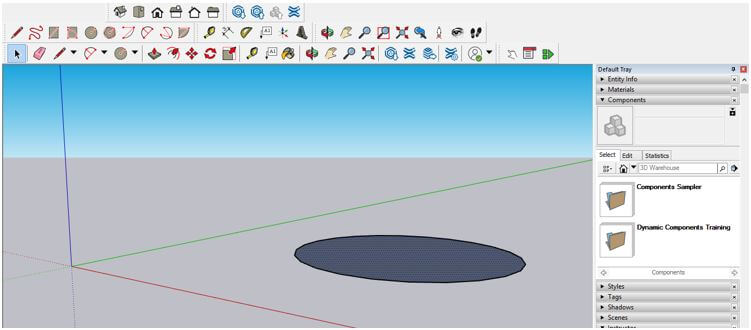
Now take the selection tool from the tool panel and select this circle by clicking on it.
Go to the tool panel, take the Push/Pull command, and add some height to this circle like this.
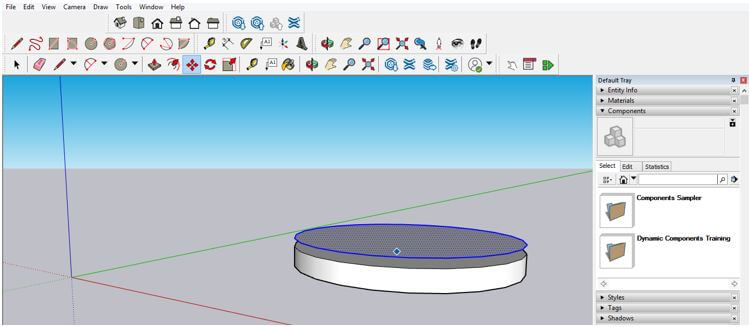
Now I will take the Move tool from the tool panel and move the top surface of this component by holding the Alt key of the keyboard to copy this surface.
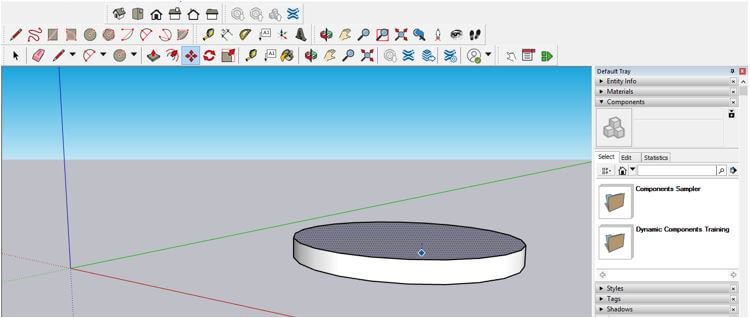
And move back to this copied surface at the top of this component.
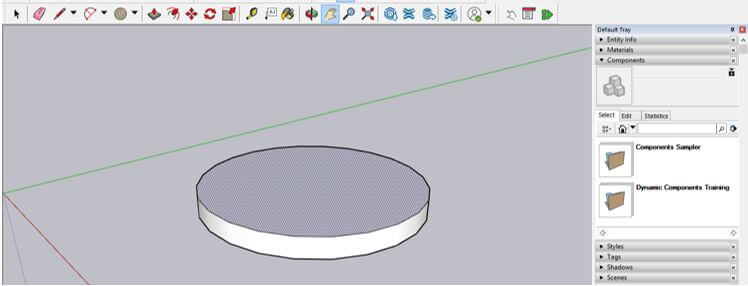
Now my center table is ready like this.
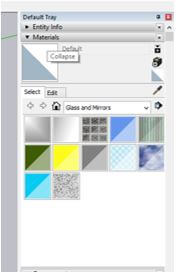
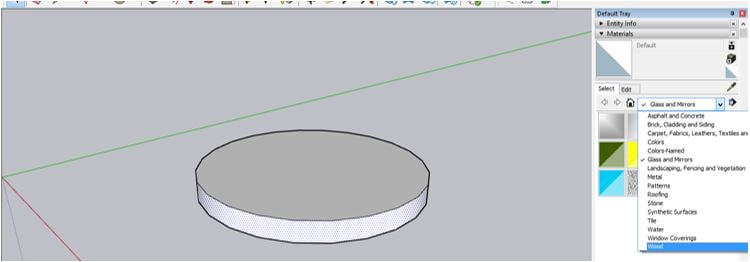
Let us fill wood material to it and for that go to Materials bar which is at the right side of the working window.
I will choose Wood from the drop-down list of the material bar.
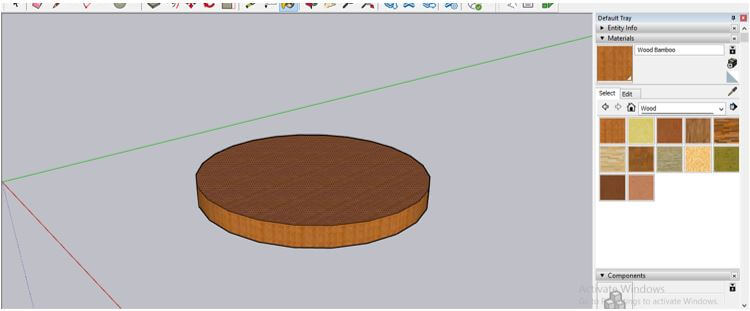
And I add two different wood materials to this table like this by selecting each part of this component one by one.
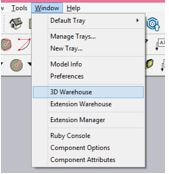
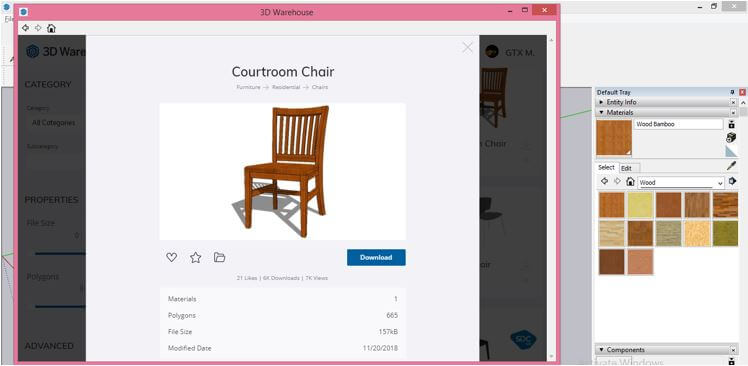
Now let us have a chair which I will place around this circular table. I will make many copies of this chair and use an array to place those copies at an equal angle around this table. So for having a chair component, I will go to an online library of this software which is 3D Warehouse, and you will find it at the scroll-down list of the Window menu of the menu bar. You can take your own component for this purpose. I am just using the online component for explaining to you about the array.
I will pick this one from here.
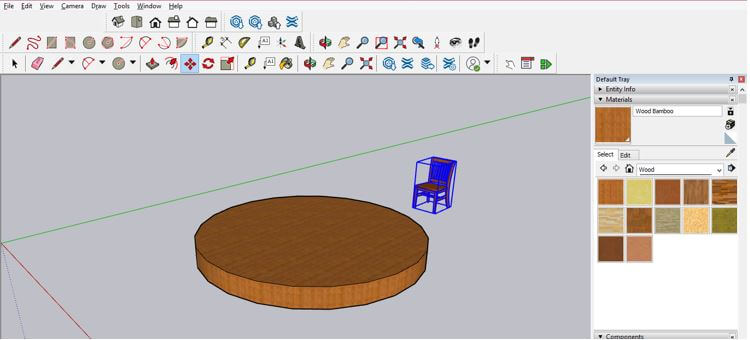
Now I will place it anywhere on the ground by making a click.
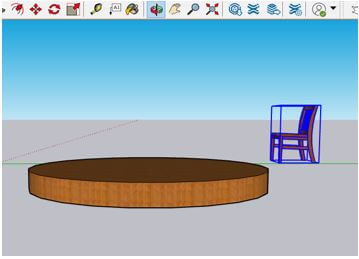
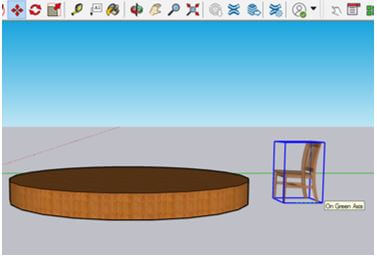
The very important thing before doing array is that if you want array component on the same around of the object around which you want to rotate your chair component, then first match the rounds of both components by using the move tool of the tool panel.
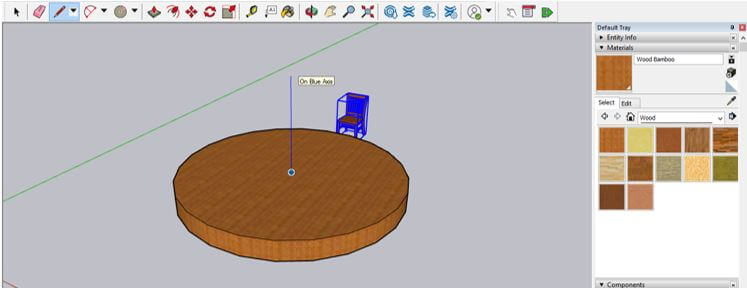
After adjusting this chair according to the circular table, I will take a Pencil tool from the tool panel and draw a line like this at the center of this table.
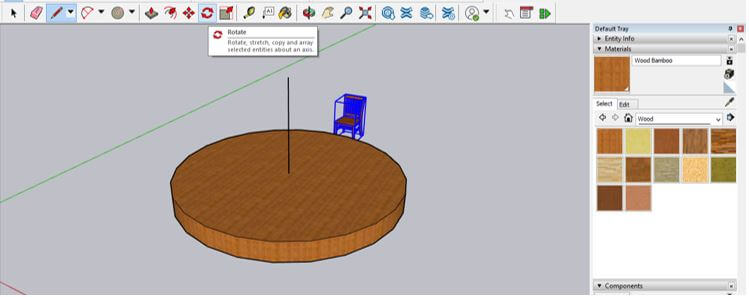
I will rotate this chair around this center line so take Rotate tool from the tool panel.
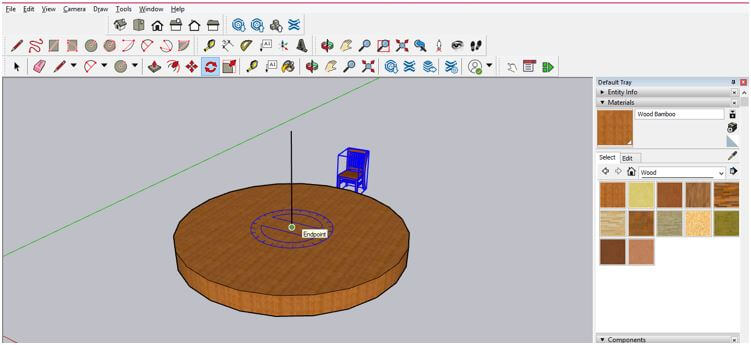
And make a click on the center of this circular table where I made a line for assigning center point to rotate tool. Make sure the chair is selected before assigning the center to rotate the tool.
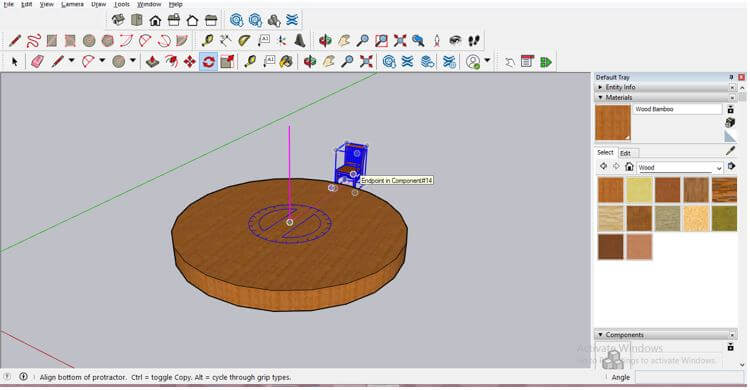
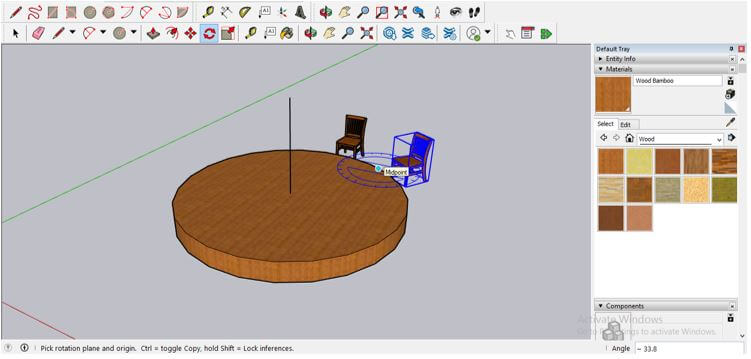
Now hold the Ctrl button of the keyboard and rotate this chair at some angle, or you can enter the value of the angle in the Angle box, which is at the bottom of the working screen.
You can see it makes a copy of this chair at some angle; now hit Enter button of the keyboard for making a copy of this chair.
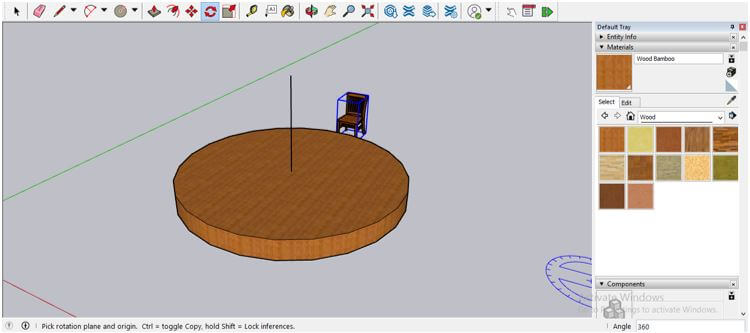
Now I will enter the 360 value in the Angle box.
You can see the copied chair is in the place of the previous layer.
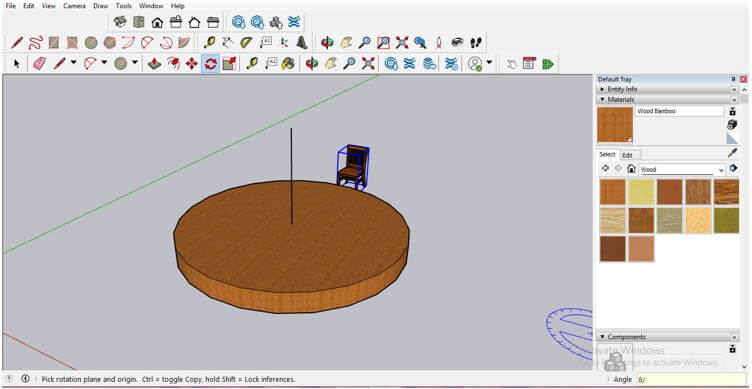
Now I want to make 8 copies of this chair, and for this, I will enter 8/ in the Angle parameter box. So you just have to enter the number of copies in this box that you want to make of your component.
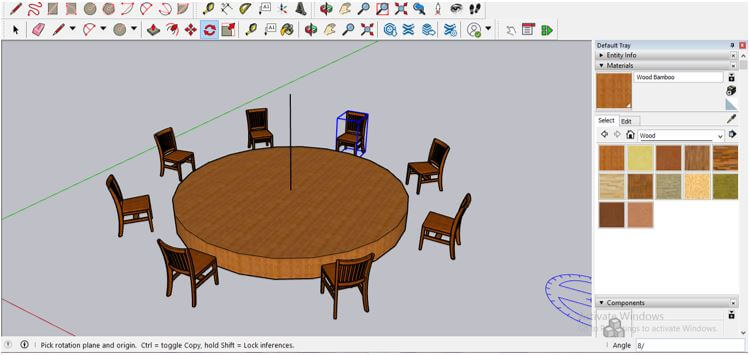
After entering the value, just hit on the Enter button of the keyboard again, and it will make copies of this chair around the circular table like this. So you can see there are 8 chairs on an equal angle; as I mentioned in the angle box, its value is 8.
This way, you can array any component around the different shapes of objects. You just have to assign a center point around which you want to do an array of your component.
Conclusion
Now Array will be no more unknown word or feature for you in the SketchUp software. I am sure you can definitely use this command to have a number of copies of components around any object on an equal difference. So, for example, you can do an array around lines, rectangles, and other shapes. You just have to make some changes in parameters according to the shape around which you want to do an array of any component.
Recommended Articles
This is a guide to SketchUp Array. Here we discuss how you can use the array in SketchUp by using a rotate tool of the tool panel and makes copies of the array component. You may also have a look at the following articles to learn more –
