Introduction to SketchUp Deck Design
SketchUp Deck Design is a type of 3D modeling through which we can design 3d model of a deck, which is a part of the architectural design model. A deck can be at any part of architectural design, and deck design depends on your idea of how you want to design it in your model. We can use basic tools of 3d model designing for creating different components as well as elements of deck design. During the design of the deck, you should keep specific dimensions of it in your mind so that the design will work in an accurate manner. So let us discuss what we can do to design of the deck in this software.
How to Create Deck Design in SketchUp?
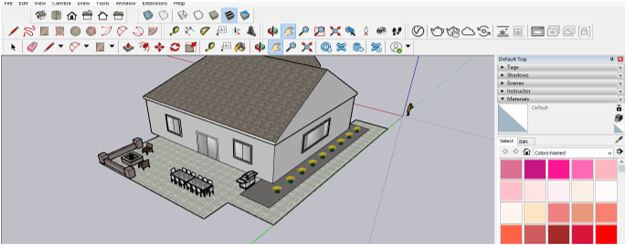
For creating deck design, we will take the most frequently used tools of this software such as rectangle, line, move, push/pull, etc. We have downloaded this house model from 3D Warehouse (an online library of Sketchup) to explain deck design to you. This is a beautiful view of this house model.
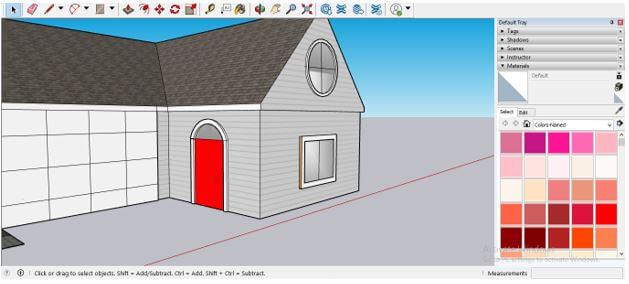
We will create a deck design at this side of the house. Suppose this window is a door for going to deck.
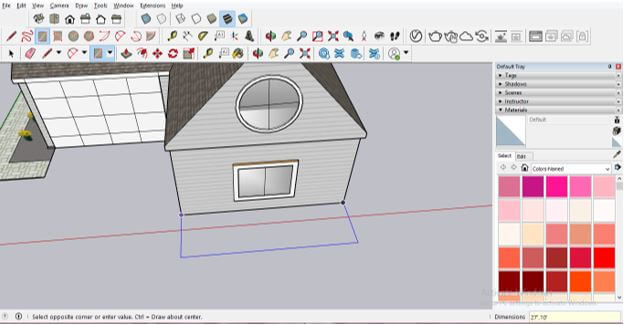
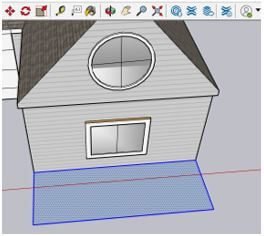
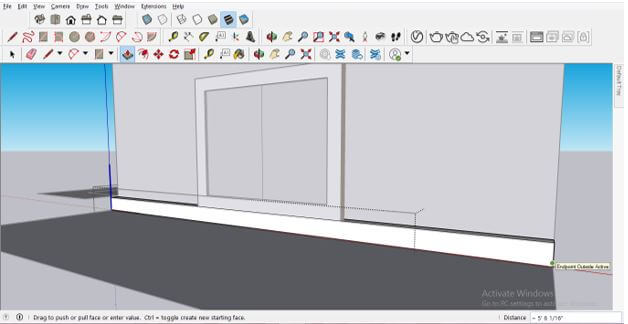
Now we will make a layout of the base of the deck design, and for making it, we will take the rectangle tool and draw a rectangle like this. The size of the rectangle depends on the size of the base of your deck design. We are not taking any specific standard size.
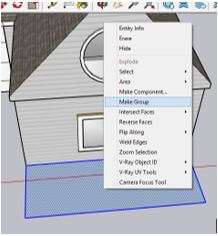
Now make a triple-click on this rectangle, then make right-click and choose to Make group option for making it as a group, and once you make it a group, it will not disturb other components during the designing of the deck.
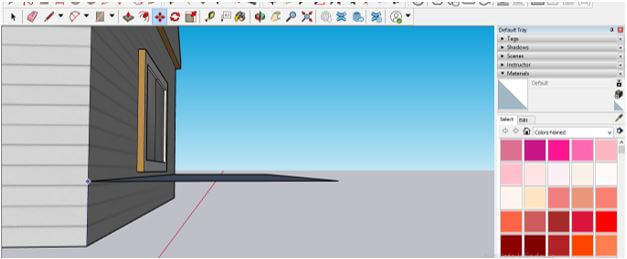
Now move it to the height at which you want to make a deck for your house. For moving this base, take the move tool and choose a moving point along which you move it, then enter a value of the height of the deck.
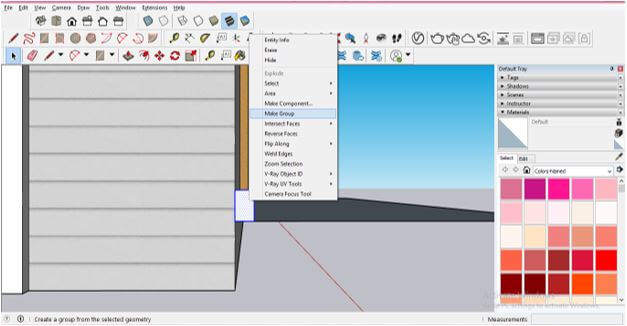
Now using the rectangle tool, make a rectangle of that same size of board that will create the base of the deck, and after making that rectangle, we will make it a component because we will make a copy of it for making the base. So make a triple-click to select this rectangle, then make a right-click and choose the Make Group option from the drop-down list.
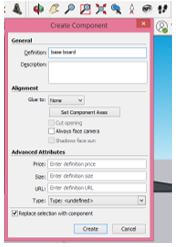
Now again, make right-click and choose the Make component option from the drop-down list. Once you click on this option, it will ask you to specify the name of that component. We will name it as a base board and then click on Create button of this dialog box.
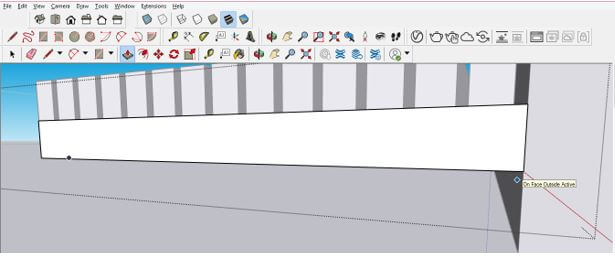
Now we will make a double click for editing this component and extrude this side of it with the help of the push/pull tool. Enter extrude value of this baseboard according to the design of or your deck, or you can simply take it to the end of the base layout.
Now select this component and move a little bit for adding some gaps between bars of the deck base. The gap between bars depends on your deck designing dimensions.
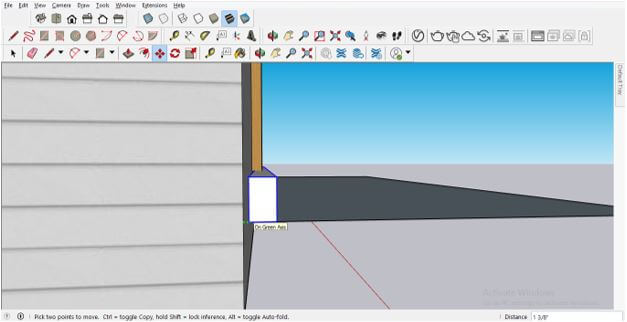
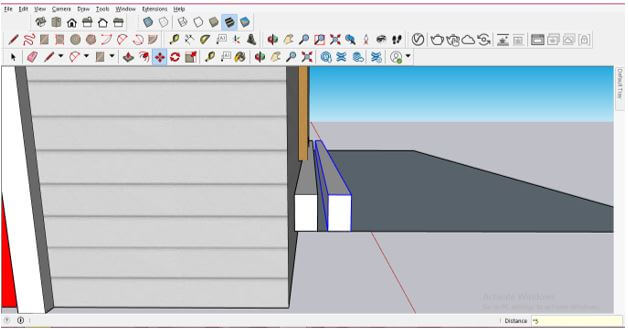
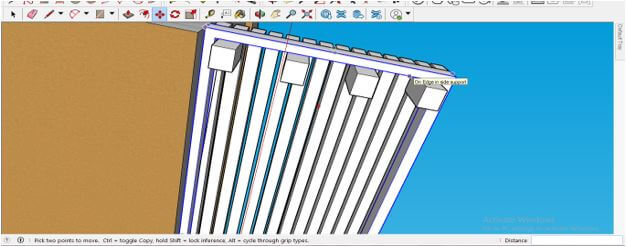
Now we will again take the move tool and choose a moving point on the wall so that when we make a copy of this bar by moving it, then the gap between the wall of a house and this bar will add with a copy of the bar. So we will move it at some distance by holding the ctrl key of a keyboard.
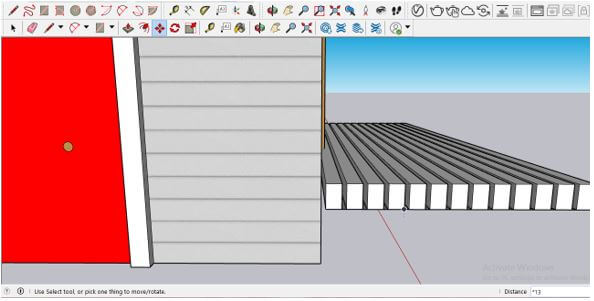
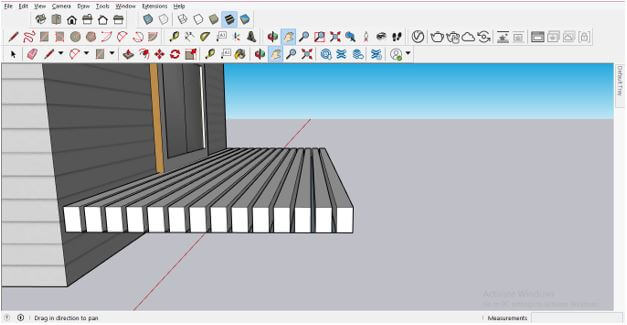
We want to make copies of it in this way so that the copies cover the base layout. So for making copies, type * and number of copies in the measurement box, which is at the button of the user interface. We will enter this value as *13.
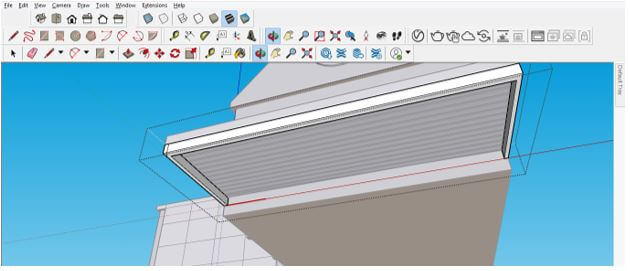
And it will cover deck layout like this.
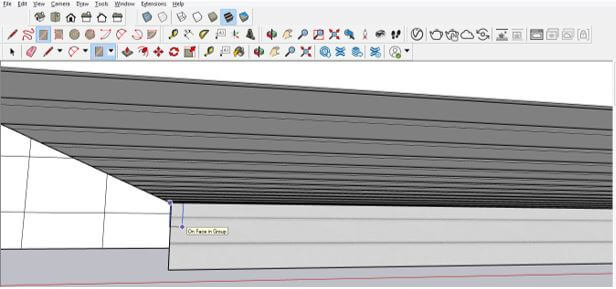
Now we will make lower support for this deck base, and we will make a rectangle like this. Enter the value of the support bar according to your deck design.
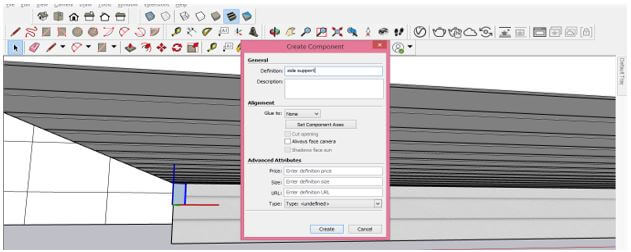
Make it component in the same way as we did in the previous step.
And we will extrude it like this along with this face. So for extruding it make double click on it so that we can edit this component then use the push/pull tool for this purpose.
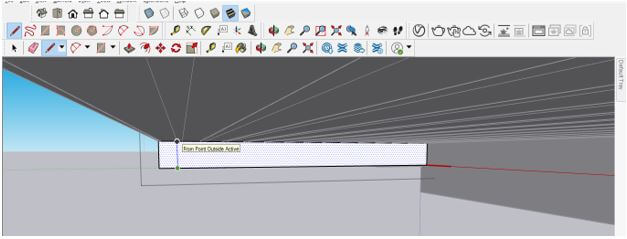
We will draw the line at the same thickness as the support bar.
And extrude it like this.
We will do the same for another side of the deck.
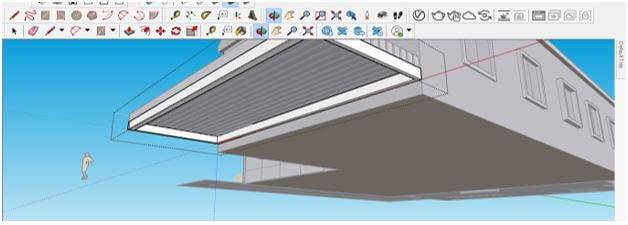
So you can see lower support for the deck is ready now.
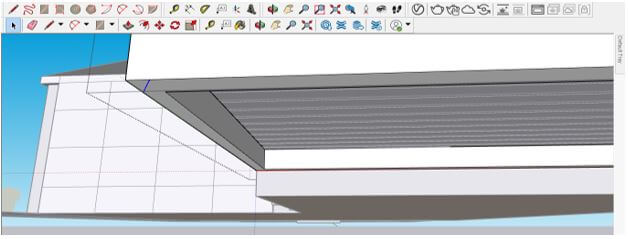
We also have to add a support bar near the wall to make a support bar of the same thickness as other lower supports.
Now check out if there are unwanted lines, then select them and delete them by pressing the delete button on the keyboard.
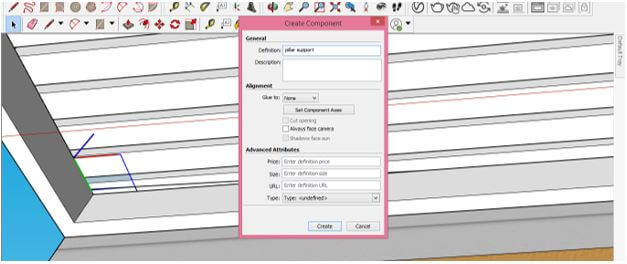
Now let us make pillar support for this deck base, and for that, we will make a square like this then make it a component.
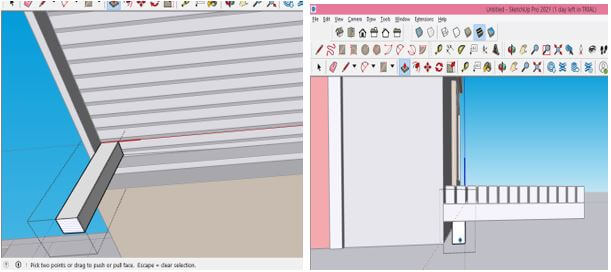
And using the push/pull tool, add height to this pillar. The height of the pillar depends on at what is the height of your deck from the ground of the house.
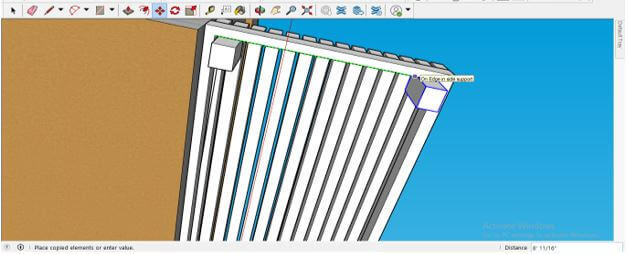
Now we will take the move tool from the tool panel and move this support pillar to the next end of this deck base by holding the Ctrl button of the keyboard. We are holding the ctrl button of the keyboard so that it makes a copy of it.
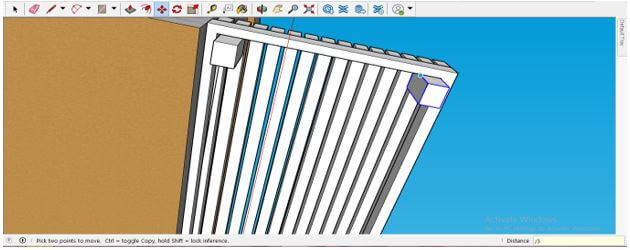
We want to make 3 copies so that we will enter /3 in the measurement box for that.
And it will make copies of pillars like this.
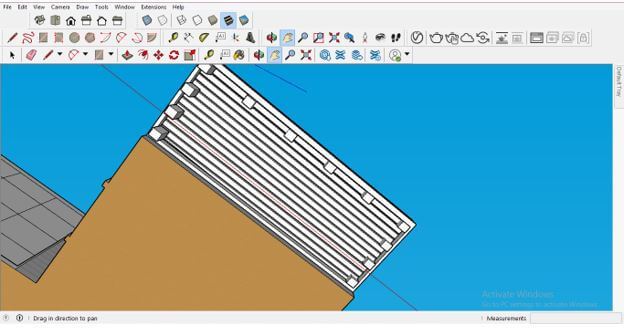
Same as we will make copies of this pillar around the whole base of this deck.
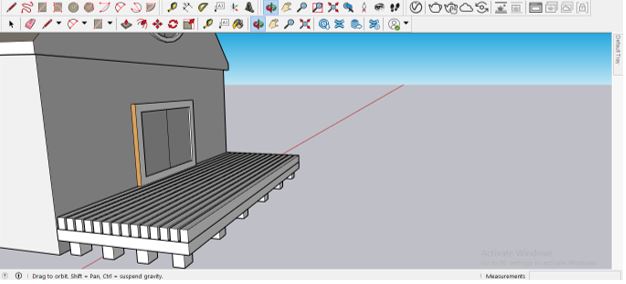
Now the base of the deck is ready.
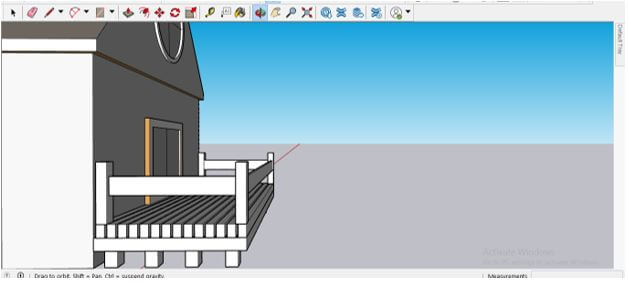
Now, in the same way, you can make railing boundaries according to your idea with your deck design. We have made this simple railing design by using the same tools and features.
This was basic steps for the design deck for any house model.
Conclusion
Now you can try to create your own deck design for your 3D house model by the same process which we have discussed in this article today because it is the basic layout for the design deck. You just have to follow the proper parameters and dimensions of your design so that you can create an error-free deck model.
Recommended Articles
This is a guide to SketchUp Deck Design. Here we have discussed how to create a deck design for a 3D house model by using some processes in SketchUp. You may also look at the following articles to learn more –
