Introduction to SketchUp Garden Design
SketchUp Garden Design is part of the landscape design in this software and we can create the design of the garden in the same way as we create the design of the landscape. For creating a garden design we need to understand some tools and their working as well as some other option for the different menus. You can import some staff of garden from outer source that means you can use some 3D modeling component that you have downloaded from the internet. Here in Sketchup, we have an online library for several types of 3d components and you will find this library with the name of 3D Warehouse. So I will explain the garden design to you with a simple garden design.
How to Create Garden Design in Sketchup?
It totally depends on you how you want to create your garden and how it to be looks like and according to that you can create a beautiful design for your model as well as use that design as landscape design.
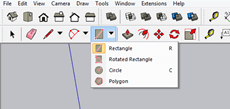
First of all, I will take the Rectangle tool which is at the top of the working screen, or press R as a shortcut key.
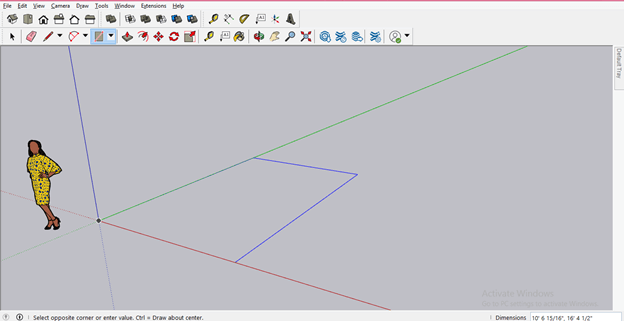
Now I will draw this rectangle as a layout of a small section of a garden. I am not using any specific dimension for this design.
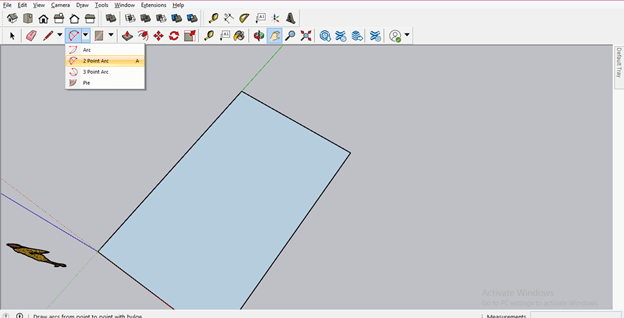
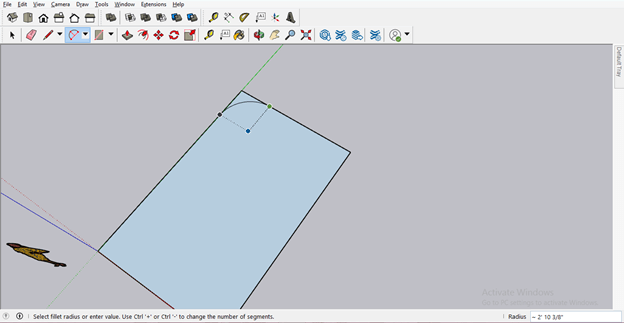
Now I will take the two-point arc tool.
Now I will make an arc like this at one corner of this rectangle.
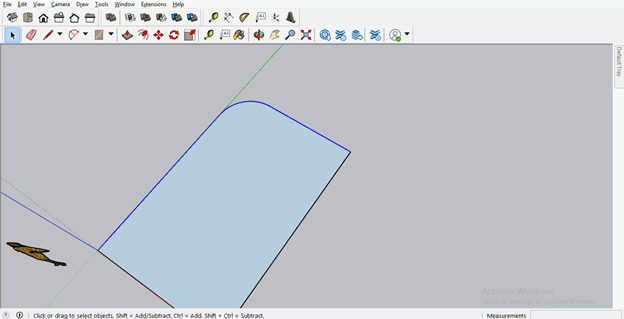
And create this type of shape by deleting the unwanted areas of the arc. For deleted unwanted area just select that and press the delete button on the keyboard. Now I will take the select tool and select these two edges of this shape. For selecting both edges hold the shift key after selecting one edge then click on another one.
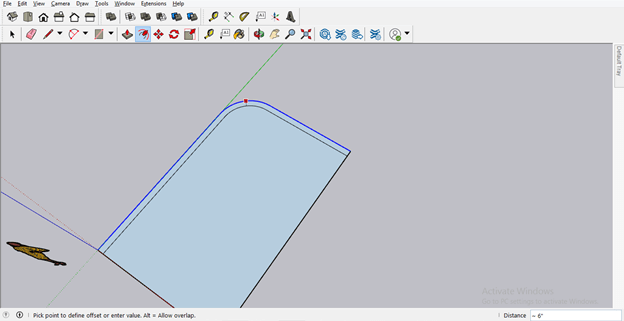
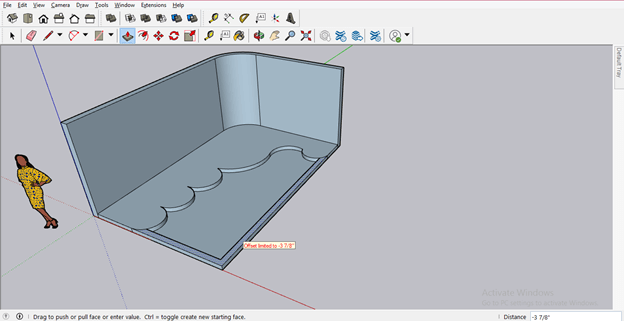
Now I will take the Offset tool and offset these edges at some distance like this.
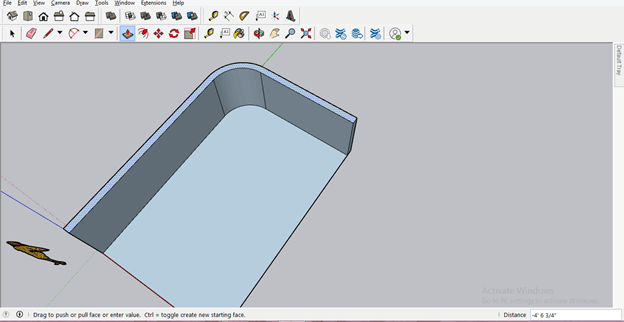
Now take the Push/Pull tool and add some height to it.
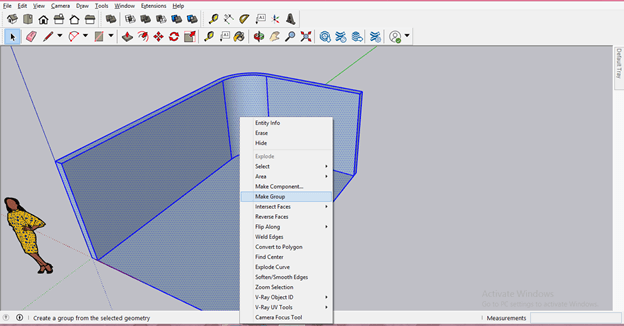
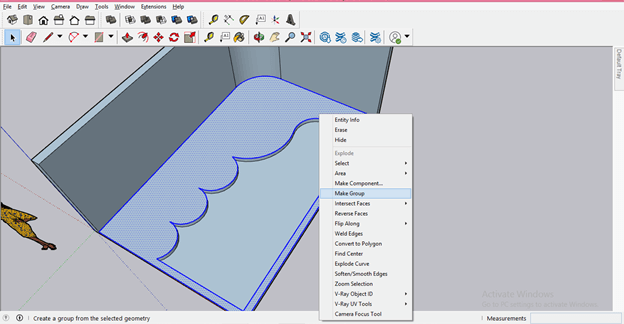
Now select the whole object and make the group so that it will not disturb another object during creating them. For making a group make right-click after selection and click on the Make Group option of the drop-down list.
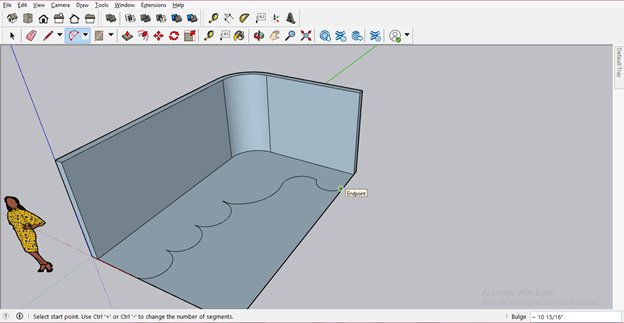
Now let us add some design to the ground for making side objects of the pool which I will create in the next step. For creating this design I will take 2 point arc tool again and draw it like this.
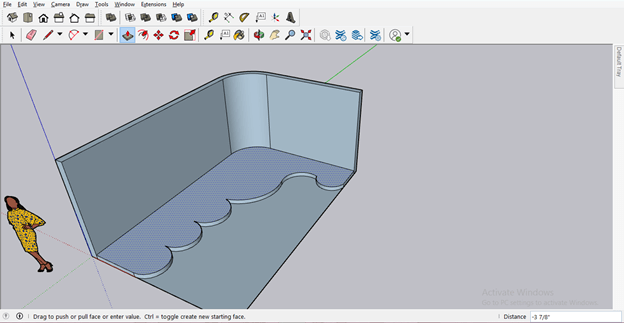
Now using Push/Pull tool again I will add some height to this floor design.
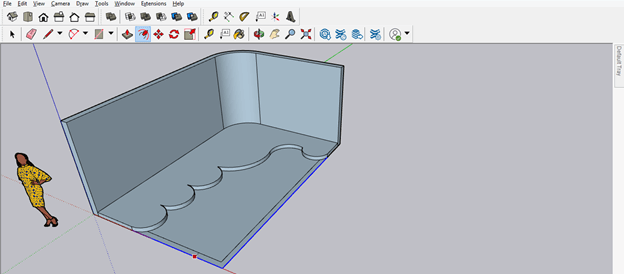
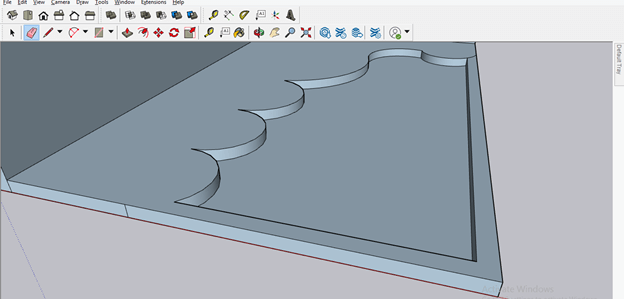
Select the other two edges of the ground rectangle and offset them as we did in the previous step for offsetting the first side of the rectangle.
I will add the same height to it also as we have added in floor design of the garden.
Now take the Eraser tool and erase unwanted lines for making these objects a single object.
Now select these objects and then make a group of this design so it will become separate from other designs.
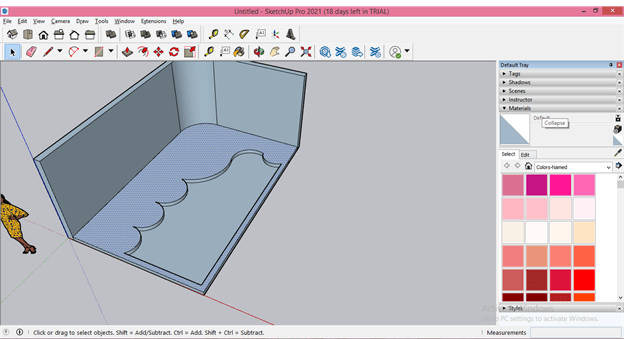
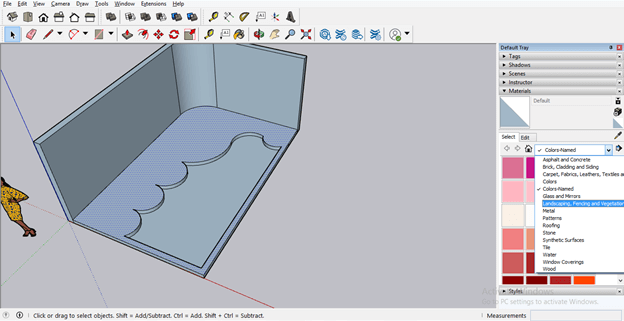
Let us now apply the material to our design and for applying material go to the Materials panel of the Default tray option which is at the right side of the working screen.
If there is no Materials tab on your working screen then you can find it in the Window menu. So click on the Window menu then go to Default Tray and choose the Materials option from the scroll-down list of it.
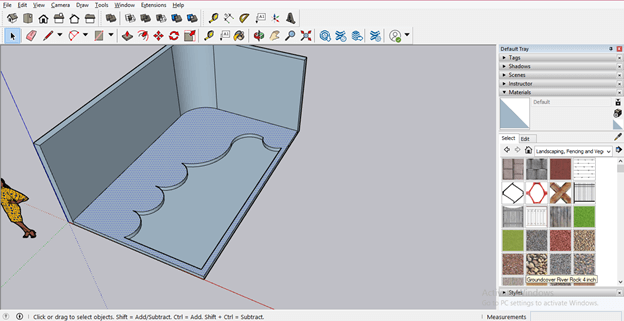
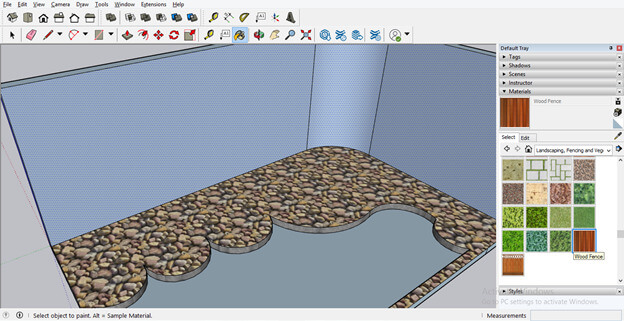
Now from the list of Materials, I will select Landscape, Fencing option.
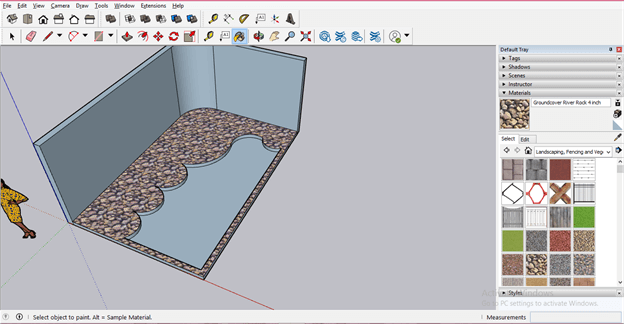
Now i will choose Rock material for the selected ground area from the materials’ list of Landscaping options.
And apply it like this.
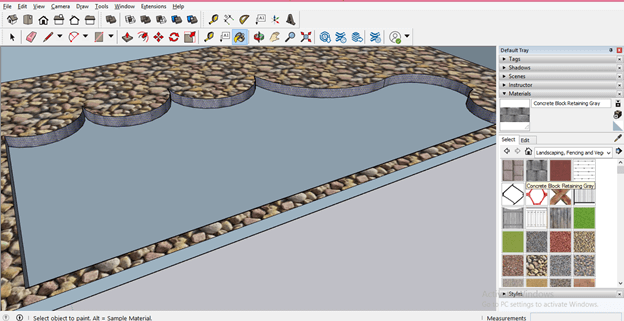
I will apply Concrete block material here in the depth of this area.
Now I will select the wall-like structure that is at one side of this garden design and then apply a Wood Fence to it and for that, I will choose Wood Fence from material panels and click on a selected area with the bucket tool.
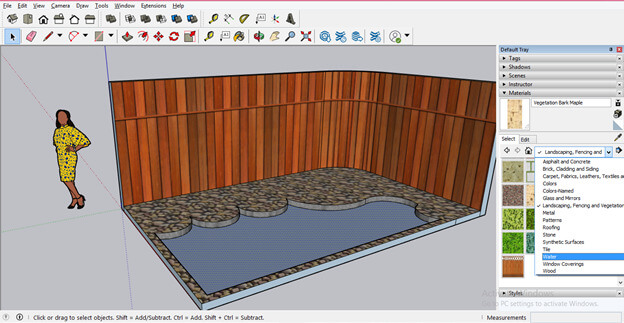
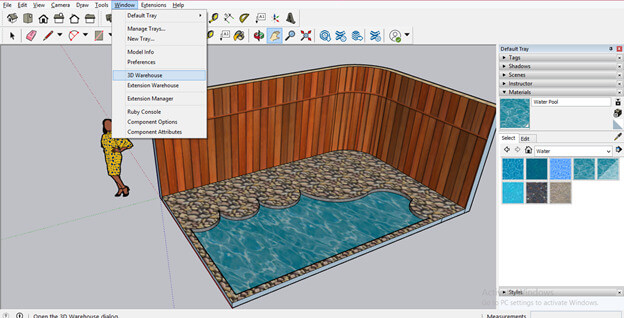
Now let us apply Pool water to this selected area and for taking I will again go to the Materials tab and choose Water from the list of materials.
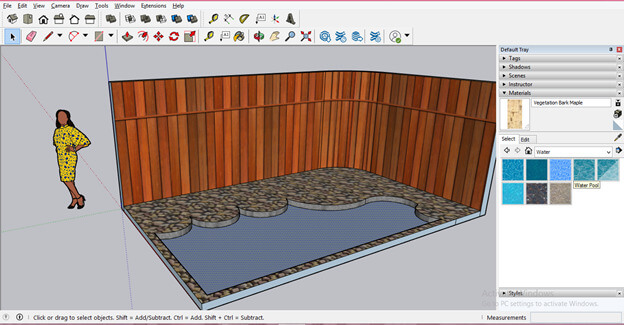
I will select this Water Pool material from this list of materials of water.
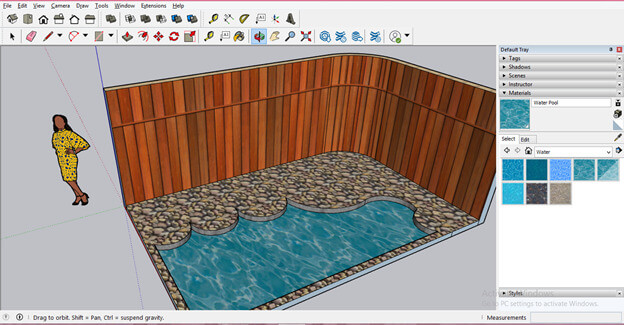
And apply it to a selected area with the help of the bucket tool.
Now let us place some garden staff here and for that, I will go to the 3D warehouse which you can find in the scroll-down list of the Window menu. So go there and click on it.
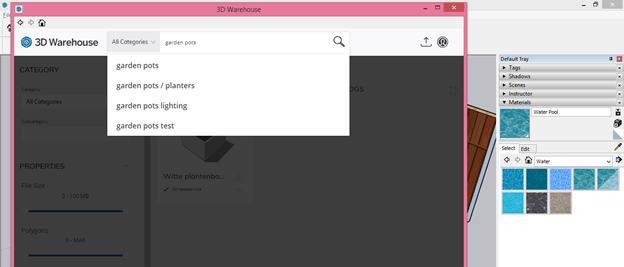
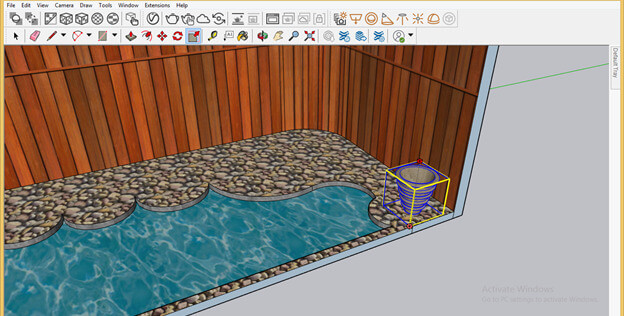
Once you click on it a 3D Warehouse dialog box will be open like this. Here in the search box of it, I will search for garden pots.
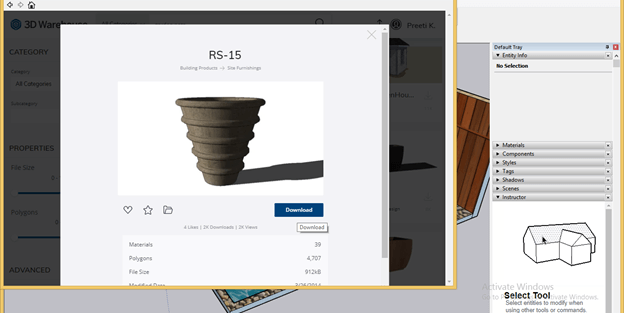
And download this one from the result of the pot. You can take any other as per your choice according to your design.
And I will place it here like this.
You can scale it according to the required size in your design by using the Scale tool of the tool panel. You can place the plant in this pot also.
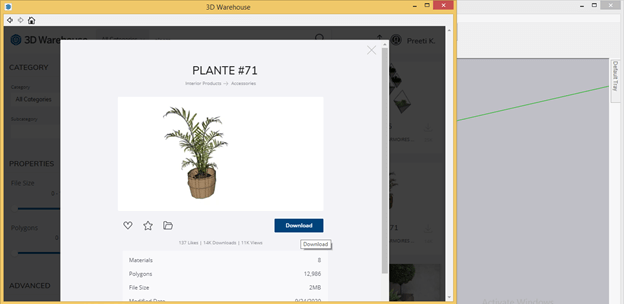
Or import a pot that has already plant in it. So I will download it by clicking on the download button.
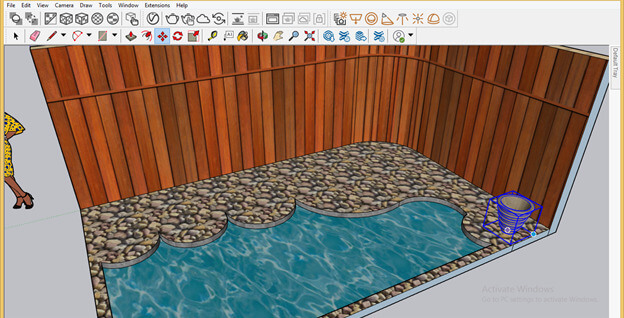
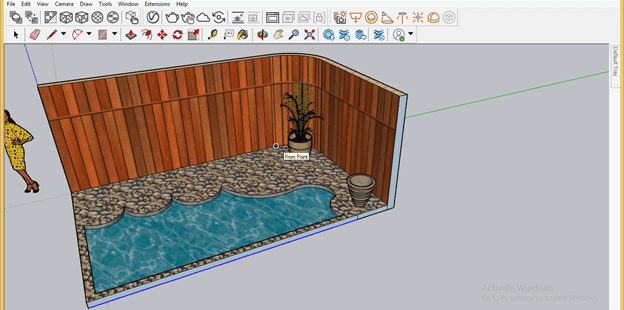
And place it here in the corner of the garden design.
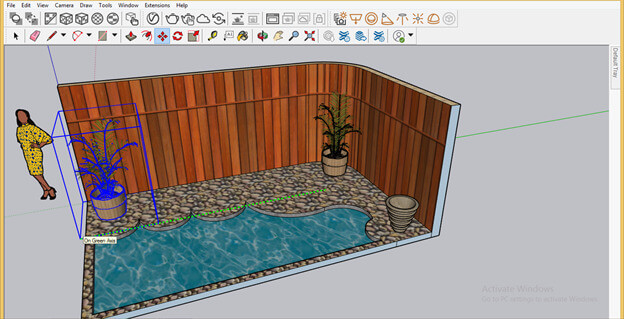
You can make a copy of it also and for making copy-move it with the move tool and during moving it hold Ctrl button of the keyboard then it will make a copy of moving object at your desired distance.
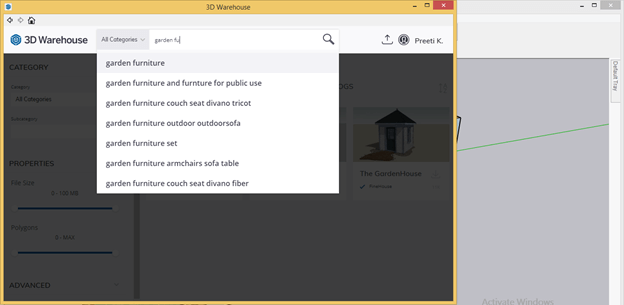
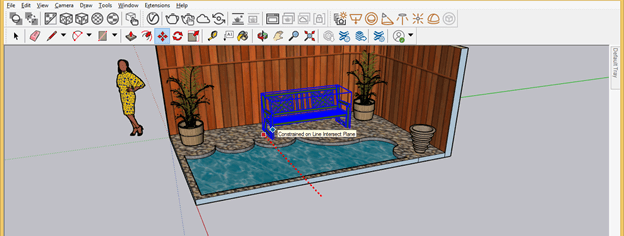
Now I will use garden furniture in this design and I will also import it from 3D Warehouse.
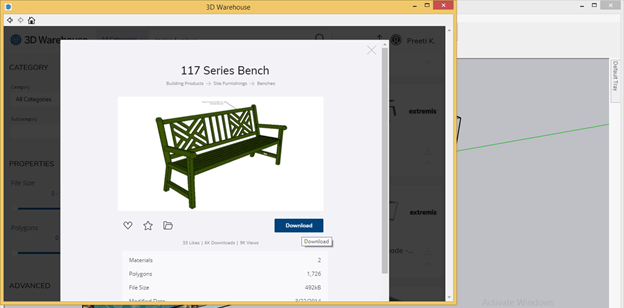
I will import this one.
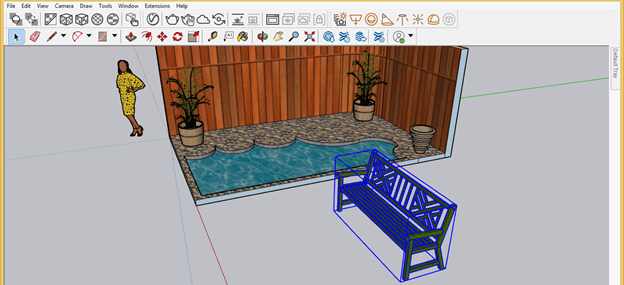
Place it anywhere in the working area.
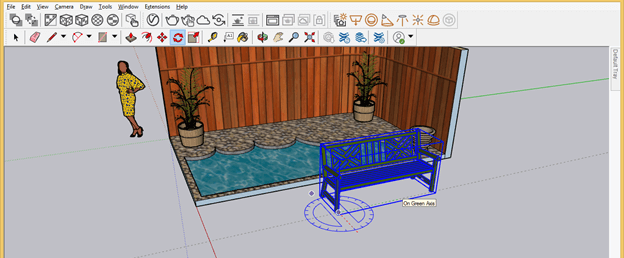
It is not in my desired direction so I will rotate it with the help of a rotate tool like this.
And move it here to this part of garden design.
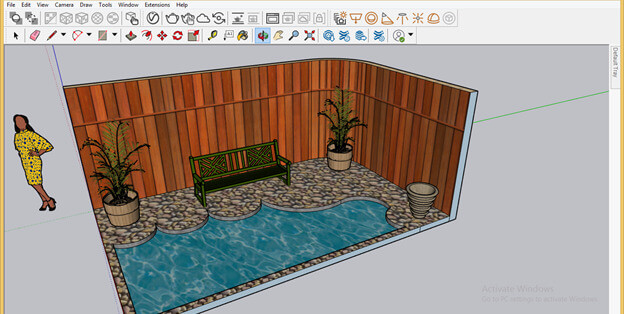
This way you can create a garden designs on the basis of your own idea.
Conclusion
Now you can understand that garden design totally depends on your own idea of creation and how you want to use this design with your 3D model. You can start practice on the design of the garden by using several components so that you can get the best result in your work.
Recommended Articles
This is a guide to SketchUp garden design. Here we discuss How to Create Garden Design in Sketchup and how you want to use this design with your 3D model. You may also have a look at the following articles to learn more –
