Introduction to SketchUp Import
SketchUp Import is an option of the File menu of SketchUp through which you can import different 2D drawing files into it for making a 3D model of that drawing. You can import different type of file formats of several 2D and 3D modeling software such as .3ds, .bmp, .dwg, .dxf, .jpg, .png, .psd and so on. You cannot only import drawing files into SketchUp but also import jpge or png files of any drawing floor plan. Today i will tell you how you can import the AutoCAD file in SketchUp and prepare it to start creating a 3D model with its layout. So let us start learning it.
How to work with Import in SketchUp?
Import is a very good feature of this software, and we can have command on it very easily. Here I will explain to you the import option of this software by two examples. In the first example, I will tell you importing of AutoCAD file which has .dwg file extension, and in the second example, I will tell you it by importing jpg file format of 2D drawing layout.
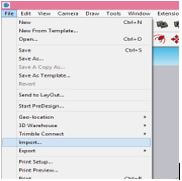
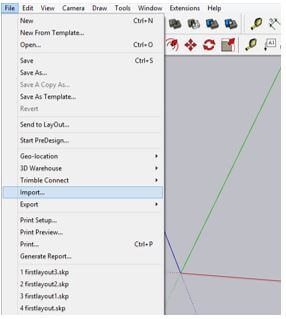
For the Import option, go to the File menu of the menu bar, which is at the top of the working screen. So click on it, and in the scroll-down list of this menu, you will find the Import option.
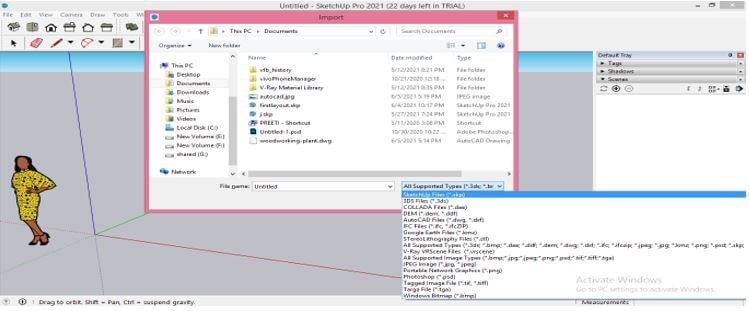
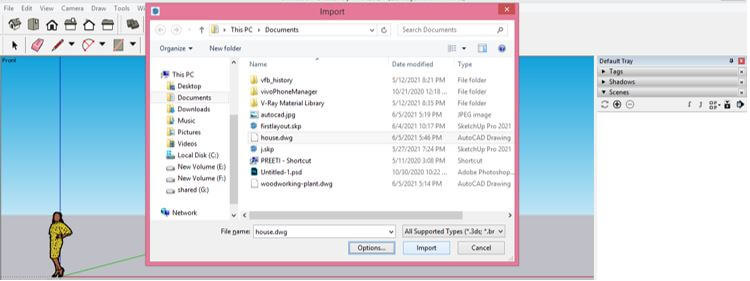
Once you click on this option, a dialog box of Import will be open like this. Here in the drop-down list of supported file formats, you can check how many file formats can supports by it when you import any file in it.
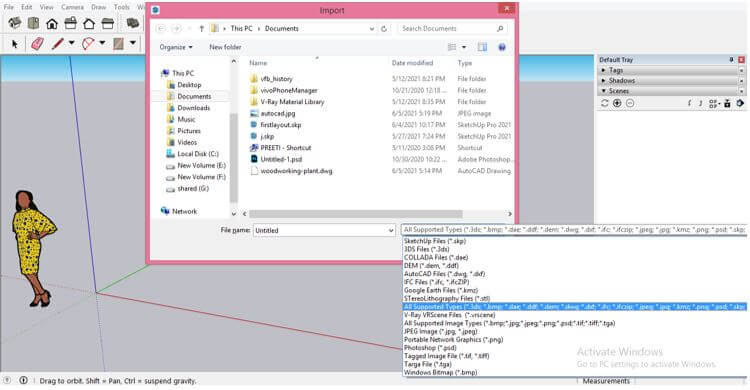
Here I will select the ‘All supported files’ option to see the AutoCAD .dwg file in this opened folder.
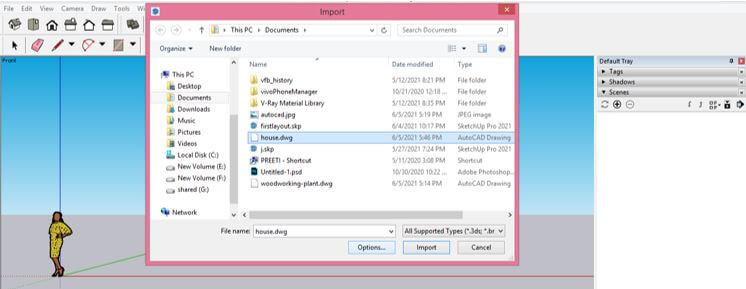
I will select this AutoCAD file which I have downloaded from the internet. It is a layout plan of a simple house model. You can use your own AutoCAD file for learning about this topic. After selecting your file, click on the Options button of this dialog box.
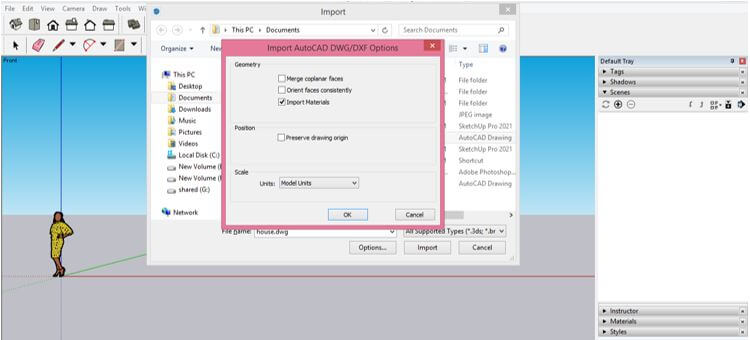
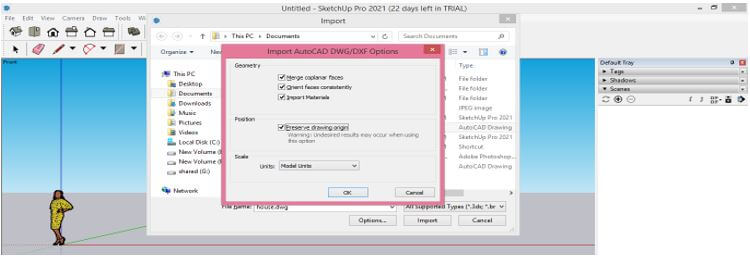
Once you click on it, you will have this type of dialog box. Here in this dialog box, we have some options which we can make enable or disable according to our requirements.
Such as you disable/enable import materials of drawing, preserve origin for import drawing, and so on.
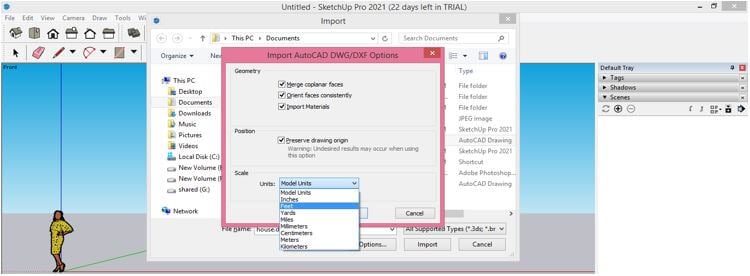
Choose your desired units in which you want to scale your drawing or want to create your 3D model. I will choose the Feet option from the list and then click on the Ok button of this dialog box.
Now click on the Import button of this dialog box after making your all desired settings.
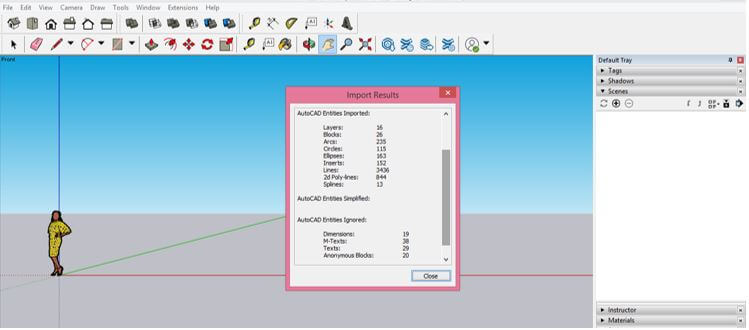
Before importing your .dwg file in SketchUp, it will show you detail of the drawing that means what are the things importing here, such as the number of layers, number of blocks in drawing, and arcs in drawing, and so on.
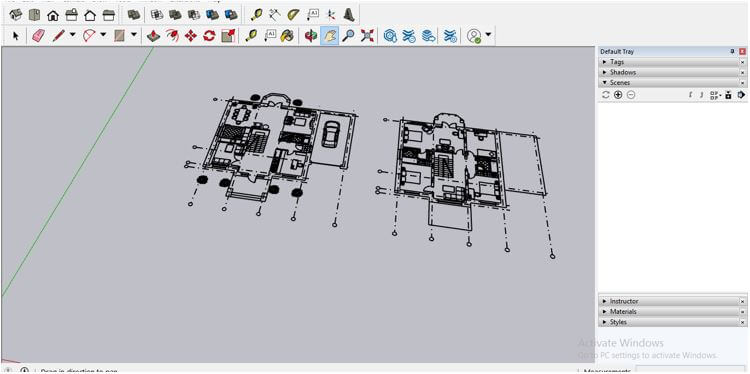
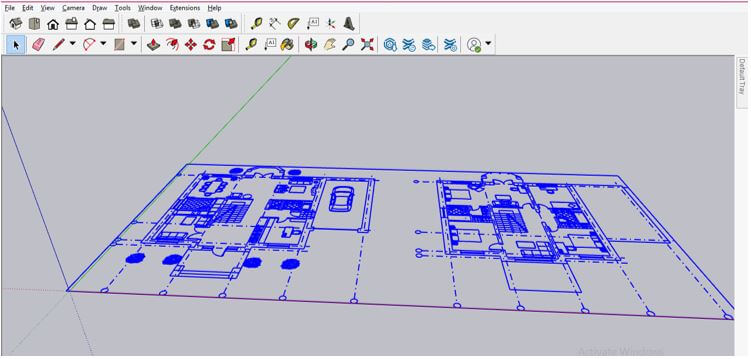
It will import like this on the ground of SketchUp.
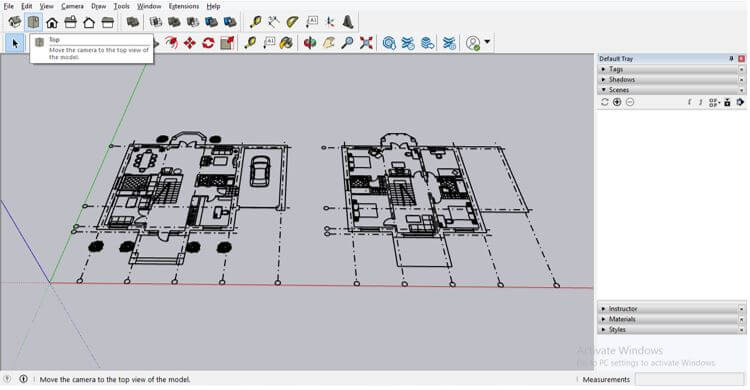
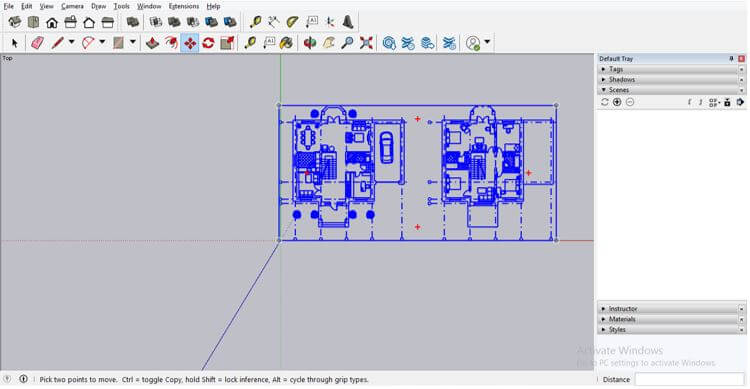
Now I will switch to Top view for seeing this drawing from the top plane.
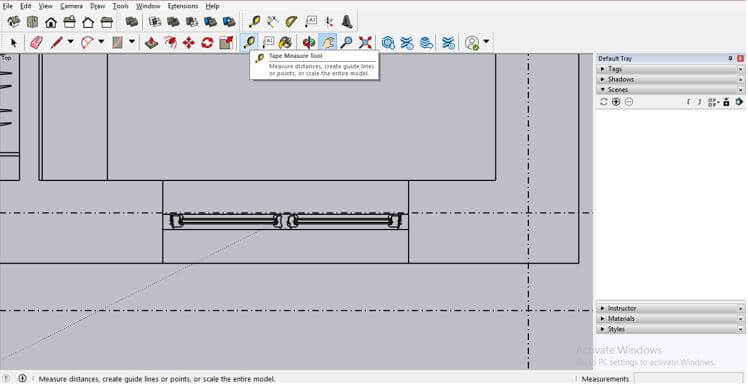
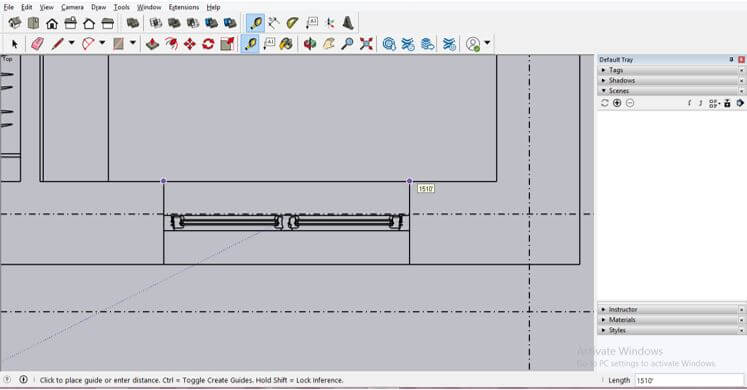
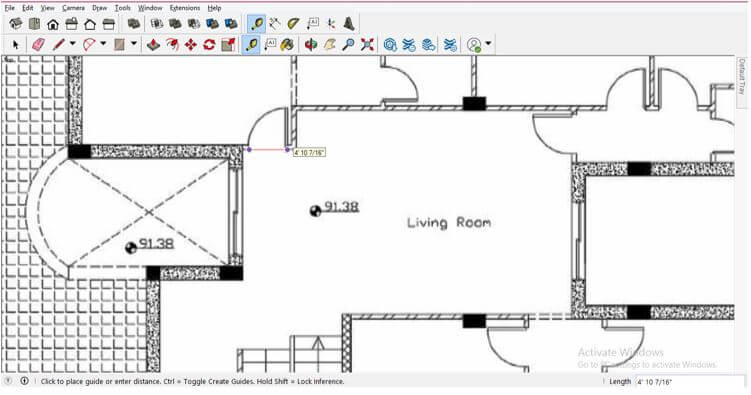
If your imported file has not been imported with the exact dimension you want for this drawing, you can scale it according to your required dimension and for that go-to tool panel and take the Tape Measure tool from here.
And measure the size of any part with it. For example, for measuring dimension, specify the first point from where you want to start by click on it and then drag it to the next point and make a click.
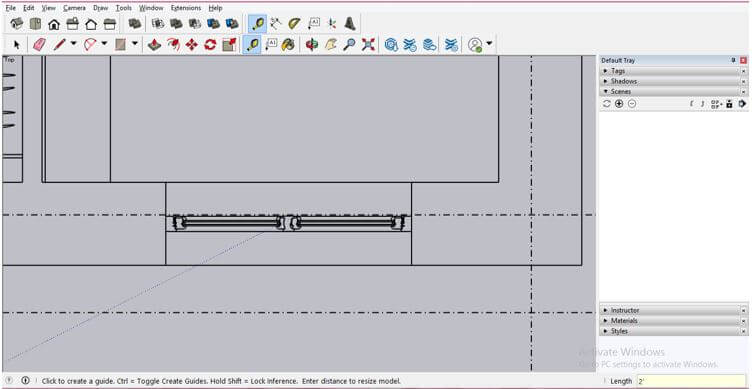
After making a click, enter that value you want for this measurement, such as I will enter 2’ in the Measurement box of this software. You can find this box at the bottom right corner of the working screen.
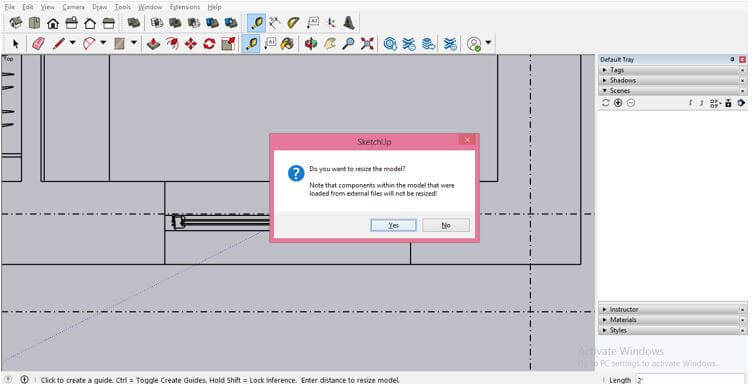
Once you enter the value and hit the enter button on the keyboard, it will ask you to ‘Do you want to resize the model or not? I will click on the Yes button of this box.
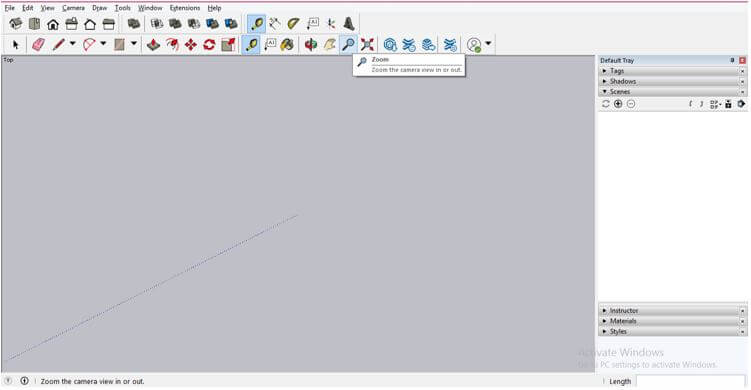
Now you can see your model become disappears, but it does not exactly disappear; it got to scale down. So zoom it for seeing it.
And place it like this.
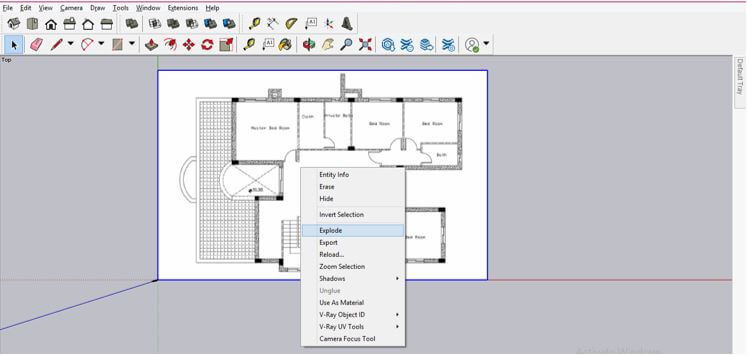
Now when you select it, you can see it is one component.
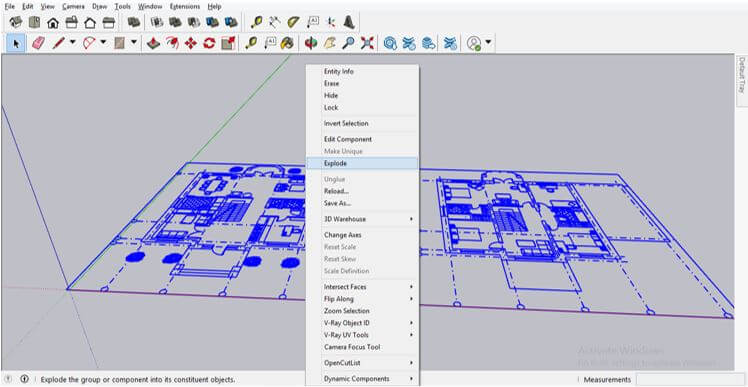
So for that, you have to explode it and for that select your drawing then making right-click. Now click on Explode option of the scroll-down list.
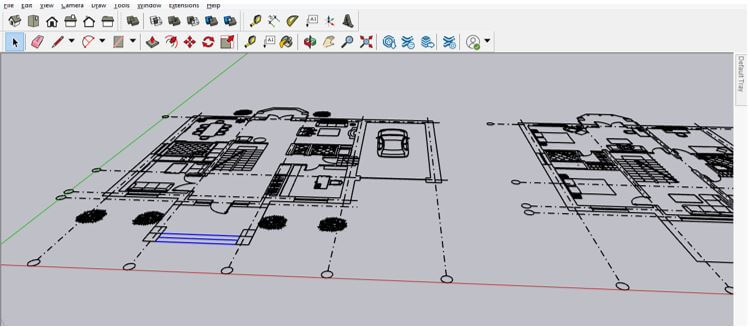
Now you can select any object separating in this drawing.
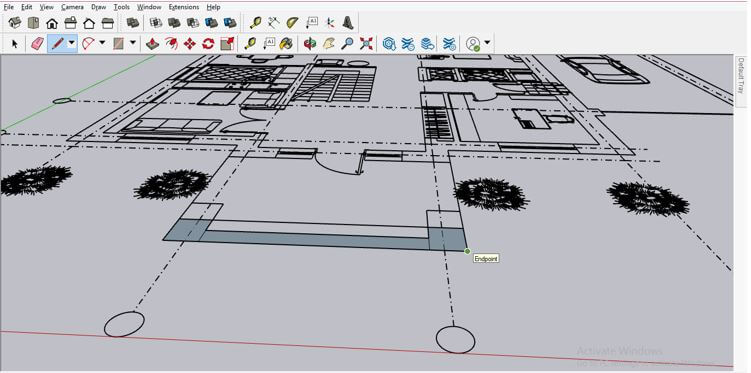
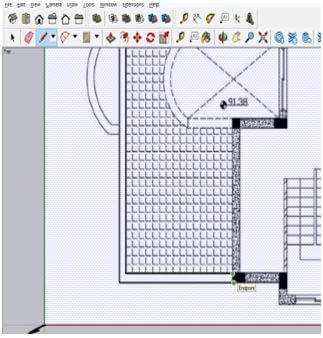
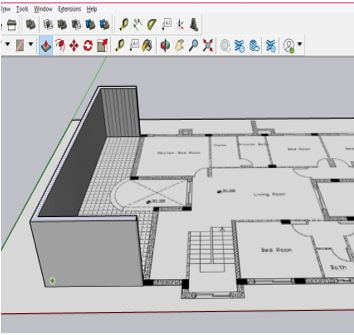
Using the Line tool, you can make boundaries for walls and start designing the 3D model in this imported file.
Now let me tell you how you can import jpg file format by using the Import option. So again, go to the import option of the File menu.
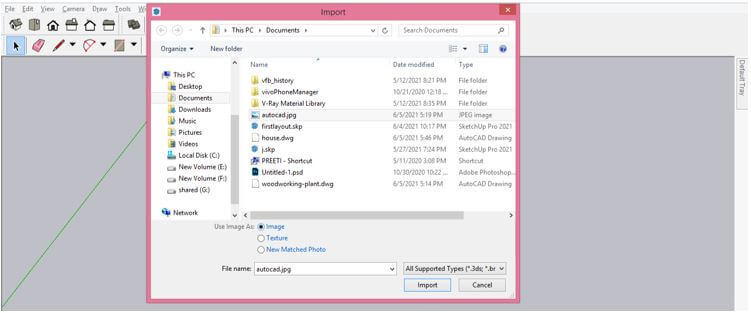
And choose the jpg file of AutoCAD drawing. Make sure to enable the radio button of the Image option in this dialog box because we will import this as an image, not as texture. Now click on the Import button of this dialog box.
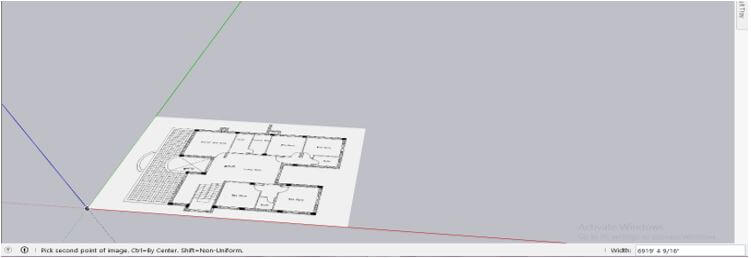
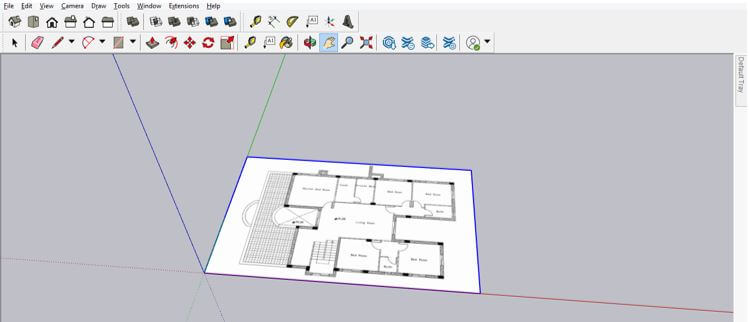
Now it will import like this, and you can place it at the origin point of the axis.
If we select this image file, it will act as a rectangle plane in SketchUp.
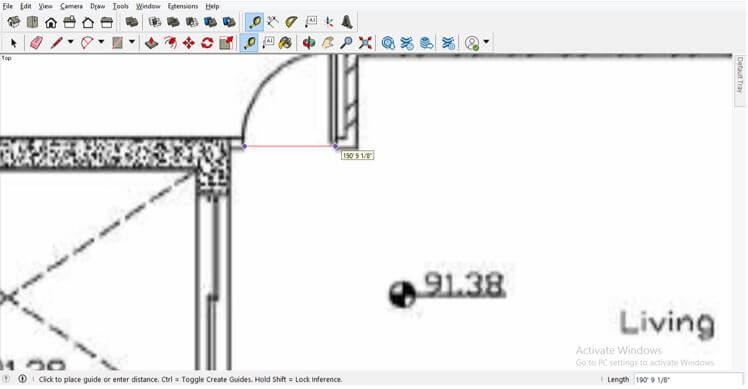
You can also scale down it in the same way we did in the auto cad .dwg file format. To measure any dimension on the drawing with the Tape Measurement tool of the tool panel.
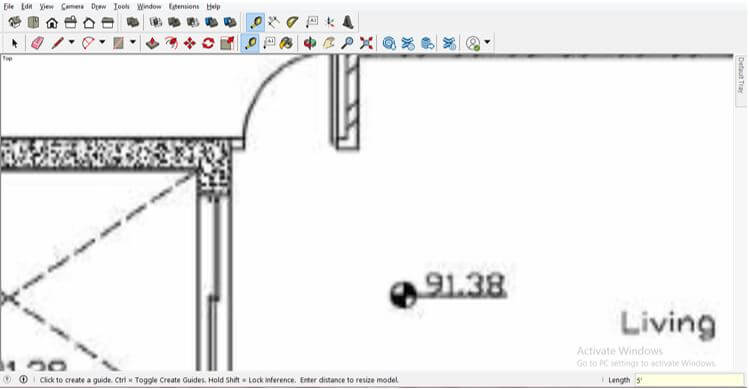
And enter the value which you want for this dimension and hit enter button on the keyboard.
Now it will scale down like this.
And you can measure the dimensions again for seeing scaled value which is approximate to the entered value.
For tracing this layout, first, explode it and for exploding it select this file and make right-click, then choose the Explode option from the scroll-down list.
Now you can start creating 3D components for your drawing by using different 3D modeling tools of this software.
Conclusion
Now you can understand what the Import option is in SketchUp? And how you can import any drawing file in this software as well as an image file of any drawing. After going through this article now, you can adjust the imported layout file to make it compatible with starting 3D modeling.
Recommended Articles
This is a guide to SketchUp Import. Here we discuss how you can import the AutoCAD file in SketchUp and prepare it to start creating a 3D model with its layout. You may also have a look at the following articles to learn more –
